
Last updated on November 10th, 2021
Pencil pattern brush is often used by designers to create a unique impression and convey some message to the viewers. In this tutorial, you will learn to create pencil pattern brush in Abode Illustrator in some easy steps.
In the initial steps, you will learn the techniques to set up a simple grid so that you can create the main shapes with the use of basic tools.
Then, in the next few steps, you will learn how to create simple patterns and pattern brush. Finally, you will be able to manipulate the brush to create a simple text effect.
Step -1
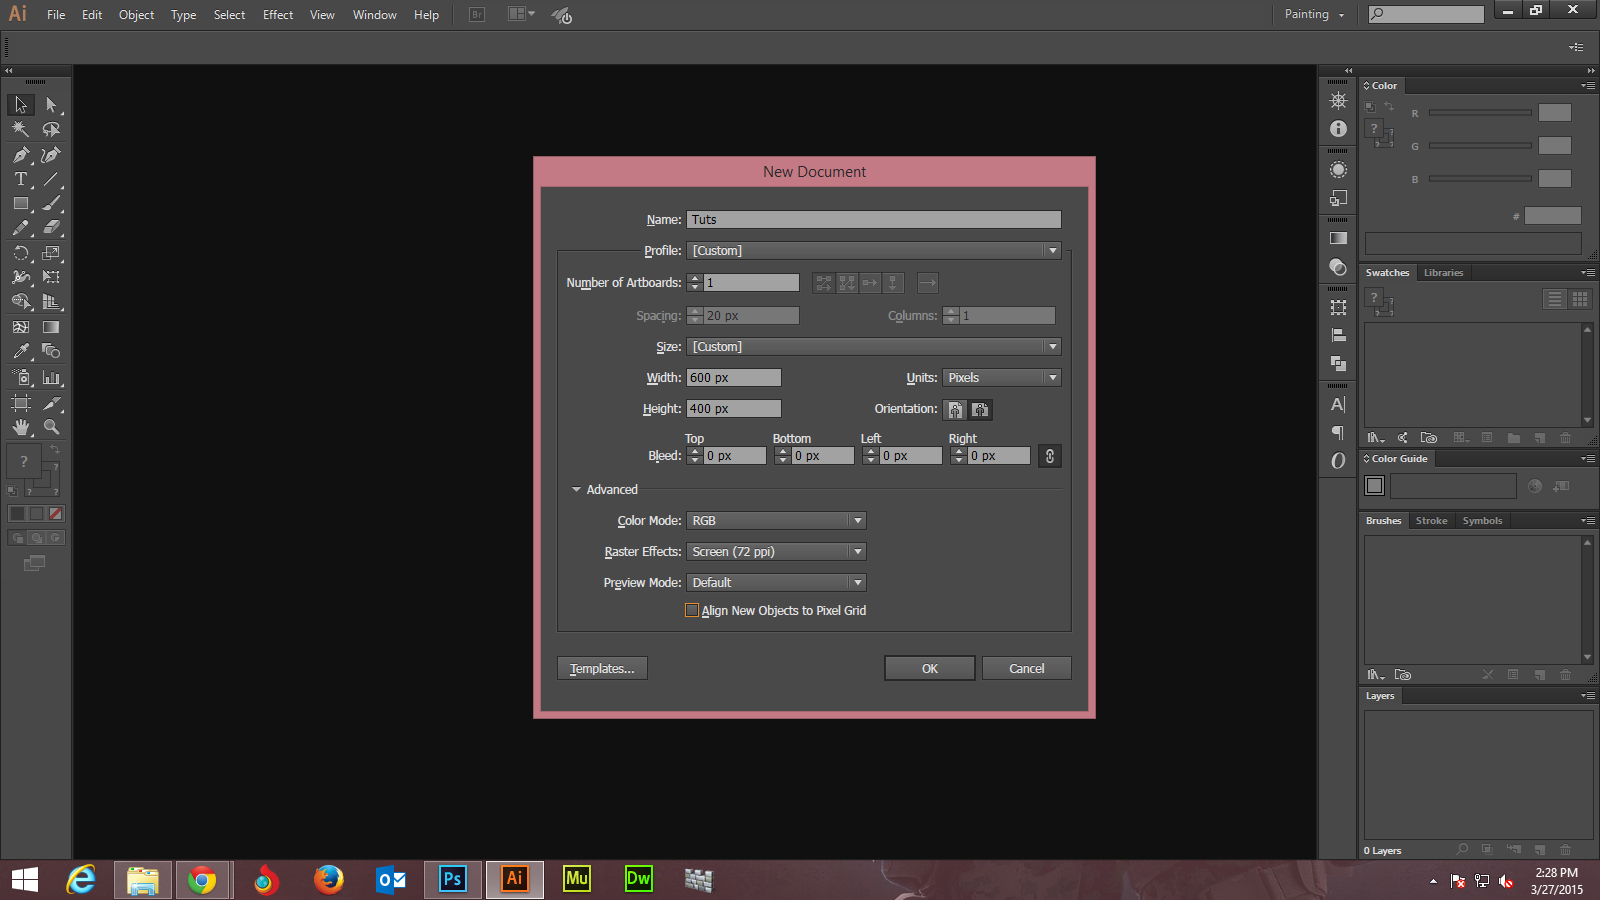
Create a new document and fill it with your design requirements of size, width, height, color code etc.
Here, we have selected Pixels from the Units drop-down menu and entered 6000 in the width box and 400 Pixels in the height box. We have selected RGB and screen at 72 ppi. Also, note that the Align New Objects to Pixel Grid box is unchecked.
Step -2
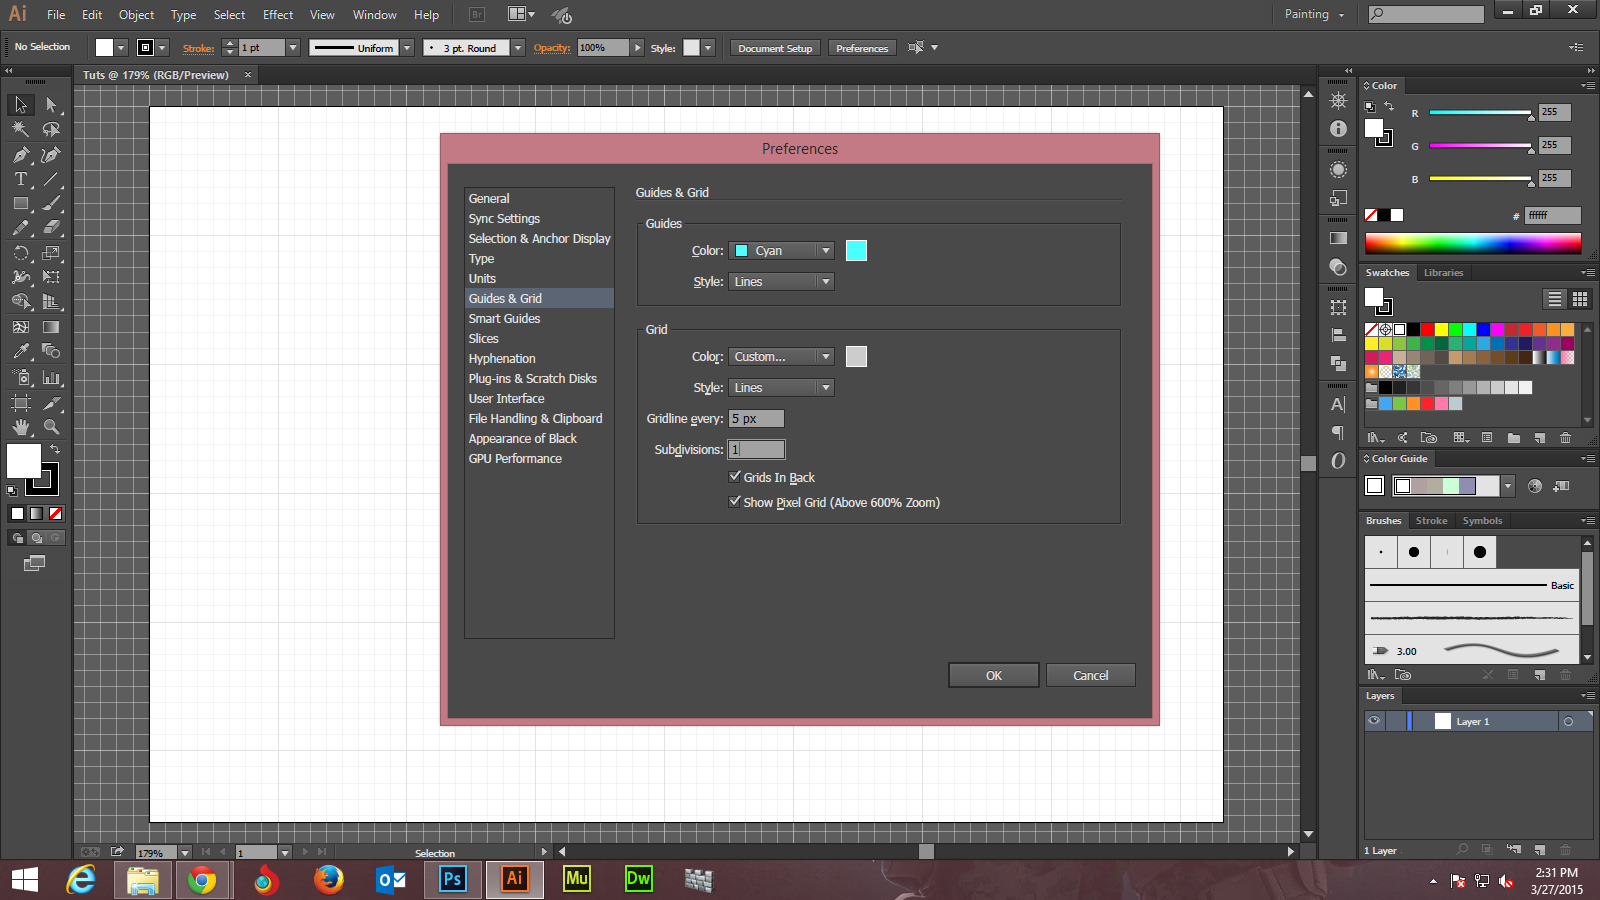
Once you get the grid, you should now have your preference set for color and size for the Guides & Grids.
Step -3
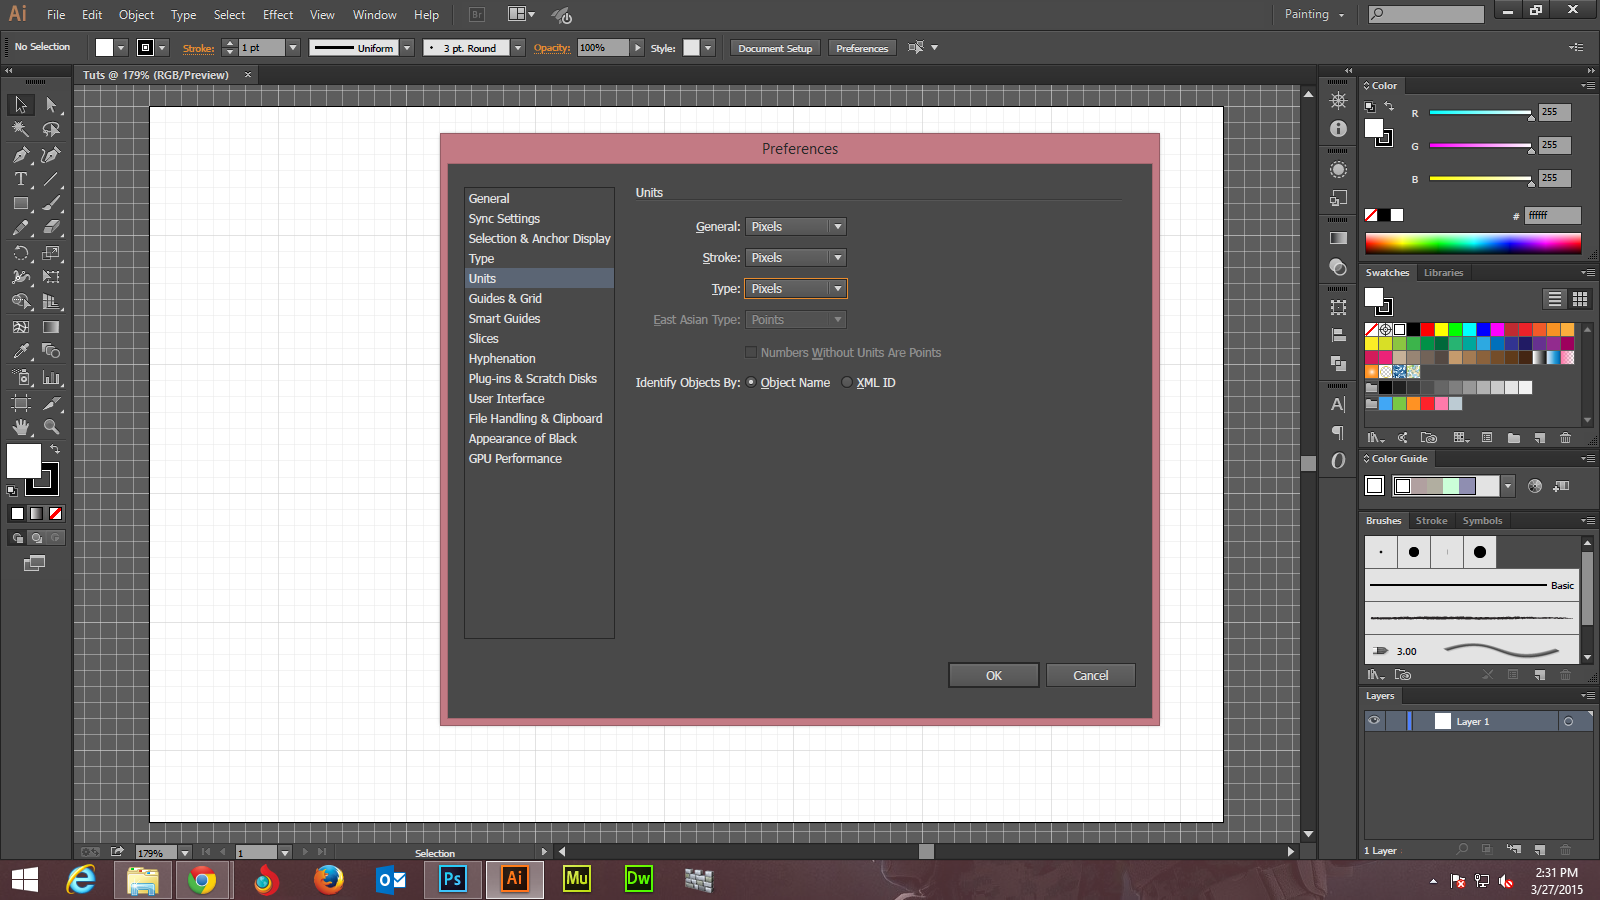
Then, click on the Units bar from the Preferences and set your requirements. Here we have set general stroke and type all as pixel.
Step -4
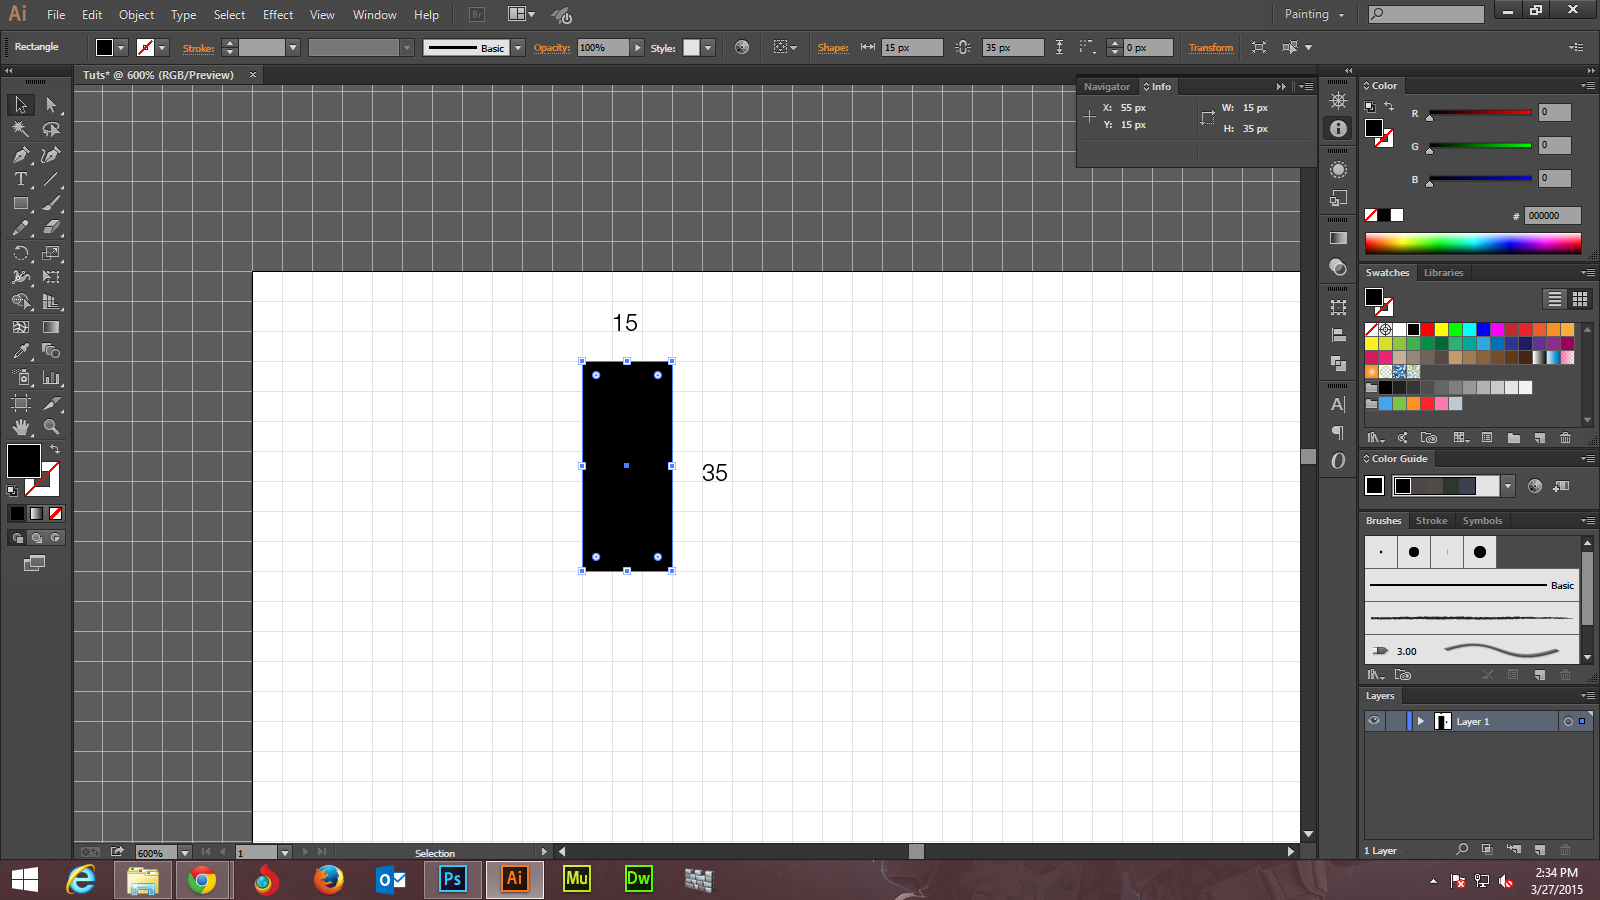
Now, you need to create the main shape and to do so, you would need to select the Rectangle Tool. Go to Stroke and remove colors from it.
Then set its colors to black, which means that red, green and black colors will be set as blank or 0. On your artboard, create a 15 X 35px rectangle. You can take help from Snap to Grid feature to do this work easily.
Step -5
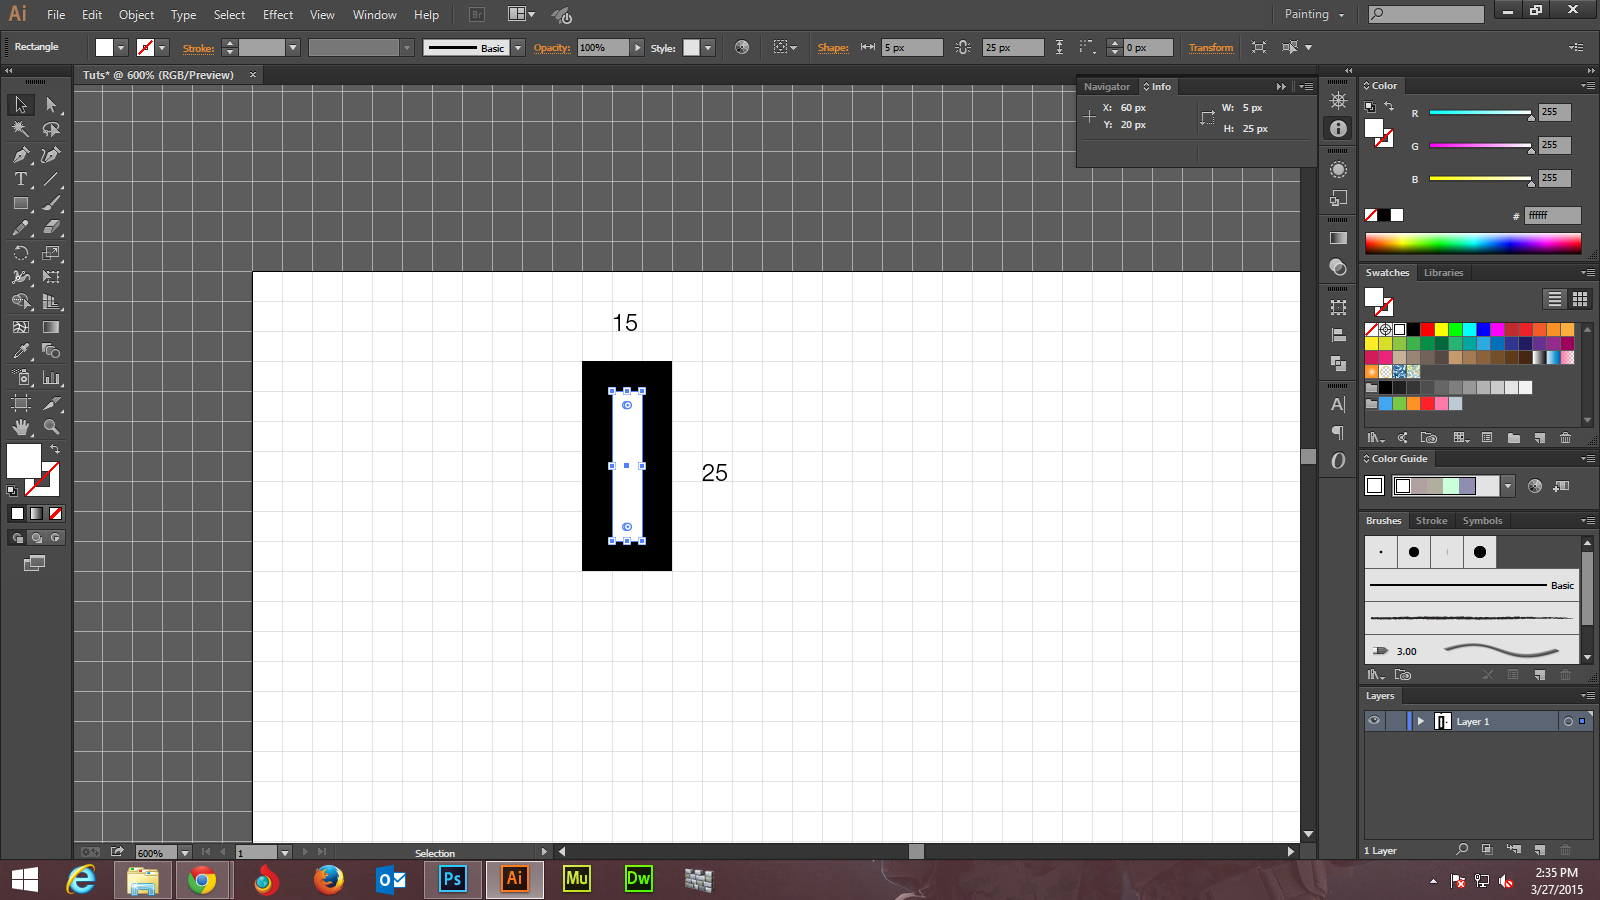
Now, go back to your Toolbar and fill R=255 G=255 B=255 in the color bar while the Rectangle Tool should still be active in order to create a new 15 x 25px rectangular shape as is shown here. Also, select the inside space of the rectangle.
Step -6
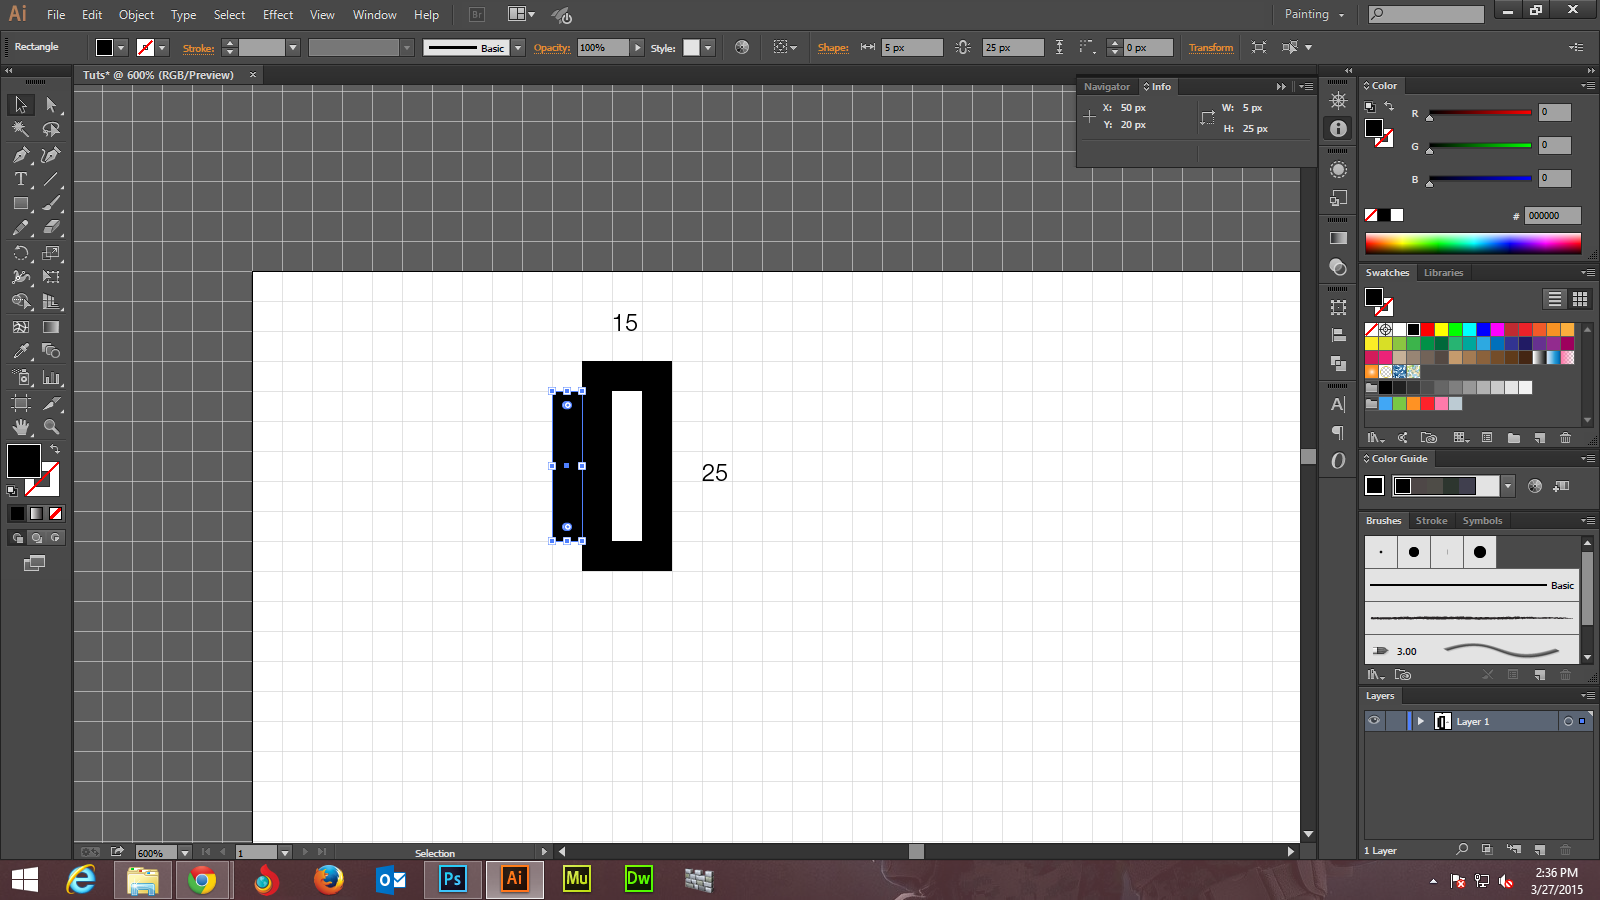
Go back again to your Toolbar and fill simple black in the color box. Now, place the selected rectangle piece from the inside of the main rectangle and place it on the left side as shown in the following image.
Step -7
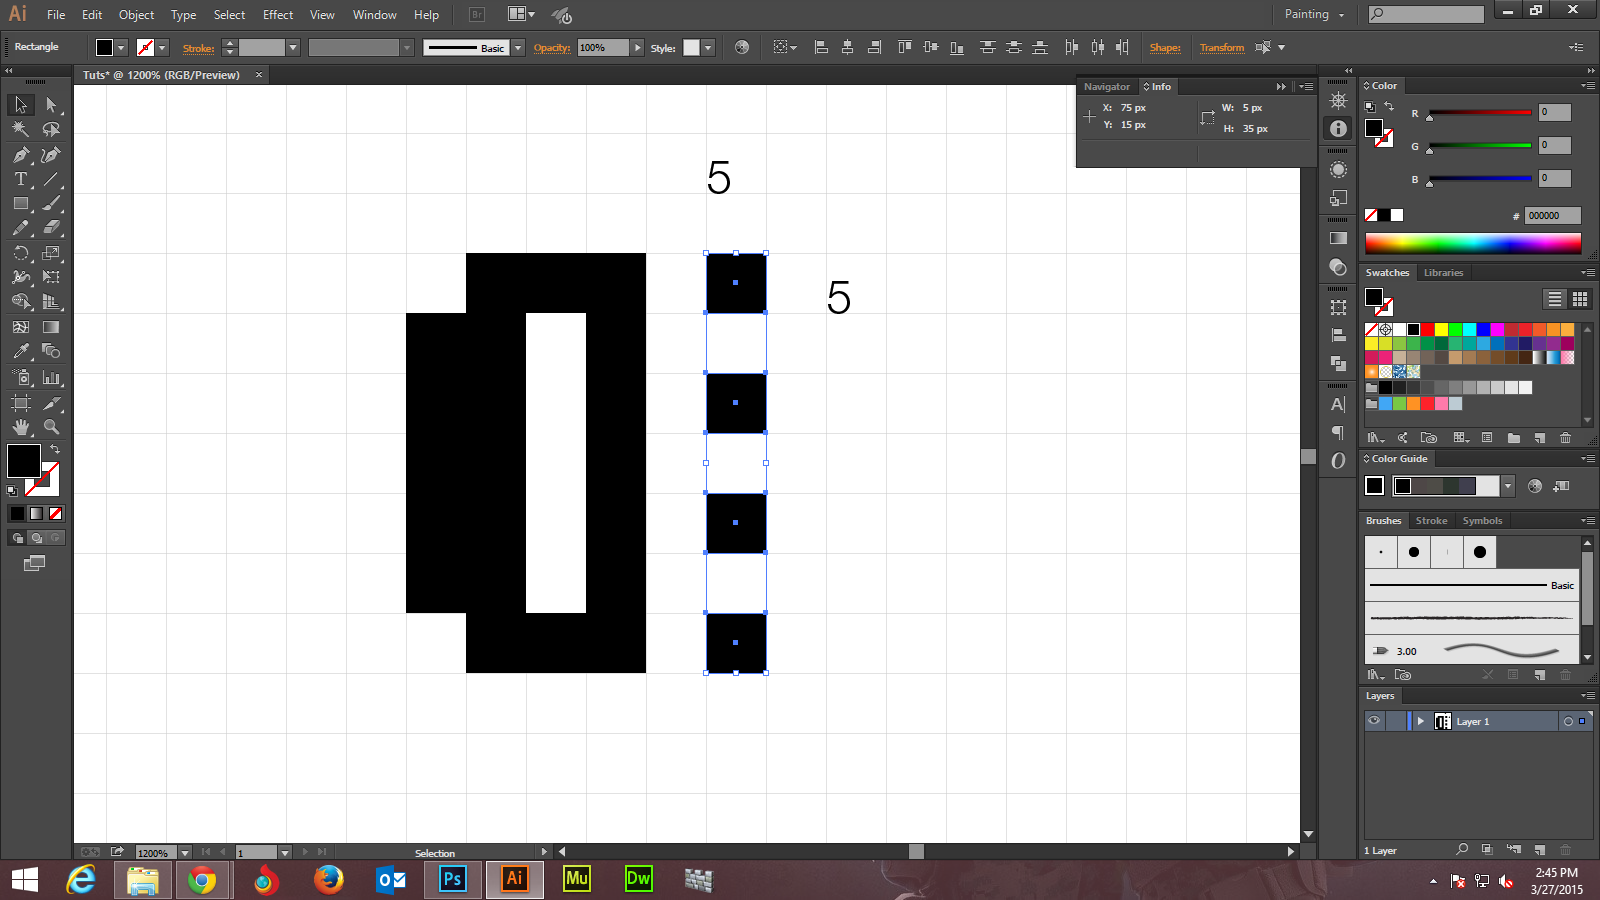
As a next step, use the Rectangle Tool to create four square of 5px each. The fill color should be set to black. Place the square as shown in the following image. You can take help from Snap to GRID and the grid features.
Step -8
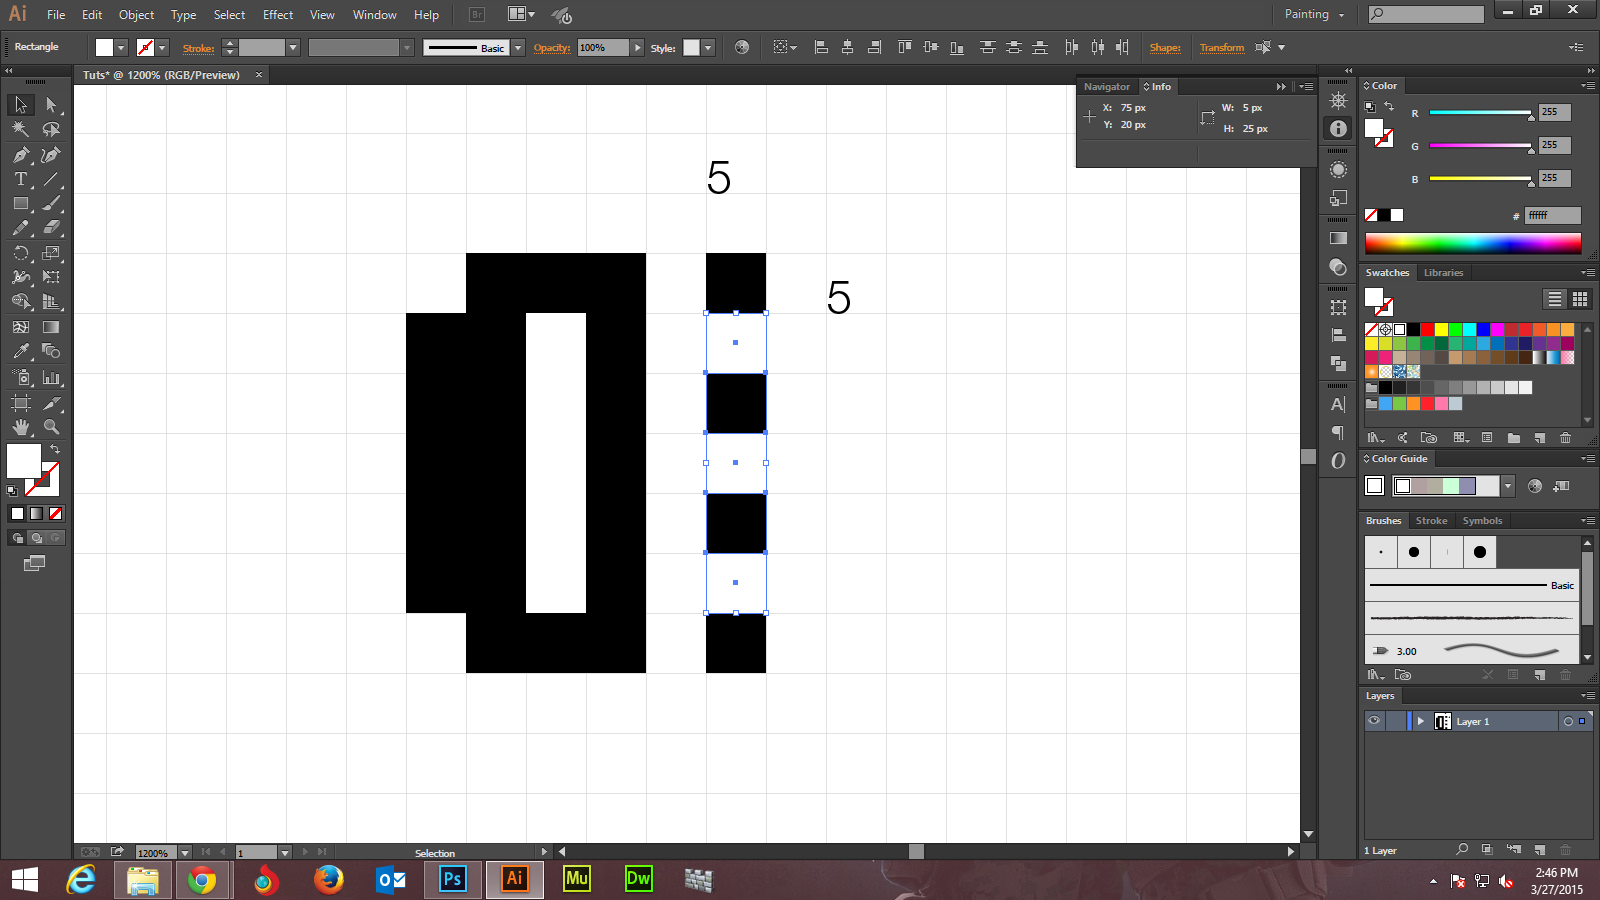
Use the same Rectangle Tool and create 4 more squares each of 5px. Make sure that the color of these squares is white this time.
Step -9
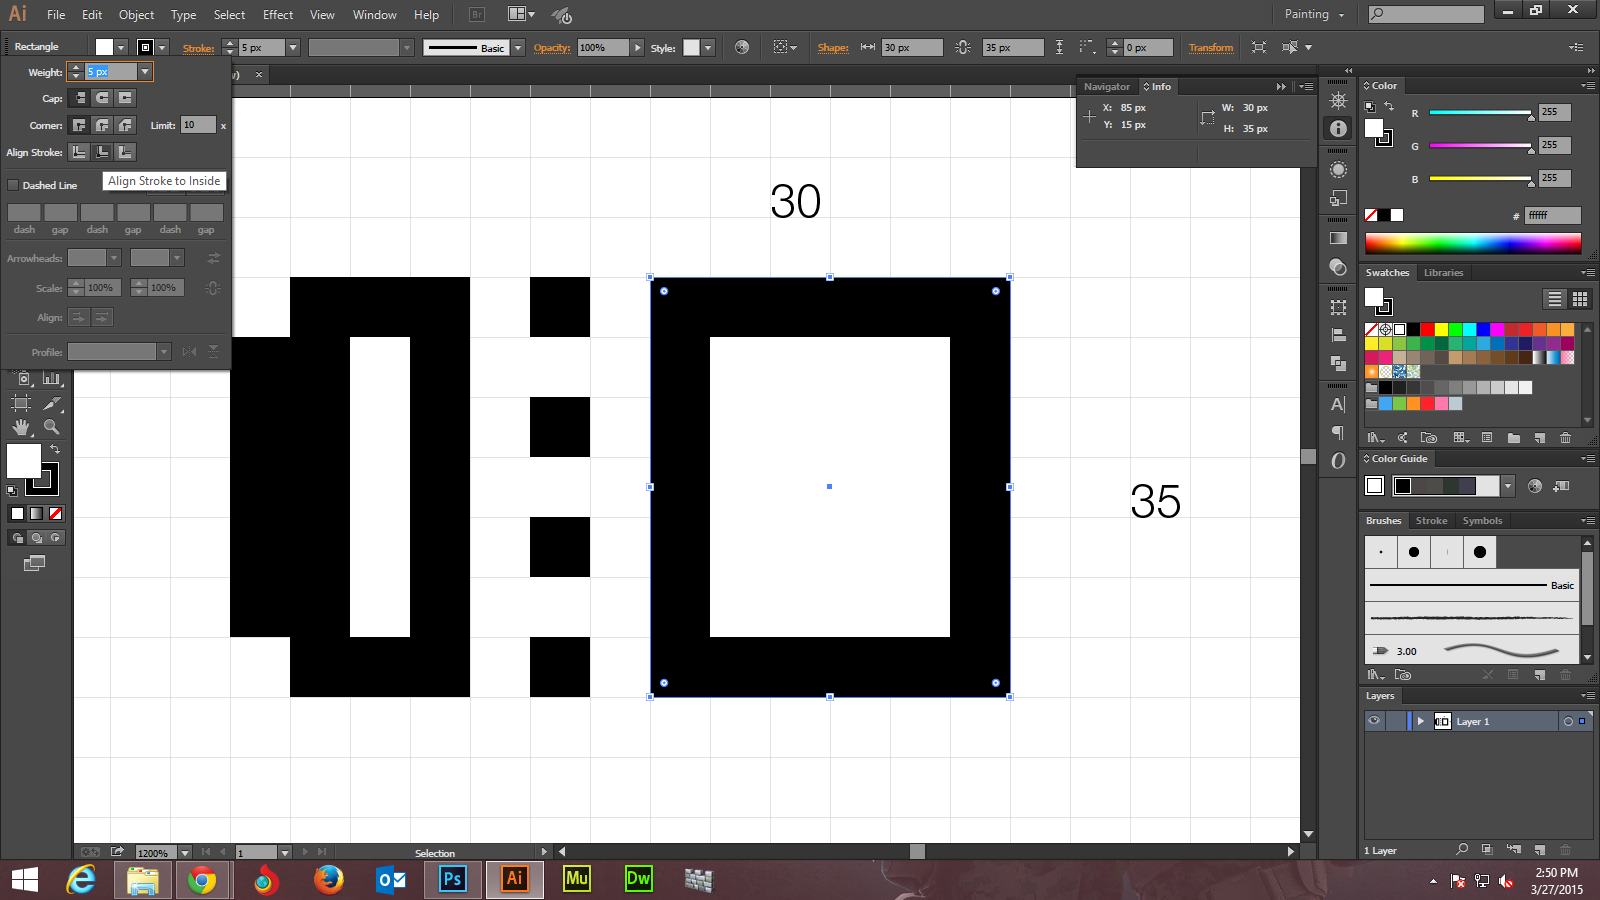
Create a 30 x 35px shape with the help of the Rectangle Tool and place the shape as shown in the image below. Keep the shape selected and pay attention to the Appearance panel.
The fill color should be set to white and then you can select the existing stroke. Select black and click the Stroke piece of text and open the Stroke fly-out panel. You can then increase the Weight to 5px. Then, check the Align Stroke to inside button.
Step -10
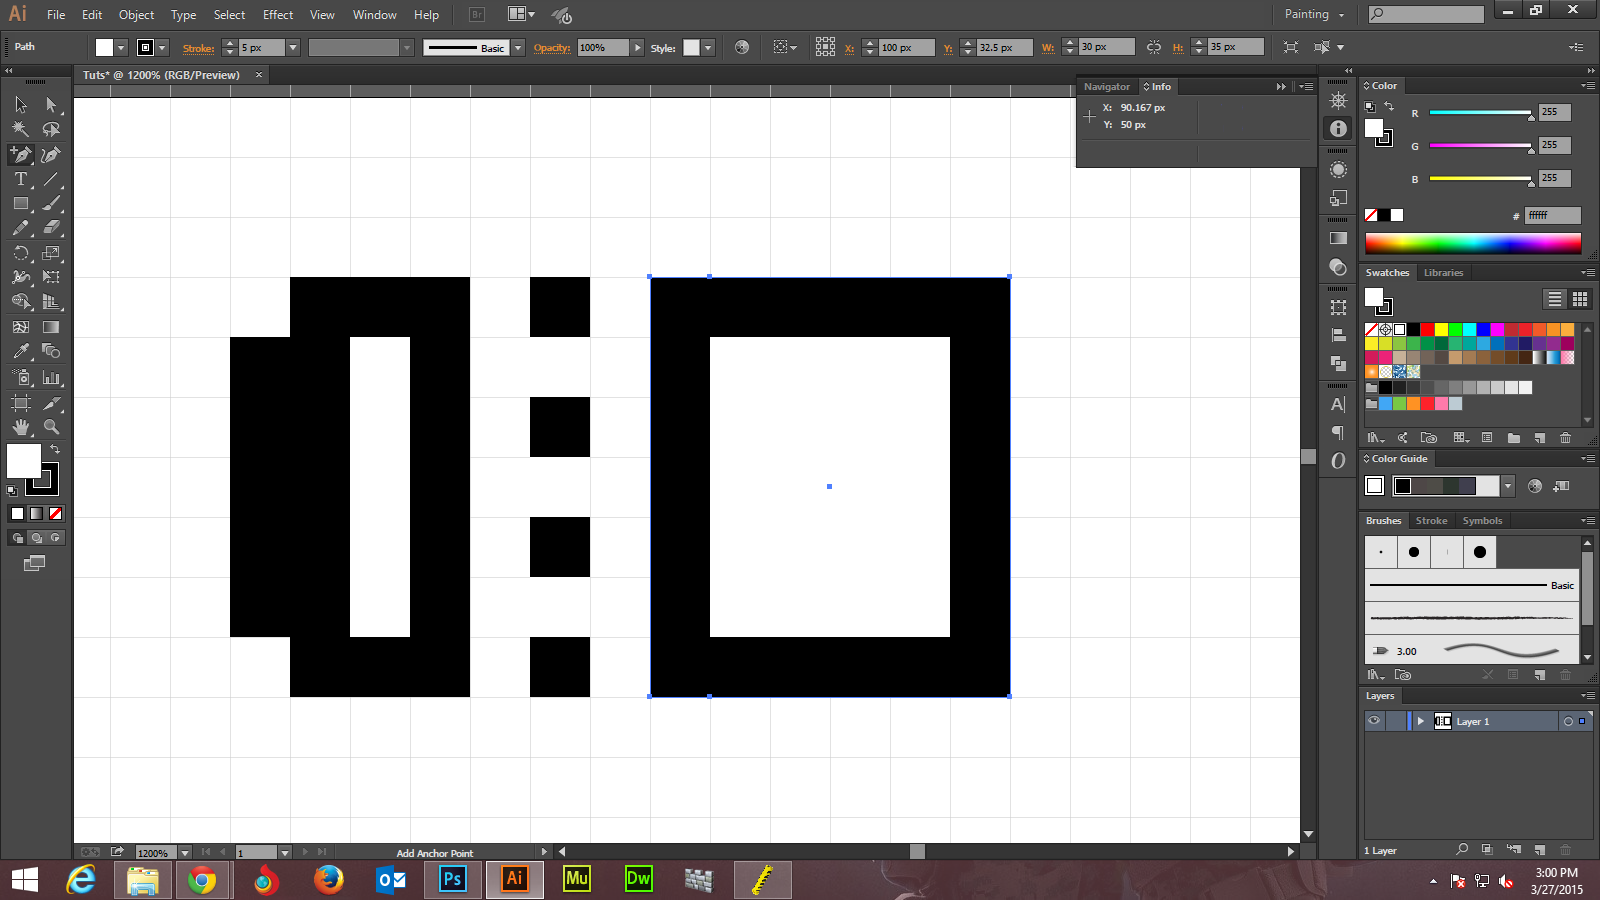
Select the main 30 x 35px for its further manipulation.
Step -11
Pick the Add Anchor Point Tool and click two anchor points on the selected rectangle as shown in the image below.
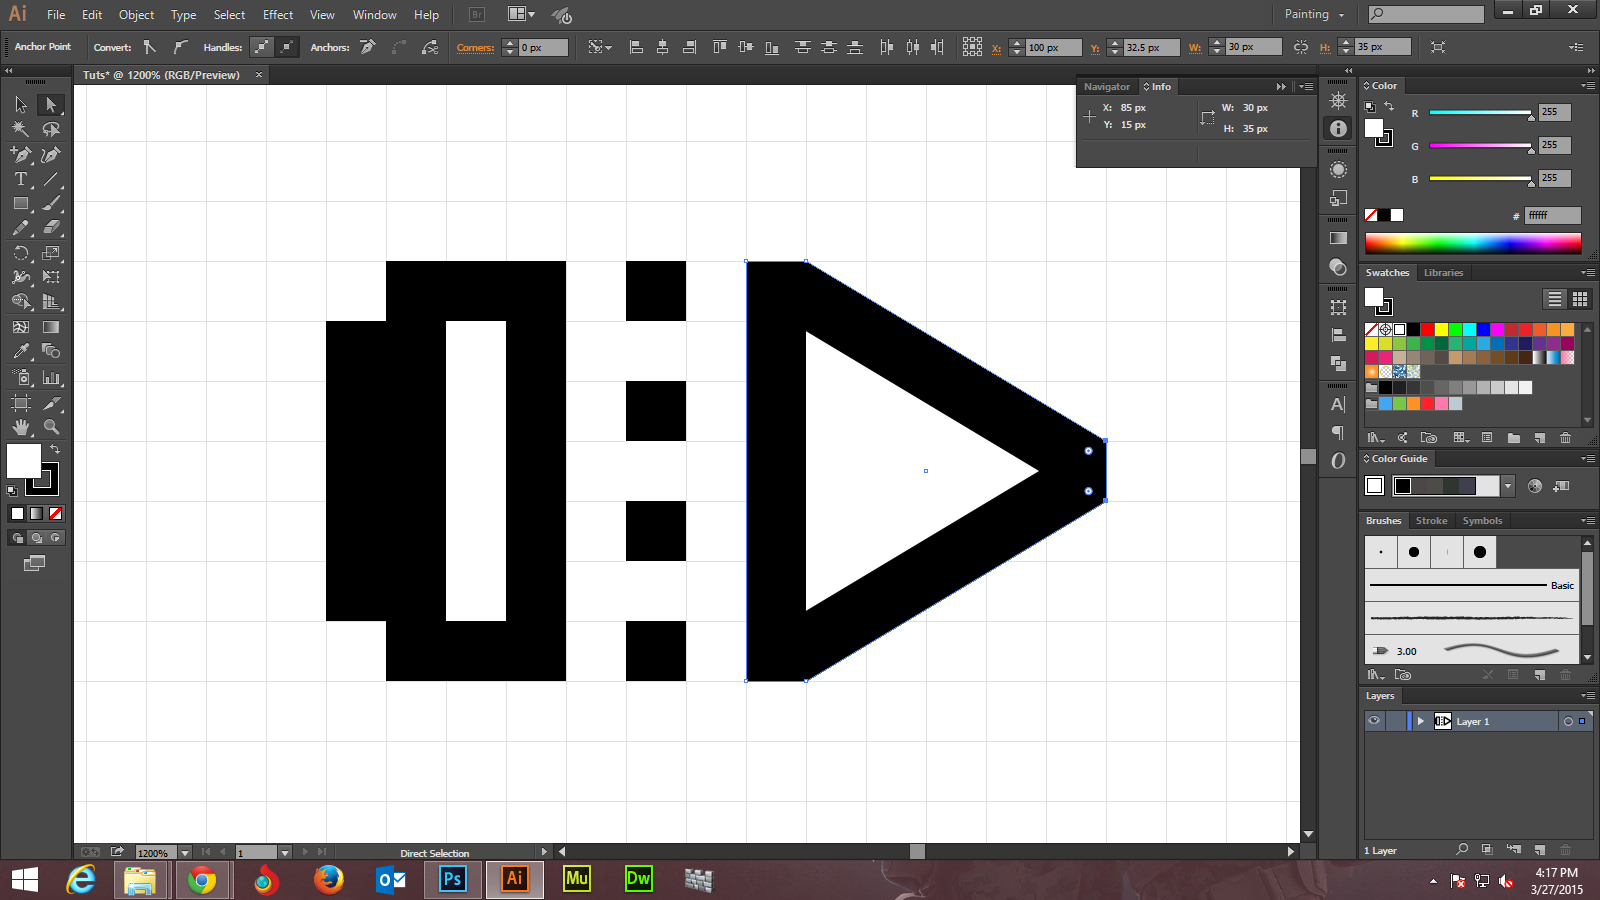
Now, grab the Direct Selection Tool and focus on the right side of the same rectangle. Drag the selected top anchor point to 15px down. Then, select the bottom anchor and drag it up 15px. This exercise will give you a triangular shape on the right side of the rectangle.
Step – 12
Go back to the Rectangle Tool again and create a 5 x 15px shape. Then, put the shape in the manner shown in the following image. Make sure that you fill color to black and do not select color for the stroke.
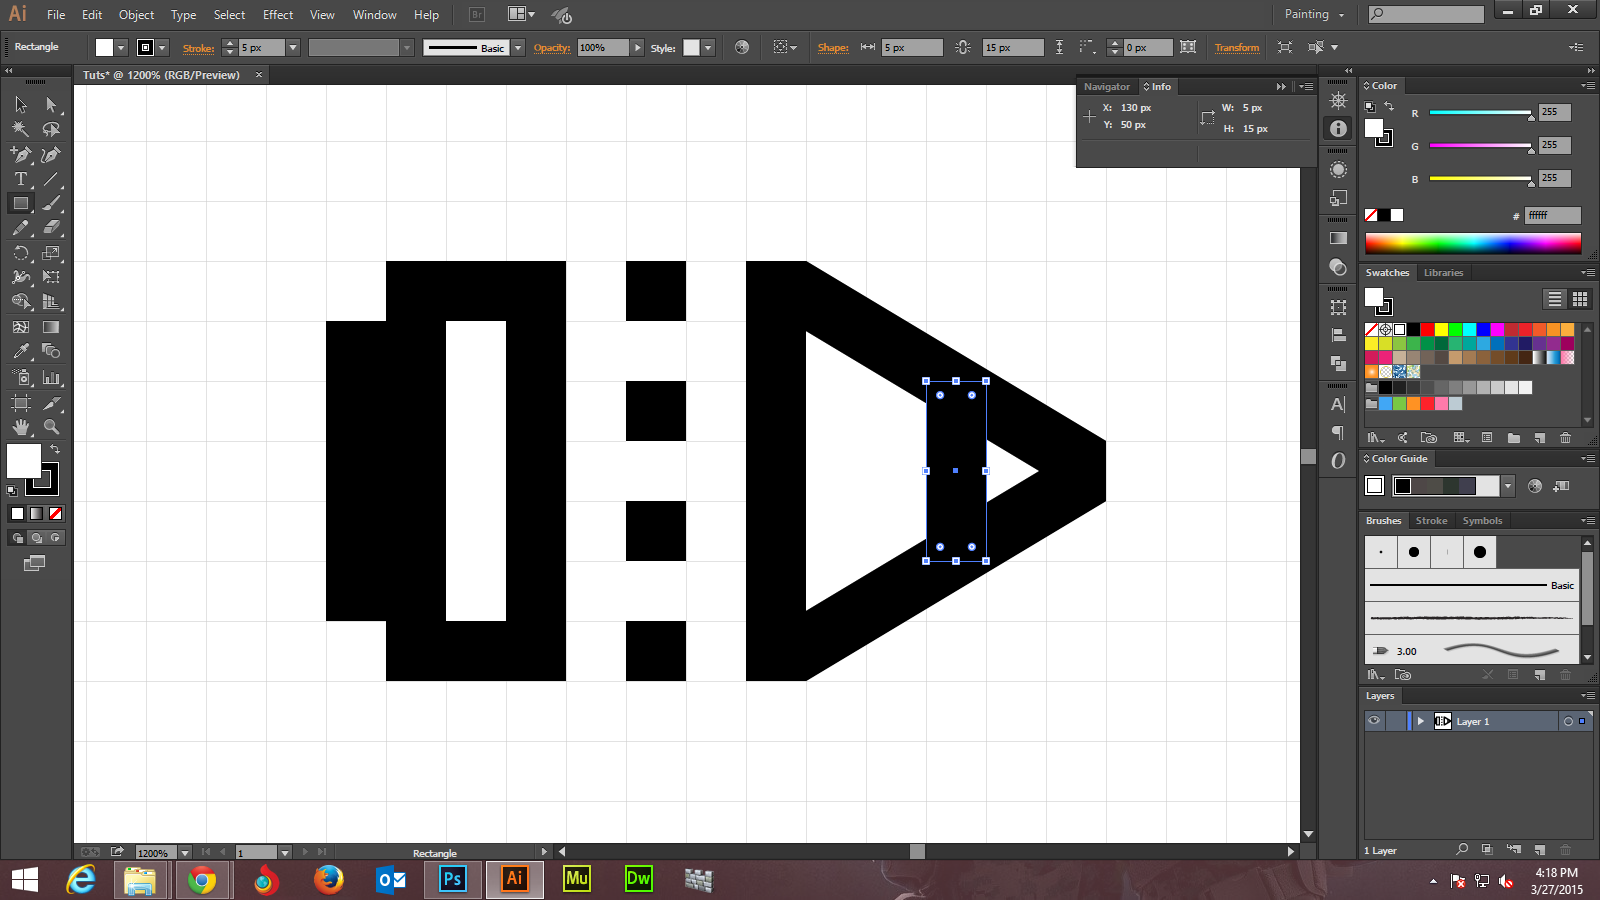
In this part of the tutorial, you learnt how to set the grid and use tools to create rectangle and manipulate it into a triangular shape. In the second installment of this simple to follow tutorial, you will learn how to create pencil pattern brush on the basic structure that you have created in the first part of the tutorial.


