
Last updated on December 5th, 2019
In Part 1 of the tutorial, we learnt how to set up an Illustrator document, import a portrait and set its transparency. We created two layers, learnt setting up of work area and changing of the brush tool appearance. Going ahead we learnt the usage of paintbrush tool and created calligraphic brush so as to accomplish the task of initial tracing.
The part 2 of this tutorial will be dedicated to tracing and detailing of hairs, nose, eyes, lips and other facial parts. We will also be learning the use of highlighting and detailing for segregating image from its background.
The next part (Part 3) of the tutorial will typically be focused to coloring of the portrait. Here, we will be using pencil tool for color filling.
Step 1
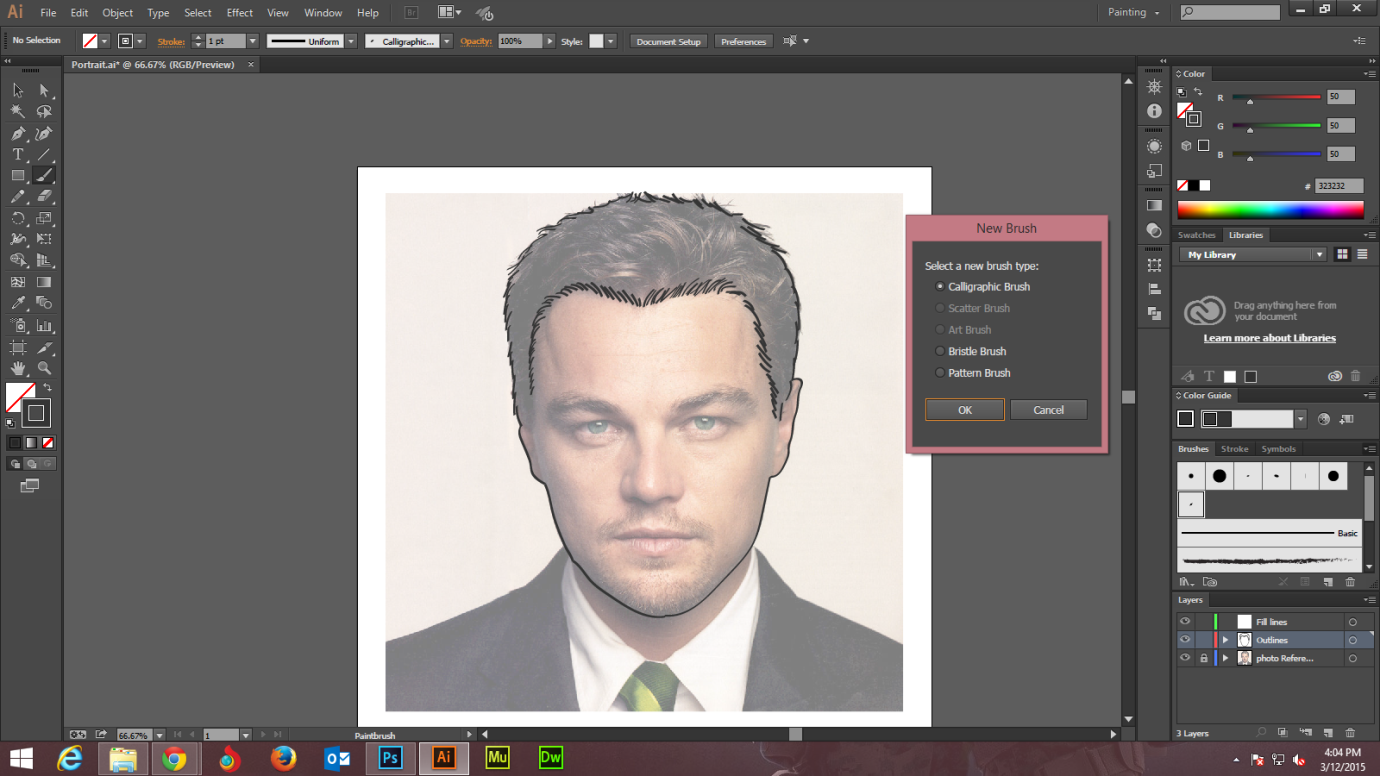
Select the ‘Outlines’ layer that we created in the previous part 1(Step 4) of the tutorial. Now, initiate tracing with the help of Calligraphic Brush (Step 9) that we had already created.
Use the 1 pt. brush to create thick outlining of hair line as well as face. See the strokes in the screenshot below.

Step 2
Select a new calligraphic brush for creating reduced thickness outlining of other parts of the face and neck.
Create the brush with the name “Calligraphic Brush 2” while keeping the stroke at 1 pt. Ensure that you keep its properties as below:
Angle: 40%
Roundness: 40%
Size: 2pt.
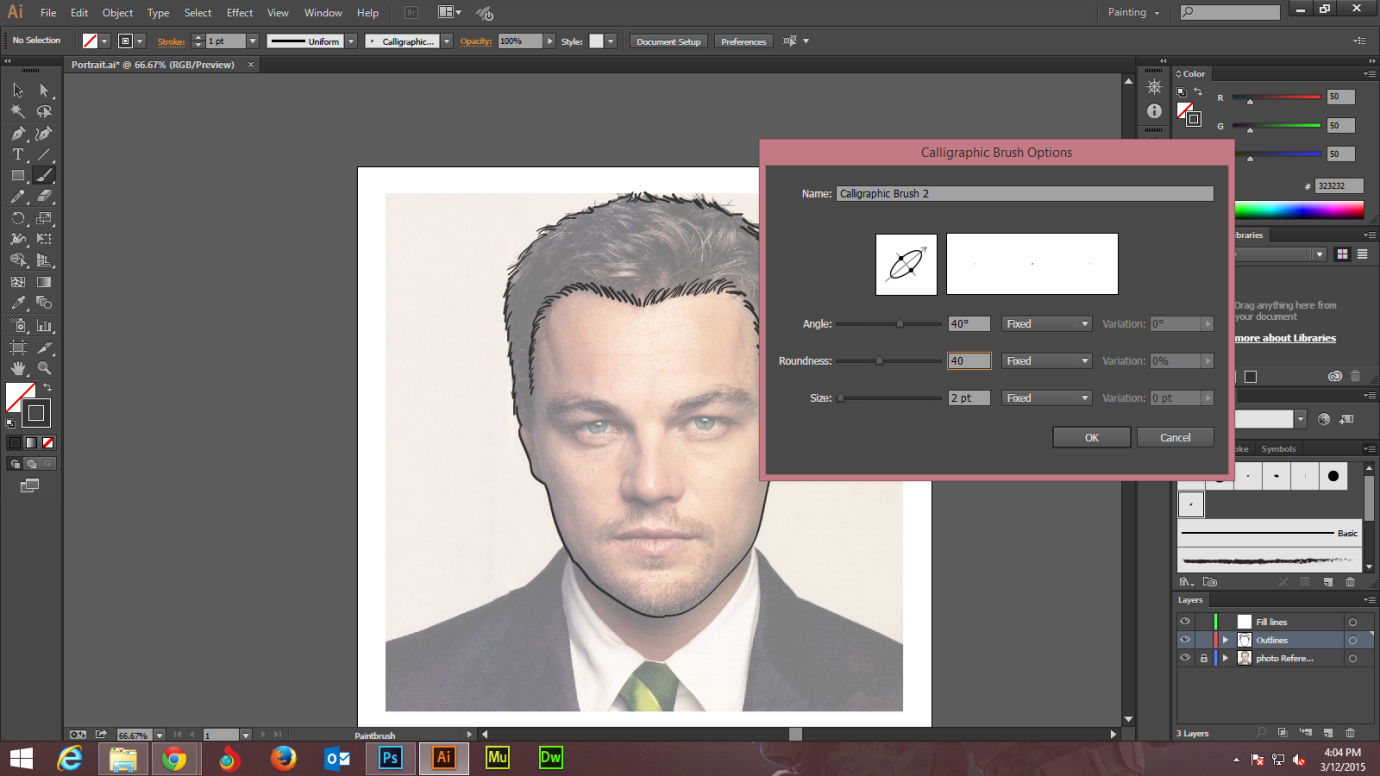
You get to the see the effects of Calligraphic Brush 2 strokes on nose and lips in the next portrait.
Step 3
Again select a new calligraphic brush; this time for creating fine outlining of different parts of portrait face and neck.
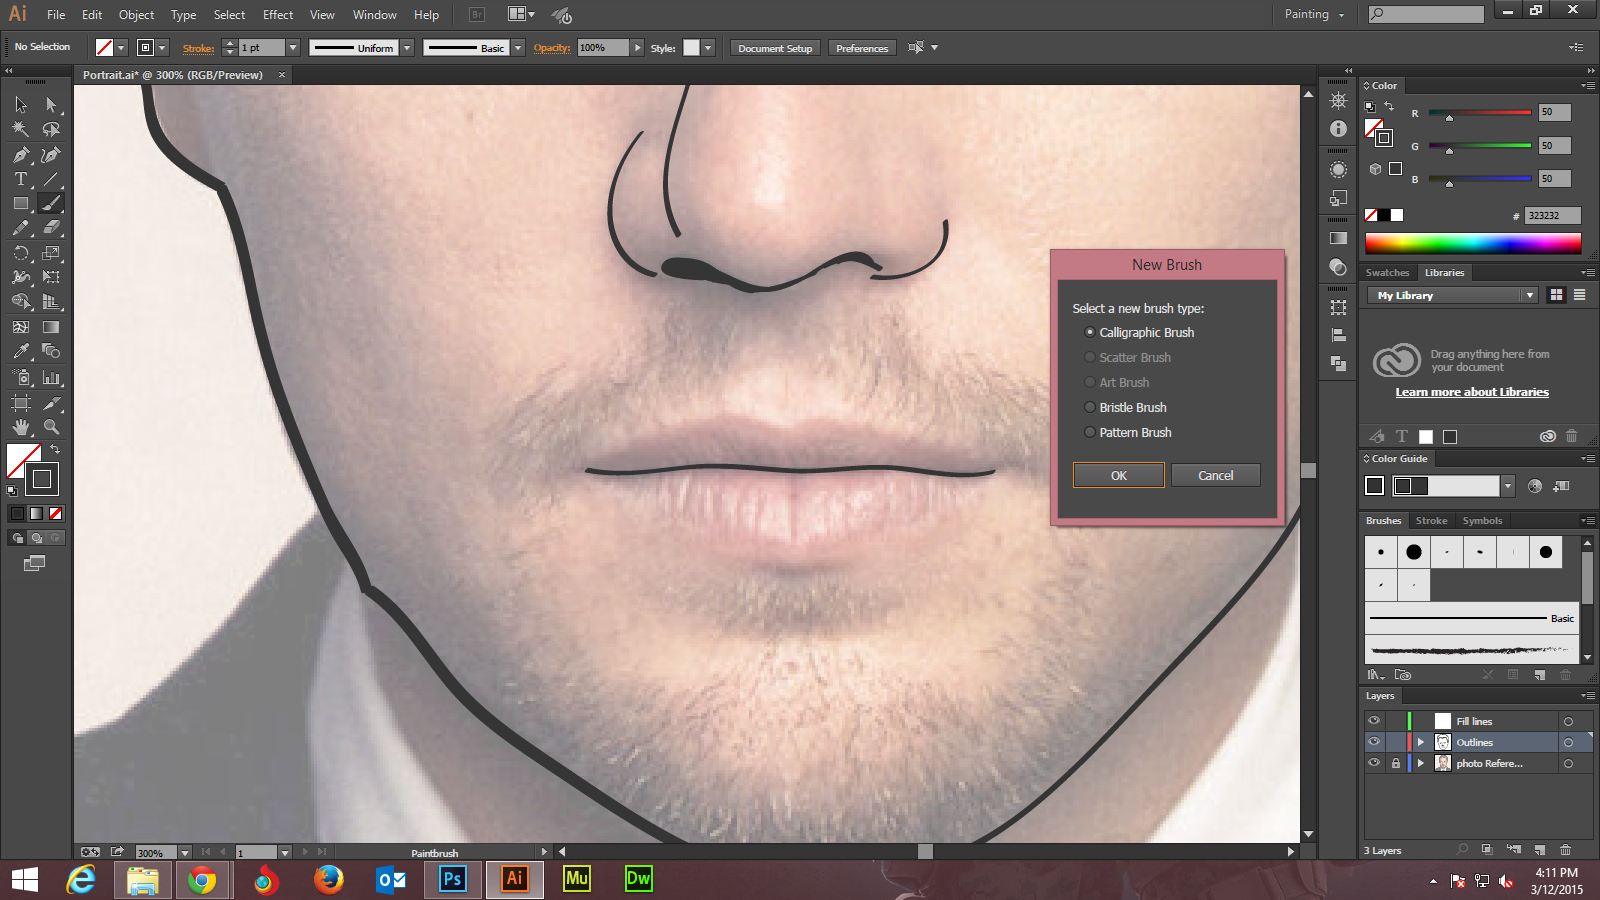
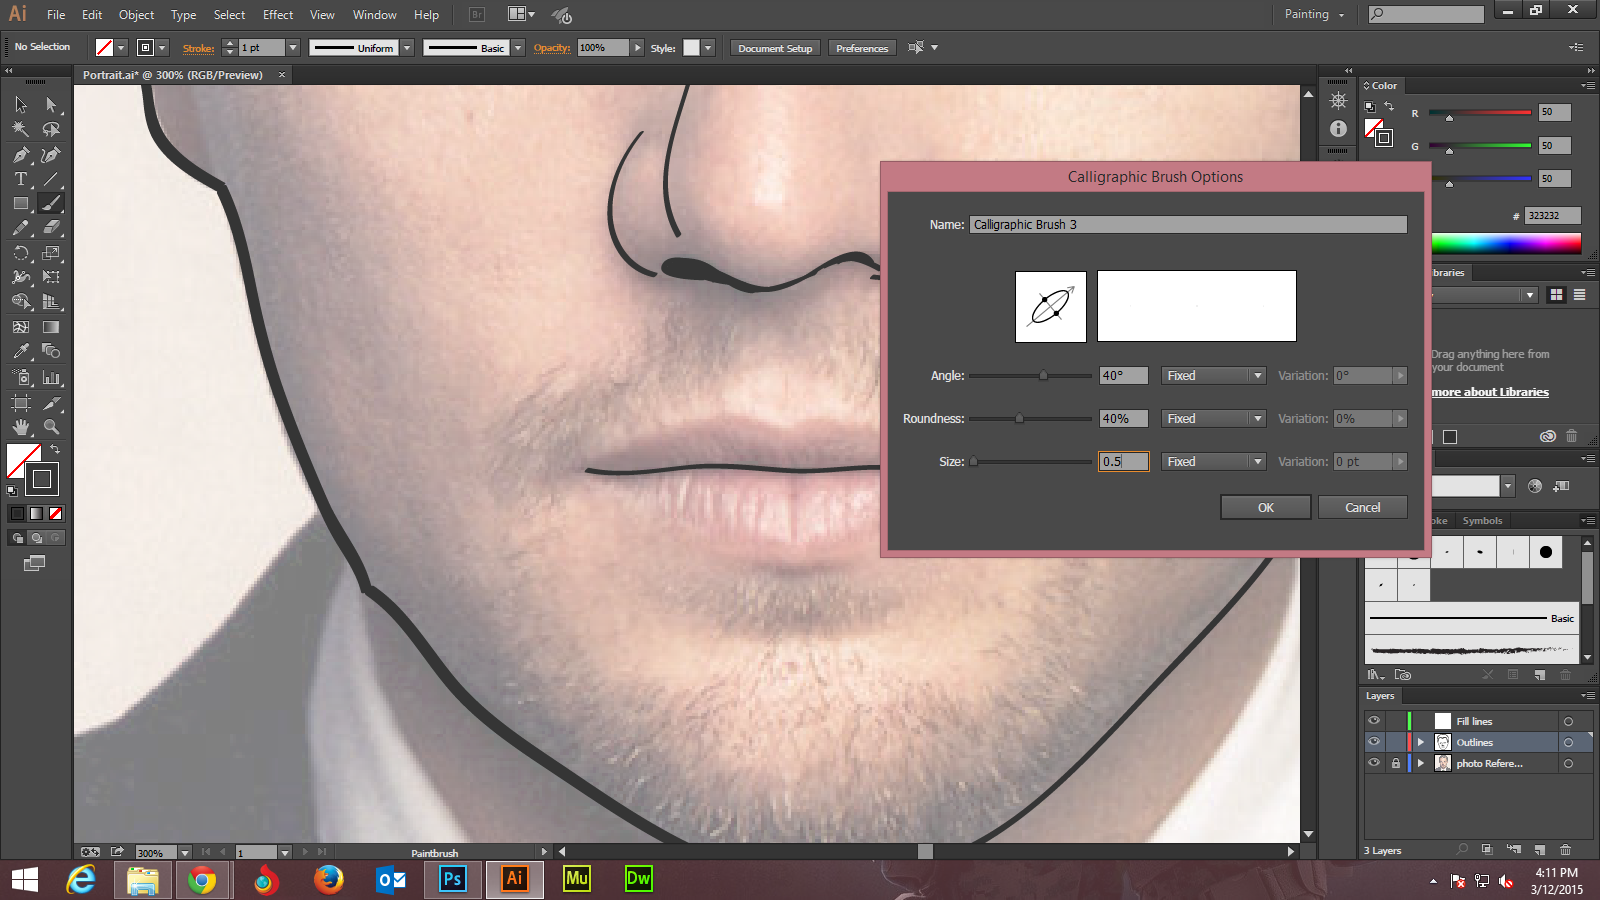
Create the brush with the name “Calligraphic Brush 3” while keeping the stroke at 1 pt. Ensure that you keep its properties as below:
Angle: 40%
Roundness: 40%
Size: 0.5 pt.
You get to the see the effects of Calligraphic Brush 3 strokes in the next portrait.
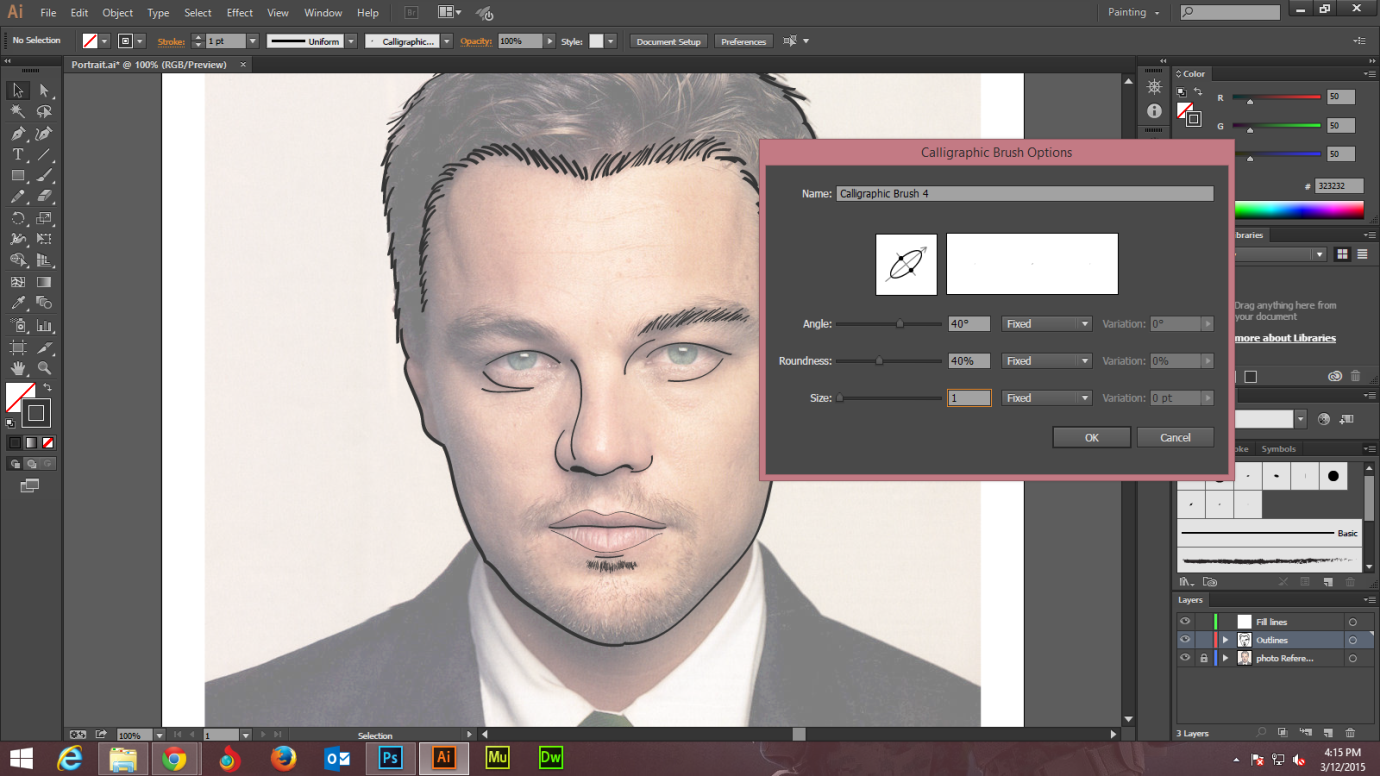
Step 4
Again select a new calligraphic brush; this time for finer detailing of different face sense organs such as eyes, nose and lips.
Create the brush with the name “Calligraphic Brush 4” while keeping the stroke at 1 pt. Ensure that you keep its properties as below:
Angle: 40%
Roundness: 40%
Size: 1 pt.
Looking For an Illustration Design?
We have helped thousands of business owners from all around the world with their graphic design needs such as a logo design, website design, social media posts, banner design and much more.
Get Your Illustration DesignGet a Free Quote
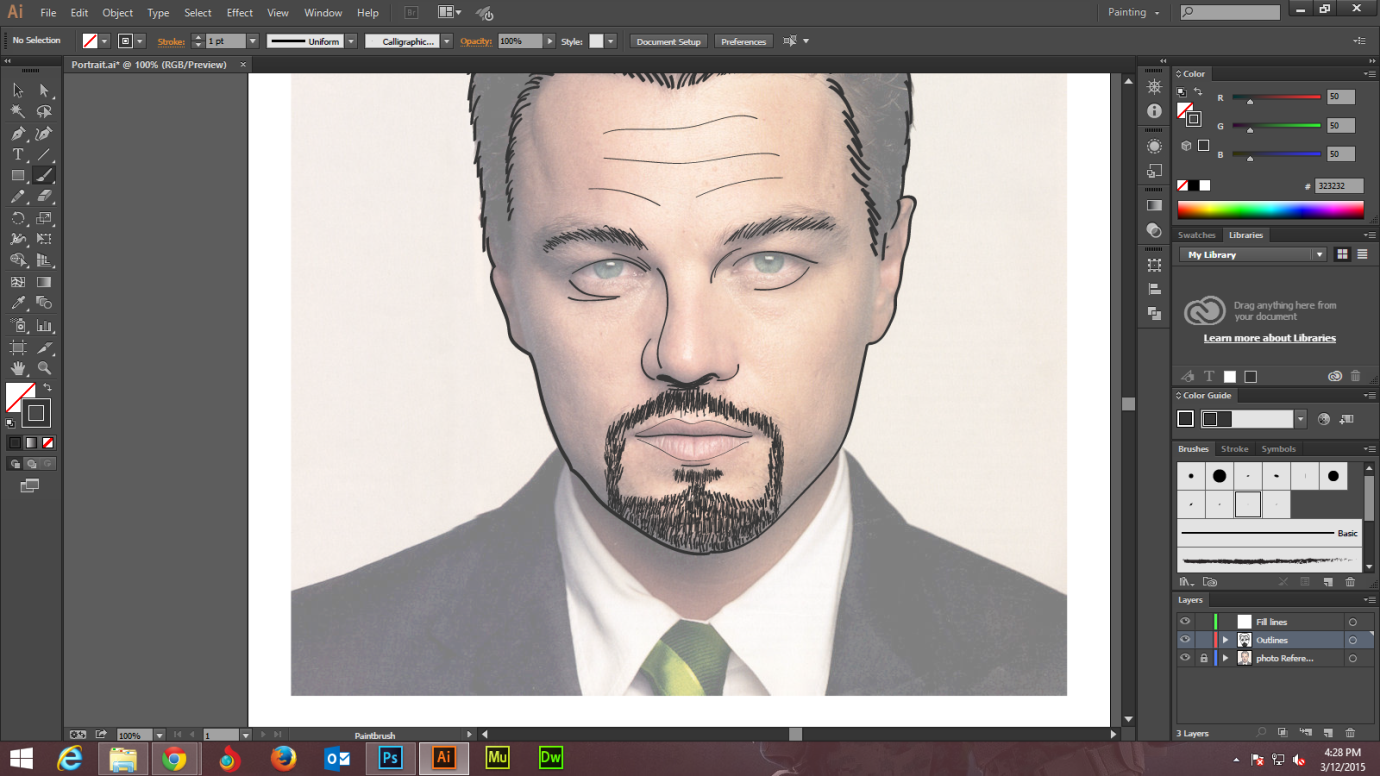
Step 5
While still on the Outline layer, you now need to create fine beard strokes on chin, around the eyes, and on the forehead. In the portrait below, you can effectively see the effects of different Calligraphic brushes till now.
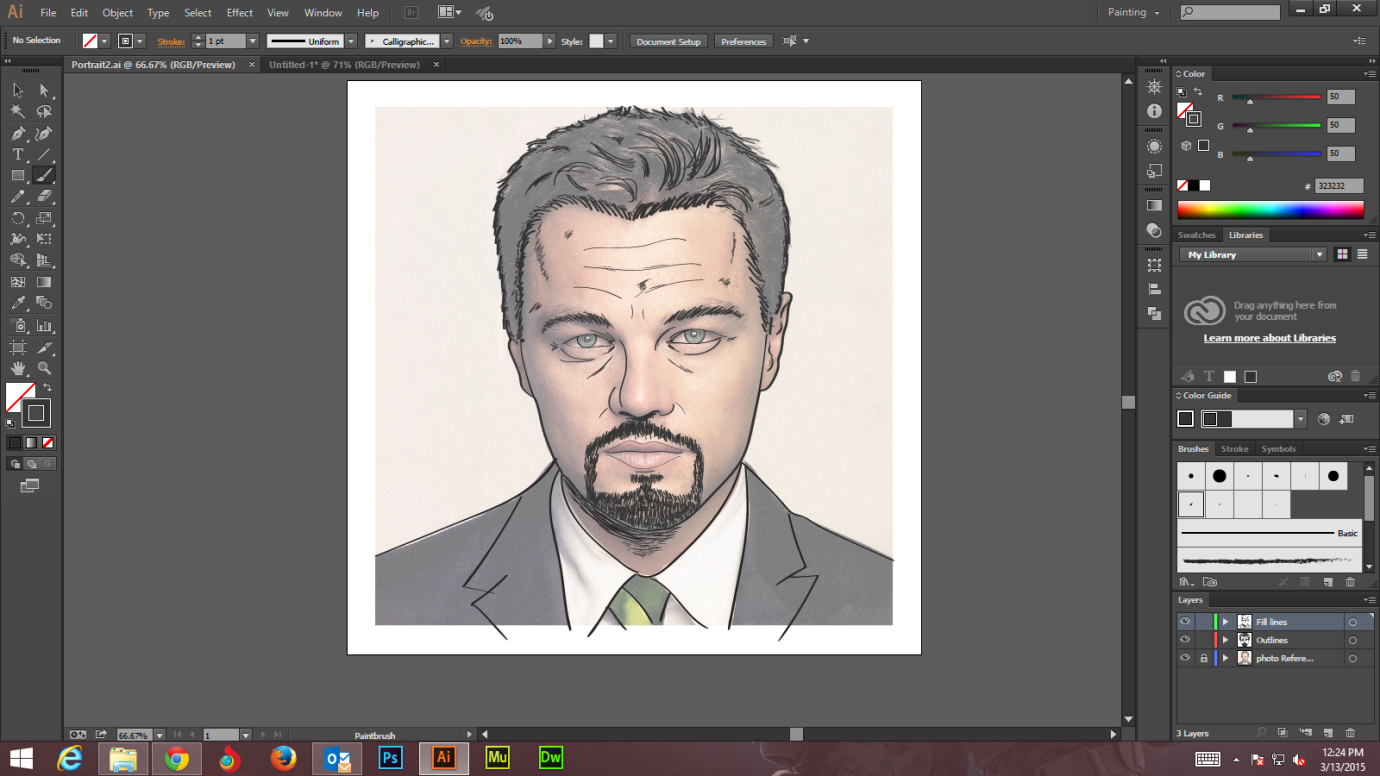
Step 6
We have purposefully hid the photo Reference layer in this step just to show you the impact of overall effects of the different Calligraphic brushes.
Step 7
Move on to the layer “Fill lines” and start doing portrait detailing on forehead and face with the help of selected brush tool. Remember the older the look you wish to achieve the more detailing you will be required to do.
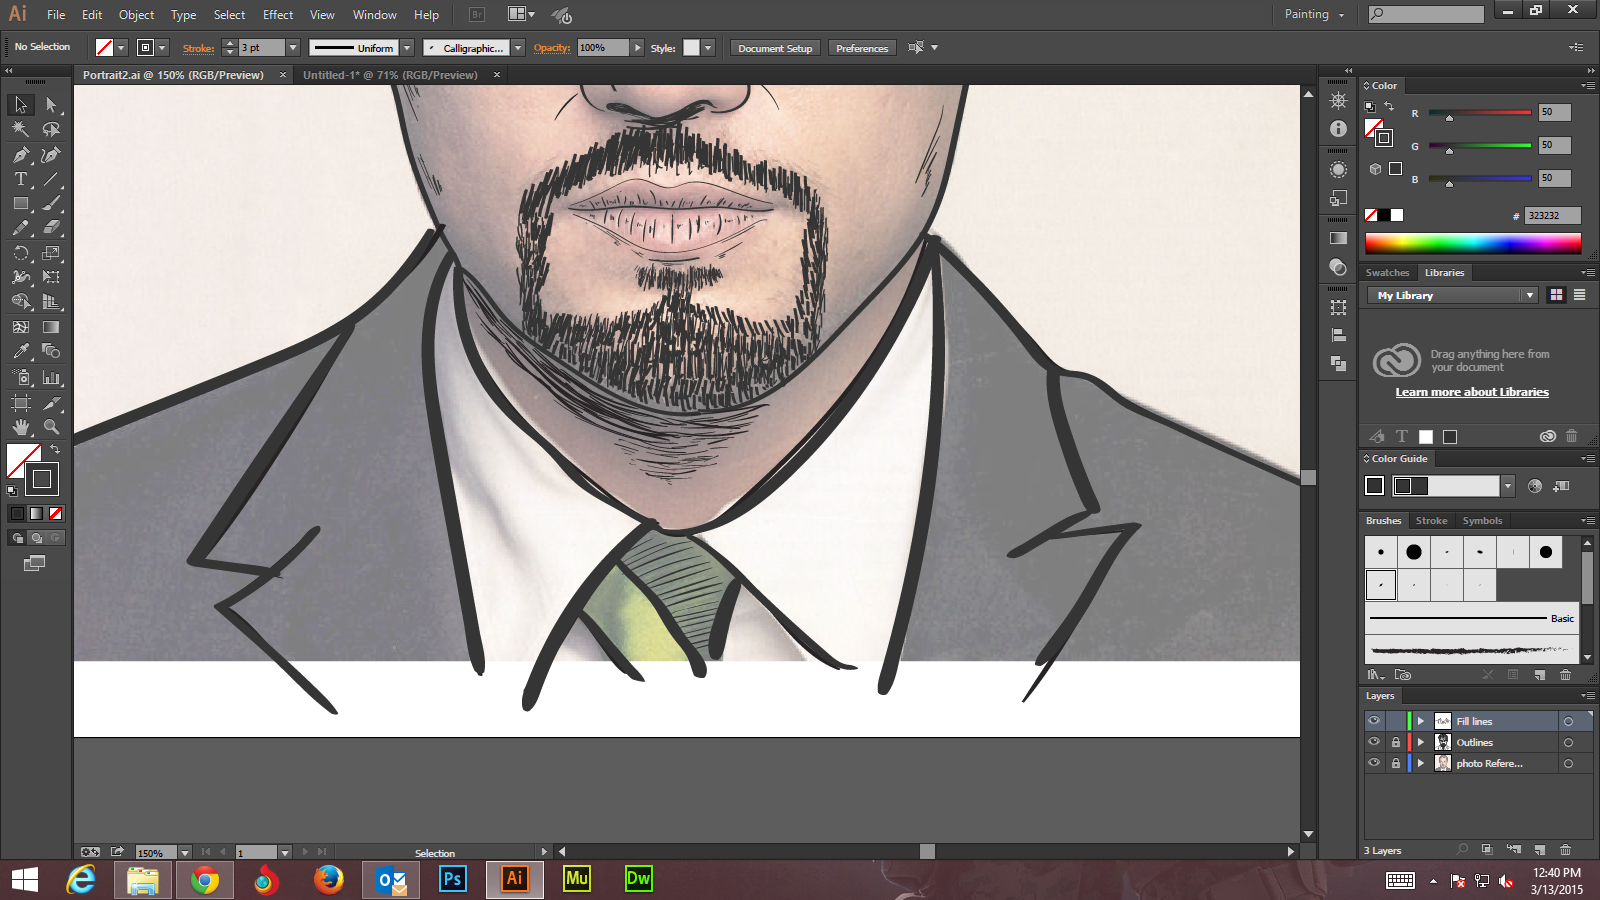
Step 8
Now, we will be detailing the neck area along with the collars of the outfit worn by Leornado Di Capario. See how we have created a beard effect below the chin and how we have outlined the collars of his shirt and blazer.
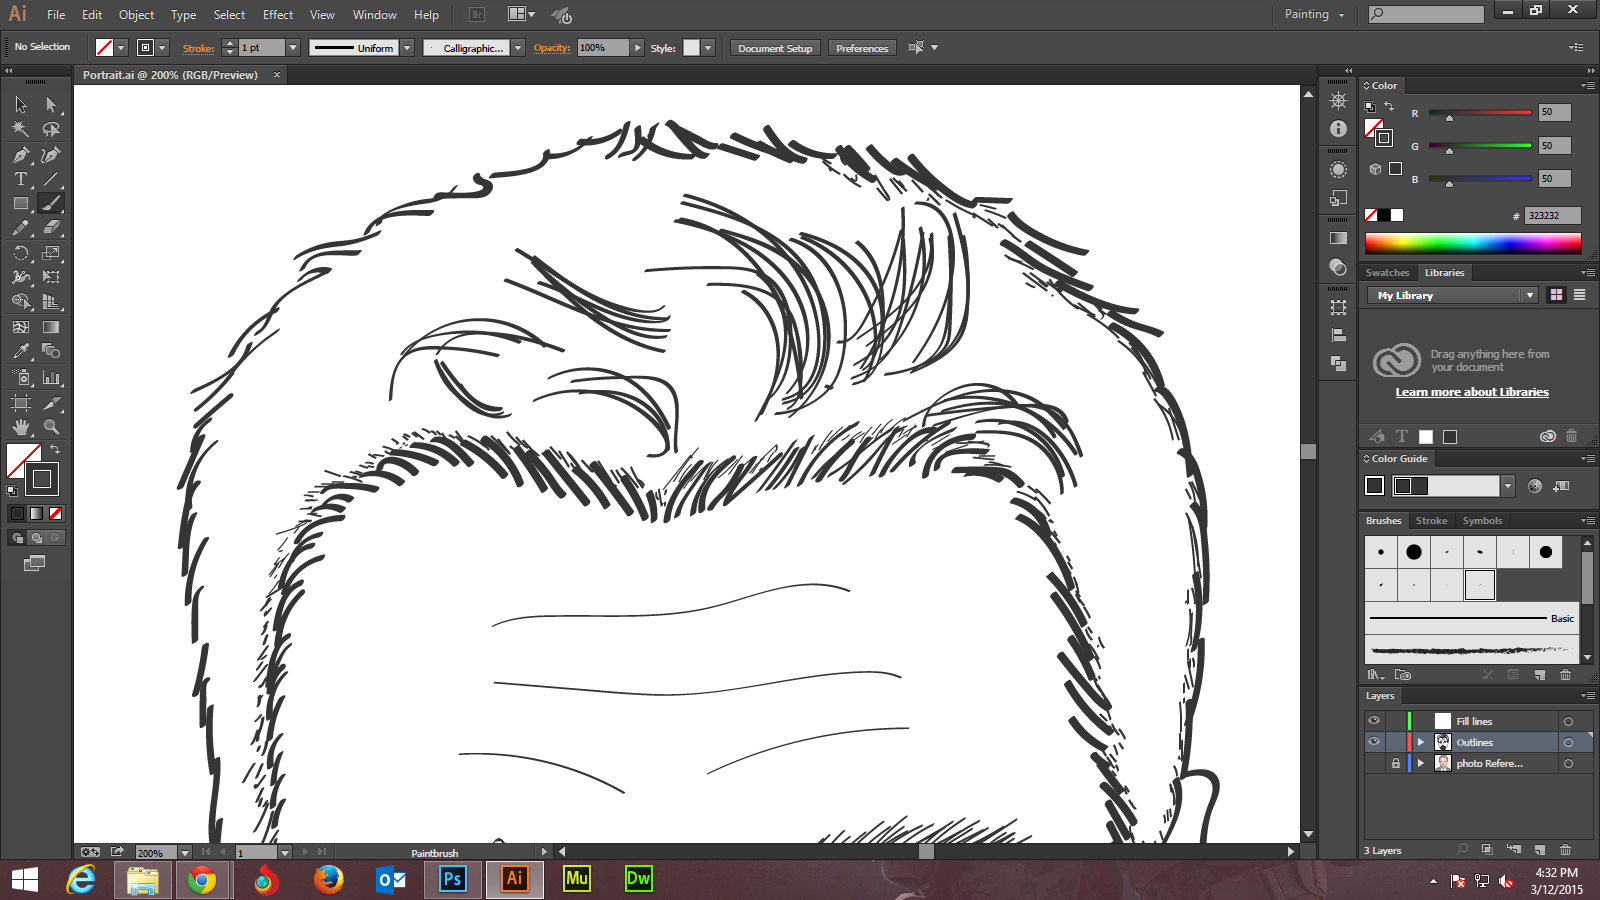
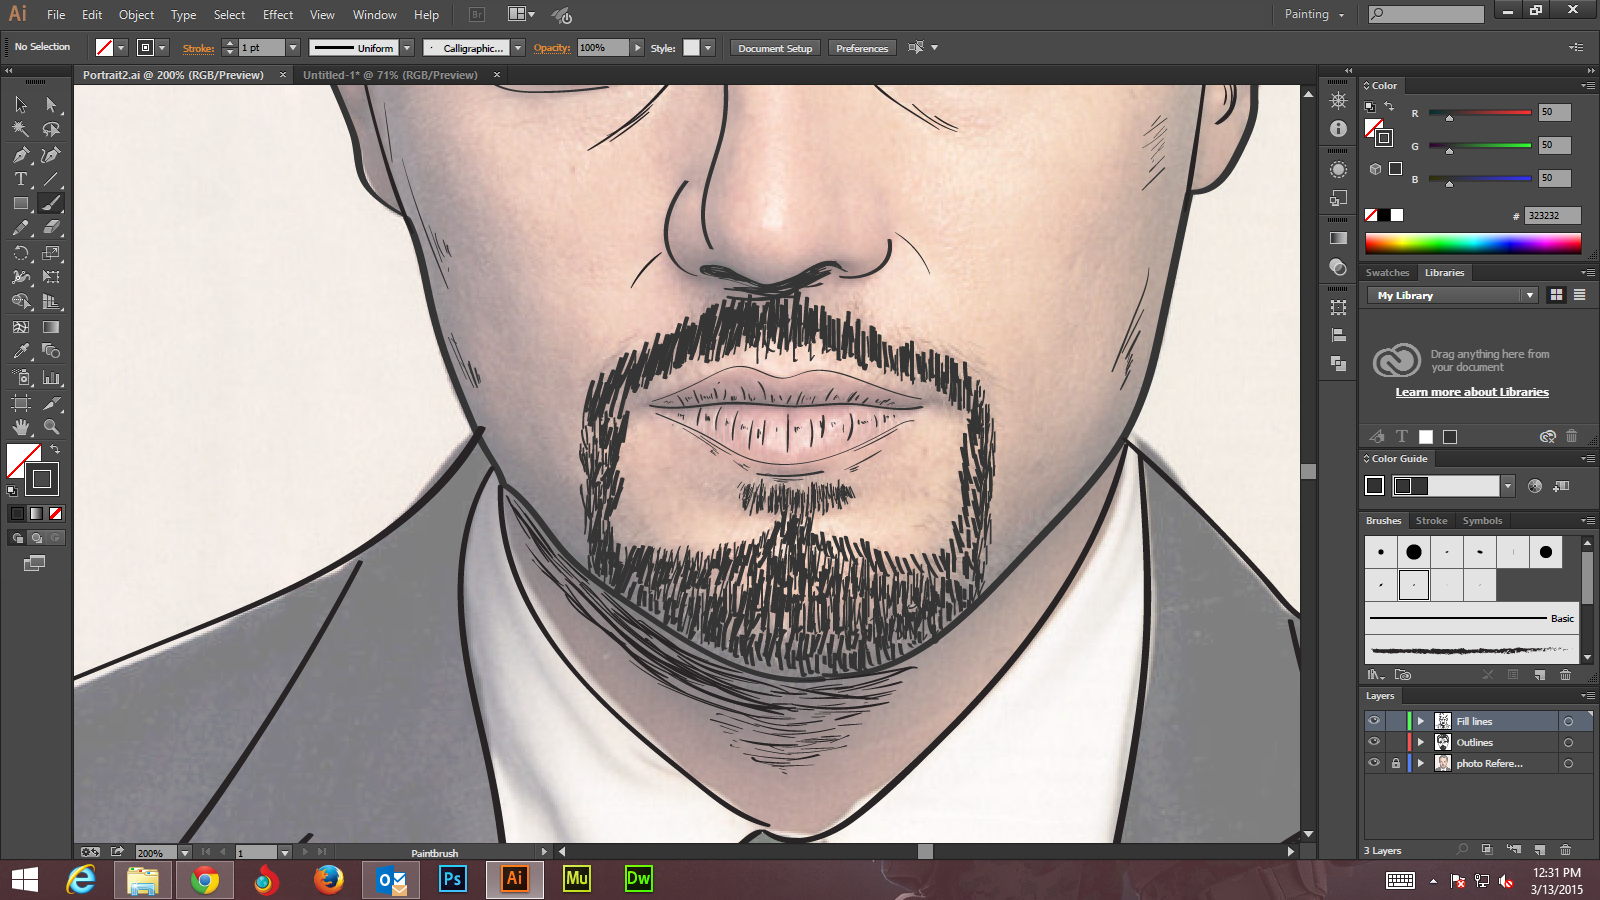
Step 9
Do further tracing and detailing of facial areas. Use your own assumptions and depending on the type of digital art portrait you wish to acquire, you are free to do tracing your own way! Here, we have presented you with zoomed version of the image so that you can see how much detailing we have actually done.
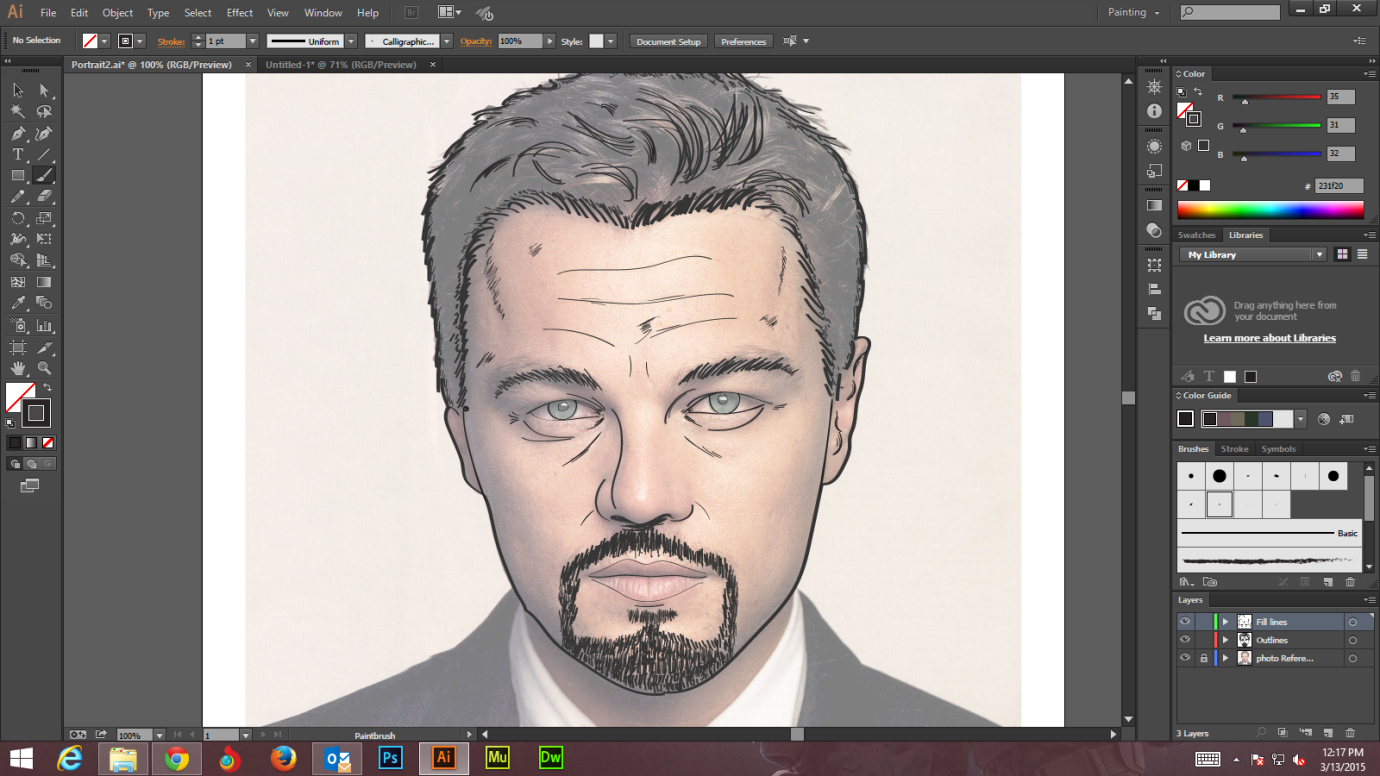
Step 10
In this step, we have added bold thickness to blazer and shirt collars just to separate the image from its existing background.
In this part of the tutorial, we learnt tracing and detailing of hairs, nose, eyes, lips and other facial parts. We also learnt how to highlight other areas such as blazer, shirt and tie so as to highlight the image distinctly from the background.
In the next part of the tutorial, we will typically be focusing on portrait coloring.


