Can't find the perfect font for your logo?
Get hundreds of logo designs in under 5 minutes by completing 5 easy steps
  • 1 Choose some designs that you like
  • 2 Choose your colors
  • 3 Add your company name
  • 4 Pick some icons
  • 5 Download your logo

Give it a try:

Create An Ink Splattering Knight Composition With Simple Techniques (Part -1)

by Henny Kel Tweet - in Photoshop

Last updated on January 30th, 2018

Sometimes, a simple technique can work wonders when you want to give a unique look to your graphic design such as poster design. Ink splattering is an easy but impressive technique that many designers use to give a casual look and feel to their designs. Ink splattering technique is relatively simple to follow yet gives you amazing results and proves to be a very useful way, especially when you wish to impress the viewers.

Here, we take you through the initial steps to create the basis of the design in this first part.

Step-1

Go the File menu of Photoshop and click on Open.

Ink Splattering

Step -2

You get the new document menu to fill the height, width, resolution, color mode etc. as per the requirements of the design.
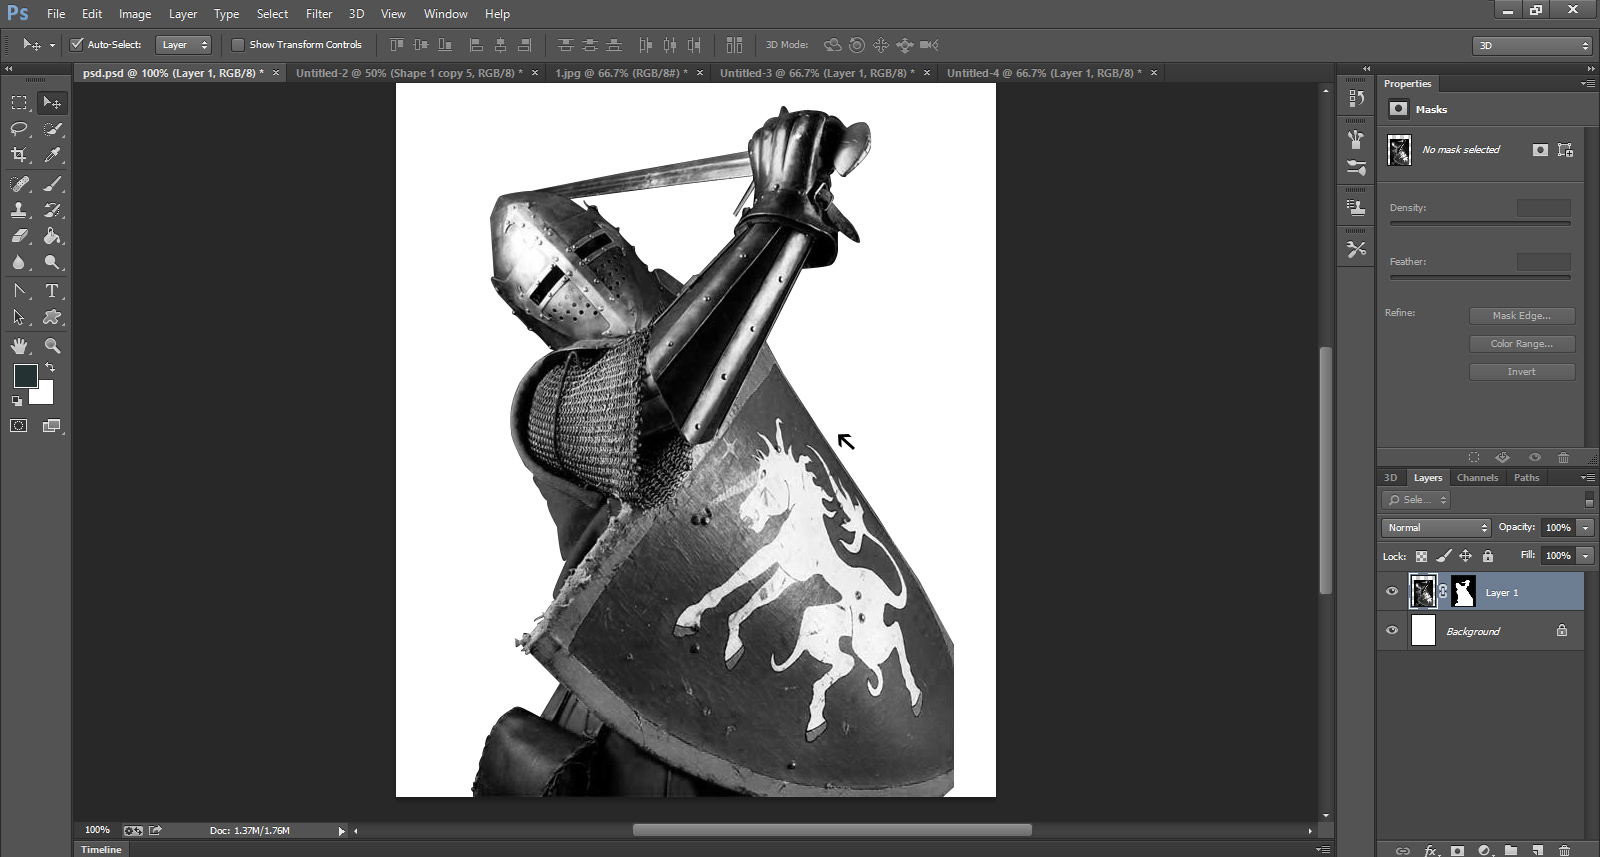
Ink Splattering 2

Step -3

Now you need to import the image of a Knight from the image file stored in your computer.

Ink Splattering 3

Step-4

You now have the picture of the Knight. This will be your layer 1 for the design.

Ink Splattering 4

Step -5

Now go to the Image button on the top bar and click on Adjustments and then on Desaturate. You are working on the Layer 1 here.

5

Step-6

After you desaturate the picture, it appears on the document without its colors. Now the picture will appear in black and white.

6

Step -7

Now you would like to add some texture to the picture. To do so, go to the computer files where you have saved some textures and import it to the document.

7

Step-8

Here, the texture has been incorporated in the design as the background for the image of Knight. The texture becomes your Layer 2 for the design. Now, you can remove the colors from the texture as well and turn it into black and white look that matches with the image of the Knight. To do so, you should visit Images, then Adjustment and then to Desaturate.

8

In the Part -2 of this tutorial, you will learn how to create a faded and vintage look for the image of the knight and the overall design. You will also learn the technique to create the impression of splattered ink.

Get your graphic design

I am a graphic, web designer and blogger with over 6 years experience. I am very passionate about anything related to design and spends copious amounts of time hidden behind a book or a screen and reading about design. Twitter

Contact

Posts

Share-this
Need a Logo?
A powerful logo can give a company easy recognition. Create your unique business logo using our AI powered logo maker tool. Or, hire a designer to get your logo.
Best for when you want a logo in minutes. Our Artificial Intelligence powered logo maker creates dozens of unique designs in minutes. You can also edit colors, texts, icons and elements.
  • Uses power of AI & Machine Learning
  • Uses library of more than 10,000 fonts and 1M+ icons
  • No design experience required
  • Pricing starts at $20 but you pay only when you find a design you love.
Best for when you want to crowdsource ideas. Multiple designers submit entries for you to rate and review before you award a winner.
  • Fixed price packages starting from $199
  • Hand crafted designs from World-class designers
  • Dozens of concepts to pick from
  • Get 50+ designs in 7 days
  • 100% money back guarantee
Best for when you want to work with a single designer only. Explore the range of creative services offered by our highly talented designers.
  • Work with a single designer
  • Hand crafted designs from World-class designers
  • Options within all price ranges
  • Flexible turnaround time
  • Multiple revisions