Last updated on December 9th, 2019
Graphic designers look for sources which inspires them to create new works of excellence. Captain Jack Sparrow is an inspirational character from the film series Pirates of Caribbean and designers try to emulate several graphic design element from it.
This tutorial shows you How To Design Your Pirates Of Caribbean Movie Logo In Easy Steps
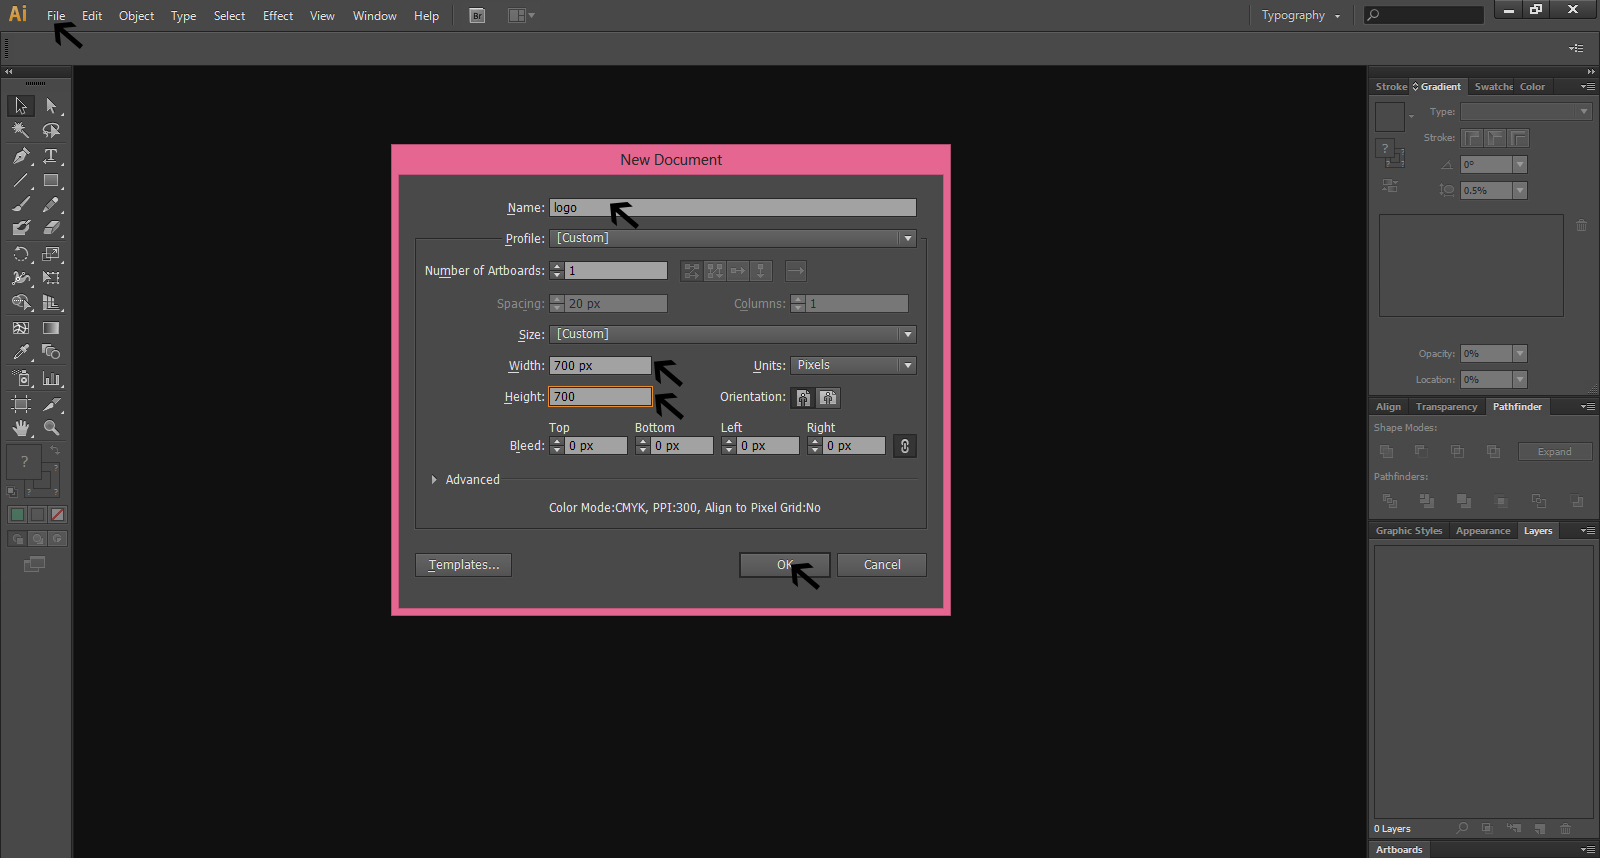
Step-1
Go to file menu and open New Document to fill the design requirements
Step-2
Get the blank new document to work on
Step-3
Go to the Stroke icon on the left and have its front in black to create a black colored document as layer 1 for the design

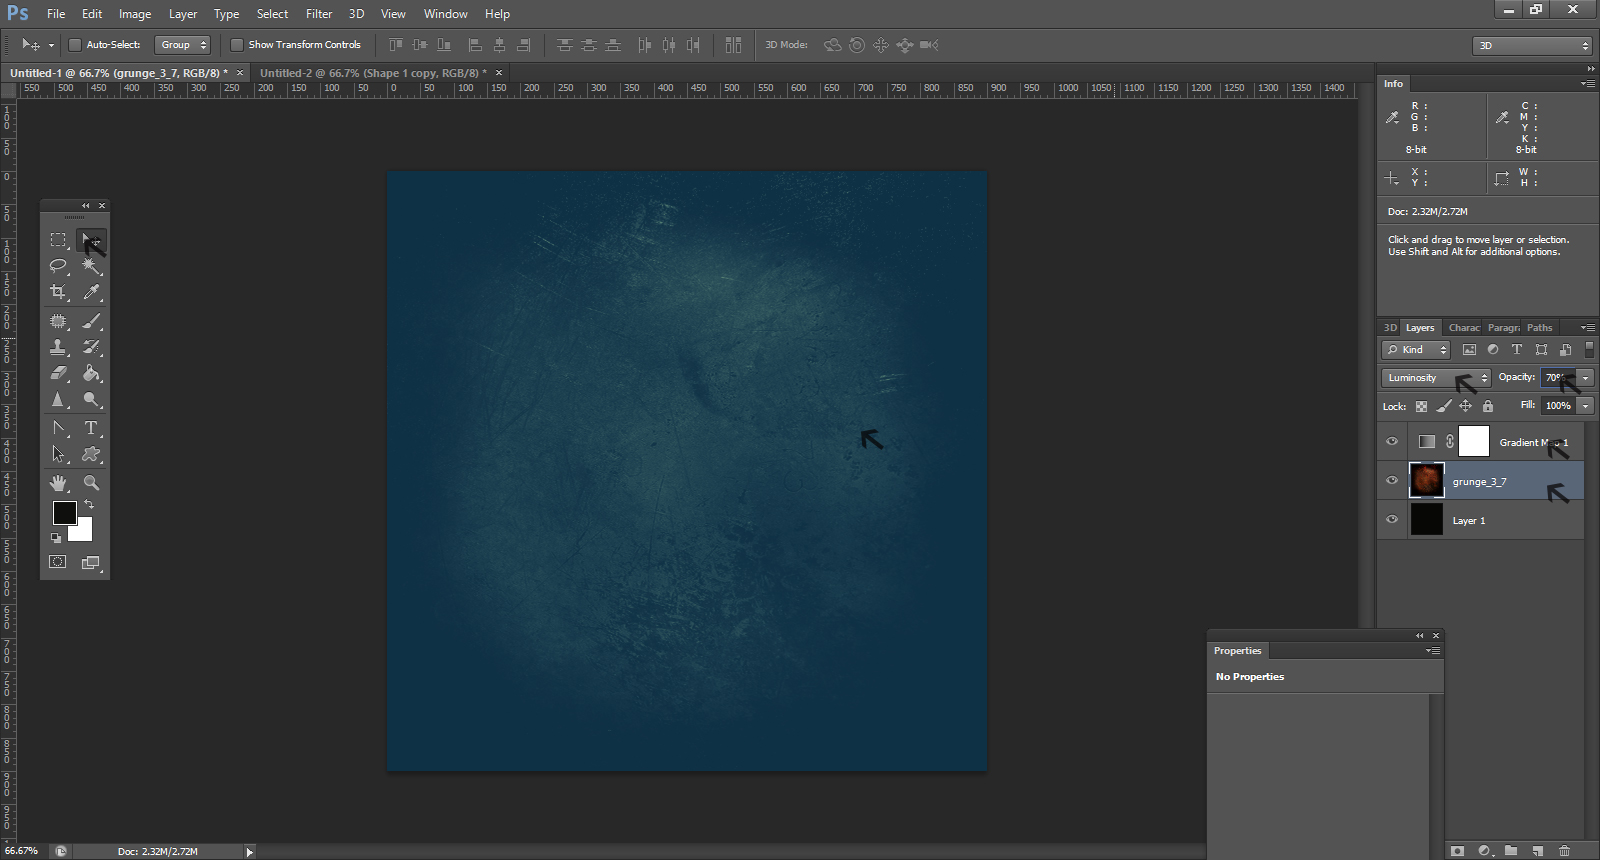
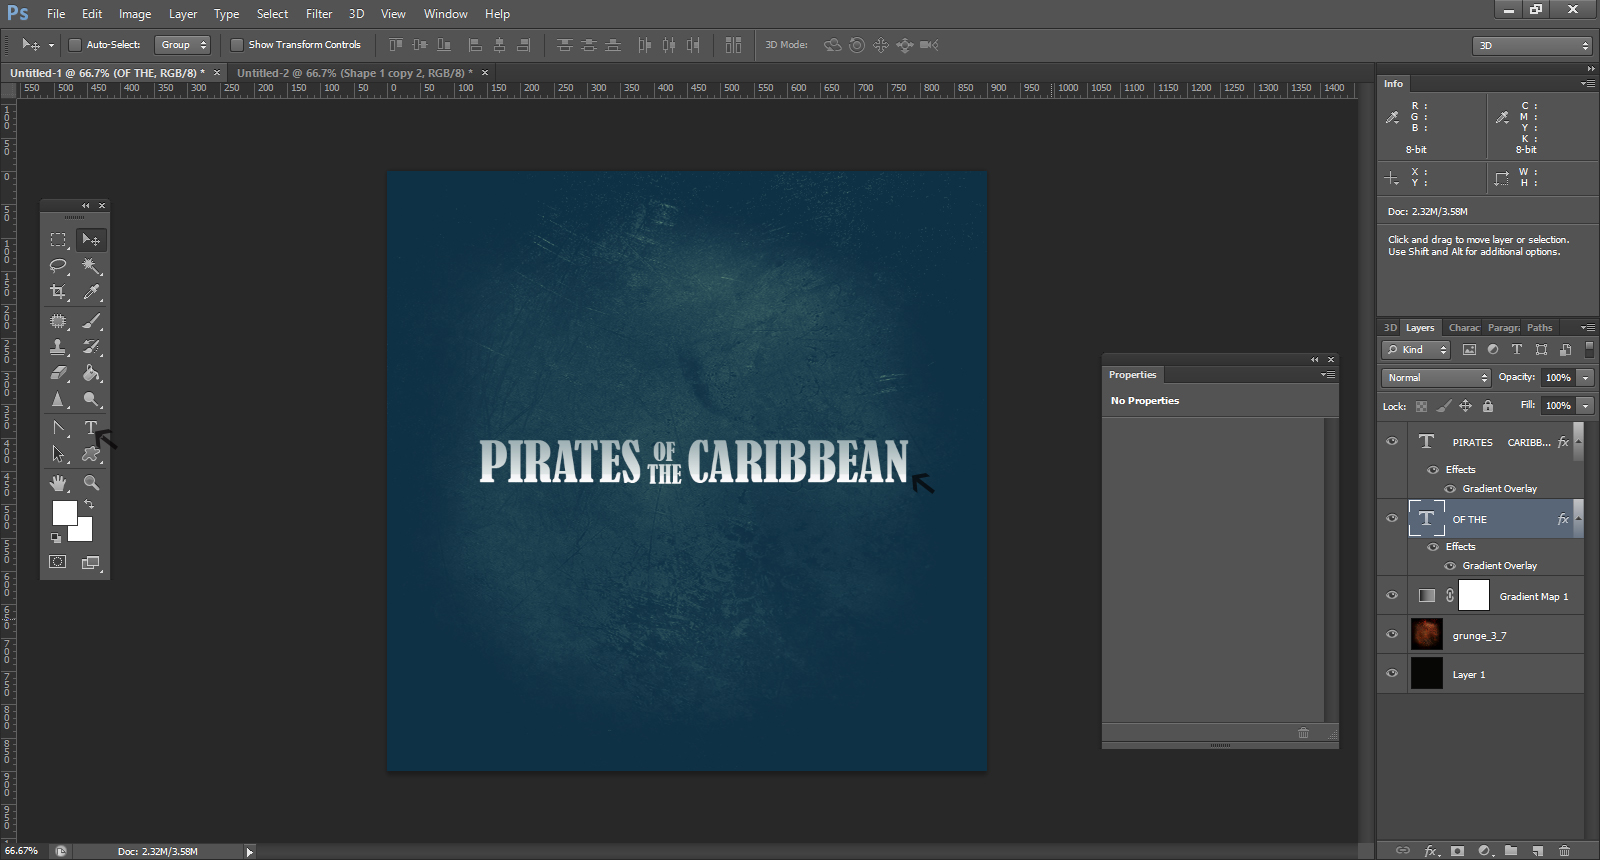
Step-4
Now change the background color. To do so, go to Layer>New Adjustment Layer>Gradient Map and then add a gradient layer from blue #0b5a88 to green #00601b. Then you can set the layer to overplay.
Looking For a Movie Logo Design?
We have helped thousands of business owners from all around the world with their graphic design needs such as a logo design, website design, social media posts, banner design and much more.
Get Your Movie Logo DesignGet a Free Quote
Step-5
You should now use font Captain Kidd which is similar to the font used in the original movie poster. Go to the Type tool to write the poster title.
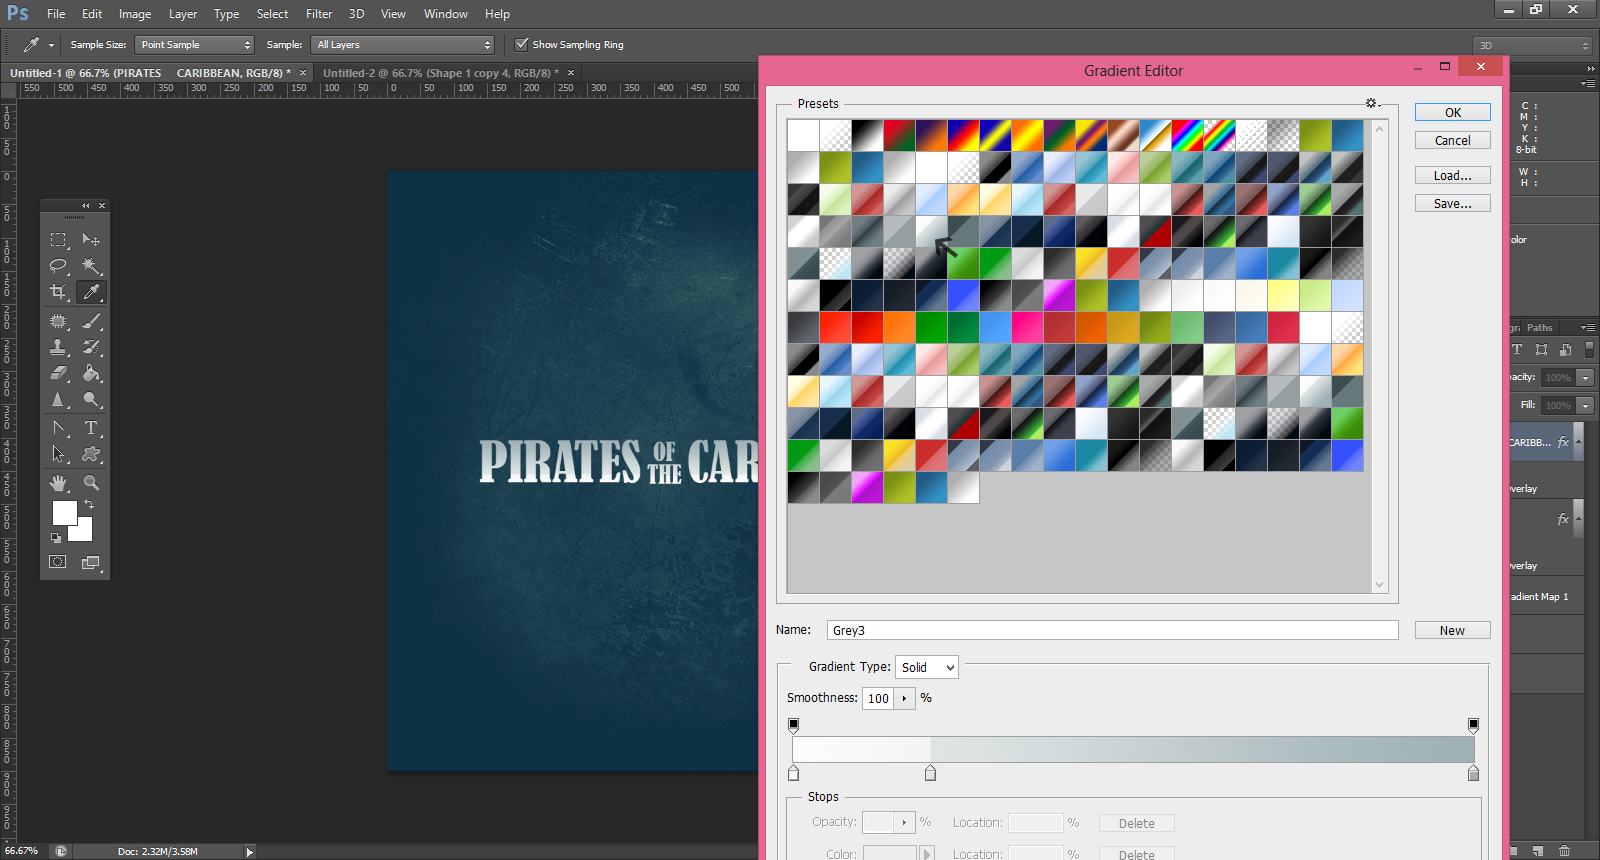
Step-6
Now put some gradient to the background color by opening Gradient Editor.
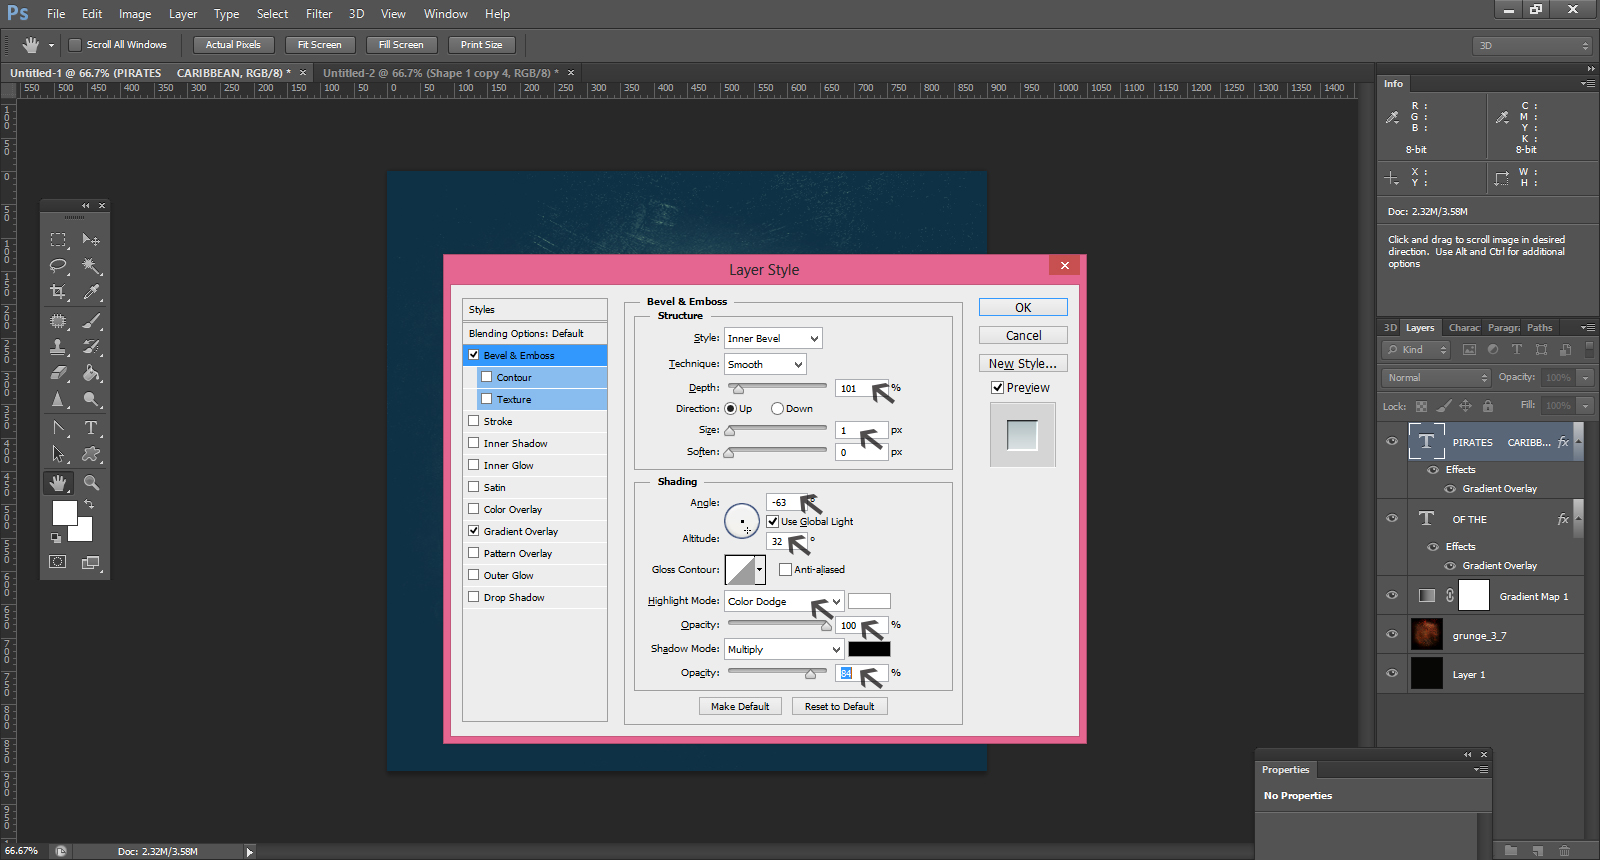
Step-7
Add depth to the text by playing with Bevel and Emboss options
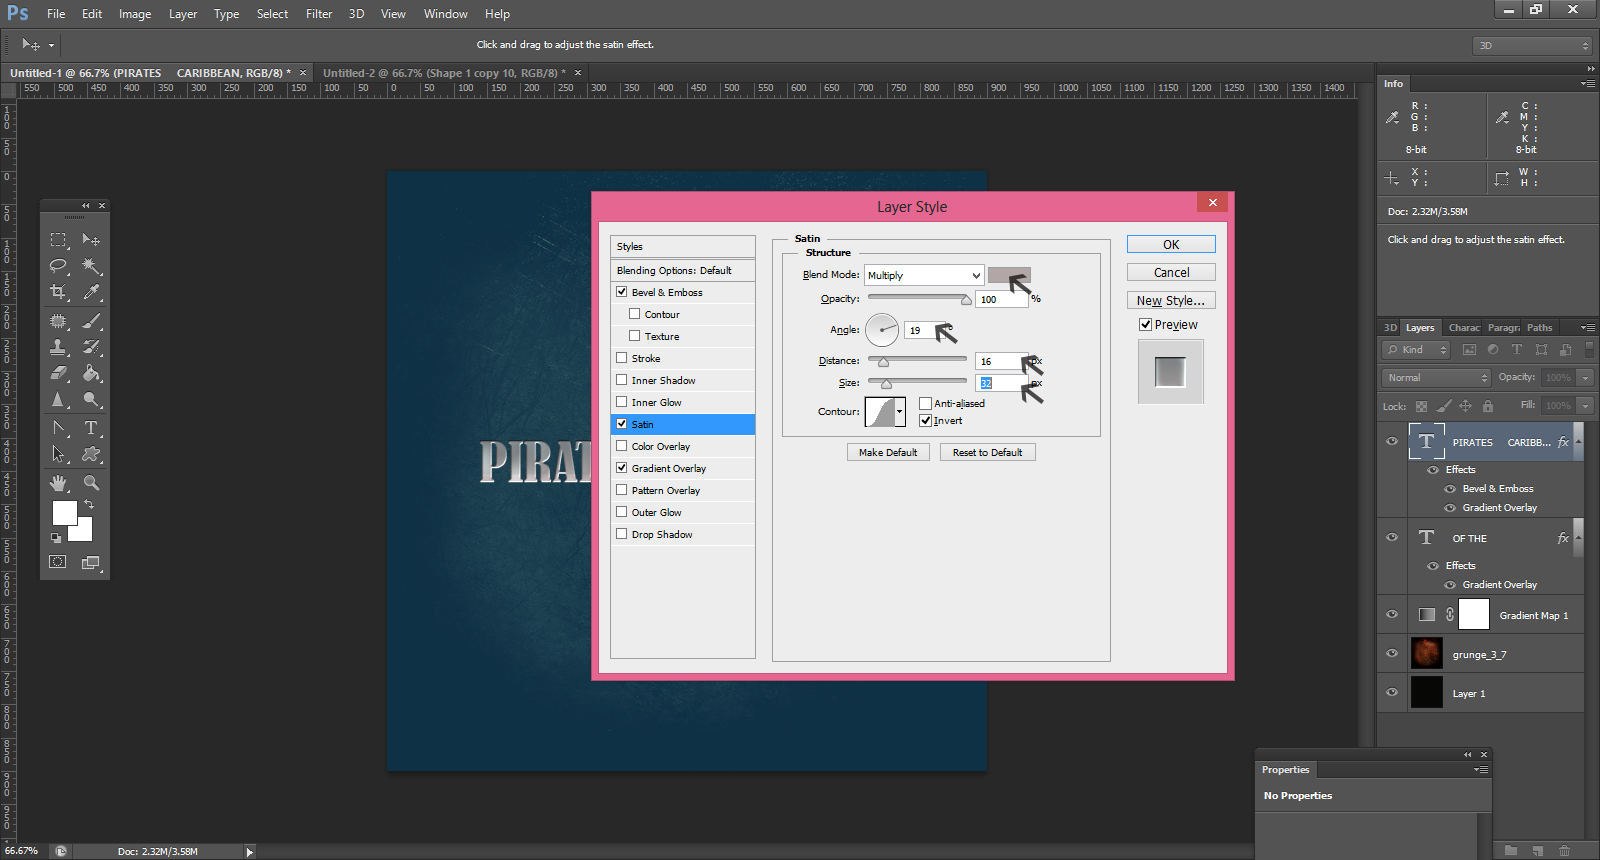
Step-8
Give metal reflection effect to the top of the letter as you select Satin
Step -9
Use Inner Shadow with the right settings to darken the top area of each letter:

Step-10
Create white borders of the Bevel and Emboss effect by adding Inner Glow and setting on color dodge.
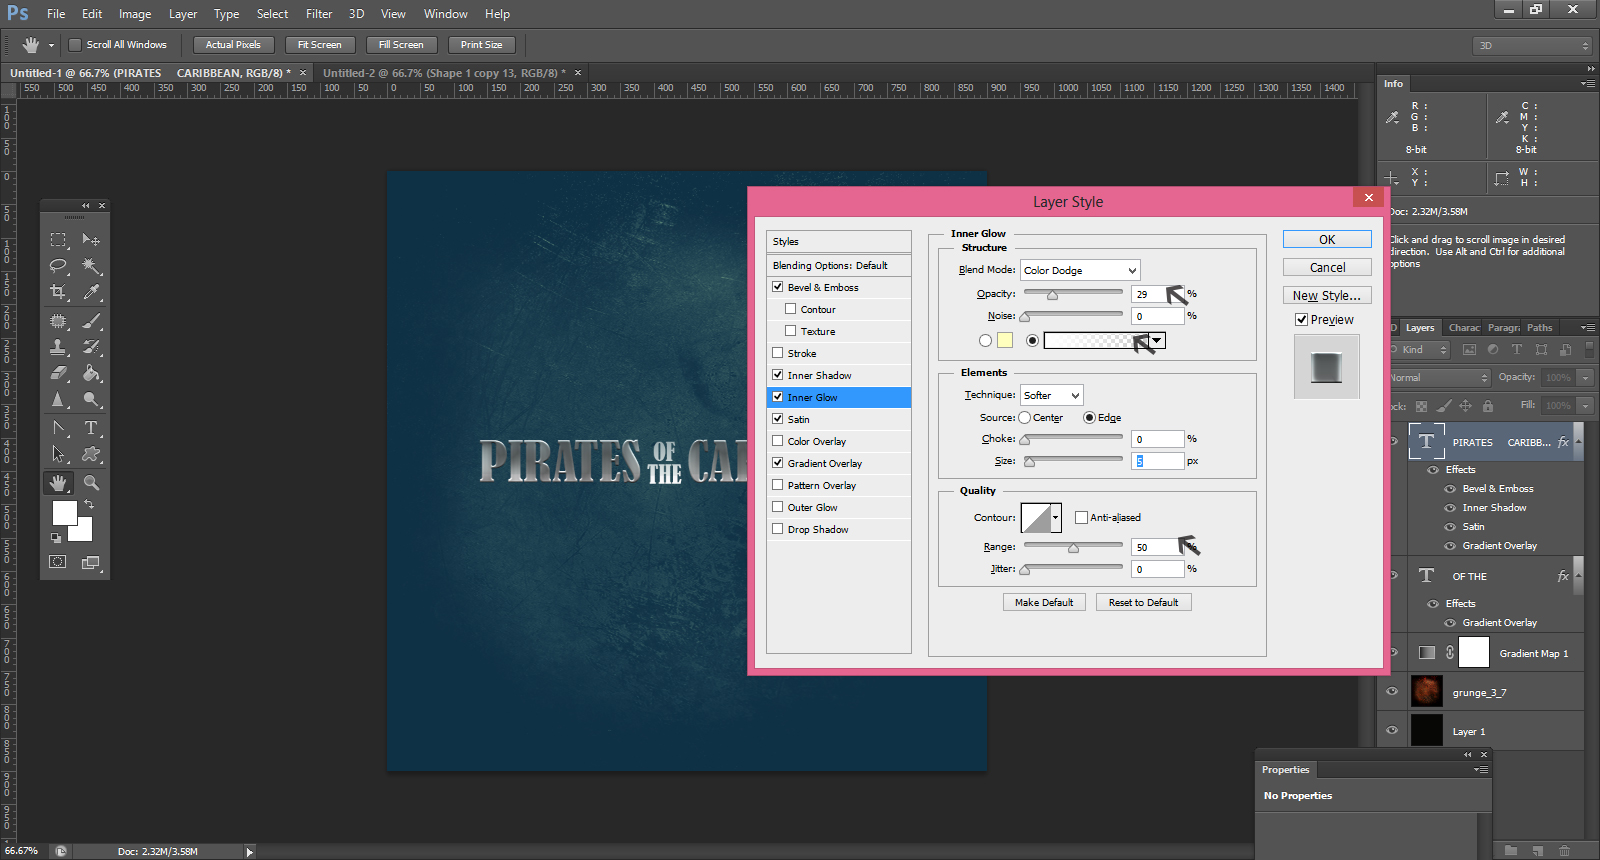
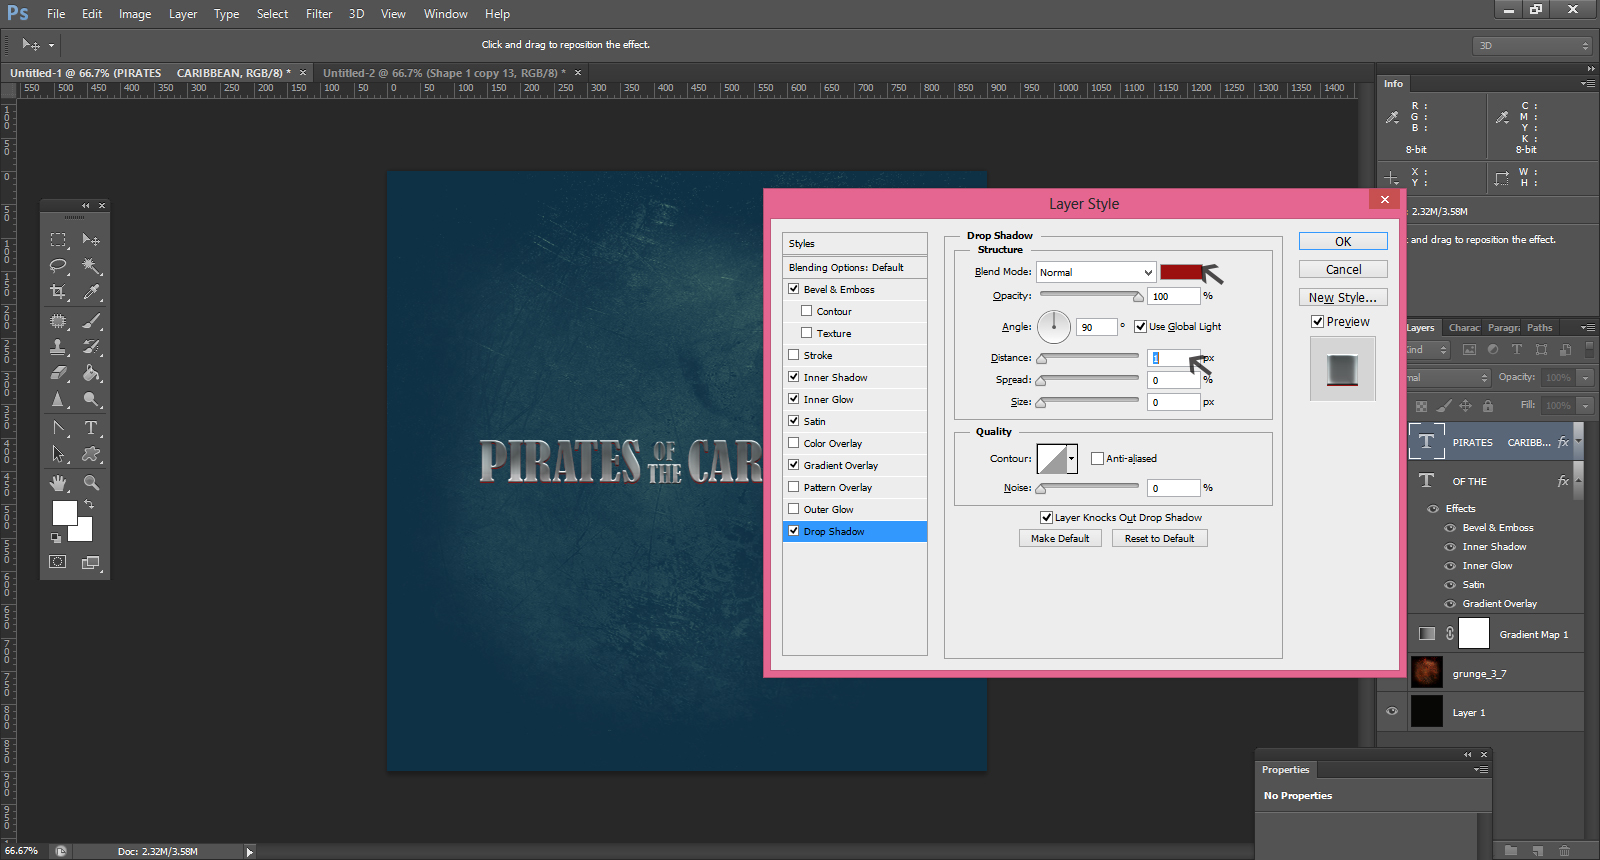
Step 11
Now open Drop Shadow in Layer Style to get right blend mode of your choice and keep opacity to 100%
Step-12
Now download an image of the Skull from some stock photos site and select it in the design document
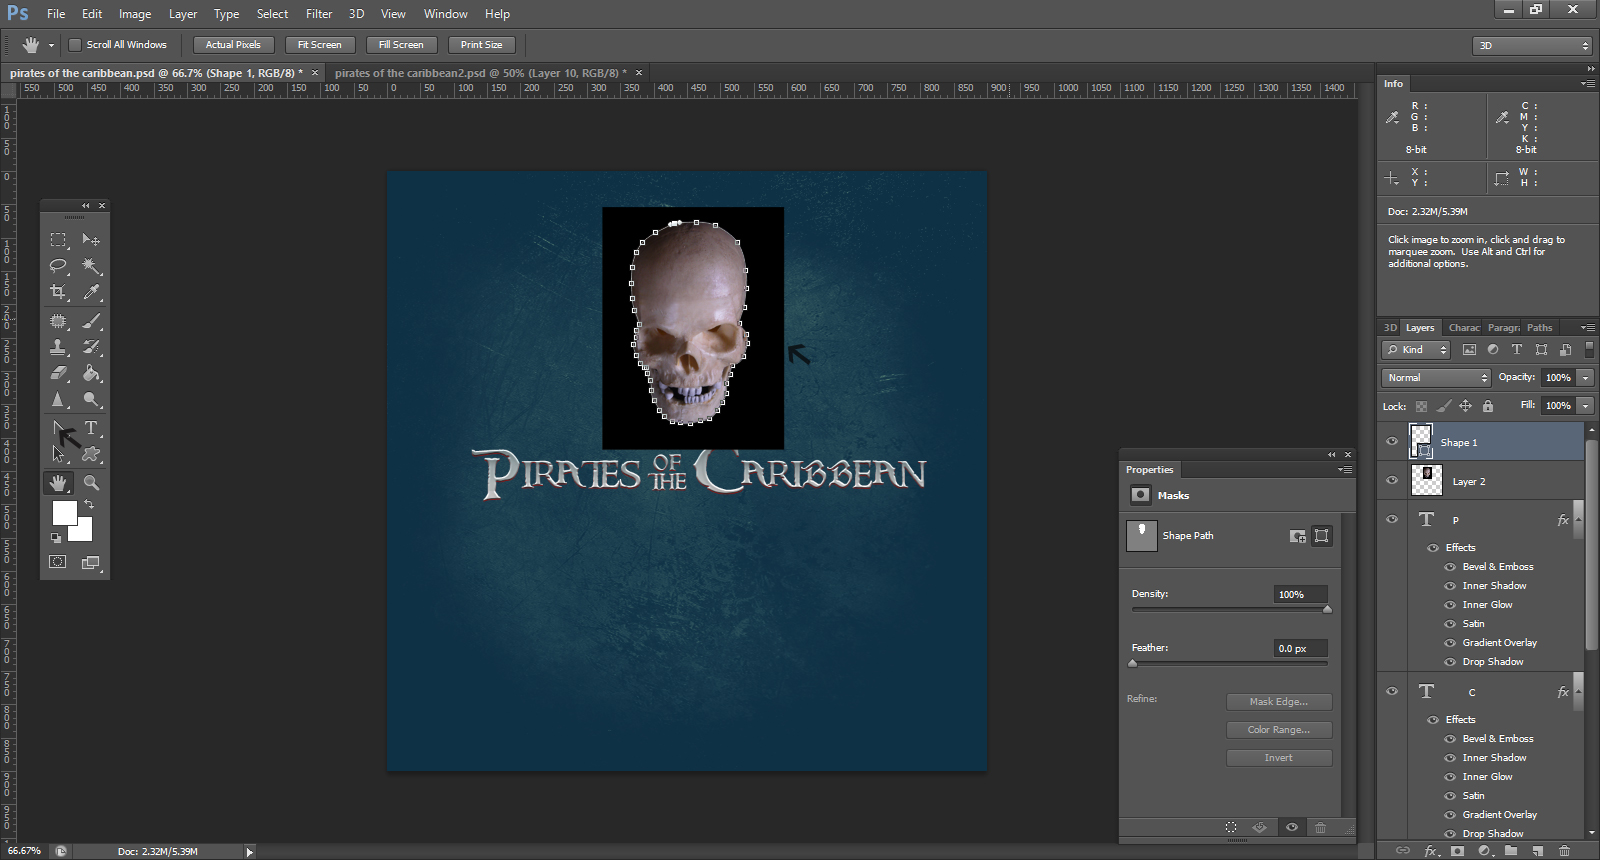
Step -13
You can give shape to the skull as you select the Path menu on the right bar and select properties to make the necessary changes.
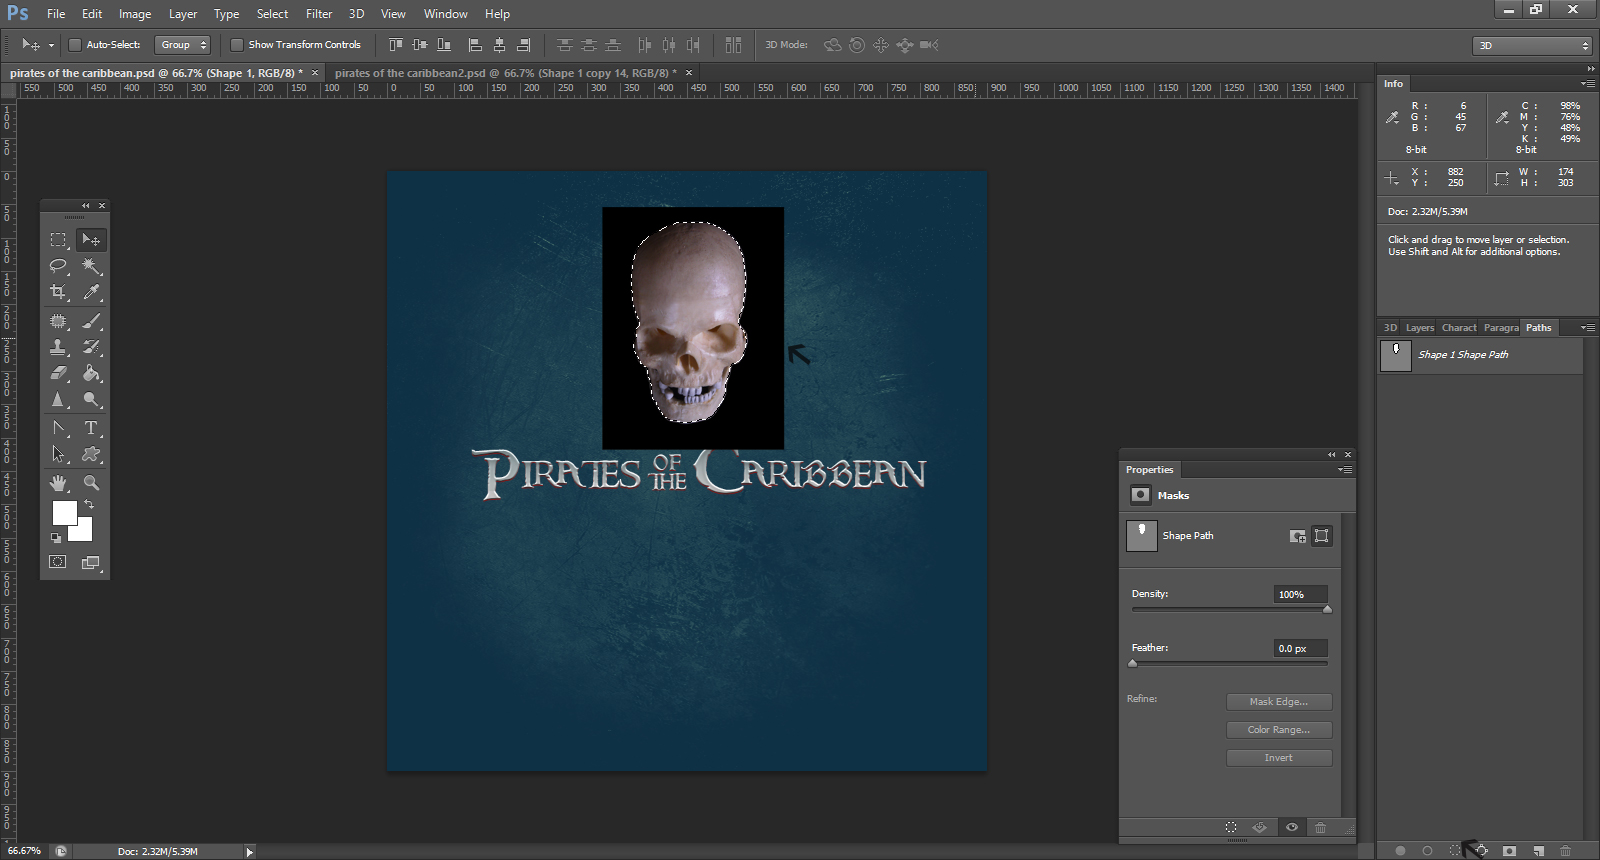
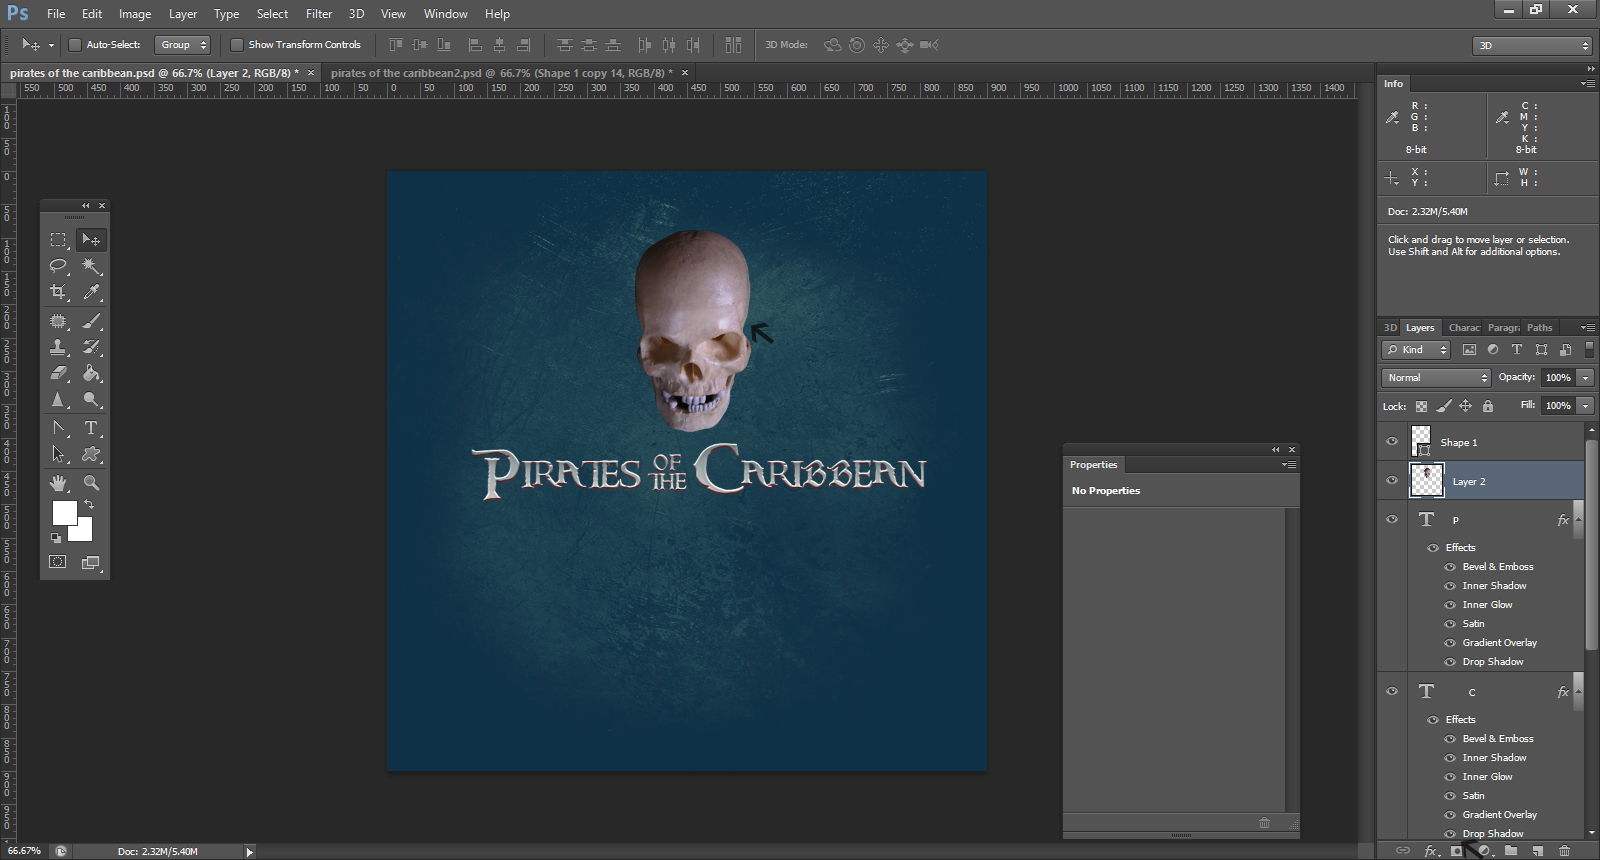
Step-14
Now click on the layers panel and go to layer 2 to hide the black background and bring the skull prominently to the front.
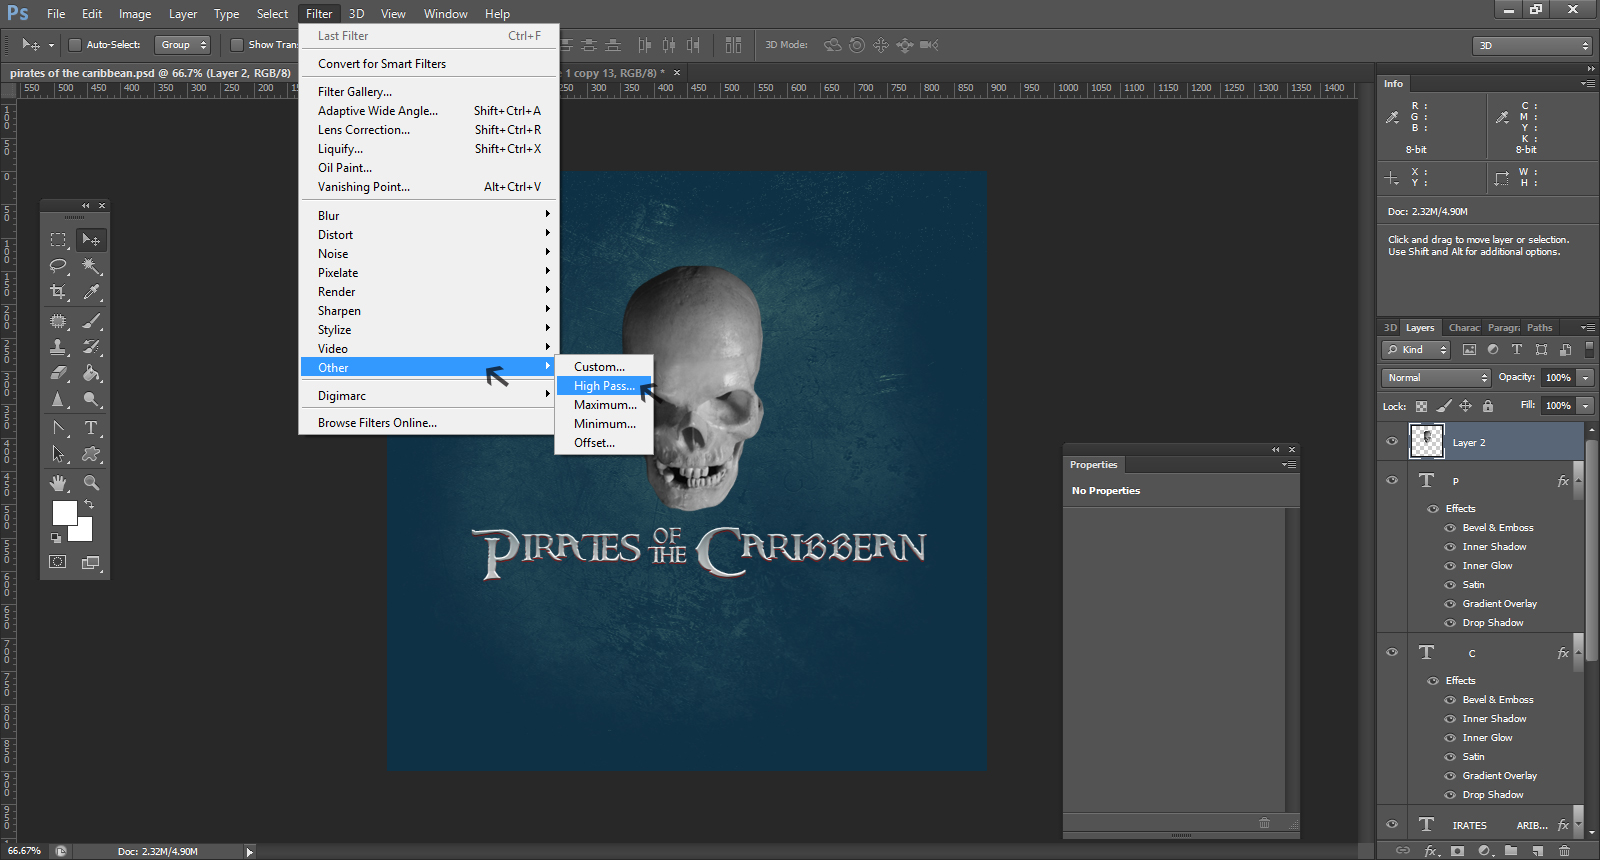
Step -15
Open filter menu and reach to the Other and then to the High Pass
Step-16
Get a free image of a bandana for the skull. Then trace the contours of the bandana with the help of pen tool. Press ctrl+enter and activate the selection and copy and paste it in the main document.
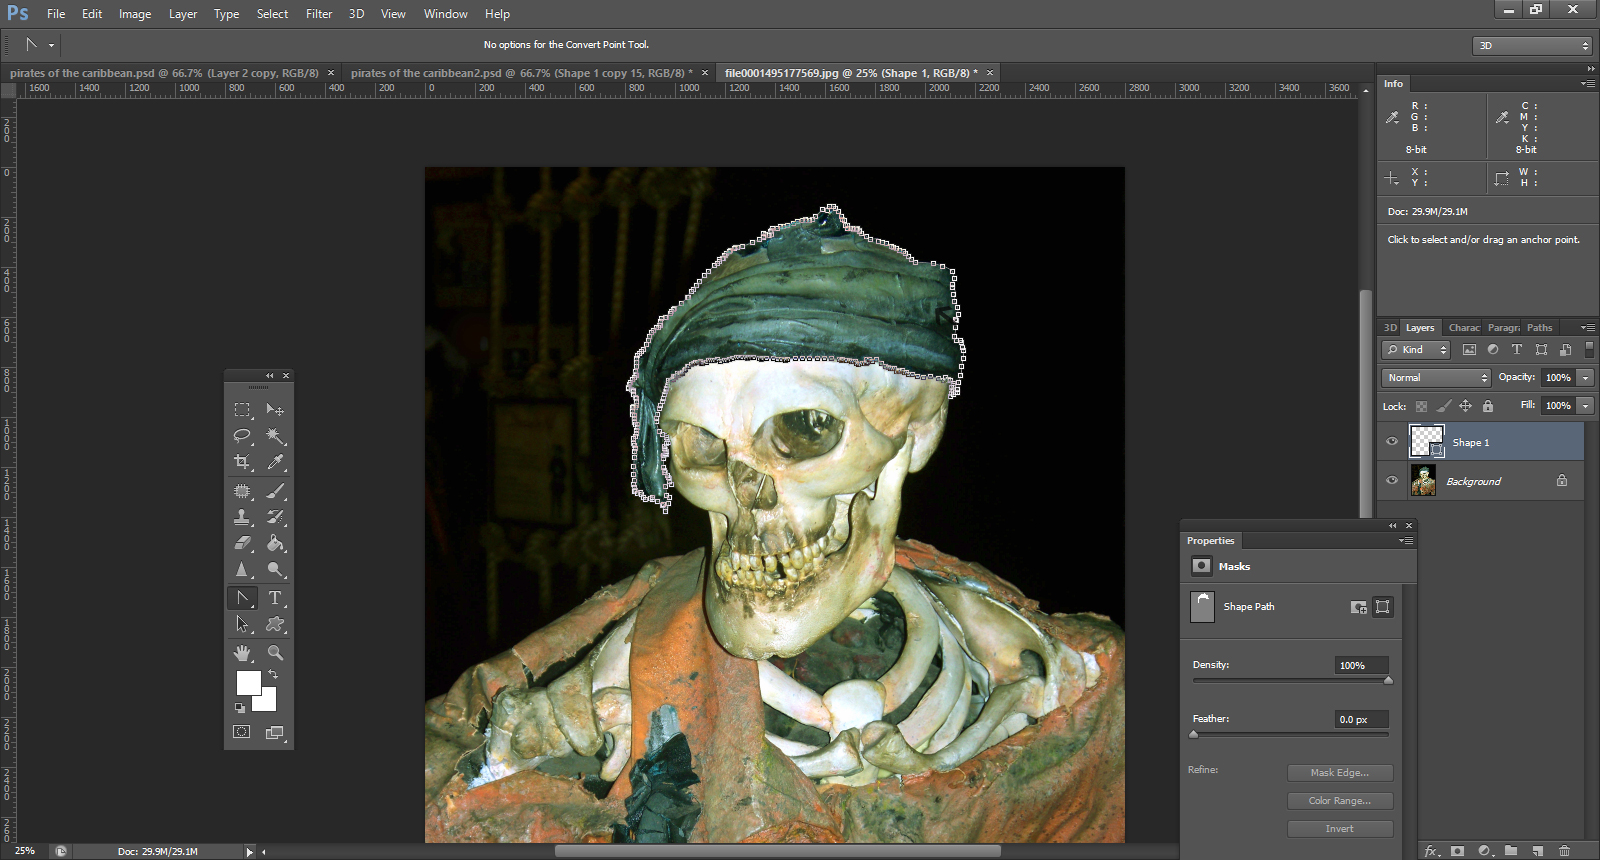
Step -17
To give the bandana color and hue of your choice, go to Hue/Saturation menu and fill the details.
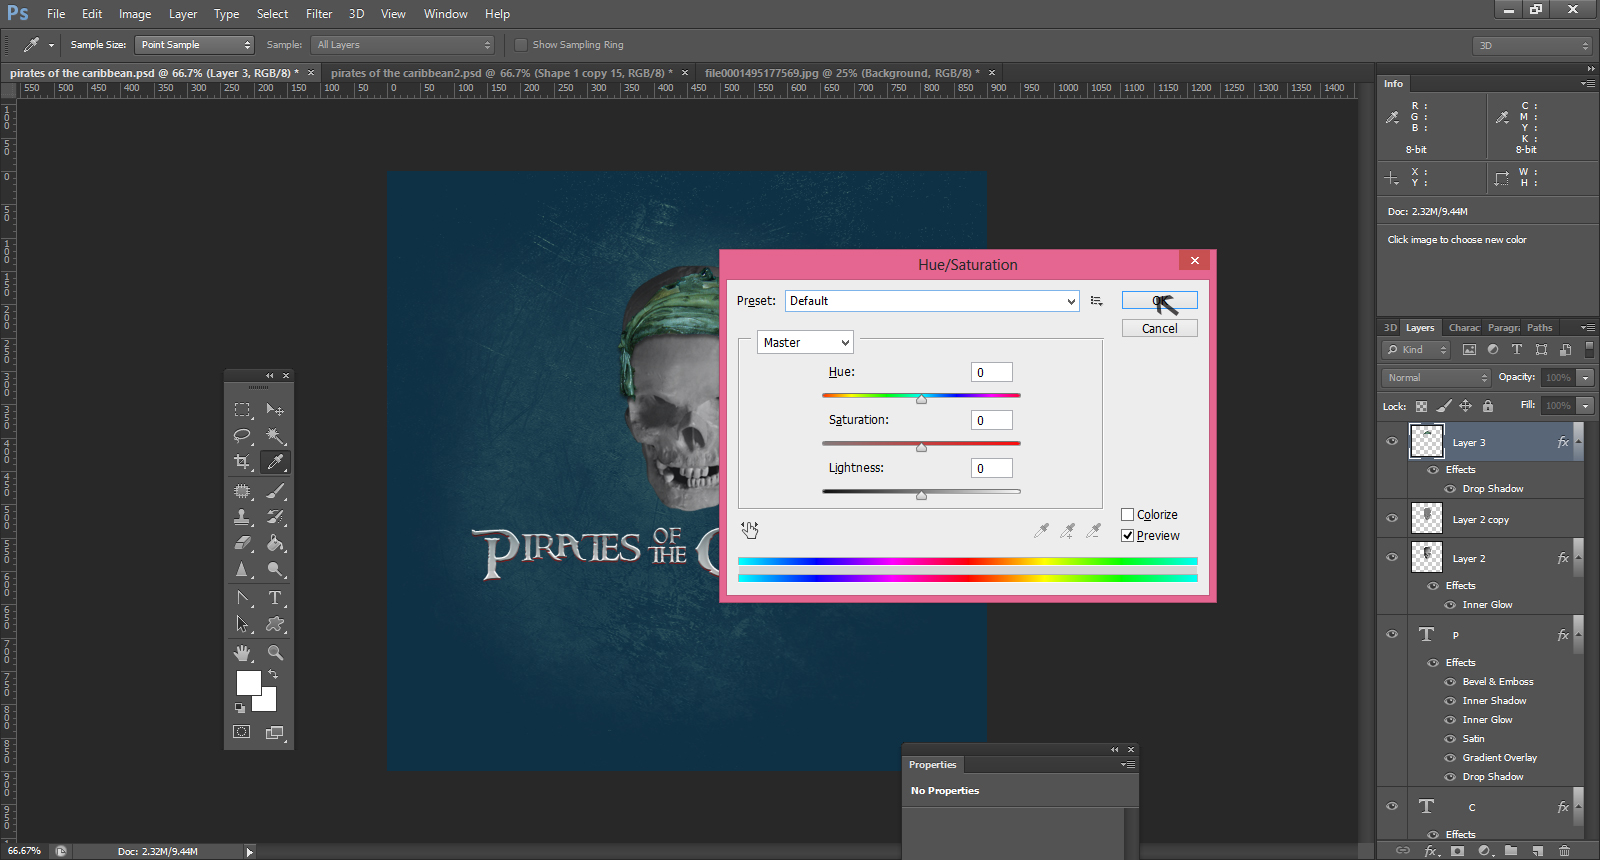
Step-18
You get the color and hue of your choice for the bandana

Step-19
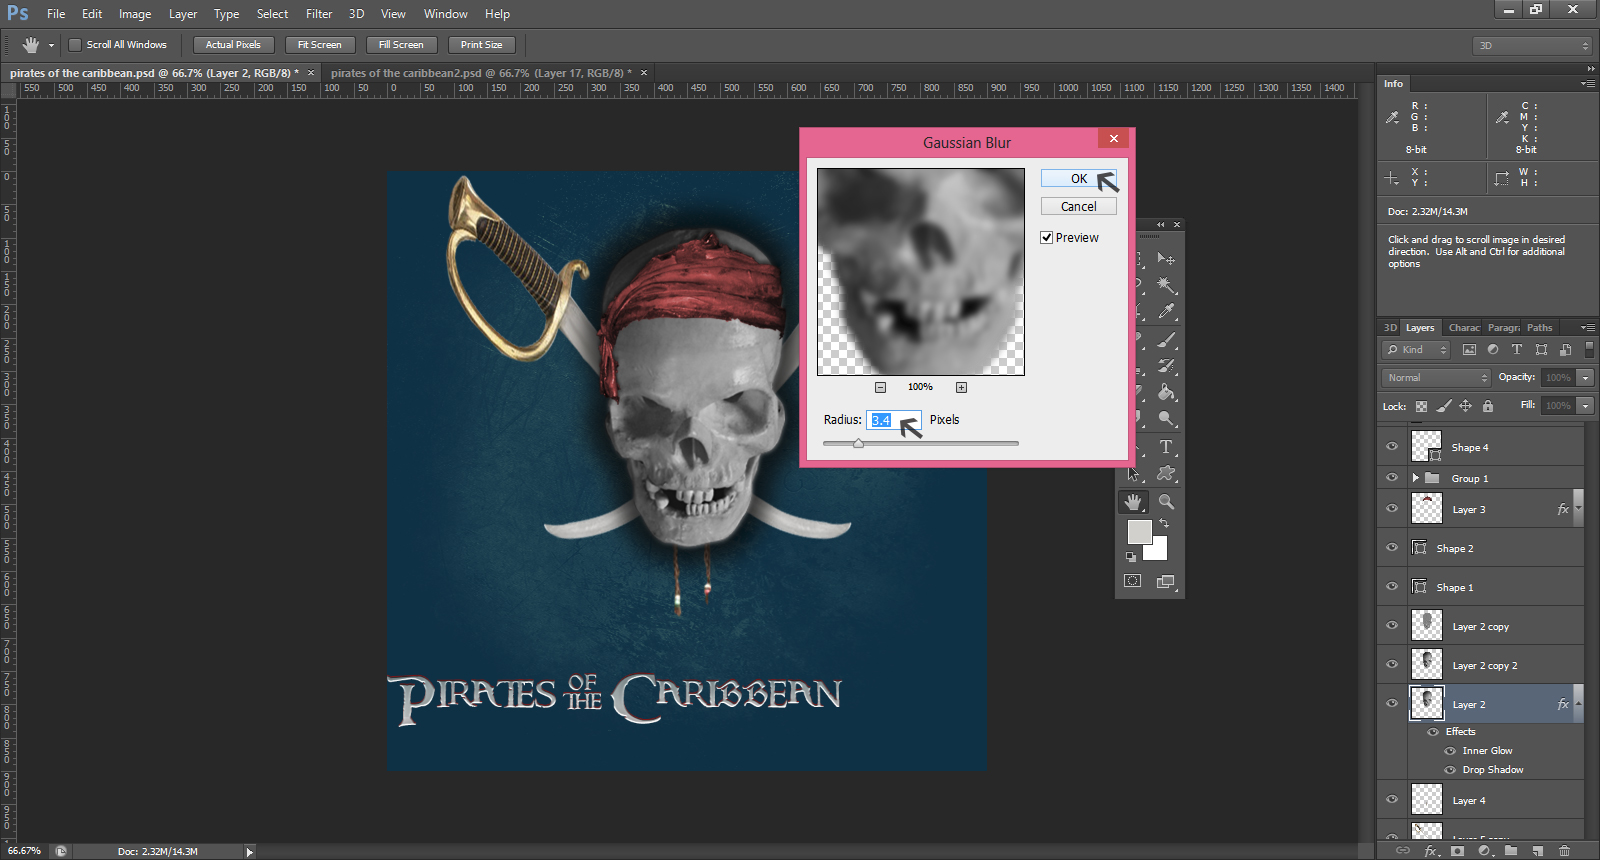
Work on layer 2 by selecting Gaussian Bar and filling the radius requirement to fine tune the skull details
Step -20
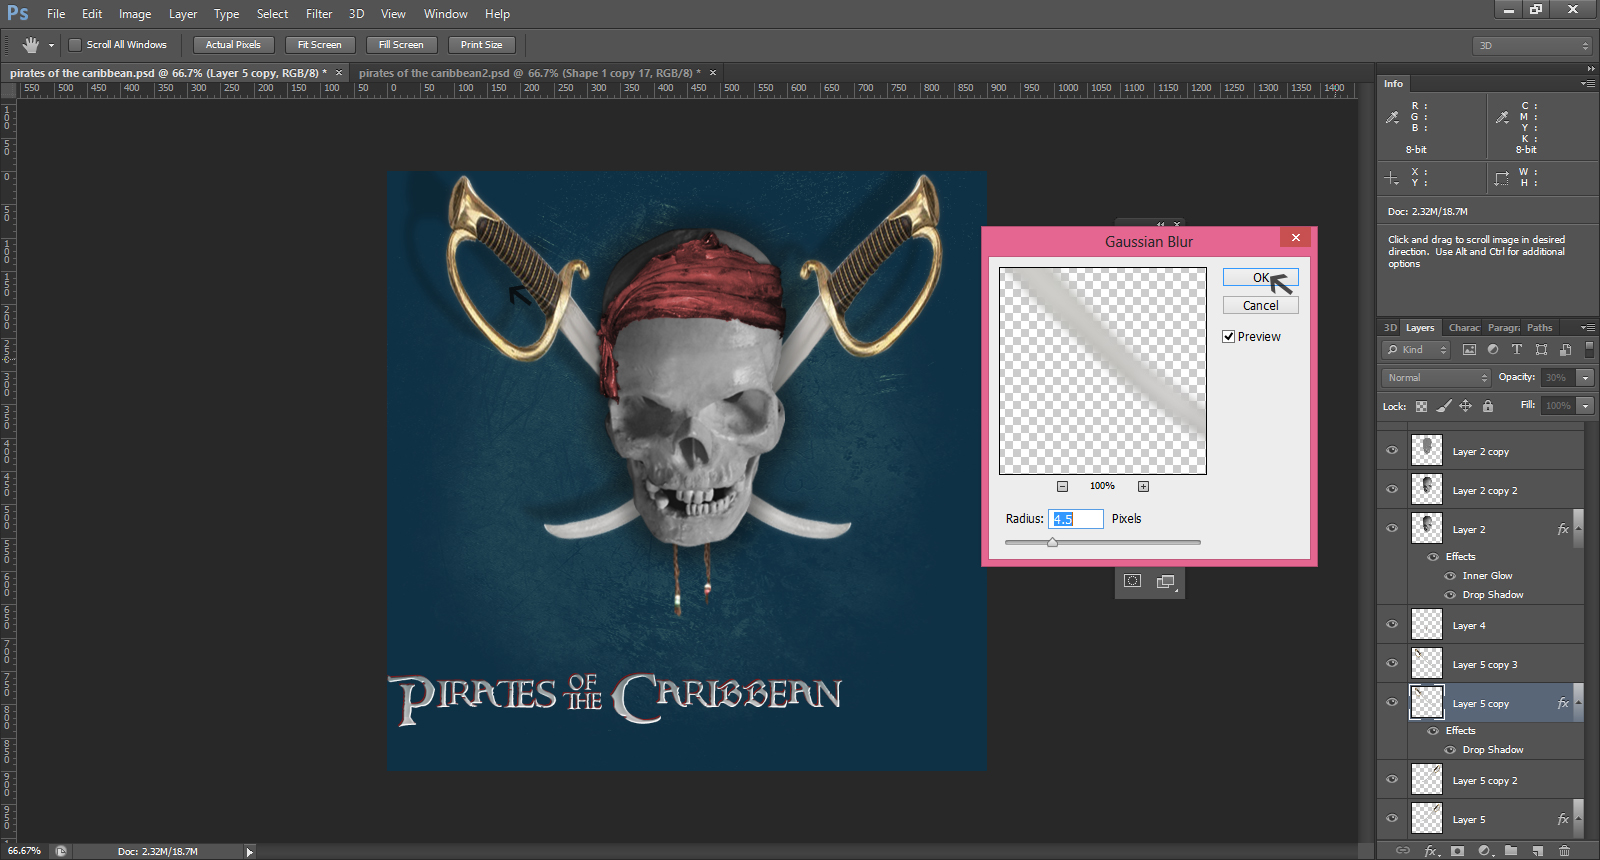
Pay attention now to the two crossed swords. You can download this image from Shutterstock.
![]()
Now you should use the pen tool to scale and rotate the extracted object .You can then put the sword below the skull. As a next step, you can duplicate the sword to flip the layer horizontally.
Step-21
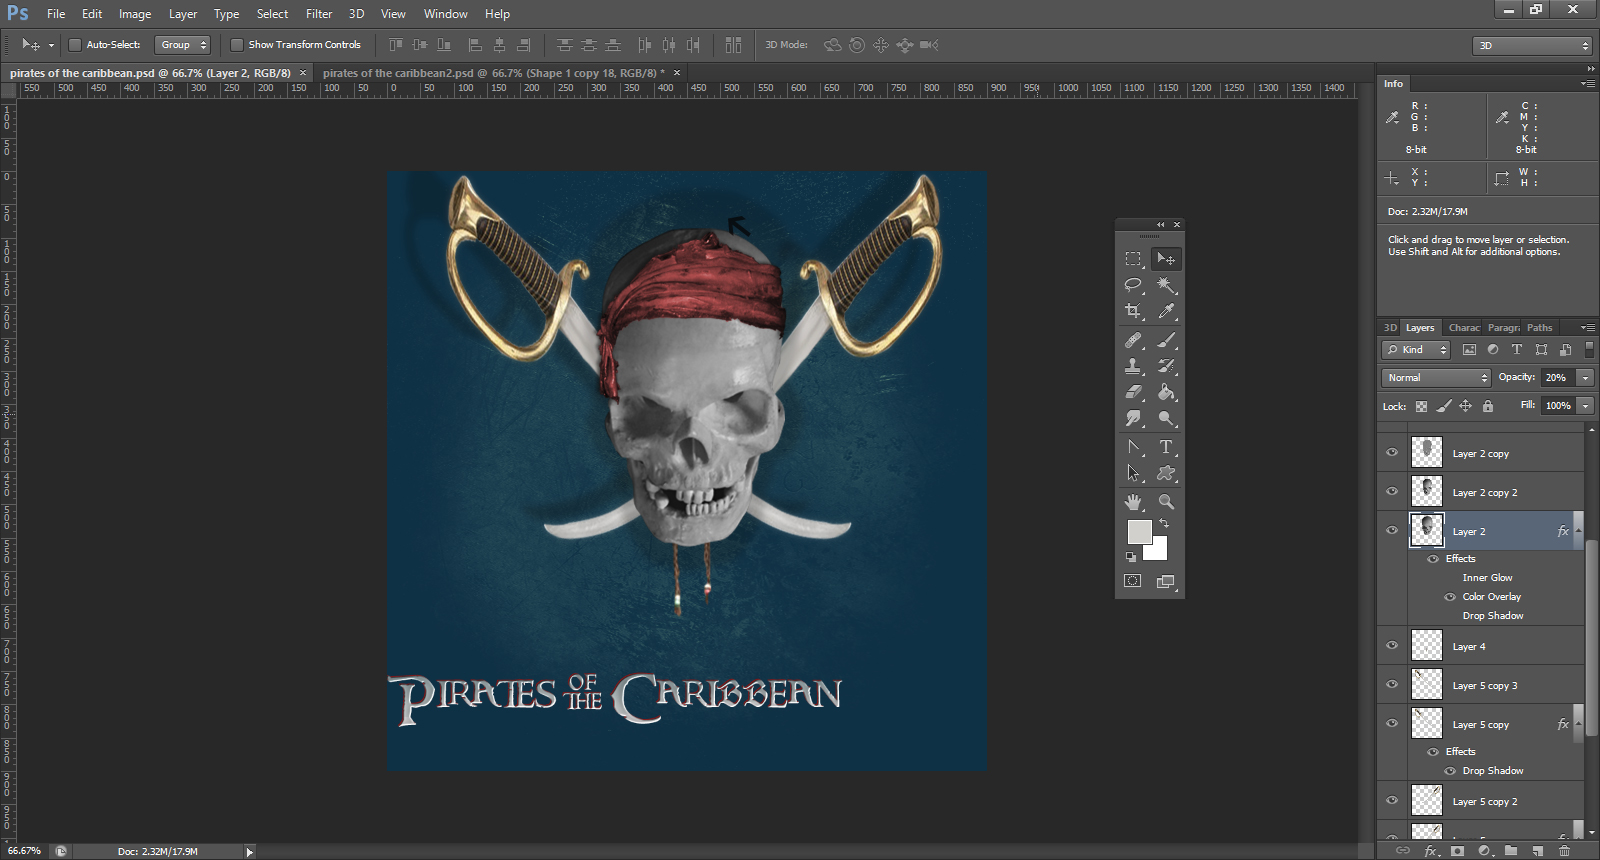
Fine tune to the background effect on the head of the skull to give it an impressive look by working on layer 2
Step-22
Now you can create a new group and title it “light effects”. Then, switch the group blend mode to color dodge to create a layer inside the group. To create the light effect, simply opt for white as foreground color and click once to get the effect. Adjust the opacity to get the right effects.
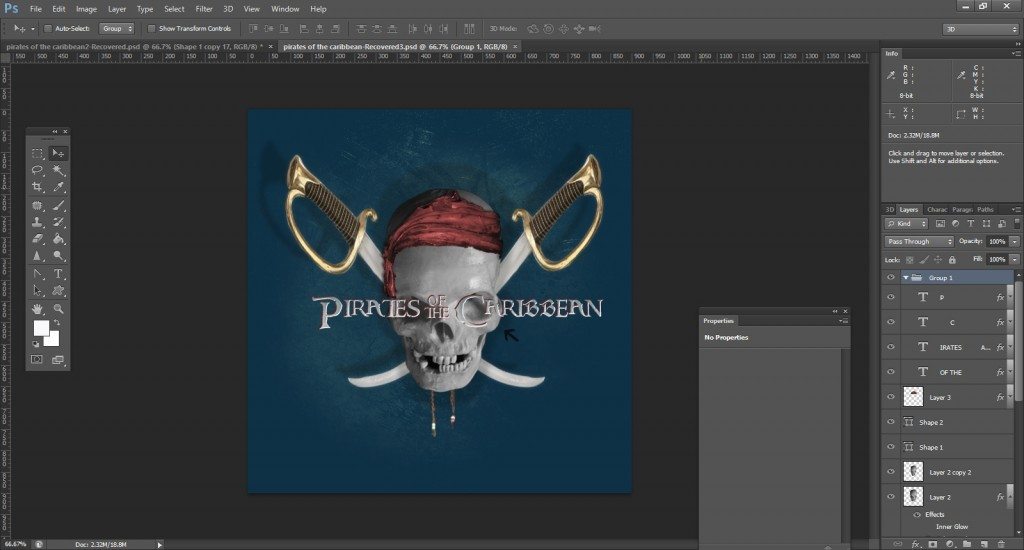
We have our final logo design of the Pirates of Caribbean movie.
