
Last updated on February 12th, 2019
In this tutorial we’ll learn how to create a dark abstract crow manipulation of a photo in Photoshop with disintegration effect. This is a 3 part tutorial that teaches gradual creation of the effect where different elements such as depth of field and addition of abstract elements are explored.
In this part (part 1) we’ll create a black and white background and then add the face of a model and then do some retouching. With the help of debris brushes we’ll create disintegration effect for the hairs as well.Going forward, we’ll learn addition of elements such as watercolor brushes, feathers, debris and crow. In the end, we’ll add some abstract decoration for model. For this tutorial Photoshop CS3 or newer version is required.
Step 1
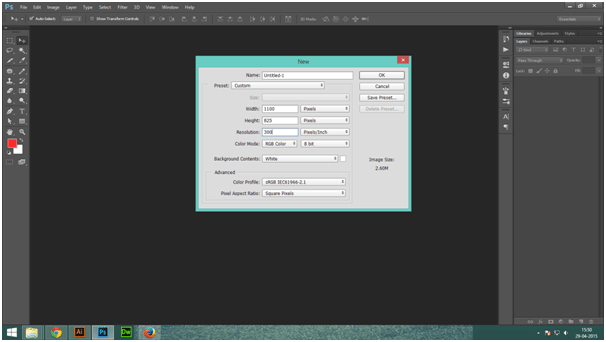
Create a new document with dimensions 1100px X 825px and fill it with white color.
Create a new layer by going to command prompt and typing in the following command.
Cmd->Ctrl+Shift+N. Alternatively, you can create layer through your Photoshop interface as well.
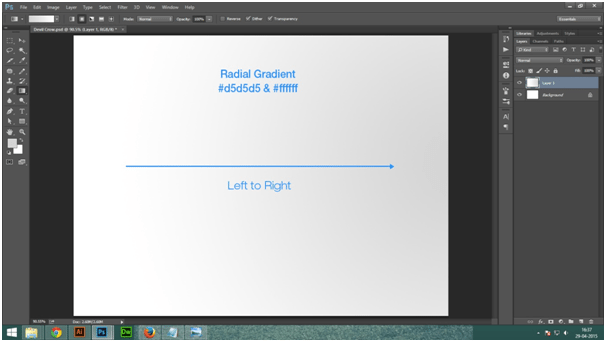
Now hit G to activate the Gradient Tool.
Step 2
Choose Radial Gradient with color codes, #d5d5d5 and #ffffff. Now drag aline from left to right.
Step 3
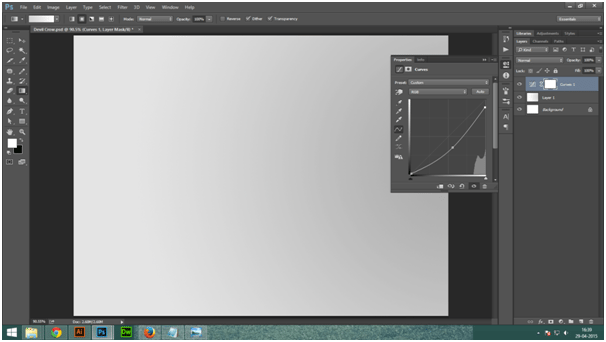
Now go to: Layer->New Adjustment Layer->Curves
Thereafter, decrease the lightness of the line drawn.
Step 4
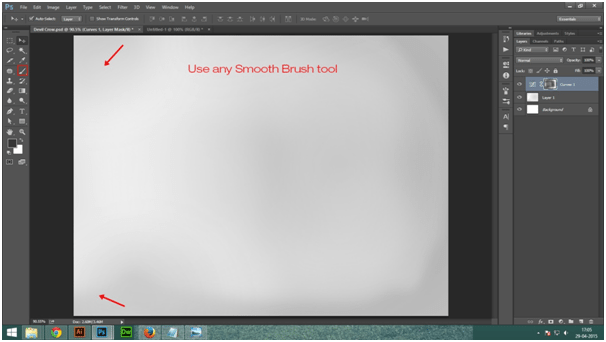
Now, press B to activate your brush tool. Remember, the opacity of your brush should vary from 20% to 100%. Thereafter, choose Curves layer mask and use paint for reducing the dark parts on the document. See the screenshot below:
Step 5
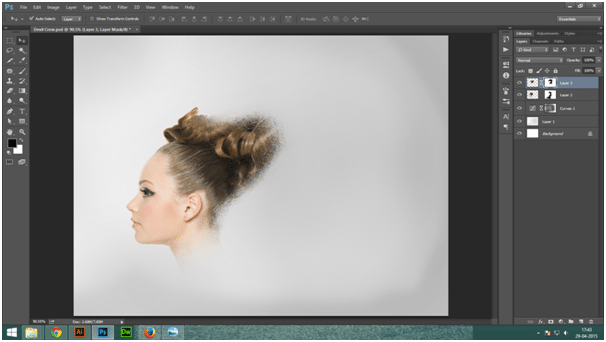
Now extract your model photo and place it at the left of main canvas. Take a look at the screenshot.
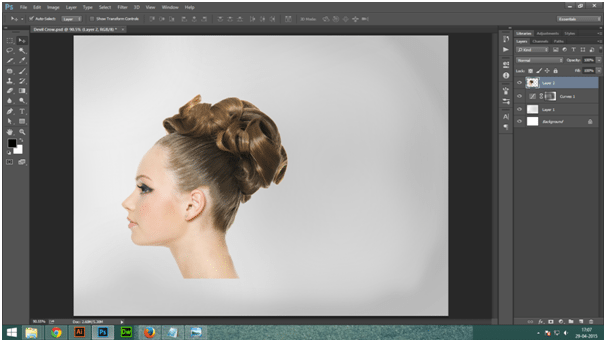
Step 6
Now, you need to add mask to the model layer. For that you’ll have to click the second button at the bottom of your Pallet layer.
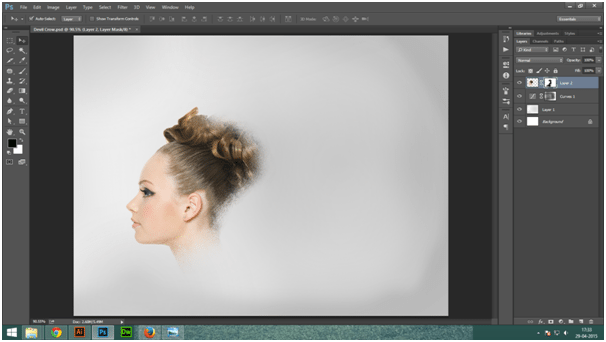
Use soft black brush for removing the hard edges of your model’s hair, neck and shoulder, without overdoing with the paint. Now create a disintegration effect by painting these elements with debris brushes on the masked edges.
If you wish you can also change your debris brushes settings (F5)as this positively impacts few things such as lightness and brightness of your photo.
See the screenshot below.
Step 7
Reopen your model stock. Copy the hair region.
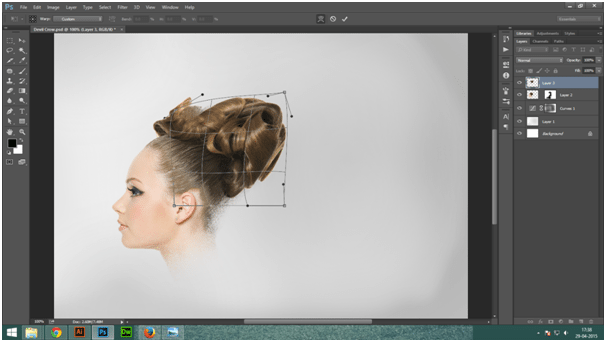
Step 8
Now place it behind the model photo with the help of Lasso Tool. You’ll have to use Warp Tool if you wish to bend the hairs a little.
Edit->Transform->Warp
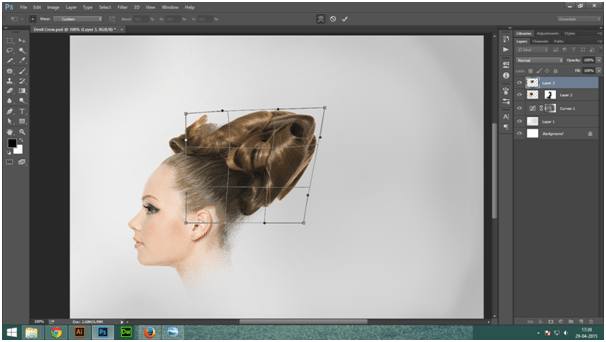
With the help of debris brushes you can add layer mask to your photo after this.
We’ll learn insertion of some other evil effects such as crow and feathers in the second part of the tutorial.
If you wish to view the desaturated look of the model, you can make the photo appear in black and white colors. For this, you’ll first have to select Layer2 (model layer)and Layer3 (hair layer)and then group them by pressing Ctrl+G on Cmd. You’ll also have to change the group mode from Pass Through to 100% Normal. Use the following steps to do that.
Layer->New Adjustment Layer->Gradient Map hair layer
Pick default colors after that.
Important Note: However, this is not compulsory and you are at your will to go by the above steps or not.
In this part of the tutorial we learnt, how to use smooth brush tool and debris brush tool. We learnt how to do retouching on the model’s face as well.
In the next part (part 2) of the tutorial, we’ll learn the use of pen tool, use of overlay option, and effective use of Gassian Blur and spiral brushes.


