Last updated on December 27th, 2017
Designers always look for some simple and effective photo manipulation techniques to add different dimensions to already existing photographs or images. Photo manipulation is easily achievable through some easy to follow Photoshop merging and masking techniques.
In this 5 part tutorial, you will learn how to create a dark photo manipulation of a cleric on a stony landscape background. This tutorial will take you on a step by step journey of effective merging of completely different collection of photos into a dark-themed composite with matching light. As we proceed further, you’ll learn how to create a lasting effect in a simple photo by drawing items such a rosary and a cross.
Step 1
Create a new file. Keep its dimensions at 1828 × 1332 pixels. Select the CMYK color mode.
Go to File > New (Ctrl + N).

Step 2
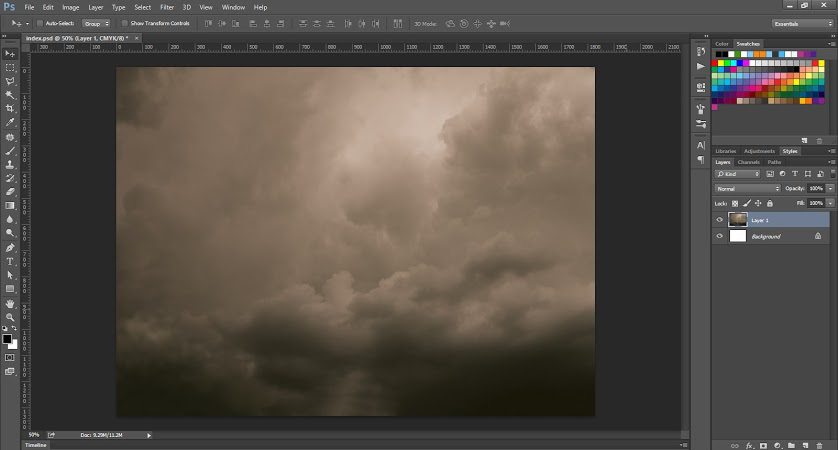
Now, we’ll be creating background. Place your existing cloud image or downloaded a cloud image to your file. Drag it from your existing folder and drop it to Layer1 of the Adobe Photoshop file.
Step 3
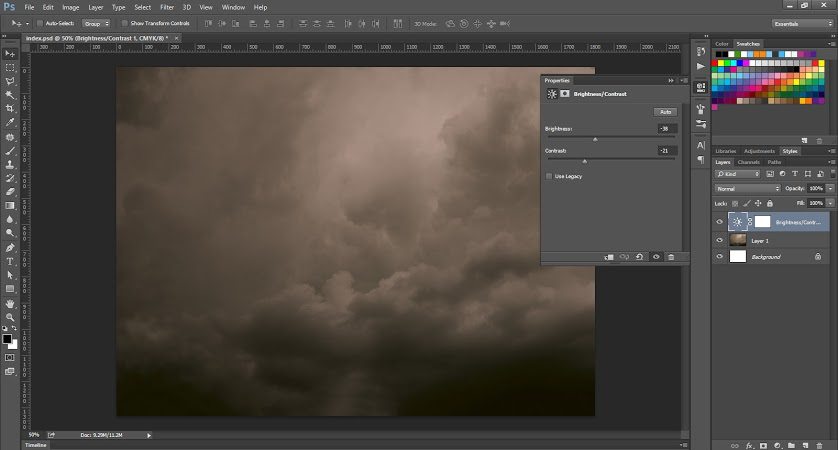
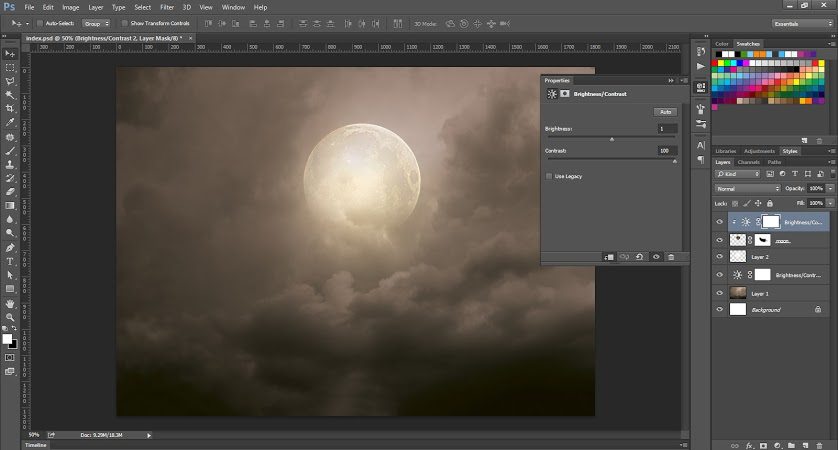
It’s time to add adjustment layer with brightness/contrast option.
Go to the top menu and choose: Layer > New Adjustment layer > Brightness/Contrast option.
Step 4
Now, you need to add new blank layer.
Go to Layer > New > Layer 2 option or simply use the shortcut. You can name the layer as ‘moon overlay’.
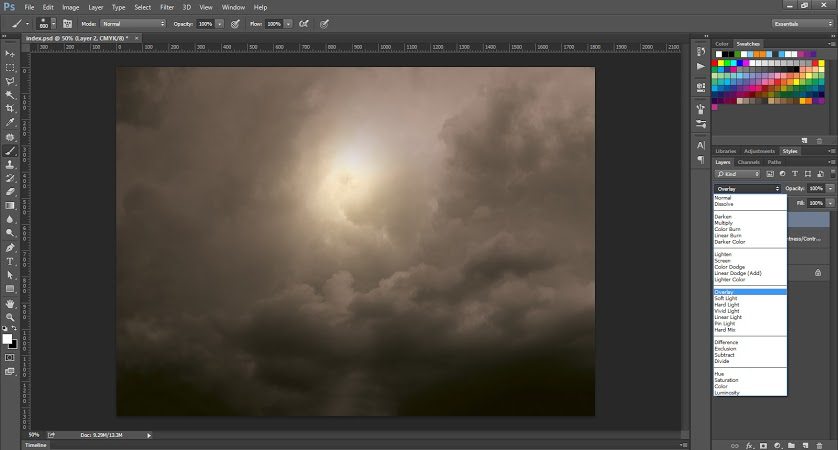
Select the brush tool and set your Soft Round brush at 800px. Choose white color from your color picker and draw a dot at the point where you wish your moon image or photo to appear.

Step 5
Now, change the blending mode of created layer to Overlay. It will light up your stock image, but will not change the shape of the clouds.
Step 6
Place your moon photo and change its blending mode to Screen. This will highlight only the lighter parts of your stock image as black will become completely invisible in this mode.

Step 7
Now, we will create a masking layer.

Step 8
Click on the canvas next to the layer thumbnail and try erasing some portions of the moon that lie behind the clouds. Make use of small, soft round brush to do it.

Step 9
Alternatively, you can add an adjustment layer with Brightness/Contrast and then create a clipping mask.
Select Alt+Ctrl+G, Then go to Layer > Create Clipping Mask.
Step 10
Now, bring back the ‘moon overlay’ layer on top. You are creating its copy by dragging and dropping it to ‘New layer’ symbol.
Go to top menu Layer > Duplicate layer (moon overlay copy) and then drag it over all layers. Decrease the layer opacity to 60%.

Step 11
Now, you need to place your ‘Solidified_lava_2’ collection to your file and mask it. Go to white canvas next to layer thumbnail and make use of hard round, small size brush for masking.
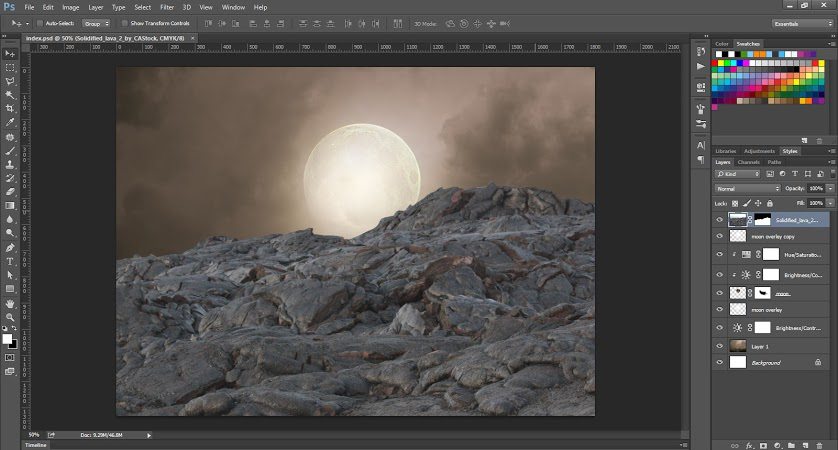
In this part of the tutorial, you learnt how to fade out only the moon image. Till now no changes have made to the clouds image and you have effectively placed your Solidified_lava_2 file on top. In the next part of this tutorial, you will earn how to change the color of the solidified rocks so that it effectively merges with the existing background. You will also learn how to use masking to create the mist effect of moon on the rocks.
Looking for Customized, On time, Logo Designs? Launch a Logo Design Contest today. Choose from 100+ designs. Take your pick! We offer a full 100% money back guarantee! Finally, a risk-free way of getting a customized design.
Like our blog? Follow us on Twitter, Facebook and Linkedin.