
Last updated on December 28th, 2017
In the Part 2 of the tutorial, you learnt about how to change the color of the solidified rocks so that it effectively merges with your existing background. You also learnt how to create the mist effect of moon on the rocks. Moreover, you learnt how to insert Skelton pile stock image and learnt how to mask it with the existing layers.
In this 3rd Part of the tutorial, you will be creating a brightness/contrast effect layer & mask it to Skeleton pile layer with hue saturation effect. You will also make Skelton pile layer color similar to its surrounding so that the skulls appear to be effectively placed on solidified lava layer. As you proceed, you will learn how to make shadow, brightness, contrast, and hue adjustments.
Step 1
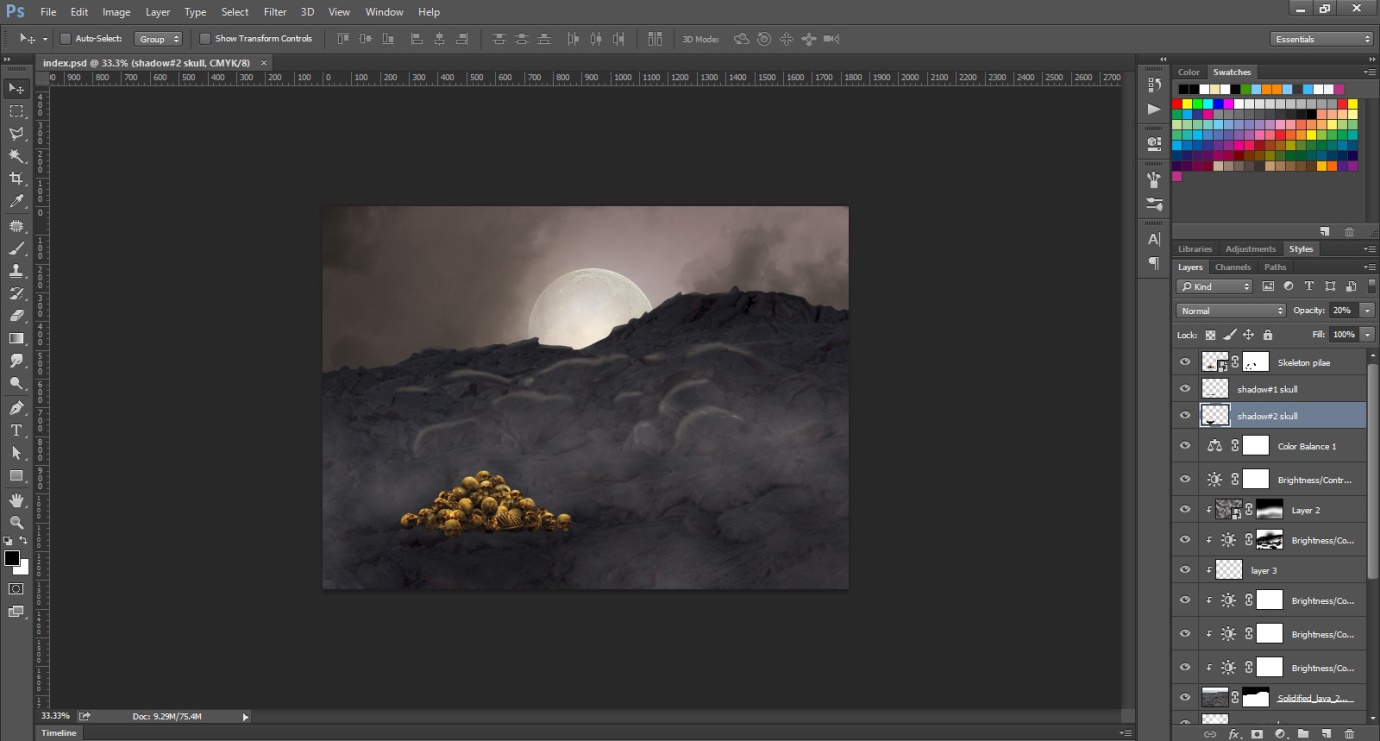
Start by adjusting the opacity of shadow layers.
Now add new blank layer below shadows.
Go to Layer > New > Layer or use Shift + ctrl + N.
Drop opacity of layer “shadow #2 skull” to 20% and opacity of layer “shadow #1 skull” to 60% and draw with black color shadows strictly below skulls.
Step 2
Go to the top menu and choose Layer > New Adjustment layer > Brightness/Contrast.
Create a brightness/contrast effect layer & mask it to Skeleton pile layer to show the moonlight effect.

Step 3
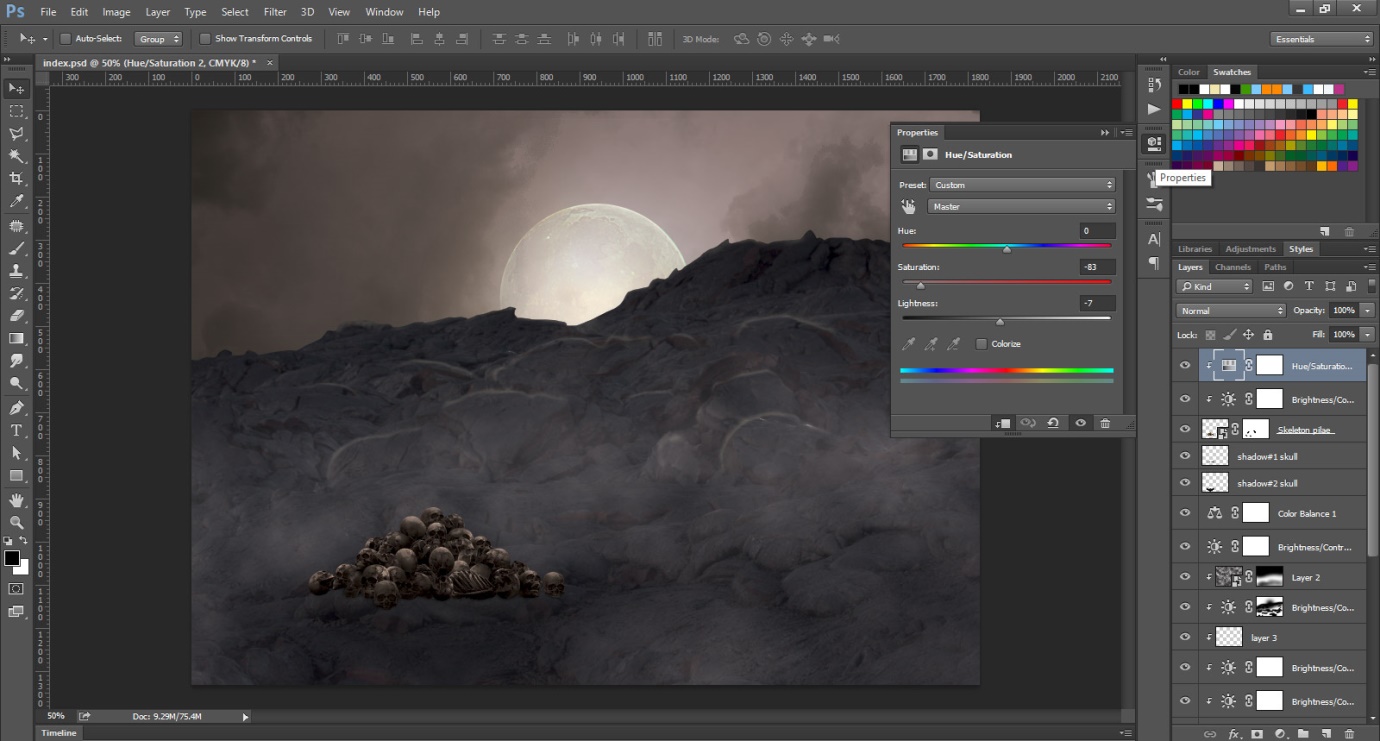
Add Hue/Saturation effect layer. Go to Layer > New Adjustment Layer > Hue/Saturation.
Then, make it a clipping mask (Alt+Ctrl+G).
Go to Layer > Create Clipping Mask. It offers great base for making color. Now mask the layer to Skeleton pile layer with Hue value = 0, Saturation = -83, Lightness = -7.
Step 4
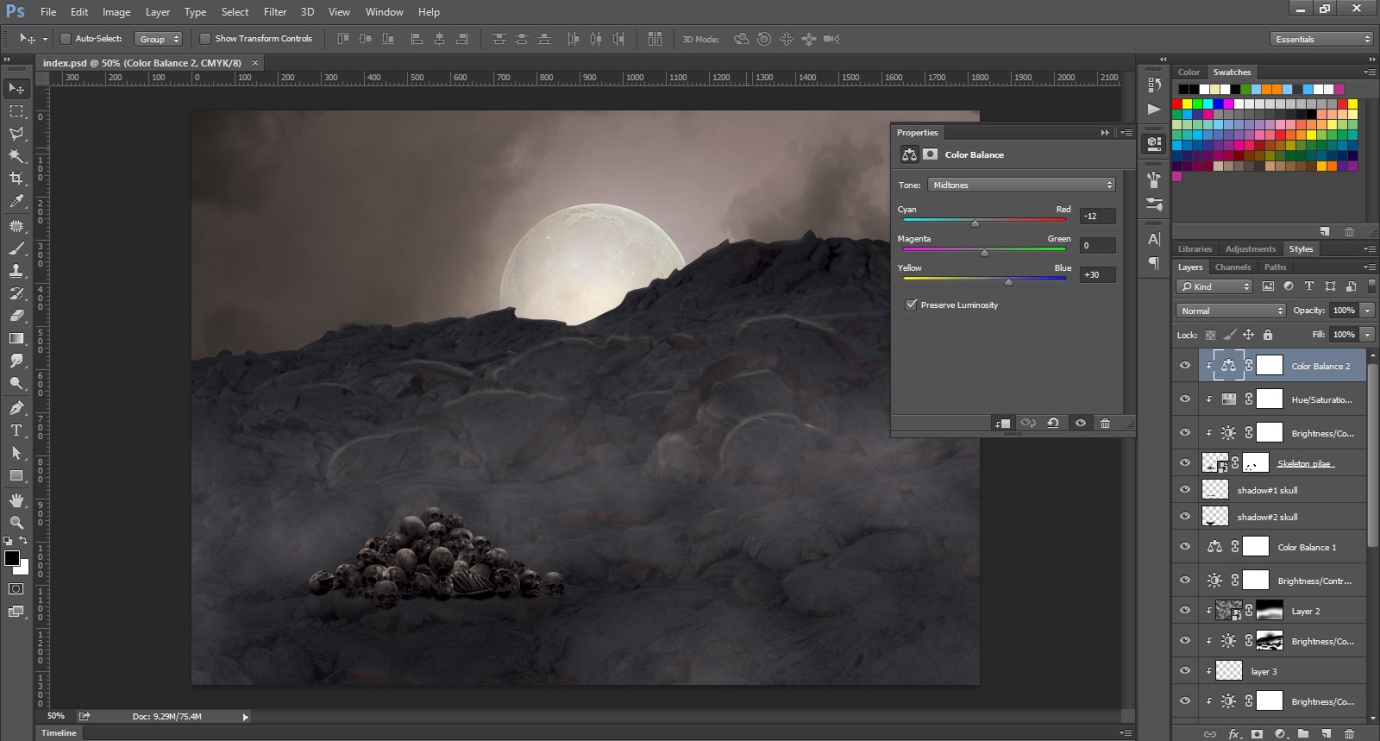
Now create Color Balance effect layer.
Go to Layer > New Adjustment layer > Color Balance. Then make it a clipping mask. (Layer > Create Clipping Mask).
Use tone highlight with following values:
Cyan= 0, Magenta= 0, Yellow= -16

Step 5
Make further color adjustments. Use Midtones with following values:
Cyan= -12, Magenta= 0, Yellow= +30.
Now mask this color balance layer to Skelton pile layer. With this you have made the Skelton pile layer color similar to its surrounding so that skulls appear to be placed on Solidified_Lava layer.
Here you need to check the option “Preserve Luminosity”.
Step 6
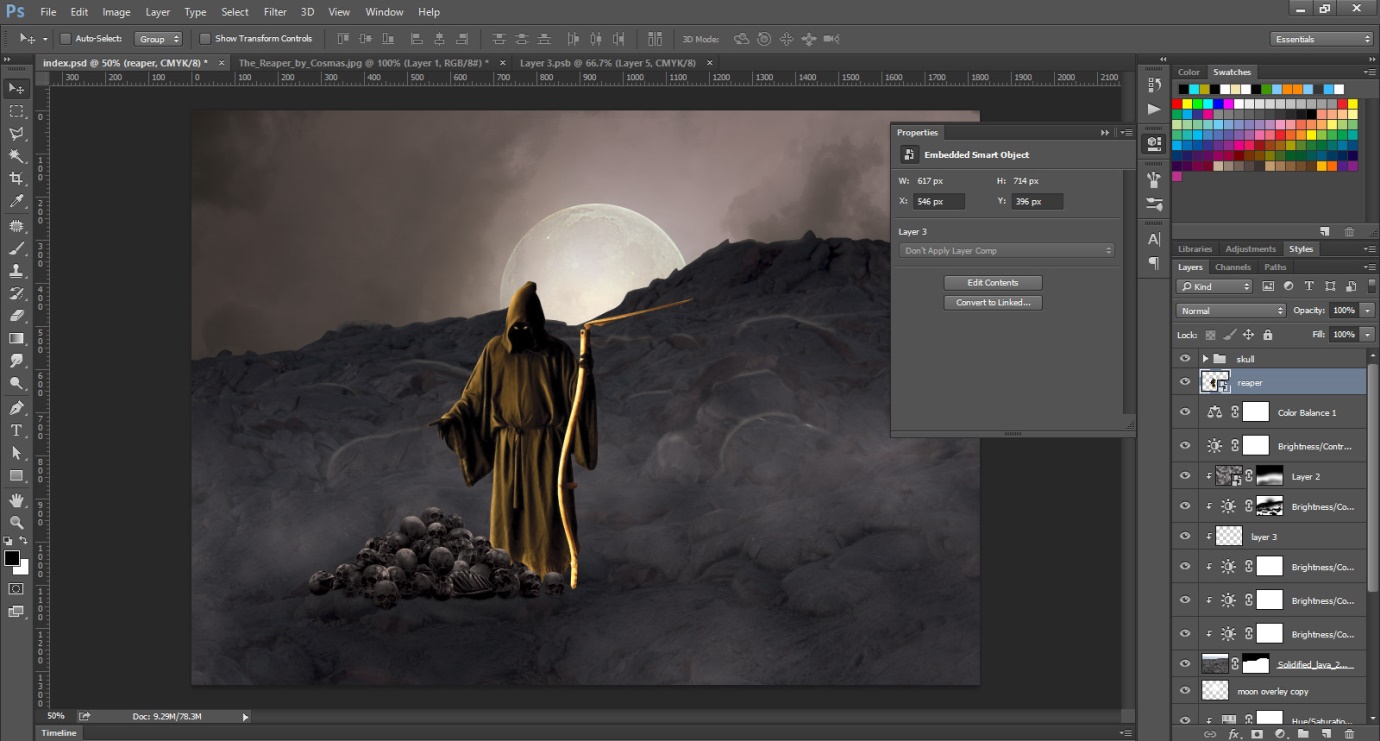
Bring reaper file to your image. Click on white canvas next to layer thumbnail and use hard round, small size brush and mask it.
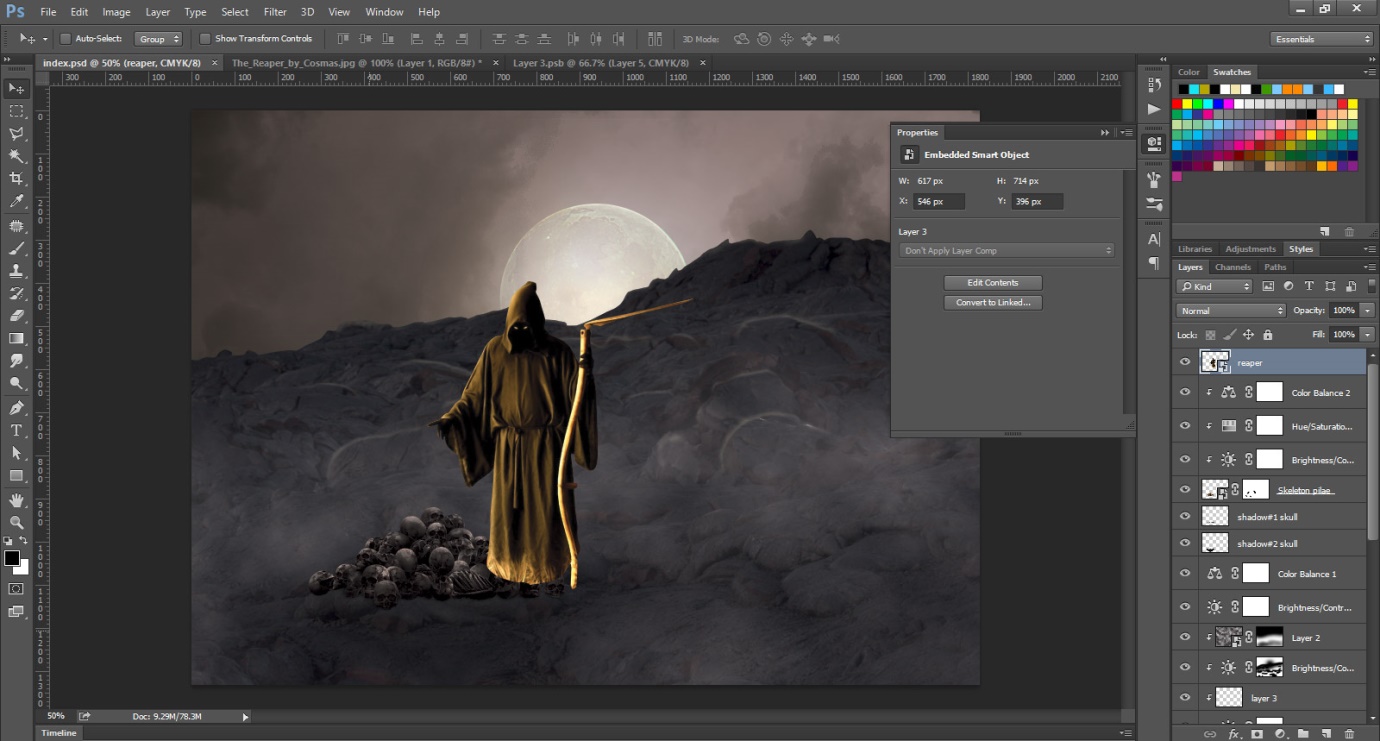
Step 7
Select all layers belonging to Skelton pilae (Skelton, shadow, brightness, hue etc.) & group them together with Ctrl+G command. Now drag reaper layer below this folder. Look into the image and see the effects.
Step 8
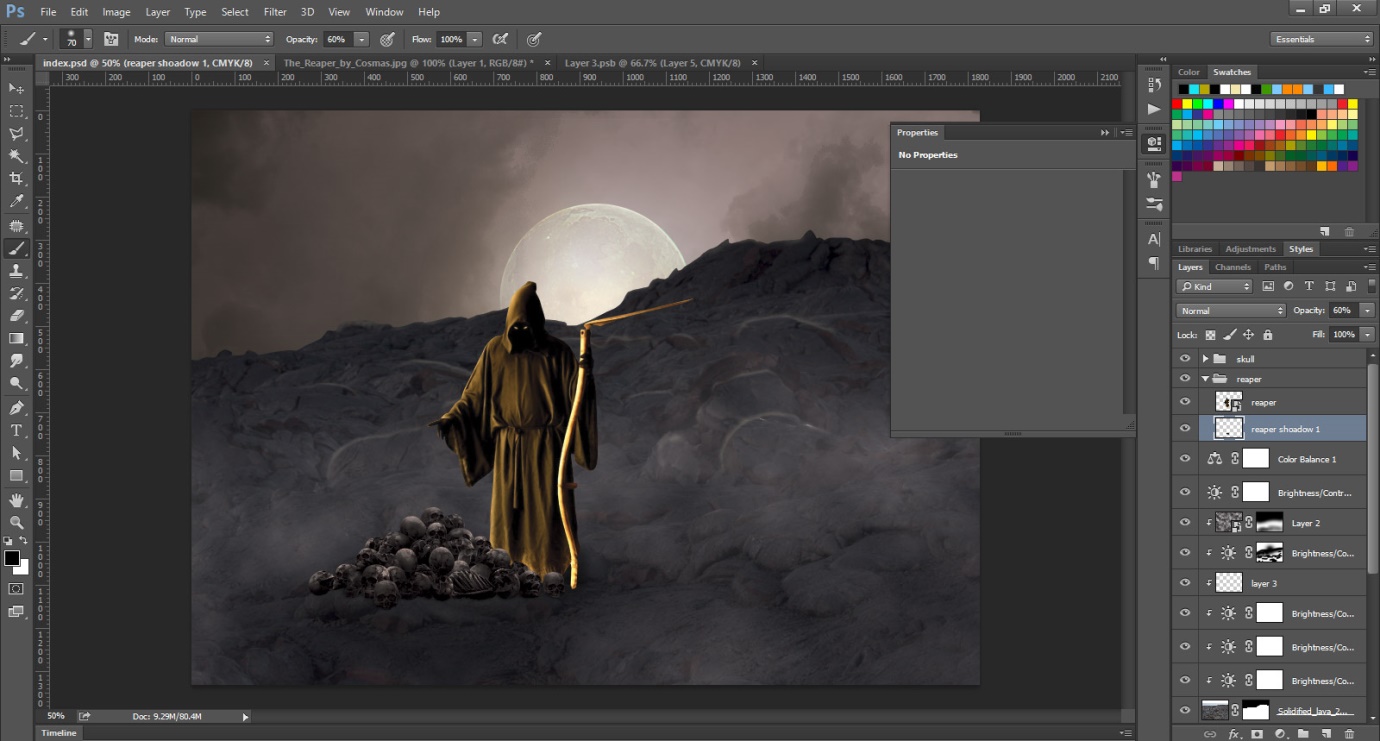
Make a reaper group so as to place all layers belonging to reaper inside it. Now follow similar kind of (Skelton pile) steps for creating shadow, brightness, contrast, hue effects but this time with different values.
Create reaper shadow 1 below reaper layer. Use black color soft brush to create shadow effect just beneath the reaper.
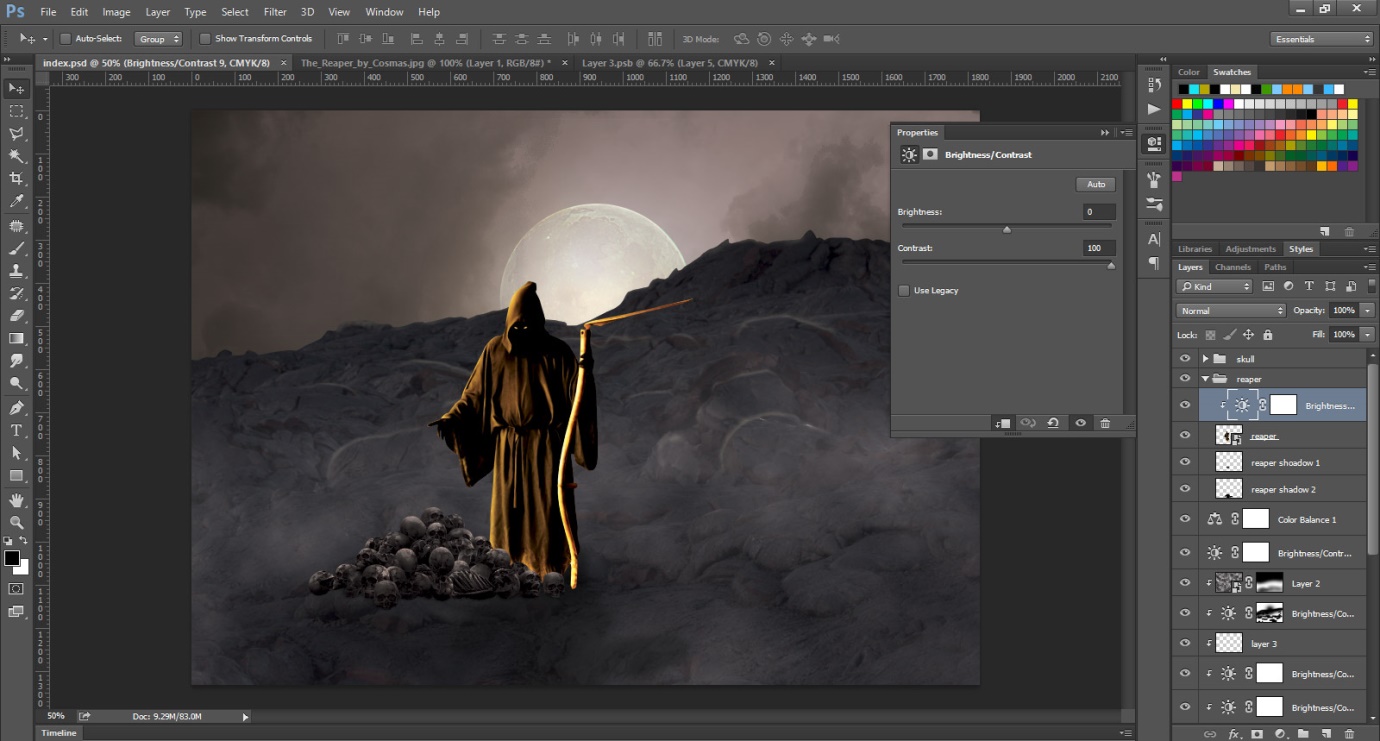
Step 9
Create reaper shadow 2 below reaper layer & make layer’s opacity at 30%.
Create Brightness/contrast layer above reaper layer & mask it on reaper layer with following values:
Brightness: 0 and Contrast: 100.
Step 10
Click on white canvas next to layer thumbnail and use soft round, big size brush. Mask parts, which should be lighter. This will remove dark patches from the reaper’s clothes.
In this part of the tutorial, you learnt how to create a brightness/contrast effect layer & mask it to Skeleton pile layer with hue saturation effect. You also learnt how to color the Skelton pile layer so as to make it appear quite similar to its surroundings as if the skulls are effectively placed on Solidified_Lava layer. In addition, you also got to know how to insert the reaper image and did brightness/contrast adjustments of the image.
In the 4th Part of this tutorial, designer will be creating darkness on the reaper’s clothes through Hue/Saturation effect. You will further be creating brightness effects to highlight the reaper image. This will be followed by skull highlight effectively outlining the reaper and the skull images. Further, you will be creating moonlight effect on Solidified_Lava layer.
Looking for Customized, On time, Logo Designs? Launch a Logo Design Contest today. Choose from 100+ designs. Take your pick! We offer a full 100% money back guarantee! Finally, a risk-free way of getting a customized design.
Like our blog? Follow us on Twitter, Facebook and Linkedin.


