Last updated on February 12th, 2019
In Part 4 of the tutorial you learnt how to create a moonlight effect on the reaper’s clothes and on the skulls image as well. You learnt how to make use of Smudge tool to control the highlighting on rocks and create a similar pen pressure effect.
In this final part of the tutorial, you will learn the use of aura brushes to create effects representing souls and spirits emanating from the skulls. You will also learn how to create “flame or aura” effects through Smudge tool.
Please click here to read the previous parts of this interesting tutorial.
Step 1
Use smudge tool to control the highlighting effect on the rocks.

Step 2
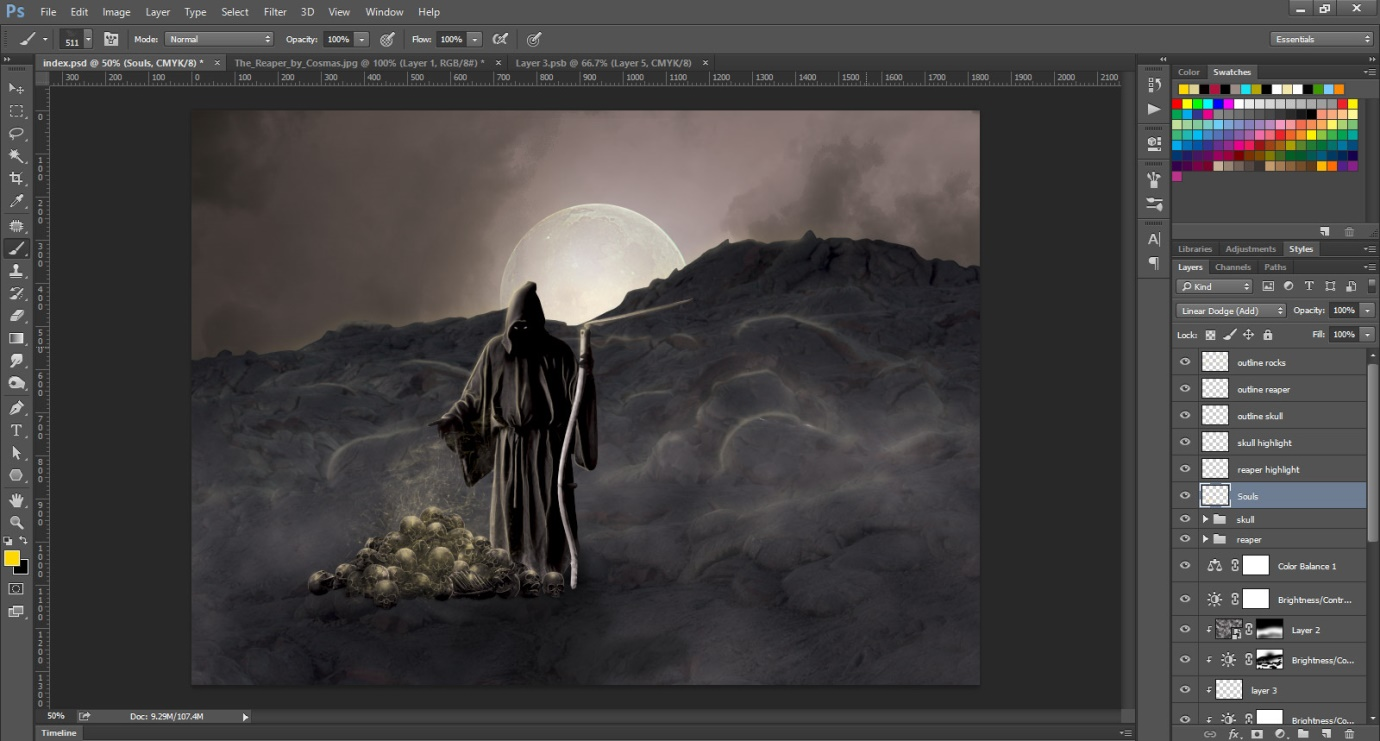
Create a new layer above the skull folder and name it “Souls”.
Go to Layer > New > Souls.
Now, use the aura brushes to create an effect as if souls are emanating from the skulls.
Please click here to get the Photoshop brushes.
Step 3
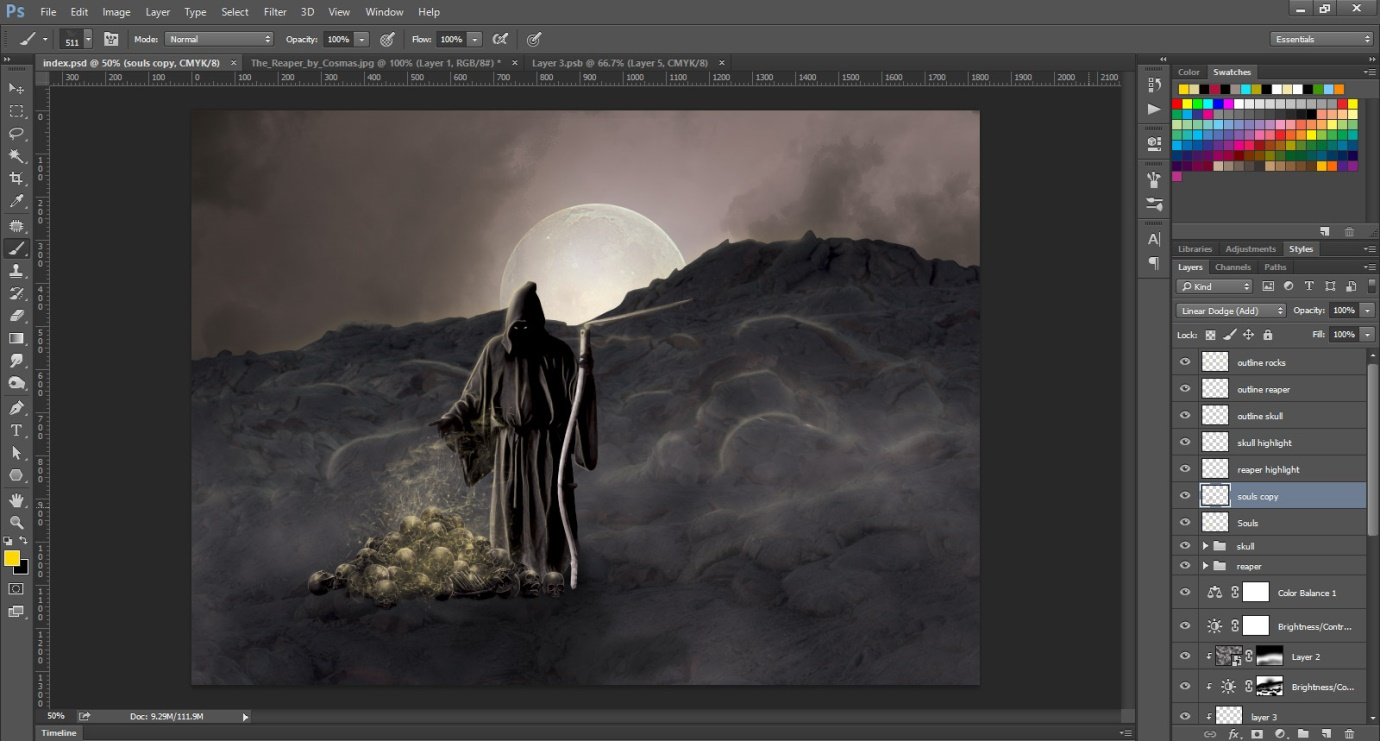
Create a copy of the Soul’s layer. This will effectively create a new layer (souls copy) and magnify the soul effect manifolds.
Step 4
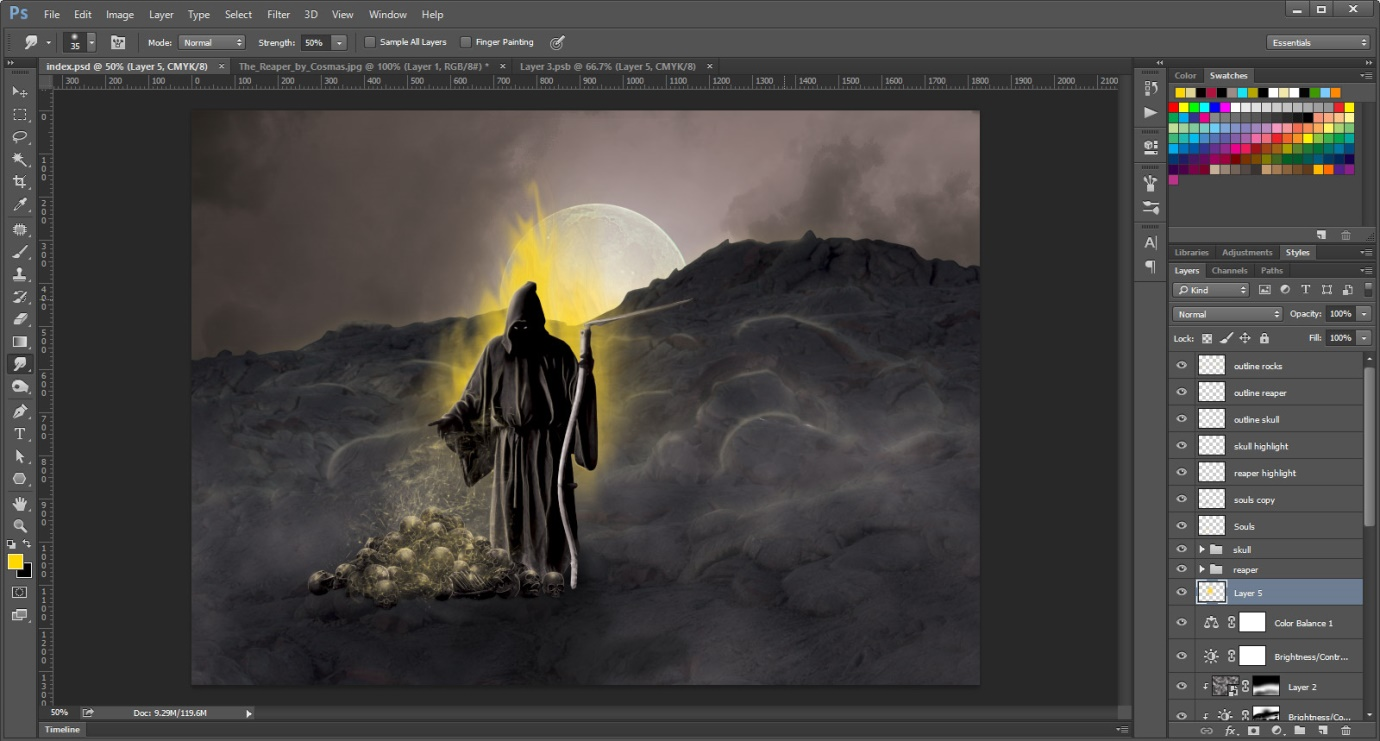
Create a layer below the reaper folder.
Go to Layer > New > Layer 5.
Now, use yellow color brush to create a yellow spot on the layer. Use Smudge tool to create “flame or aura” effect.
See the screenshot below and the yellow backlight effect being created behind the cleric.
Step 5
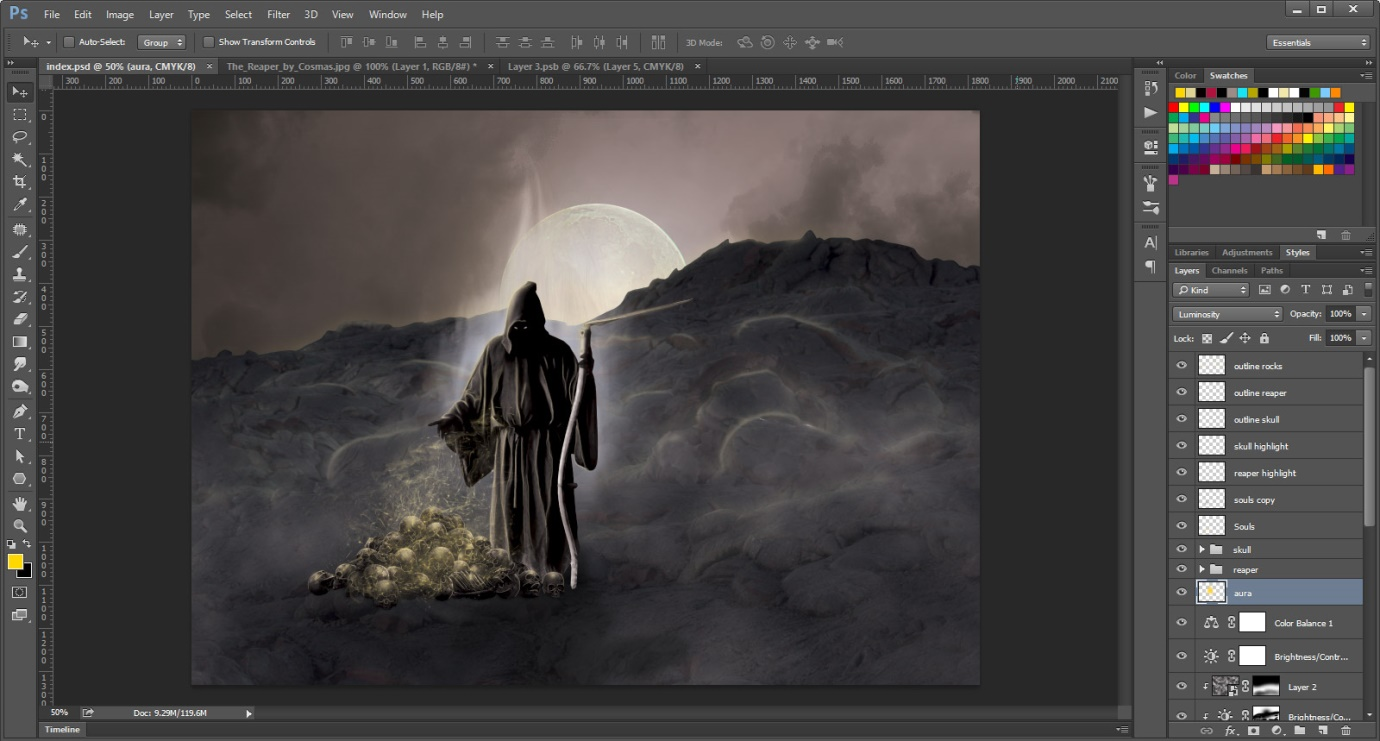
Name the Layer 5 as “aura”. Now change the layer’s blending option from “Normal” to “Luminosity”. We are almost done with the effects now.
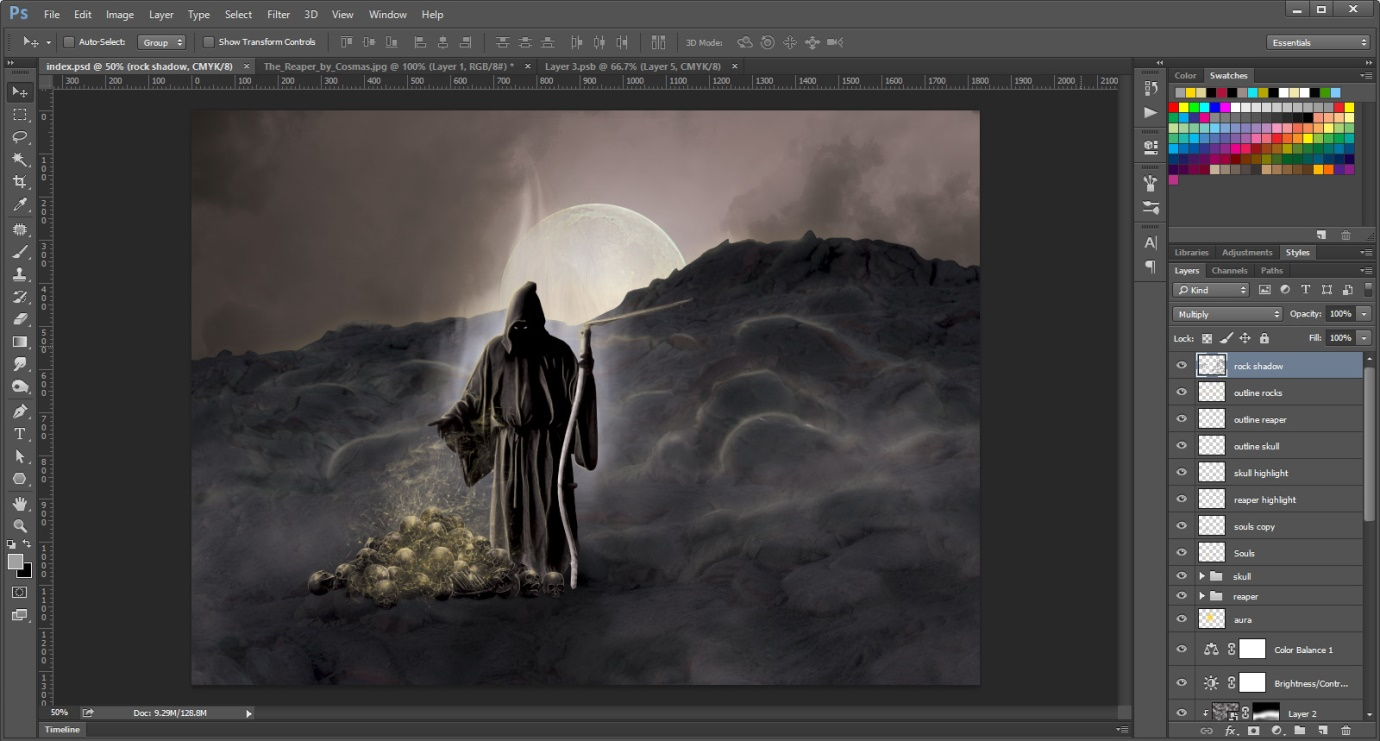
If you wish you can create some shadow effects on rocks as done in this image. This will enhance the overall look of the photo image.
Step 6
Create a layer above all layers & name it “rock shadow”.
Go to Layer > New > rock shadow.
Now, use soft round brush with grey color code (#e7e7e7) to color the image portions where you feel shadow should appear. After this you need to change layer’s blending option to “multiply”.
Step 7
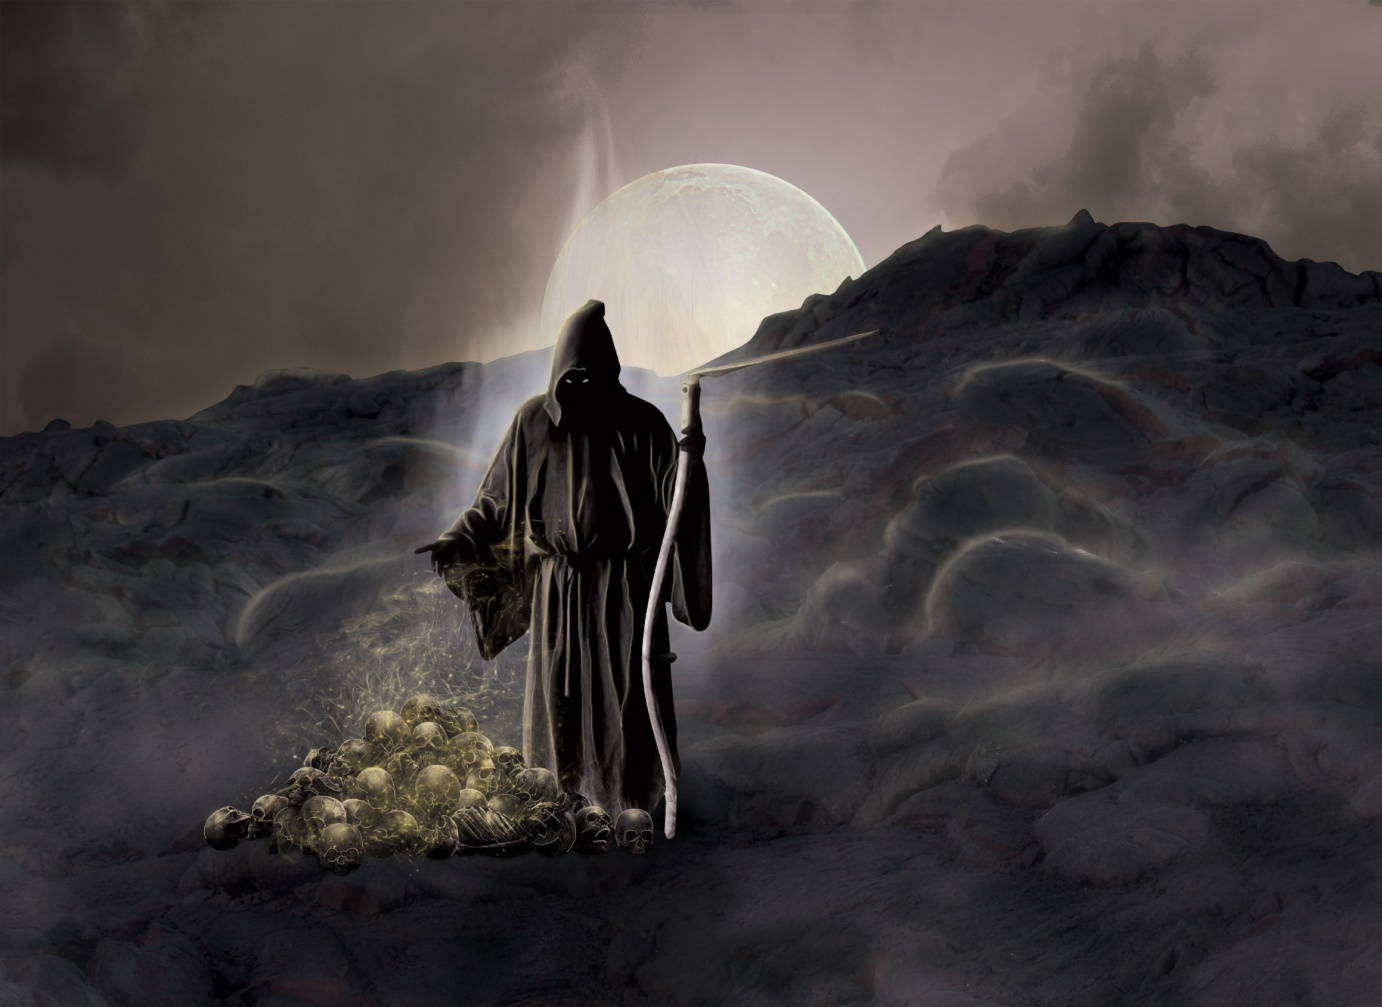
Photo manipulation of the image is complete and we are done with our final outcome image. You can now use this image wherever you want.
In this final part (Part 5) of the tutorial, you learnt the use of aura brushes to create effects of souls emanating from the skulls. You also learnt how to create “flame or aura” effects through Smudge tool and make effective use of layer’s luminosity blending option.
However, if you have just joined, check the previous parts of this tutorial to understand the complete process of photo manipulation through Photoshop.
Looking for Customized, On time, Logo Designs? Launch a Logo Design Contest today. Choose from 100+ designs. Take your pick! We offer a full 100% money back guarantee! Finally, a risk-free way of getting a customized design.
Like our blog? Follow us on Twitter, Facebook and Linkedin.