Last updated on November 10th, 2021
Pencil pattern brush is often used by graphic designers to create a unique impression and convey some specific message to viewers. This easy to follow tutorial takes you on a journey to create pencil pattern brush in Abode Illustrator conveniently.
In the first installment of the tutorial, we revealed the techniques to set up a simple grid so as to create main shapes by using basic tools. Then, gradually create the shapes successfully.
Now in this final installment of the tutorial, we will reveal how to create your own pattern brush. Throughout the tutorial, you will be learning how to manipulate the brush to create a simple text effect.
Step -1
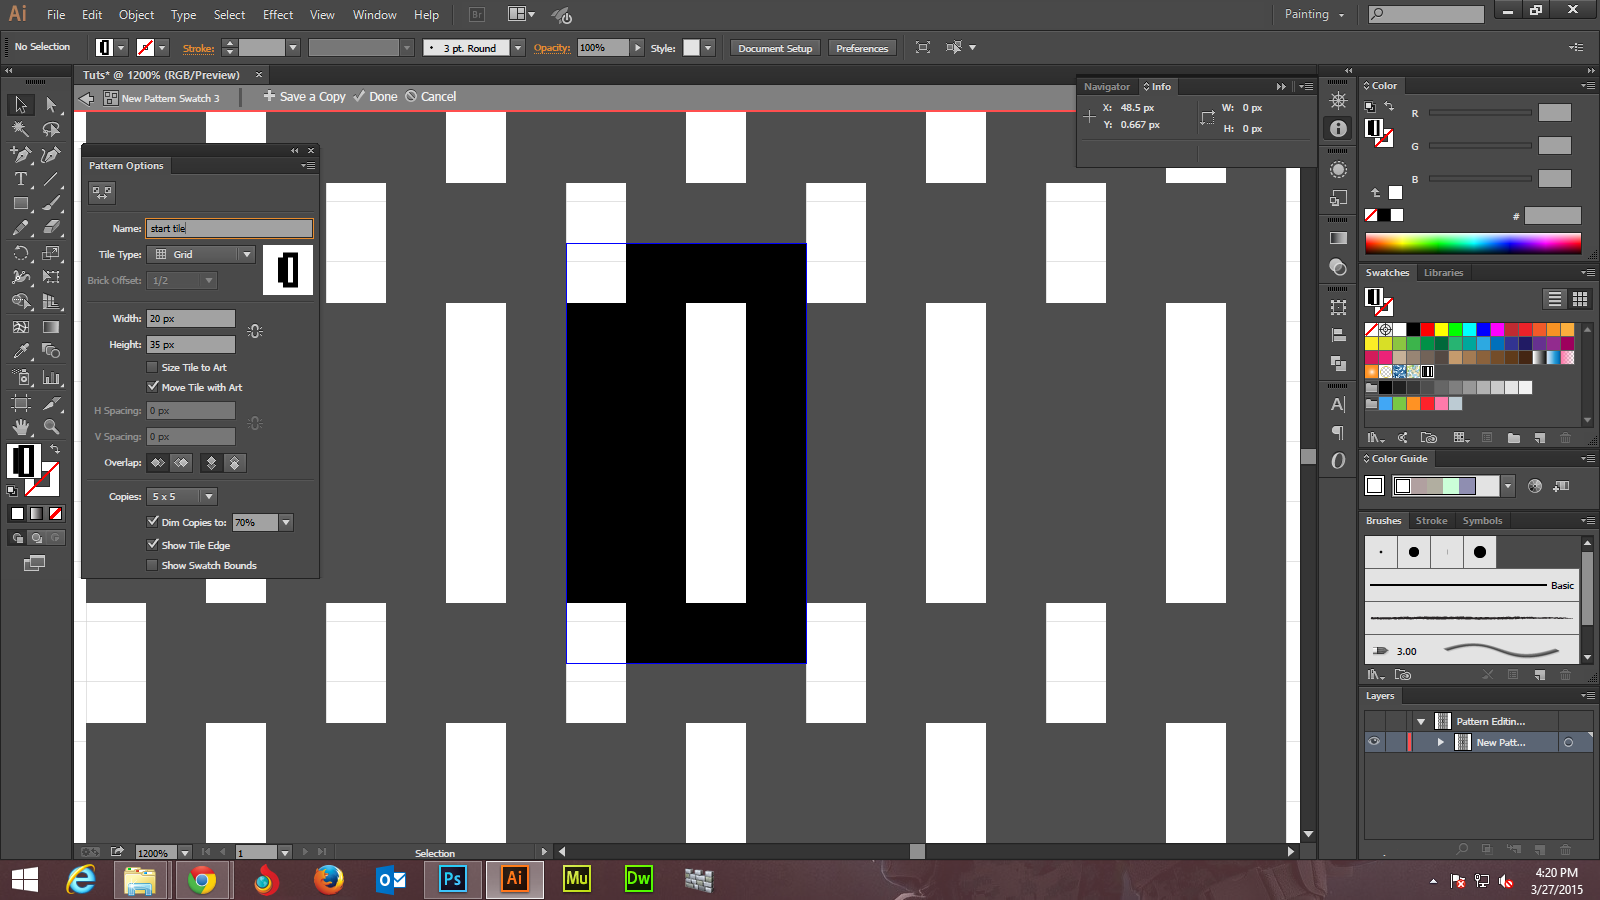
Start by selecting the three rectangles as shown in the following screenshot. Then, drag the rectangles inside the Swatches panel. This allows the rectangles to be saved as simple pattern. You can now rename this pattern once you double click on it. Else hit the Cancel button.
Step -2
In the image below, you can see that now you have many pattern options. Choose the tile shape as Grid and set the width at 20px and height at 35px. Thereafter, check the box that says Move Tile with Art. You can also create different copies of the image with dimensions 5 x 5.
Step -3
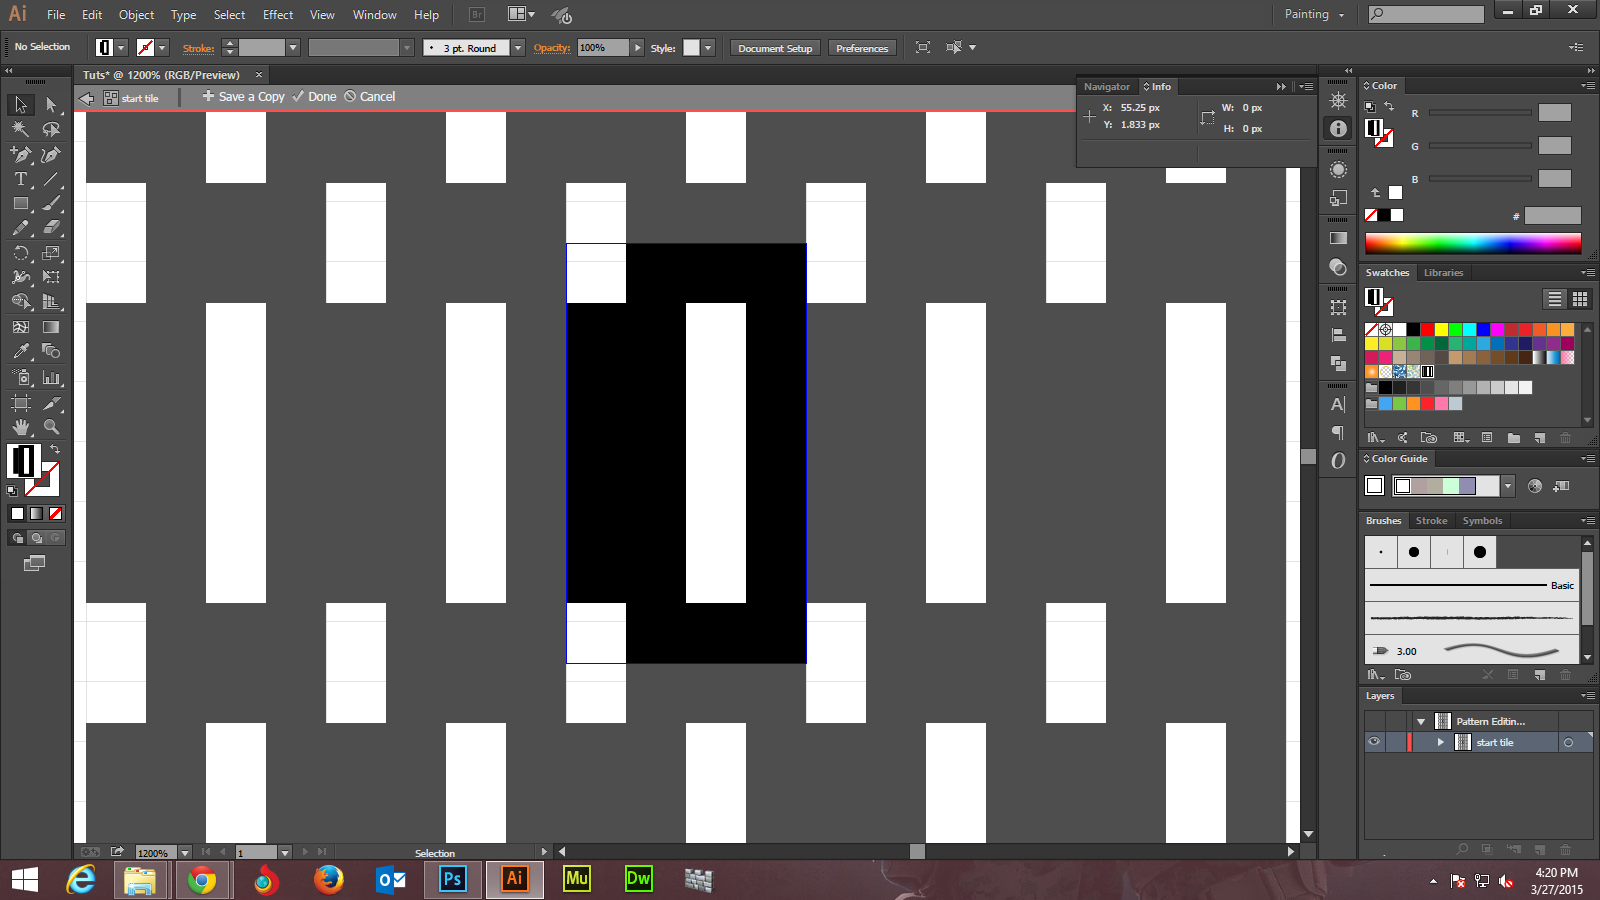
You have different images of the rectangle copies that you can manipulate as per your design requirements.
Step -4
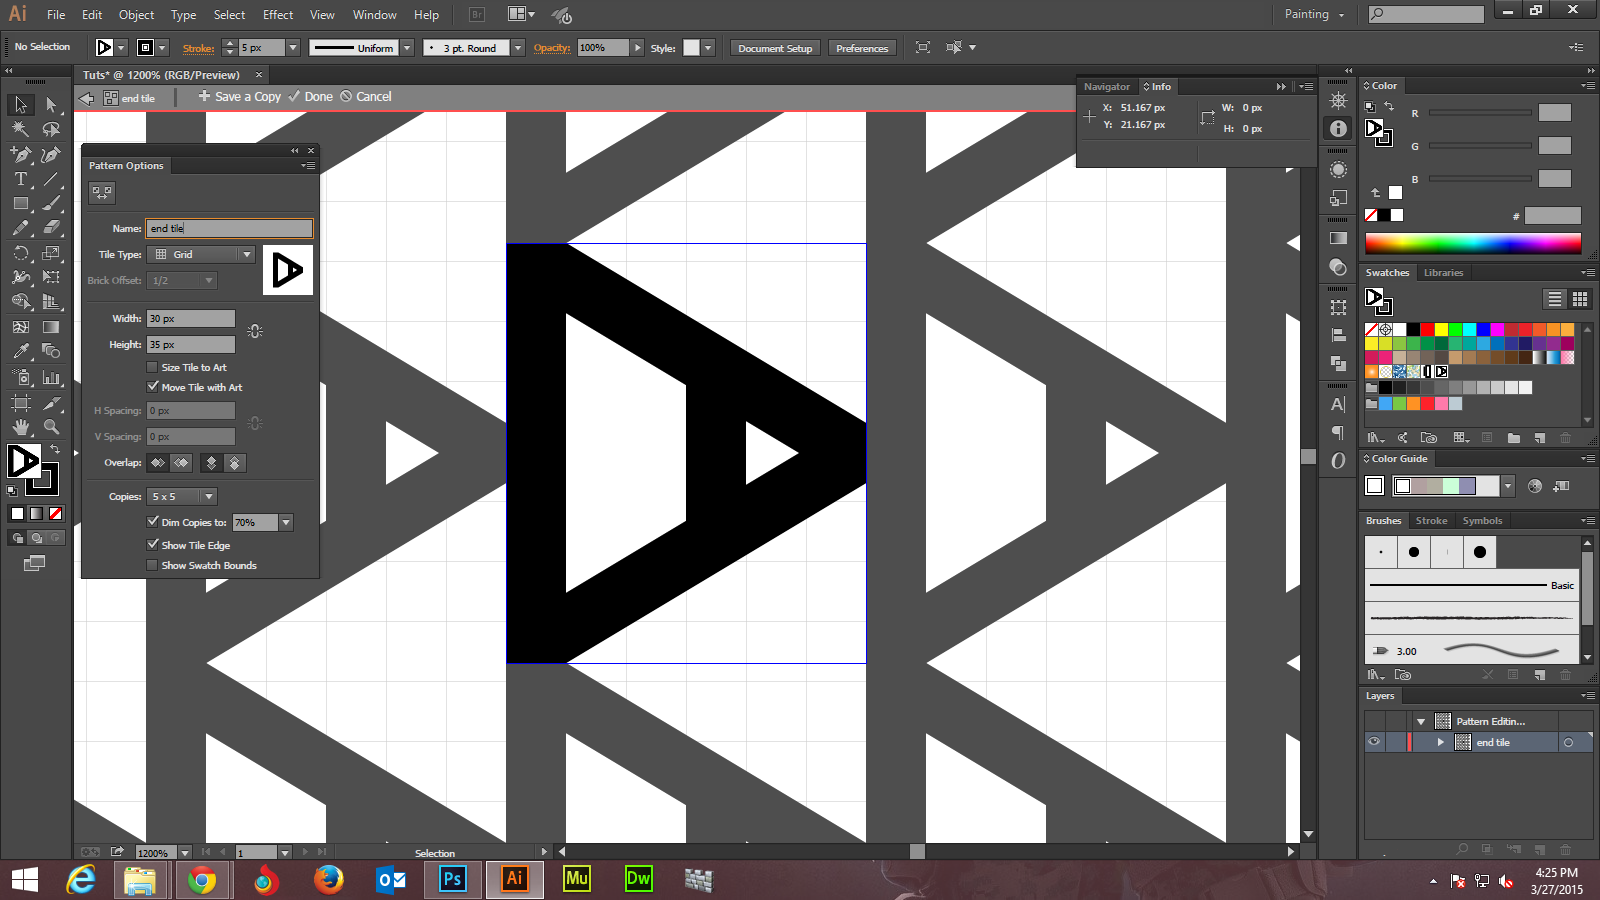
You too can select two shapes as we have done (See the following screenshot). Now convert the shapes to the second pattern (look below). Double click on the new pattern and rename it as ‘end Tile’ and then hit the cancel button.
Step -5
Now you can move the selected pattern on the grid freely in order to create its several copies. Pattern Option will help you determine what width and height you wish to opt for the selected pattern.
Step -6
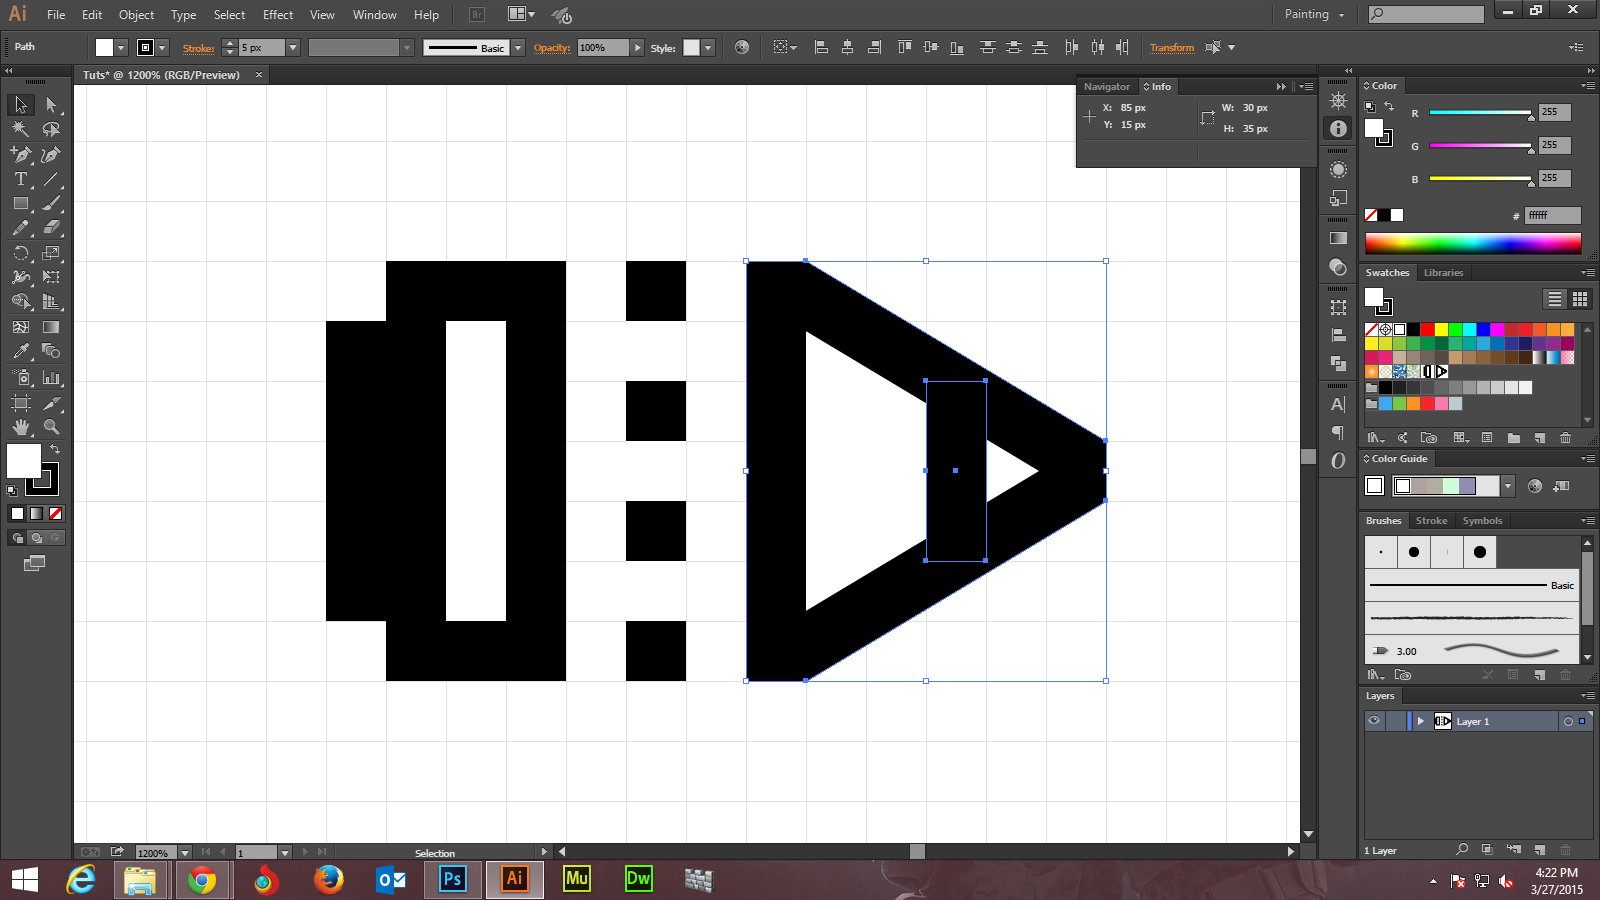
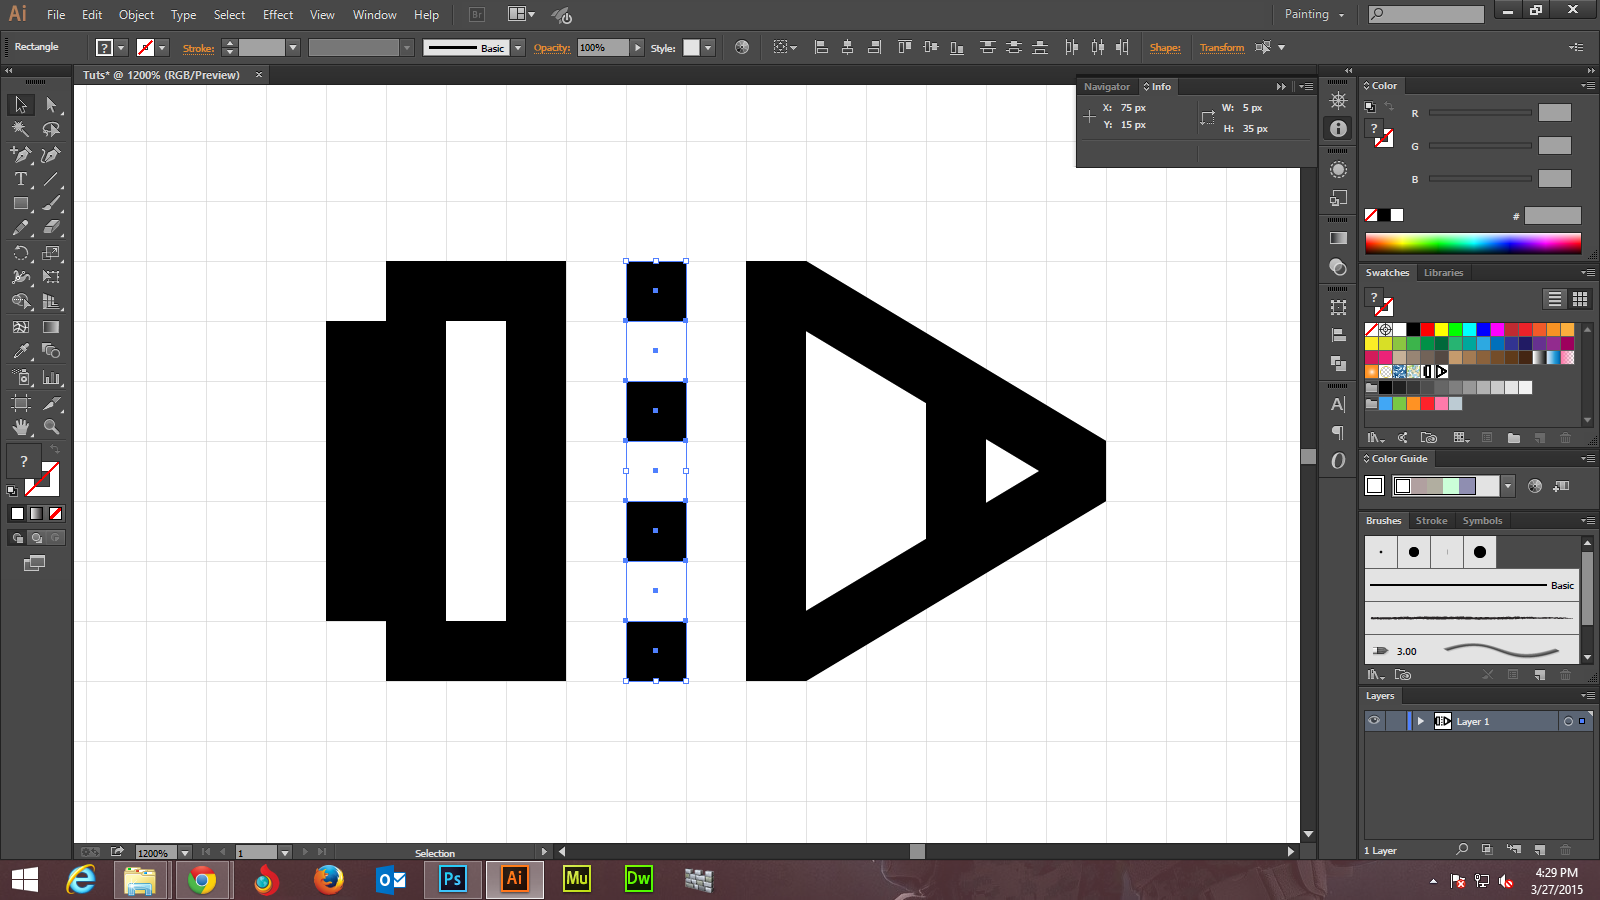
See the following image where we have essentially selected seven squares: 4 black and 3 white.
Step -7
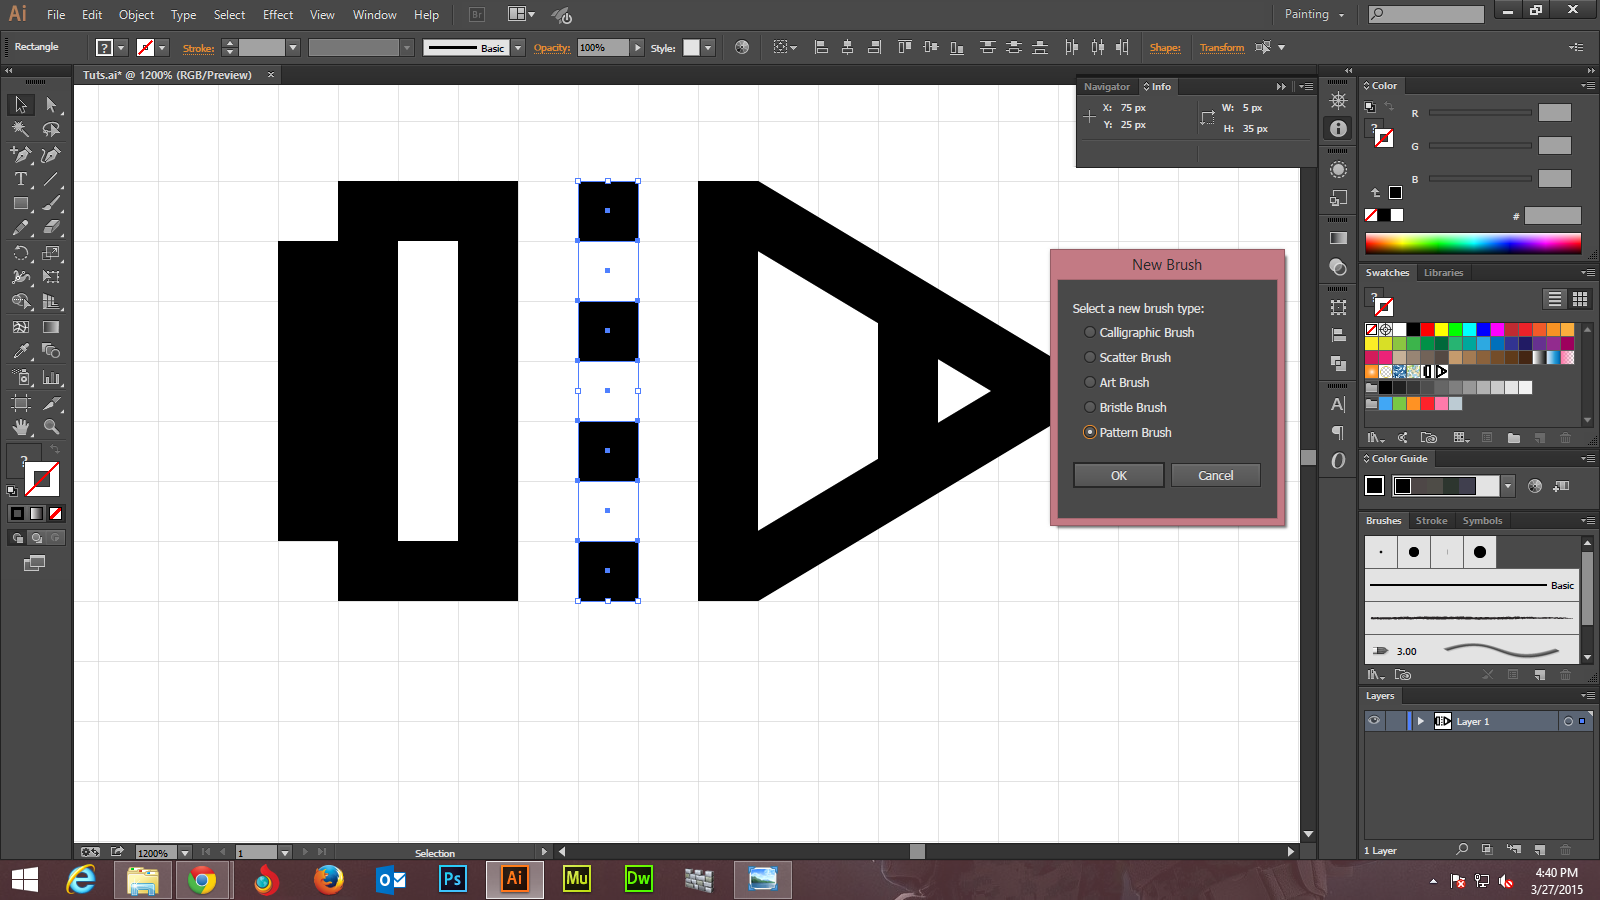
Open the Brushes panel and click on the New Brush button. Now you need to check the Pattern Brush box option and click OK. This will enable you to open Pattern Brush Options window so that you can easily name it ‘Pencil Brush’.
Now drag the Scale slider to set at 40% and also select Tints from the Method drop-down menu. It’s time to move to the Tile boxes. When you open the Tile drop-down window to add the ‘Start Title’ pattern created earlier, you also need to open the End Title drop-down window and add the ‘end Title’ pattern.
Step -8
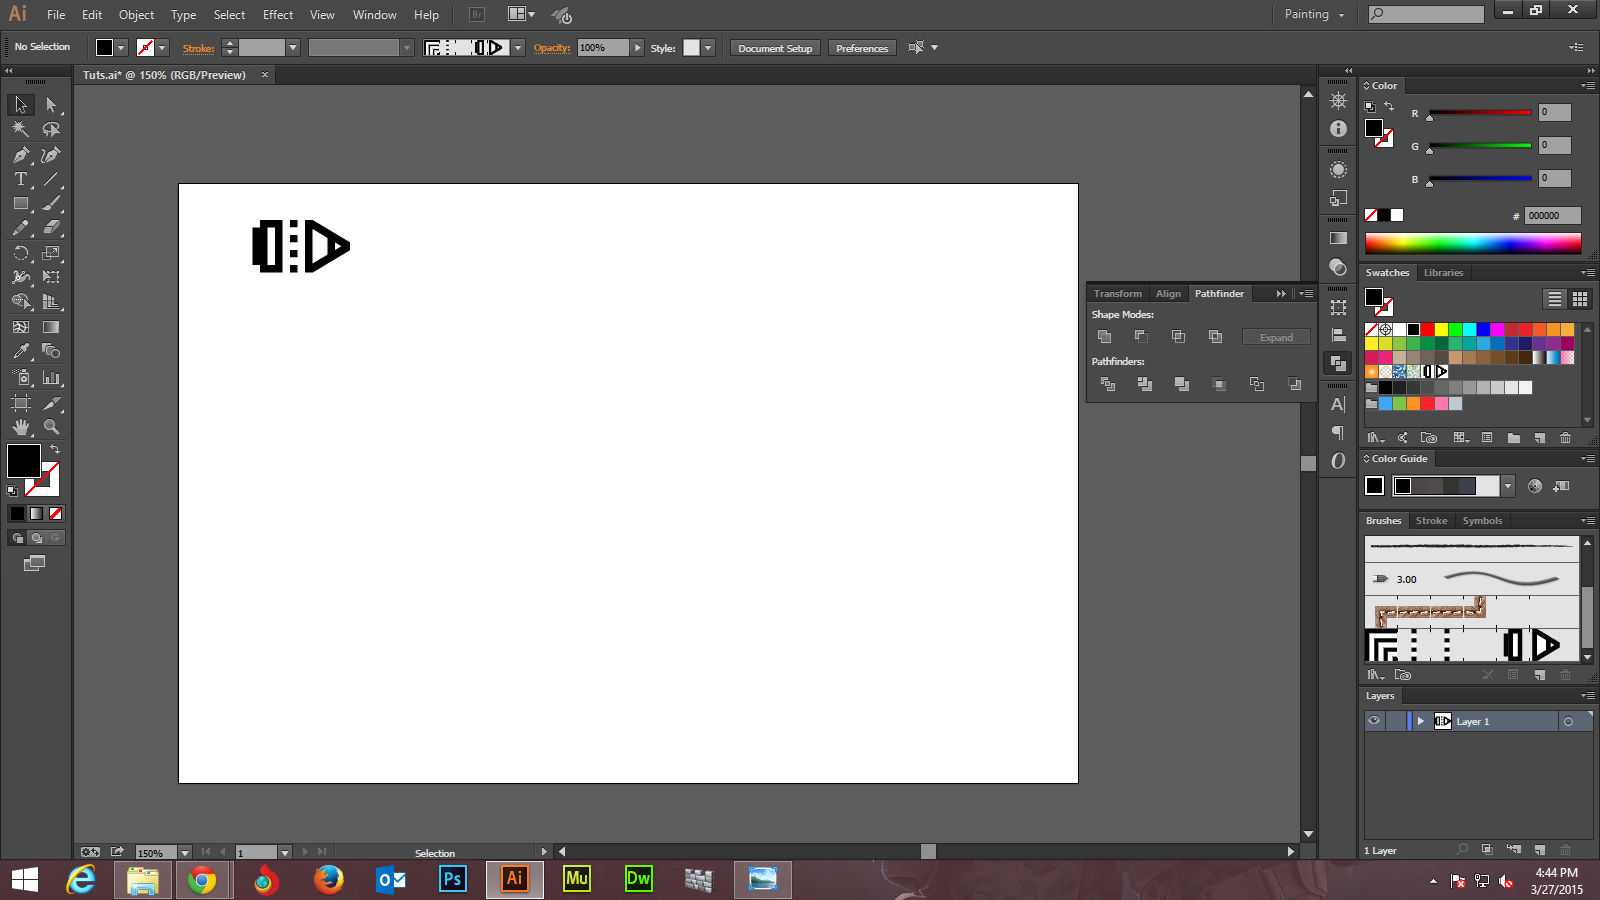
Now, finally you have your own new pattern brush inside the Brushes panel.
Step -9
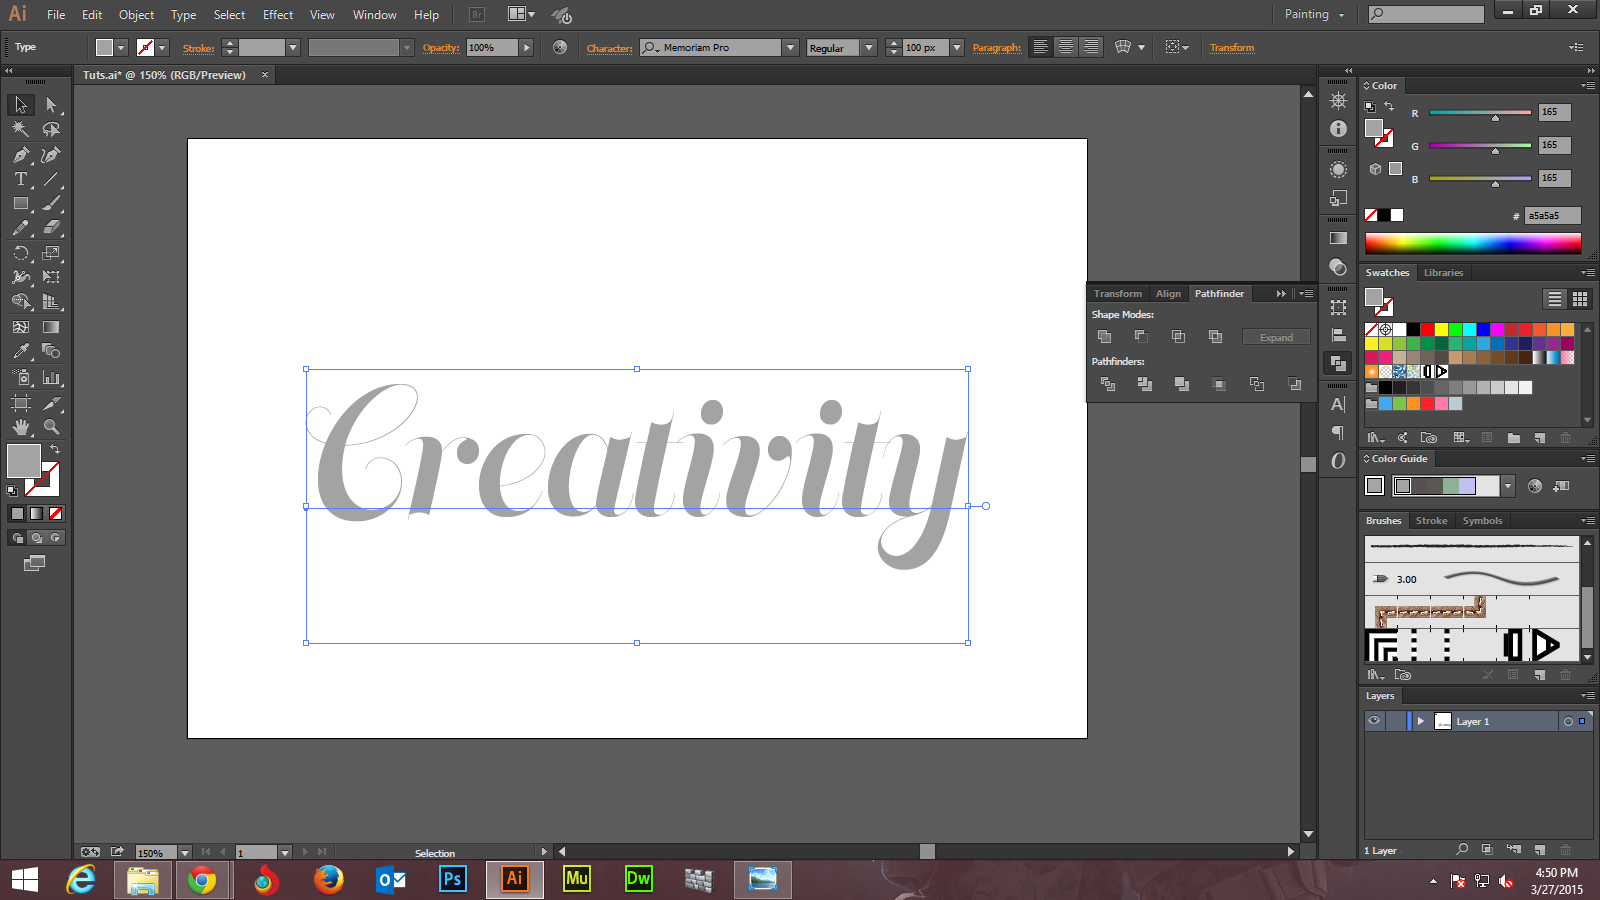
You are now ready to create simple text effect by using your Pattern Brush you designed in the previous step. First of all you have to disable the Grid and also the Snap to Grid.
Then, select the Type Tool and click on your artboard and write whatever you want to write. We wrote ‘Creativity’. Ensure that the piece of text should stay selected.
Open the Character panel and use the Mistral font and also select the font size. Then, move to the Layers panel and click on the piece of text.
Step 10
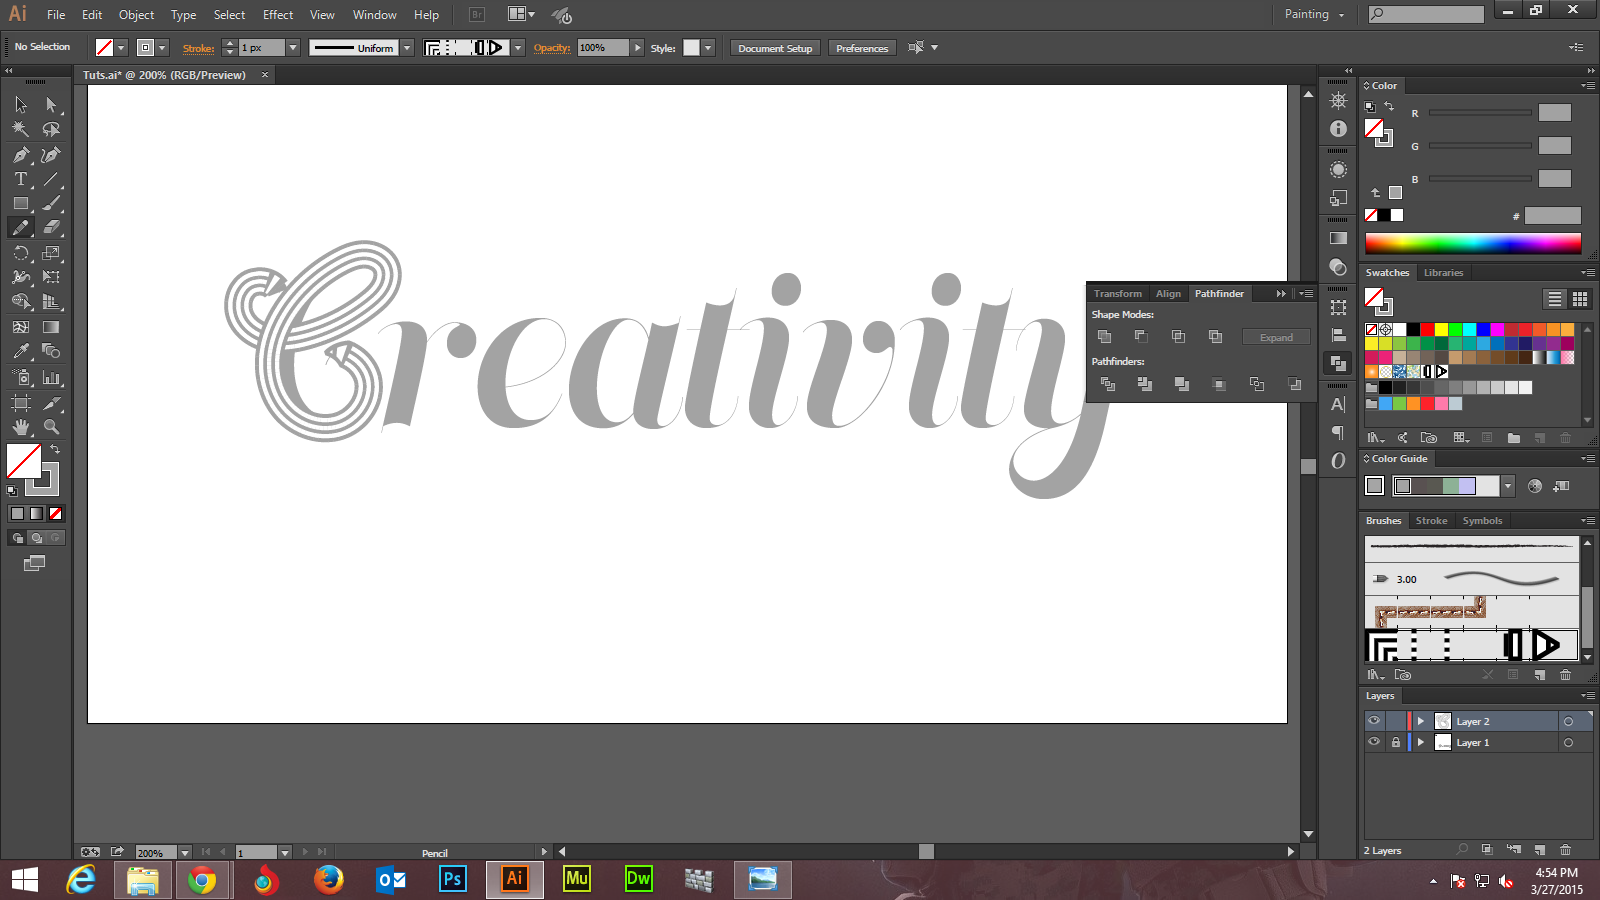
Select the Brush Tool and then pick your Pencil Brush from the Brushes panel. Now draw your first letter. You can use the text in the back as a rough reference.
The new patch should stay selected while you focus on the Appearance panel. Now, select the stroke to replace the existing color with R=28 G=117 B=188.
Step -11
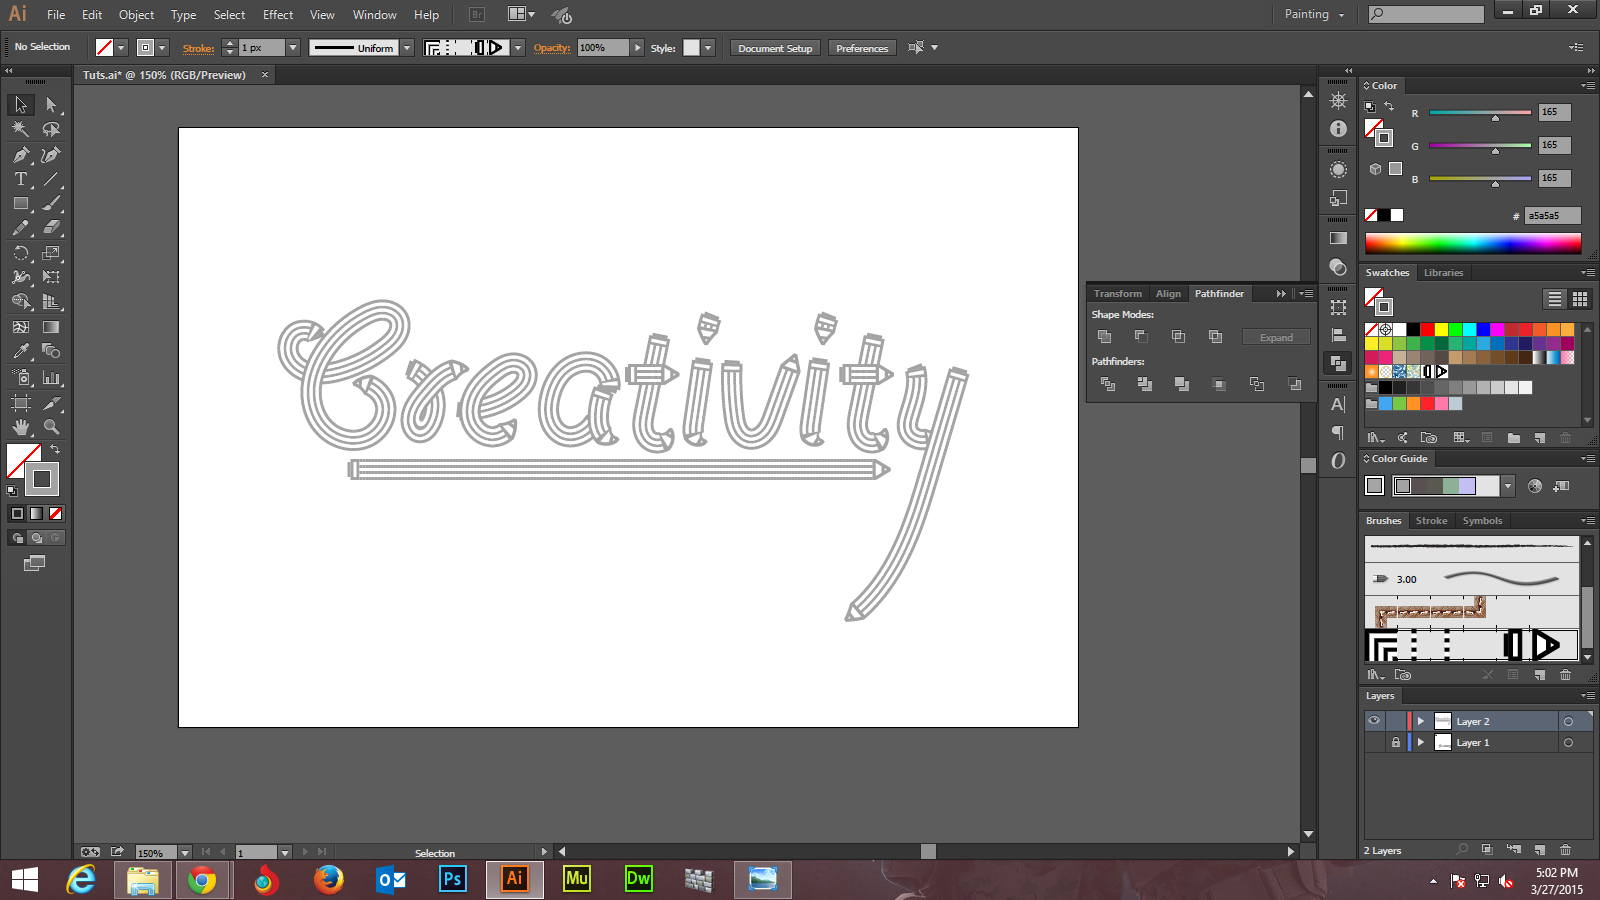
You can now draw the rest of the paths by using the same tool and brush as displayed in the following screenshot.
Step -12
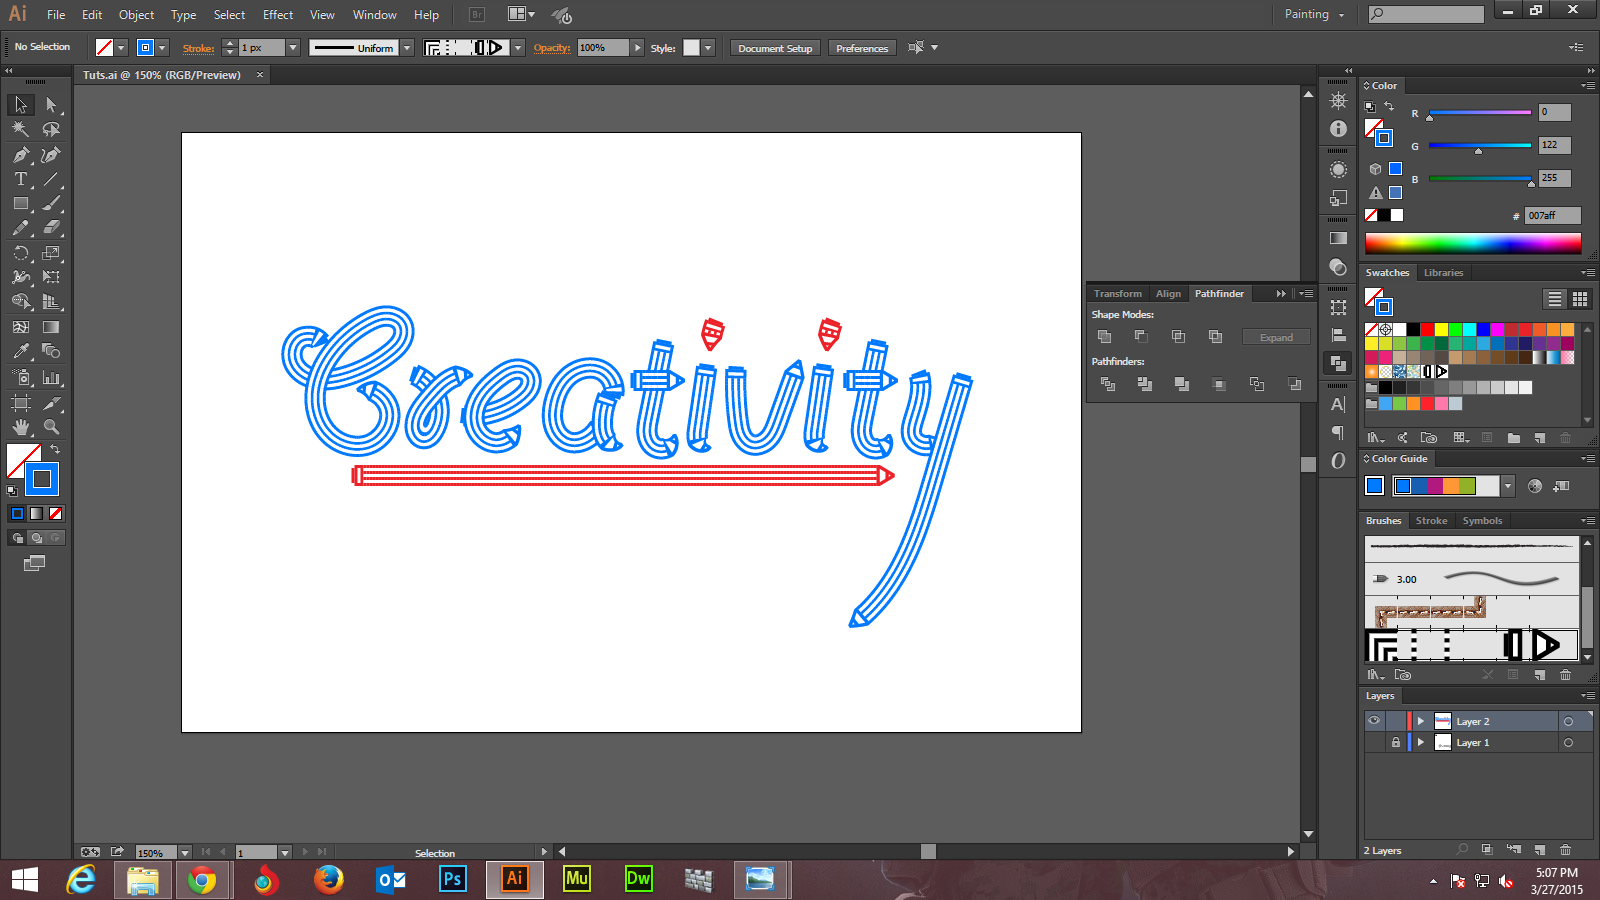
If you want to create a colored text, for example red, you need to use the red patch with color values: R=239 G=65 B=54. Now, move to the Layers panel to get rid of the locked text.
In the end, we are ready with our text ‘Creativity’ created from the pencil pattern brush that we had shaped through a series of steps.