Last updated on December 4th, 2019
Movie posters are very expressive. As a designer it may be your secret wish to draw such posters one day. Well, if you are interested then we can help you in designing a superhero movie teaser poster that conveys the message of the movie.
In this tutorial, we take you through easy steps to show how to draw a mask for your movie character. We will show you the use of pen tool, blend modes and texture for the design. You will also learn about the usage of color to create the desired environment of the movie in the poster. Also, you will learn how to make the images sharper and add more details to the poster design.
Step-1
Go to the File icon to open the menu in the Photoshop.

Step -2
Click on the Move tool on the left bar to open the New menu and fill the requirements of width, height and color etc for the movie poster design.

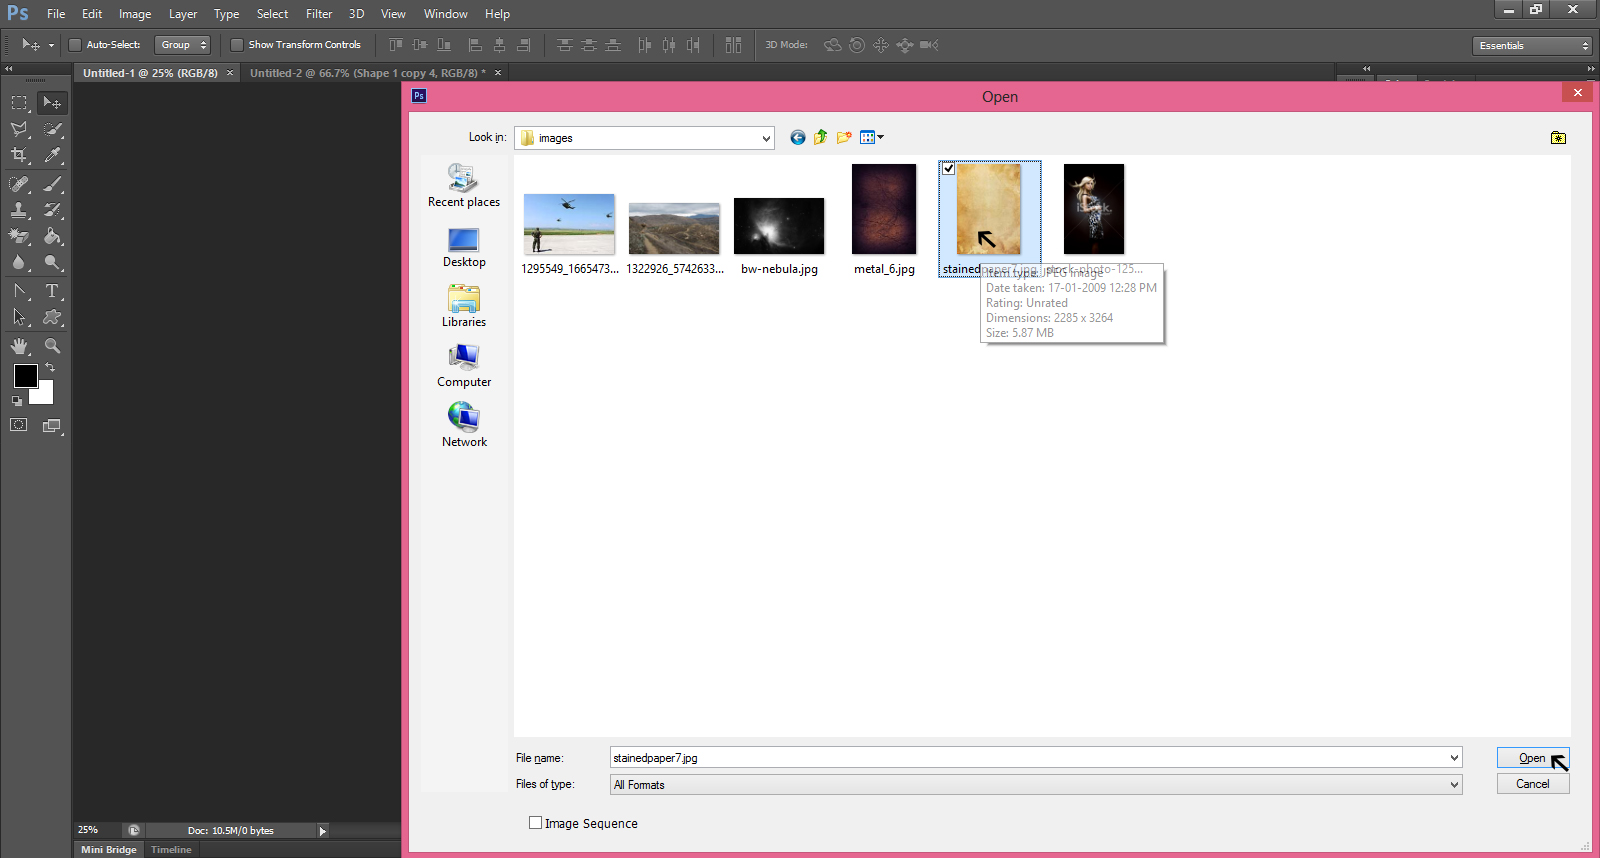
Step-3
Then, select an image from your files saved in your computer.
Looking For a Movie Poster Design?
We have helped thousands of business owners from all around the world with their graphic design needs such as a logo design, website design, social media posts, banner design and much more.
Get Your Movie Poster DesignGet a Free Quote
Step-4
Open the Color Picker and choose black as foreground color.

Step-5
You get a document with black color after you fill it for the background color of the graphic design.

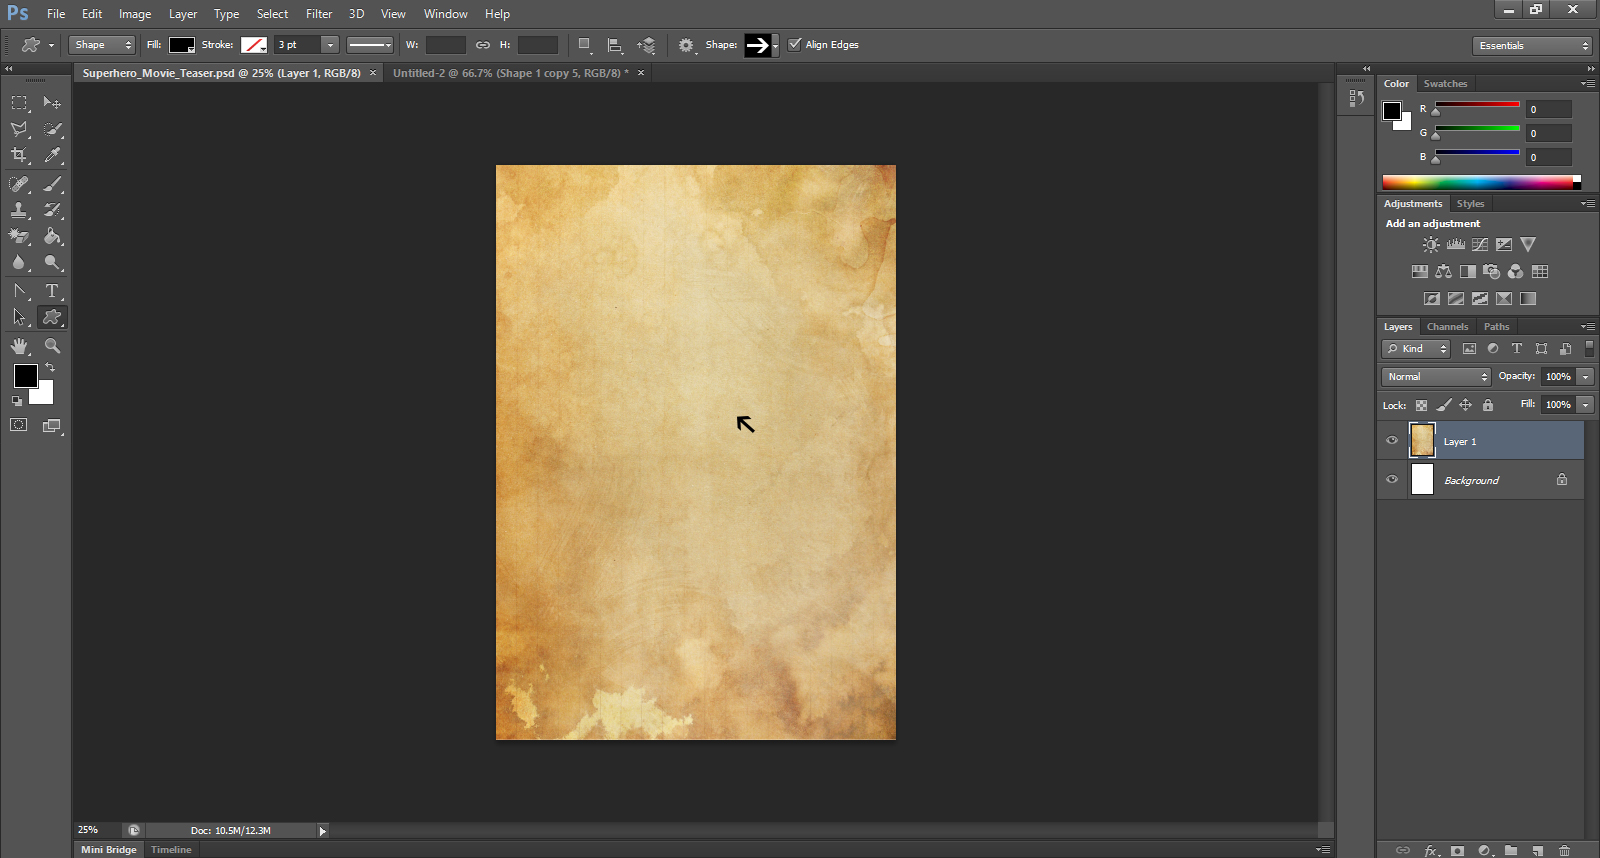
Step-6
Go to the Layers panel on the bar on the right side and select grey color for layer 1. This will give a cloudy environment to the layer.
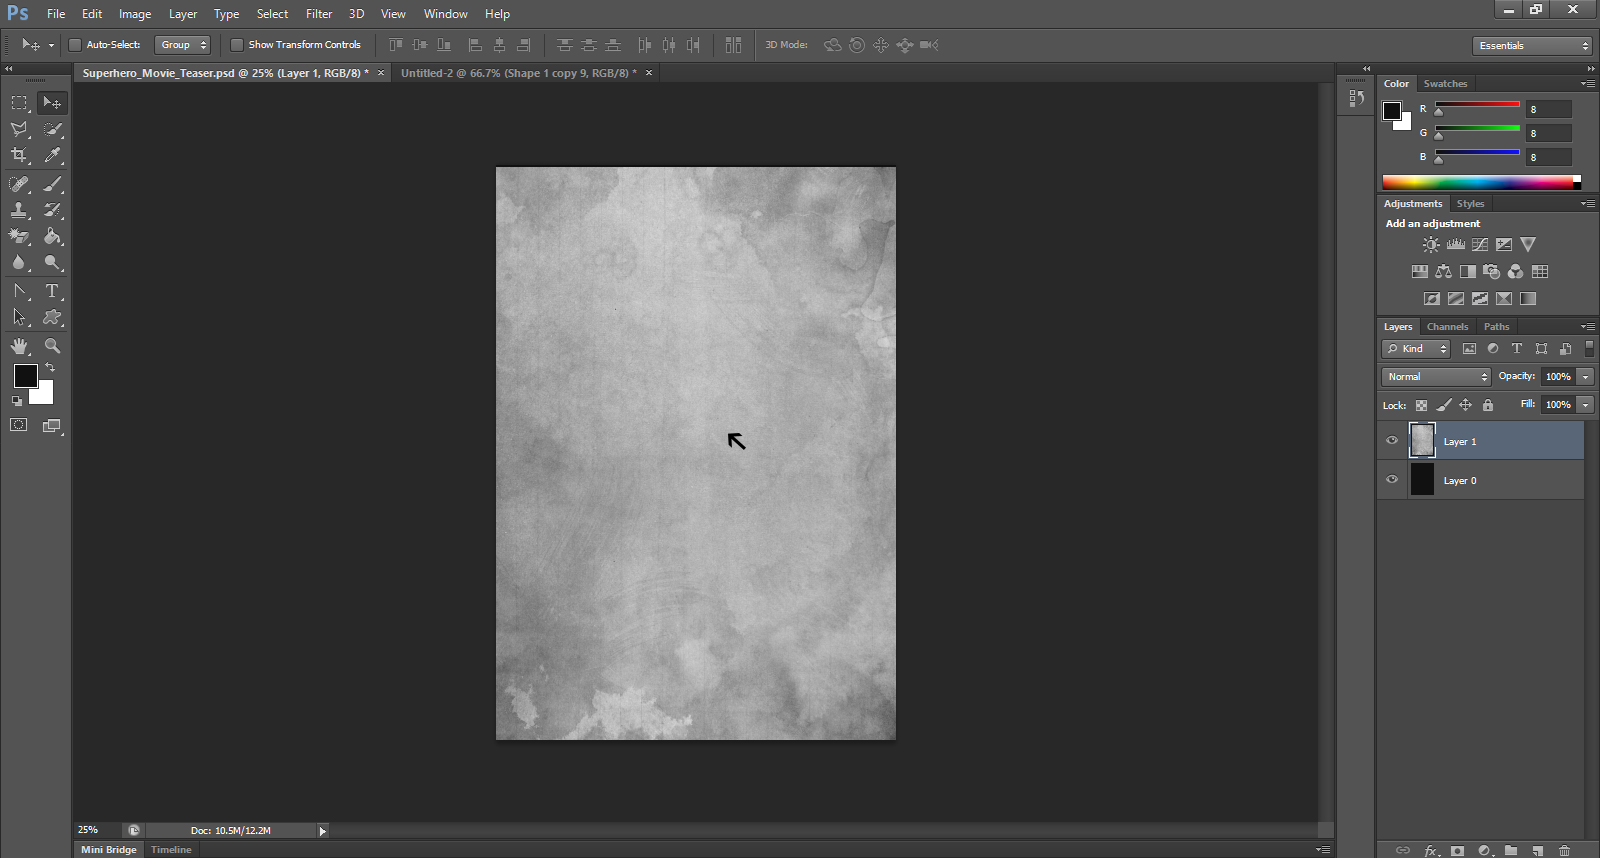
Step-7
Then give the layer 1 a different bright color with 100% opacity
Step -8
On mixing the above two foreground colors, you get a different color as a new layer 1. The new mix of colors suits to your movie poster design.
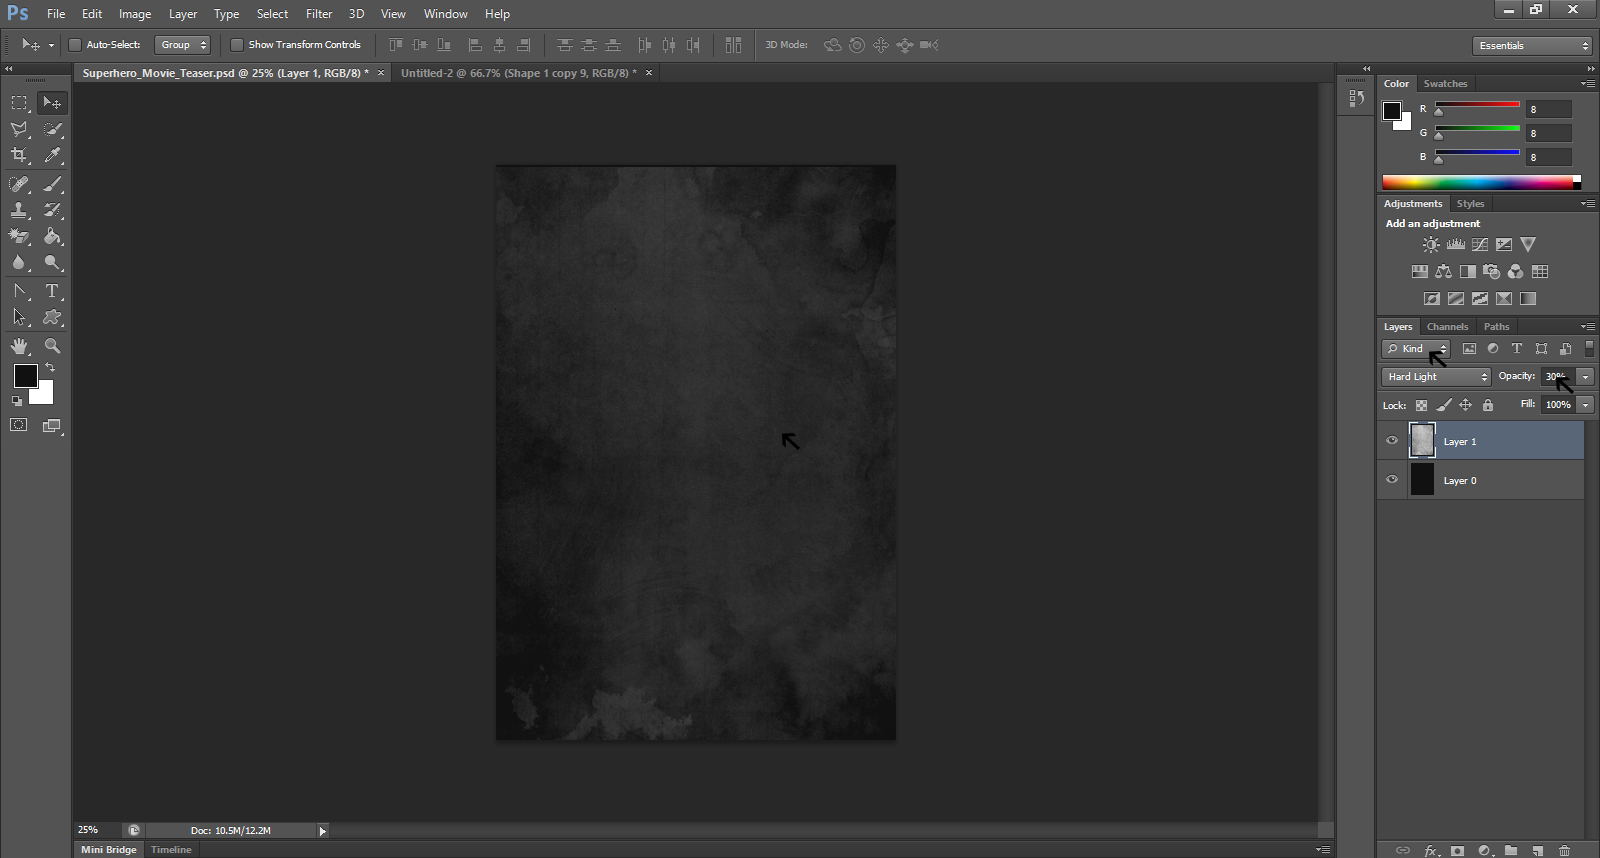
Step-9
Now you need to create some light in the middle that gives the impression of a nebula for the intended mysterious look to the poster. To do so, you should put the brighter layer on the black layer created previously. This will give you layer 2 for a mysterious look to the design.

Step-10
Go to the Image on the top bar and click to get the Mode. Click on Adjustment, and then on Hue/Saturation to create the desired look for the poster design.

This was the part -1 of the three-part tutorial for your superhero movie poster design. This part walked you through easy steps to create layers and merge them to get a nebula in the middle of the poster.
In part-2, you will learn how to use the pen tool to place stock picture of a women on the nebula image. The second part of the tutorial will also explain how to use the soft brush to mark the area on the picture to blend some of its areas into the background of the poster. Also, we will show you how to use the smudge tool to retouch the face and arm areas of the women in the picture.