Last updated on January 30th, 2023
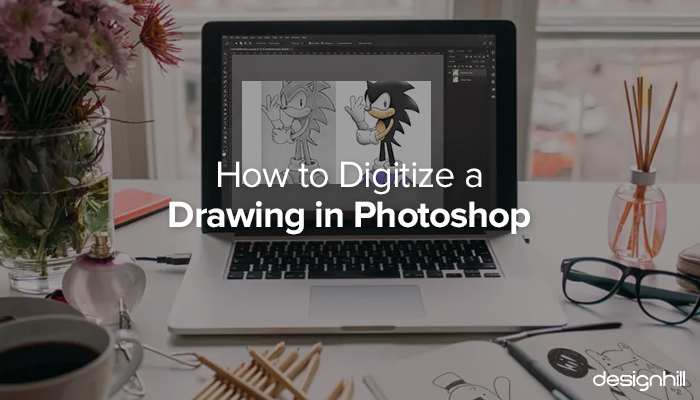
Digital drawing has emerged as one of the most popular techniques among artists. To turn sketches into digital design, artists prefer to use software like Photoshop. The availability of unique features and the freedom to explore and experiment with drawing in Photoshop are some of the reasons that make digital drawing so hot.
The nature of creating hand-drawn art is first to draw artwork on paper, canvas, or any other surface. Today, due to advancement in technology, artists can turn their handmade sketches and art into digital versions of original works.
If you have never digitized a drawing in Photoshop, you may be thinking why digitizing is a good idea instead of selling original drawing. Well, there is no doubt that you can sell both the digital as well as original artwork. But by creating digital artworks, you’ll be opening the doors of new ways to sell your work on the PrintShop.
For example, if you are a calligrapher, you can take an original art print and turn it into a t-shirt, mug, decorative pillow, etc. You could sell the license of your original work to other companies so that they can use it on their products.
If you are a beginner and want to know how to digitize a drawing in Photoshop, then this blog is of great use. You may find the process similar to illustrator, but it is incredibly different. Let’s have a look at the steps:
Steps To Digitize A Drawing In Photoshop
01. Scan Your Image
The first step is to scan your hand-drawn image and bring it to your computer. To bring out the best quality, scan your image for at least 300dpi. The higher the pixels, the crisper the scan will be. Once you are done with the scanning, transfer the file onto your hard drive for secure transfer to computer.

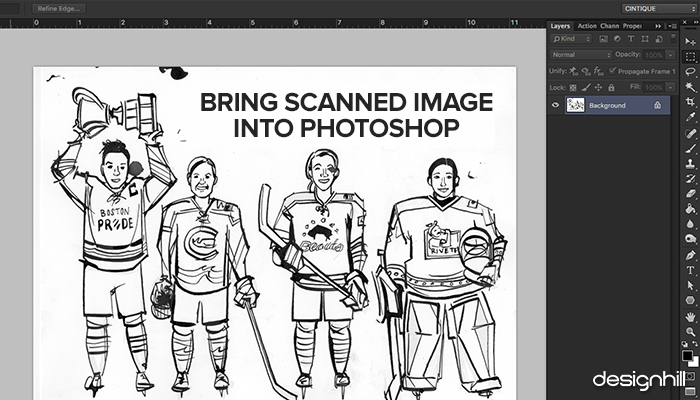
02. Bring Scanned Image Into Photoshop
The next step in digitizing a drawing in Photoshop is to bring the artwork into the software. After the image gets open in Photoshop, here are the few things that need to be taken care of:
a. Rename and save the file.
b. Increase the contrast of the image.
c. Clean the image by removing extra spots and messy bits.
d. Close the unintentional gaps in the image so that you can fill colors by using tools and brushes.
e. If you have scanned the image by using color settings, then you may need to remove the unwanted colors.
03. Make Layers
Now that you have a more finished image, the next step is to make layers. Currently, your sketch is the only layer in the file. You first need to create a background layer by clicking the new layer button and use the fill-in tool to fill the transparent white layer. Then drag down that layer so that it becomes the first layer of your Photoshop drawing.
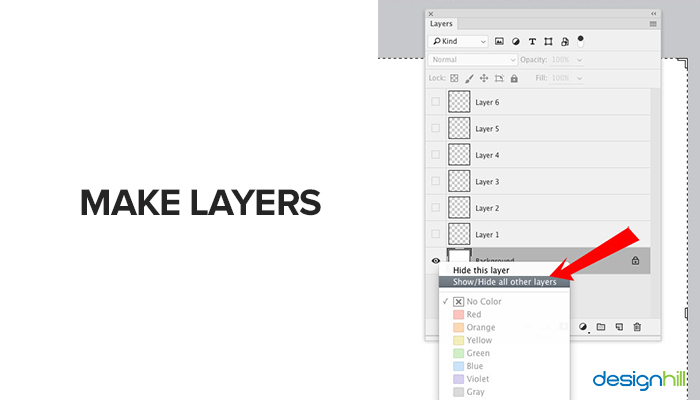
Now, for each part of your drawing, create separate layers, and name them appropriately. Creating multiple layers of your drawing will help you to make the whole design more detailed and flexible without the risk of messing up.
Looking For a Photoshop Design?
We have helped thousands of business owners from all around the world with their graphic design needs such as a logo design, website design, social media posts, banner design and much more.
Get Your Photoshop DesignGet a Free Quote
04. Outline The Drawing
After creating layers, it’s time to start outlining the Photoshop artwork using the brush tool. Outlining will help you in filling colors easily. In this step, you can also rectify errors (if any) you have made while sketching. After outlining, hide or remove the drawing layers so that you can create colored outlines without being diverted by the pencil lines.

05. Fill The Colors
Before filling the colors in your drawing, you first need to have clarity on the type of color scheme you want to go for. When it comes to digital drawing, colors play an essential role. Colors have the power to make or break any design. It has a significant impact on the emotions and behavior of the audience.
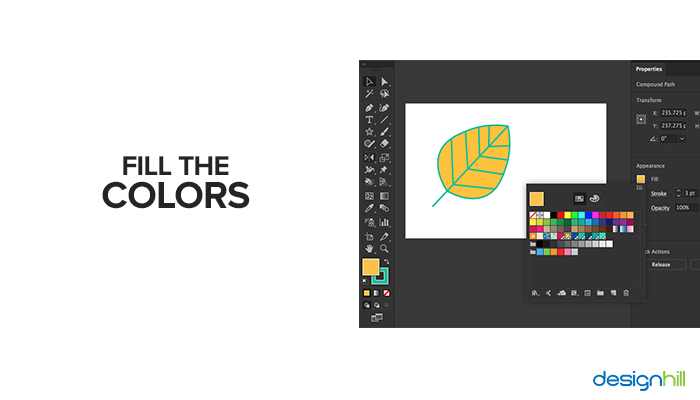
Each color has a different implication and can bring variation in the message. Therefore, before filling colors in your Photoshop drawing, take out some time and find out the color palettes that will work best for your artwork. Use brushes of different sizes and fill the colors in your drawing.
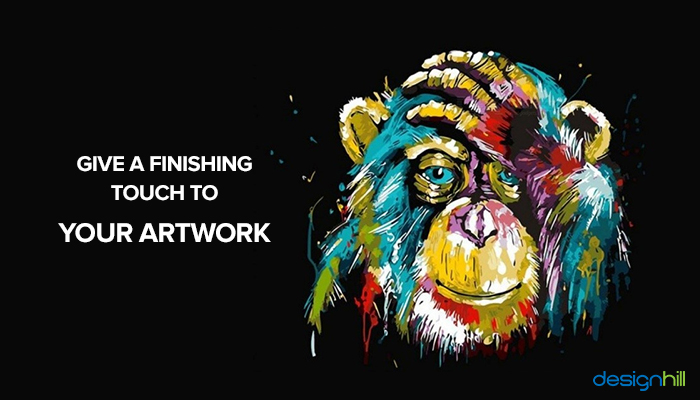
06. Give A Finishing Touch To Your Artwork
After filling the colors, it’s time to give a final touch to your design. In this step, you can actually do many different things.
i. Add Detail: You can add extra layers, or get more detailing, or jump directly to the shading part. Keep in mind that the additional layers will help you to fix one portion of the picture without the risk of messing up with the entire design.
For instance, if you have created an image of a girl in your logo design and want to add detail only to her eyes, then you can do that by adding an additional layer.
ii. Shade Your Drawing: To add shade to your drawing, select the eyedropper tool and utilize it on the section you want to shade. After that, go to the color picker and pull the color to a darker hue.
Use the same tone and the brush tool to color in the section you are working on. Go over with the same process to add more shades to your entire drawing.
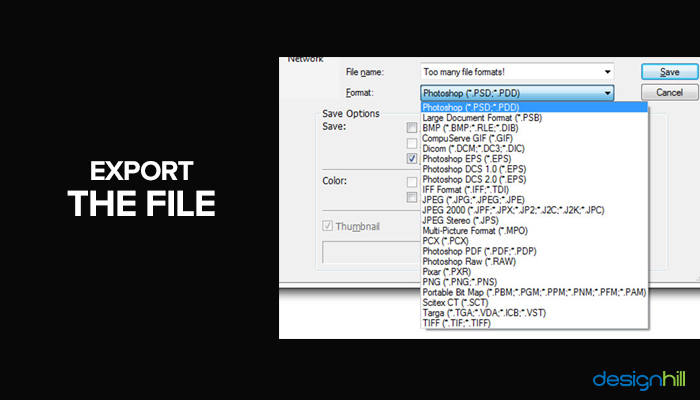
07. Export The File
Once you have given the finishing touch to your artwork, save the file in either PNG or JPEG format.
Conclusion
We hope that this blog has helped you in learning the basics of digital art and learn how to digitized a drawing in Photoshop. If you want to earn money by selling your designs online, then Designhill Printshop is an ideal platform. It allows its users to sell their artworks, designs, and photographs at their own set royalty rates.