Last updated on February 9th, 2024
The designers find removing the background from a photograph a difficult task, especially when the background is extremely complex. In this tutorial, we teach you how to remove a background from an image.
Here are simple steps to take for removing undesirable background from an image:
Step: 1
First, open the image that you want to work on to remove the background. Open the image in Abode Photoshop.
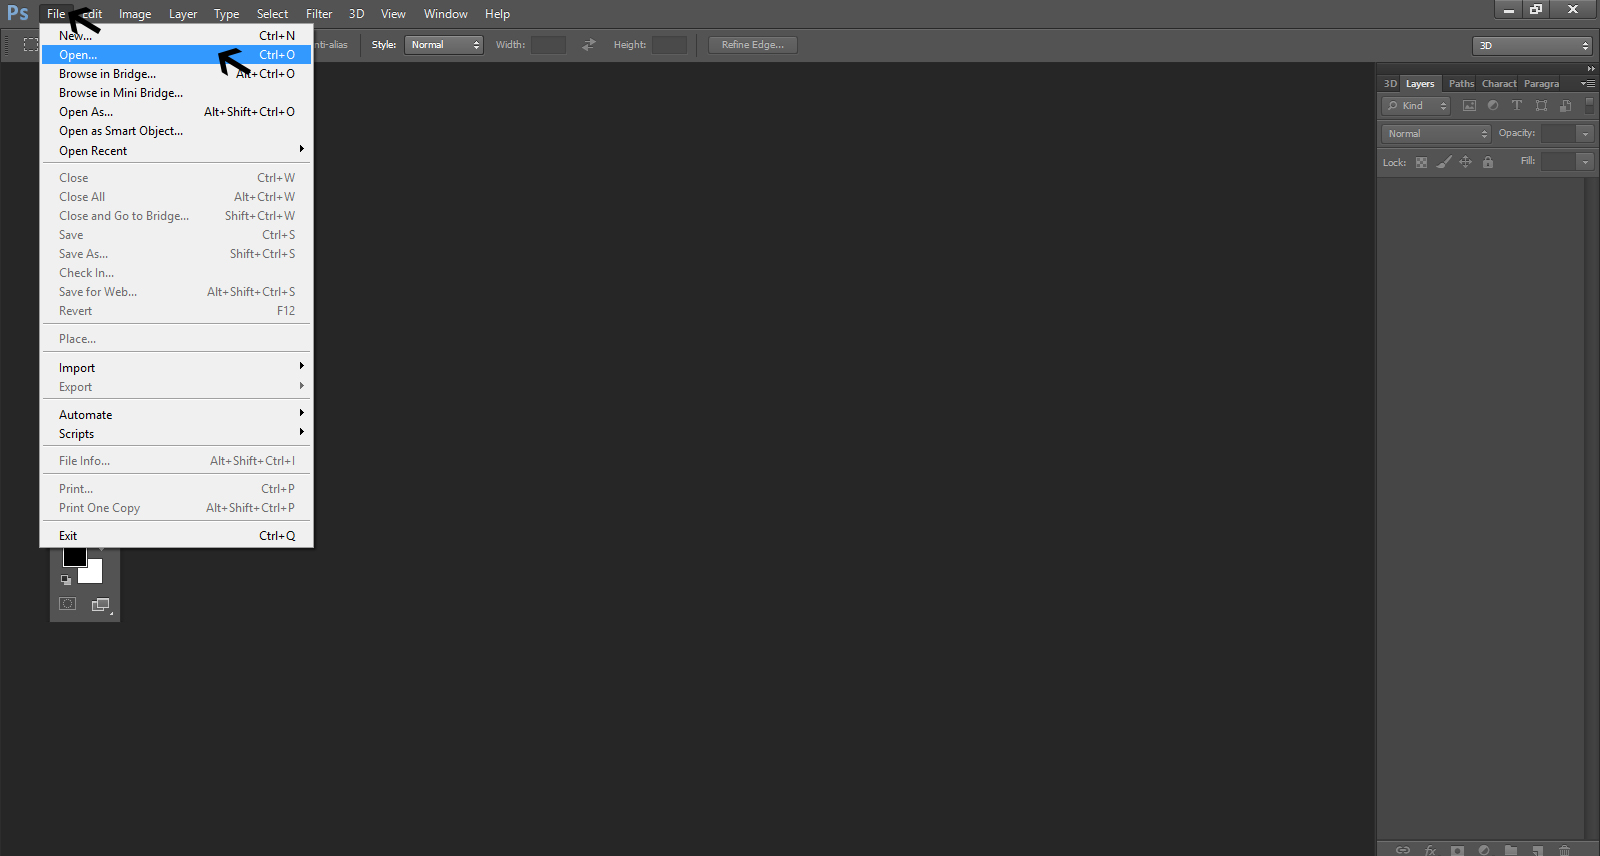
Click on File menu and open it
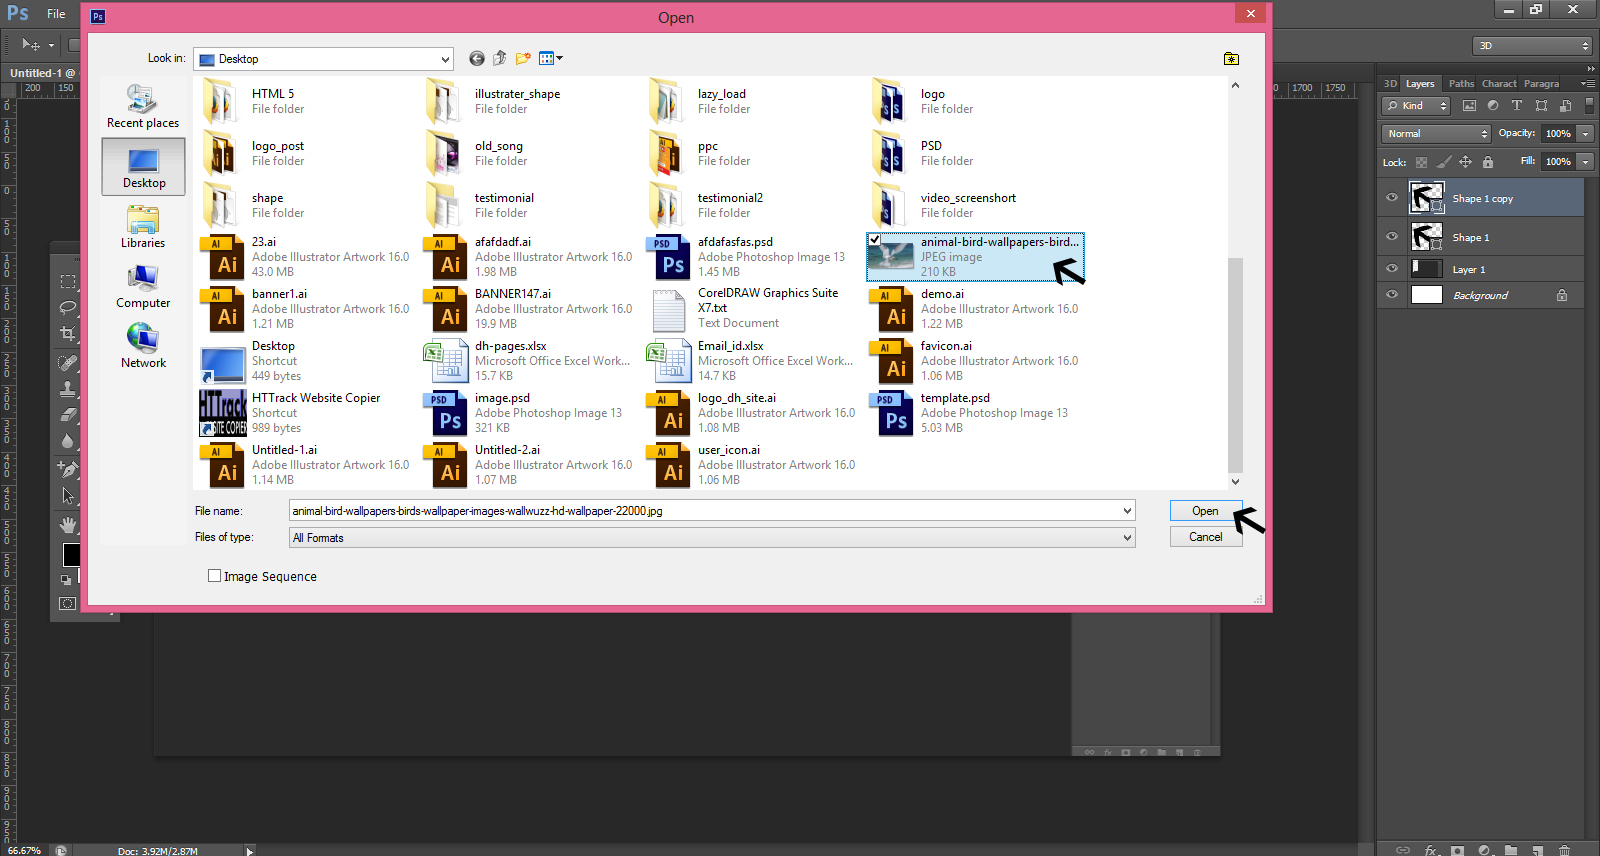
Select the image to work on
Select layer 1 and keep the background white
Step: 2
At the second step, choose the Quick Selection Tool and the Magic Wand Tool. The beginners can use these simple tools easily. They can also select Lasso tool for accuracy.
![]()
Now, you should select the background that you want to remove from the image. Click and drag the area you do not want to be there in the picture. When selecting the area to be removed, you should not worry about being too accurate with selecting the details in the background as you can clear the remaining minor details later.
Step: 3
After you are satisfied with your selection of the background area, just right click and then click on ‘Select Inverse’
Step: 4
Go to the rectangular layers panel and click on the ‘Add Layer Mask’ button. As you click, you will see that the background has been removed.
At this stage, if you find that the image does not look great, use the Refine Mask tool to make improvements in it.
Step: 5
Now, go to your layers penal again and click on the mask. You will see the pop-up box giving you the option to click on ‘Mask Edge.’ You now get the Refine Mask menu.
If you want to improve appearance of the mask, you can do so by clicking on ‘Show Radius’
Initially, you will not see anything, but just as you adjust the radius slider, you will see that it is picking up all the remaining undesirable elements in the backgrounds. Use the radius carefully to remove every detail that you do not want to see in the background of the image.
To ensure that you pick up the right areas that are tricky and awkward, move the cursor over the image. You will find a circle with a plus sign in the center. Click over the problem area to remove them from the background.
An AI background remover is useful in achieving a clean and professional look in your images
Step: 6
Now, go back to the Refine Mask preview as you uncheck ‘Show Radius’
Adjust the mask by using the sliders. You should adjust until you are satisfied with the improvements you want to make in the looks.
You can also go to the thumbnail image to see the small arrow next to it. Click on the arrow to change the view mode.
This step shows how to add a photograph to a new background. To do so, open the background picture in Photoshop and then drag the image onto the background.
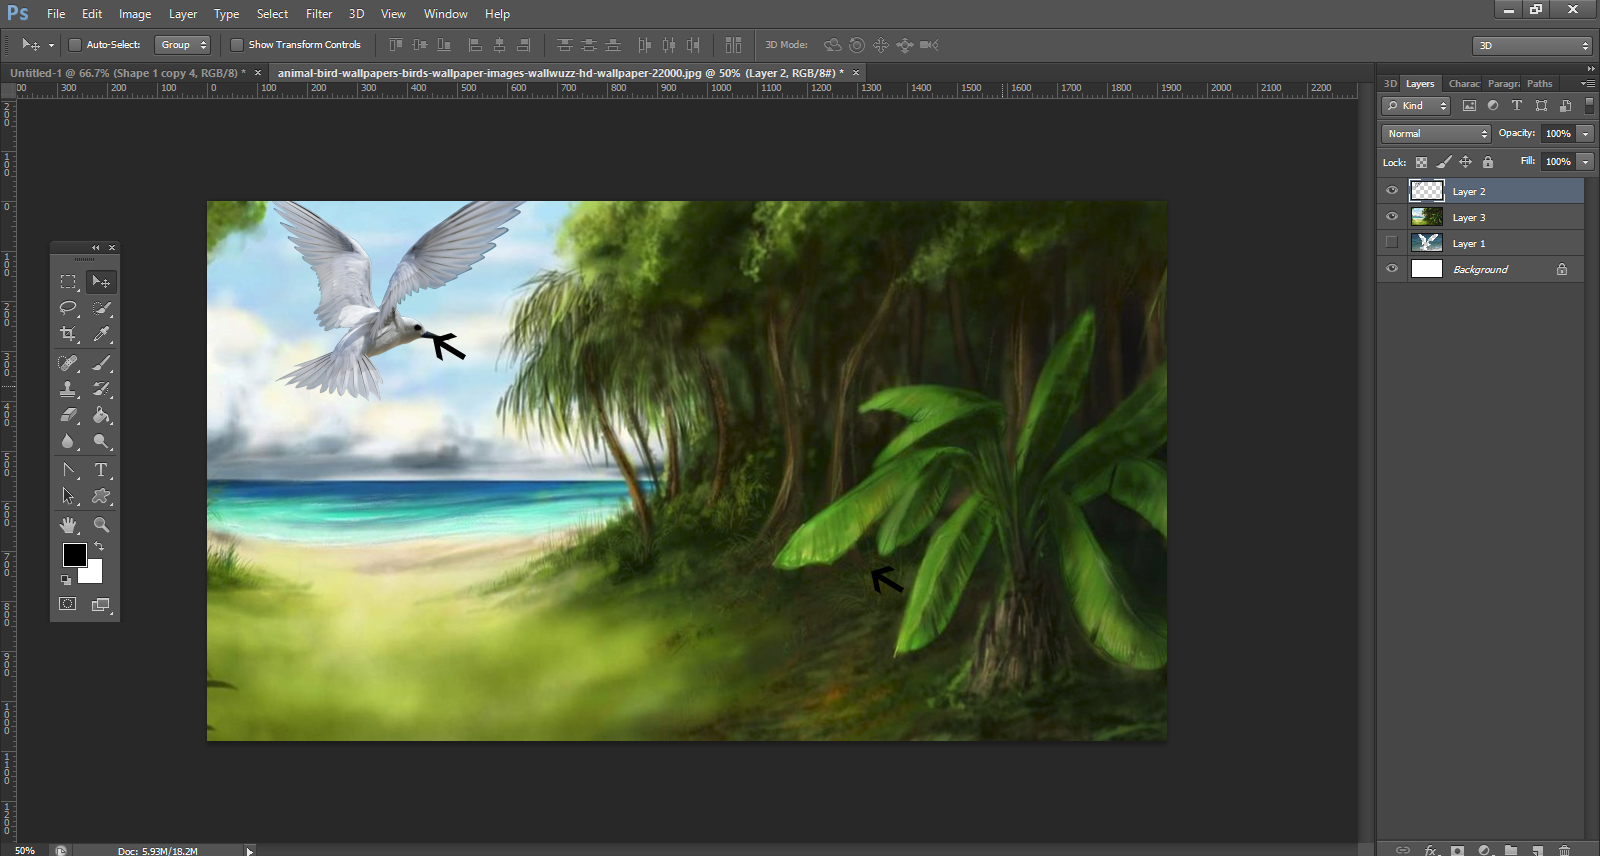
To adjust the size of your photograph, press Command T and hold shift as you drag the Transform box’s handles.
Looking for Customized, On time, Logo Designs? Launch a Logo Design Contest today. Choose from 100+ designs. Take your pick! We offer a full 100% money back guarantee! Finally, a risk-free way of getting a customized design.