Last updated on September 14th, 2022
Geometric posters are an impressive way to convey a business message or just a piece of information. These posters have some elements that need to be shaped geometrically.
Here Are Some Easy Steps To Show You How To Design A Geometric Poster In Photoshop
Step-1
Go to File and open a new document in Photoshop.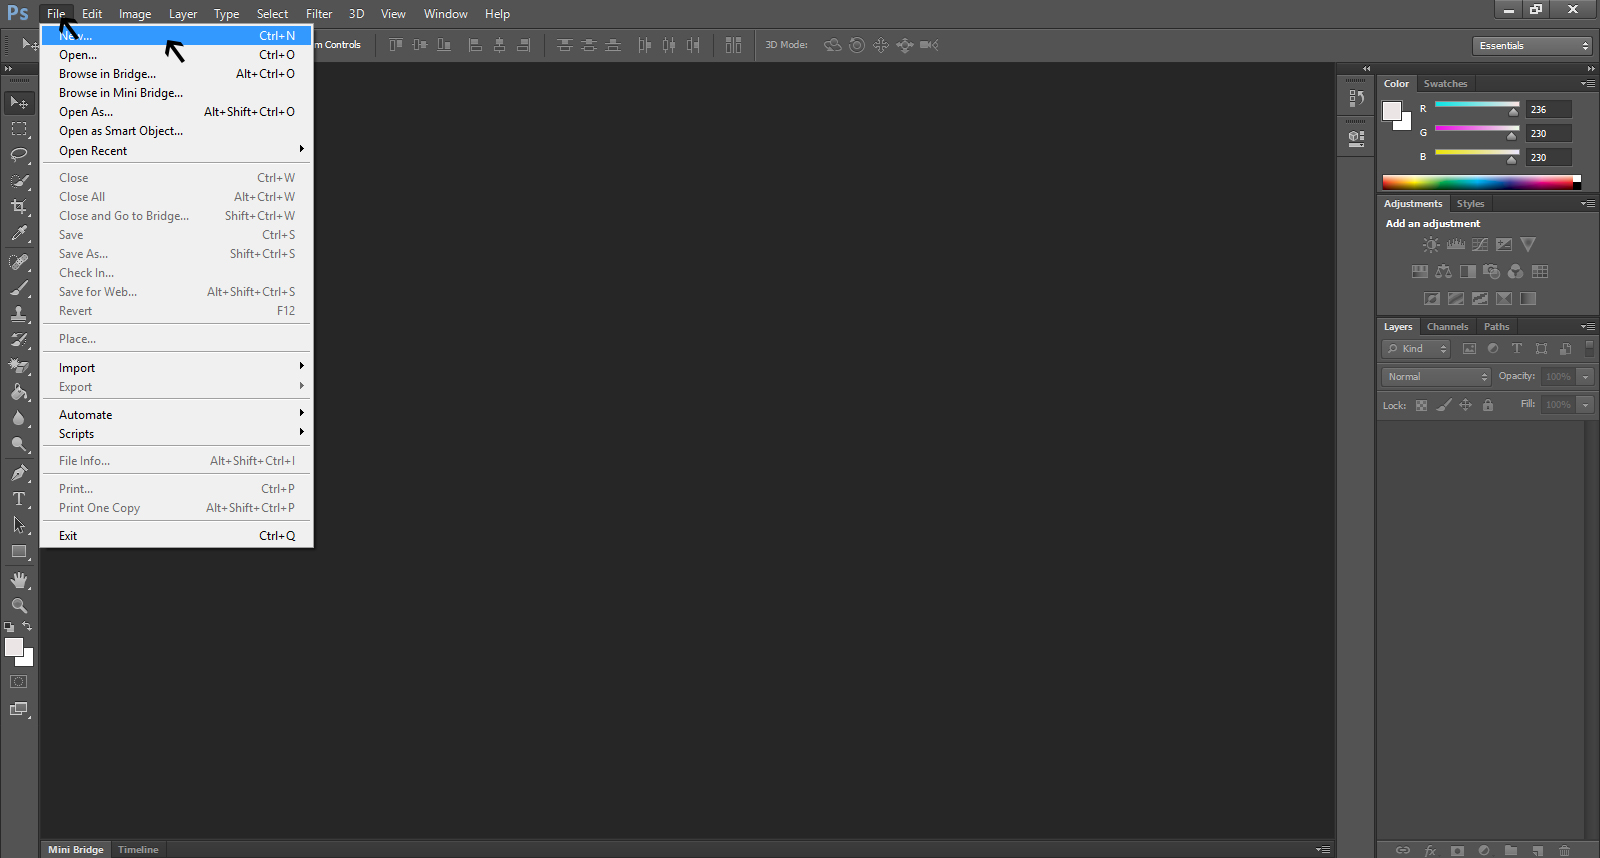
Step-2
As you get the New menu, fill the requirements such as poster size, width, height, color mode etc.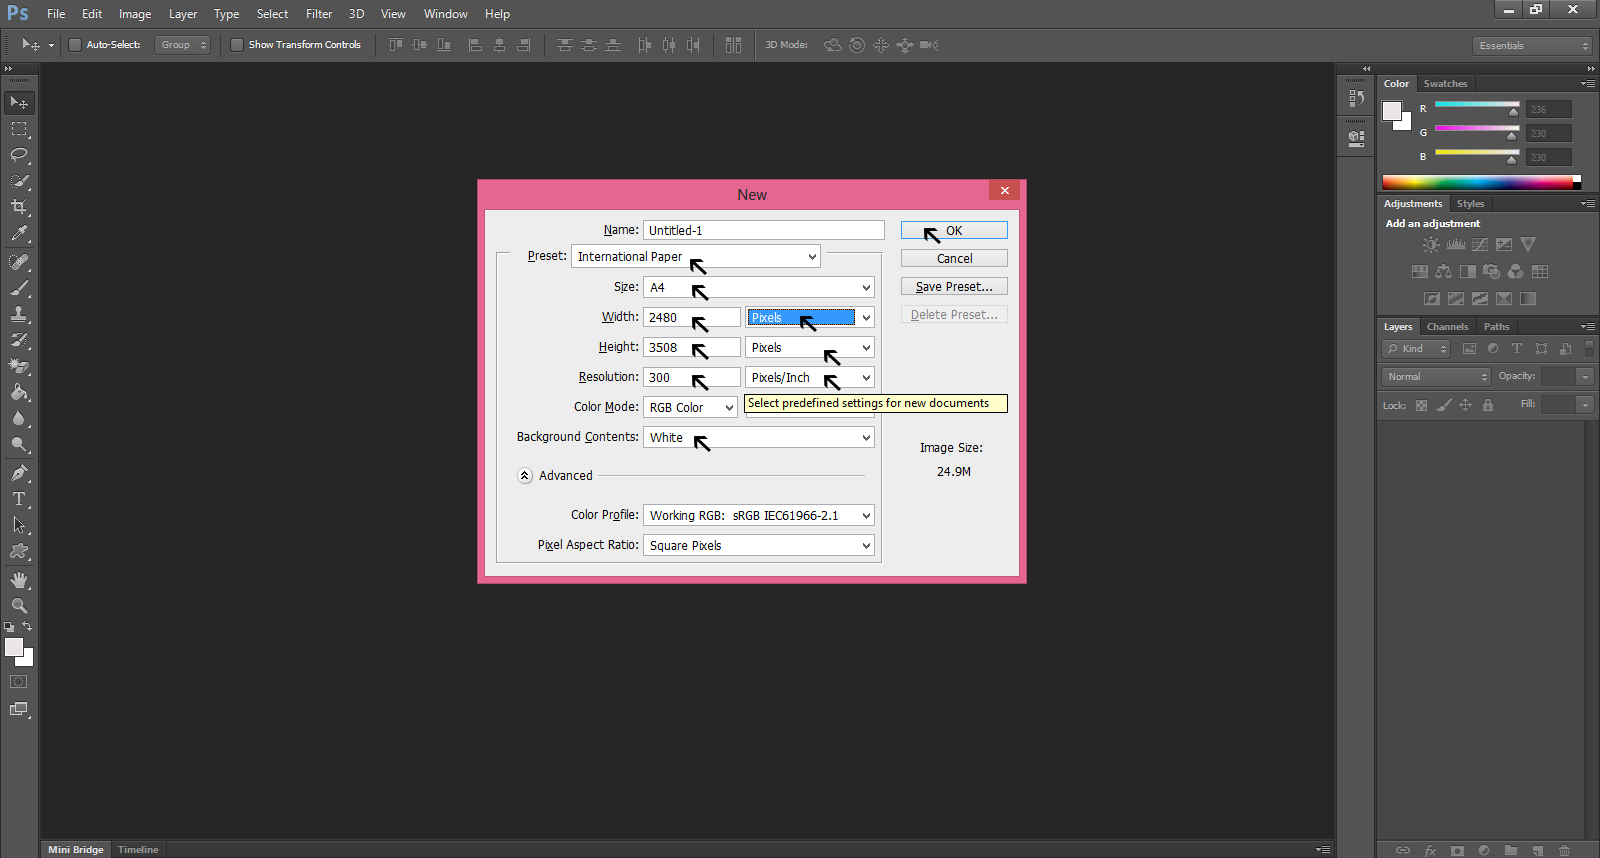
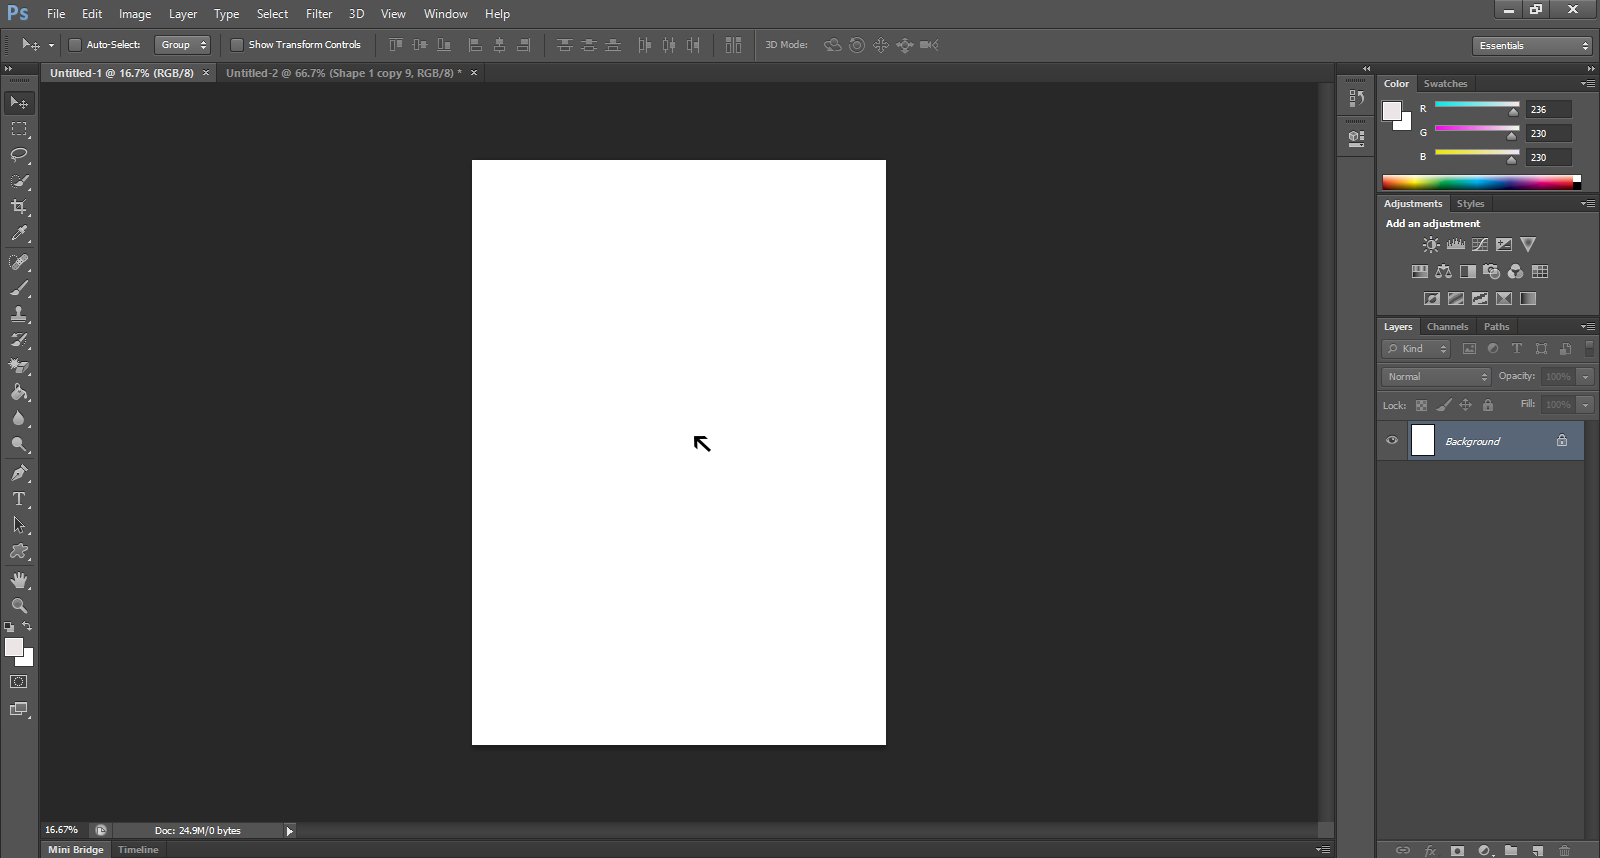
Step-3
You get the blank document as per the specific design requirements. The document serves as background for the design.
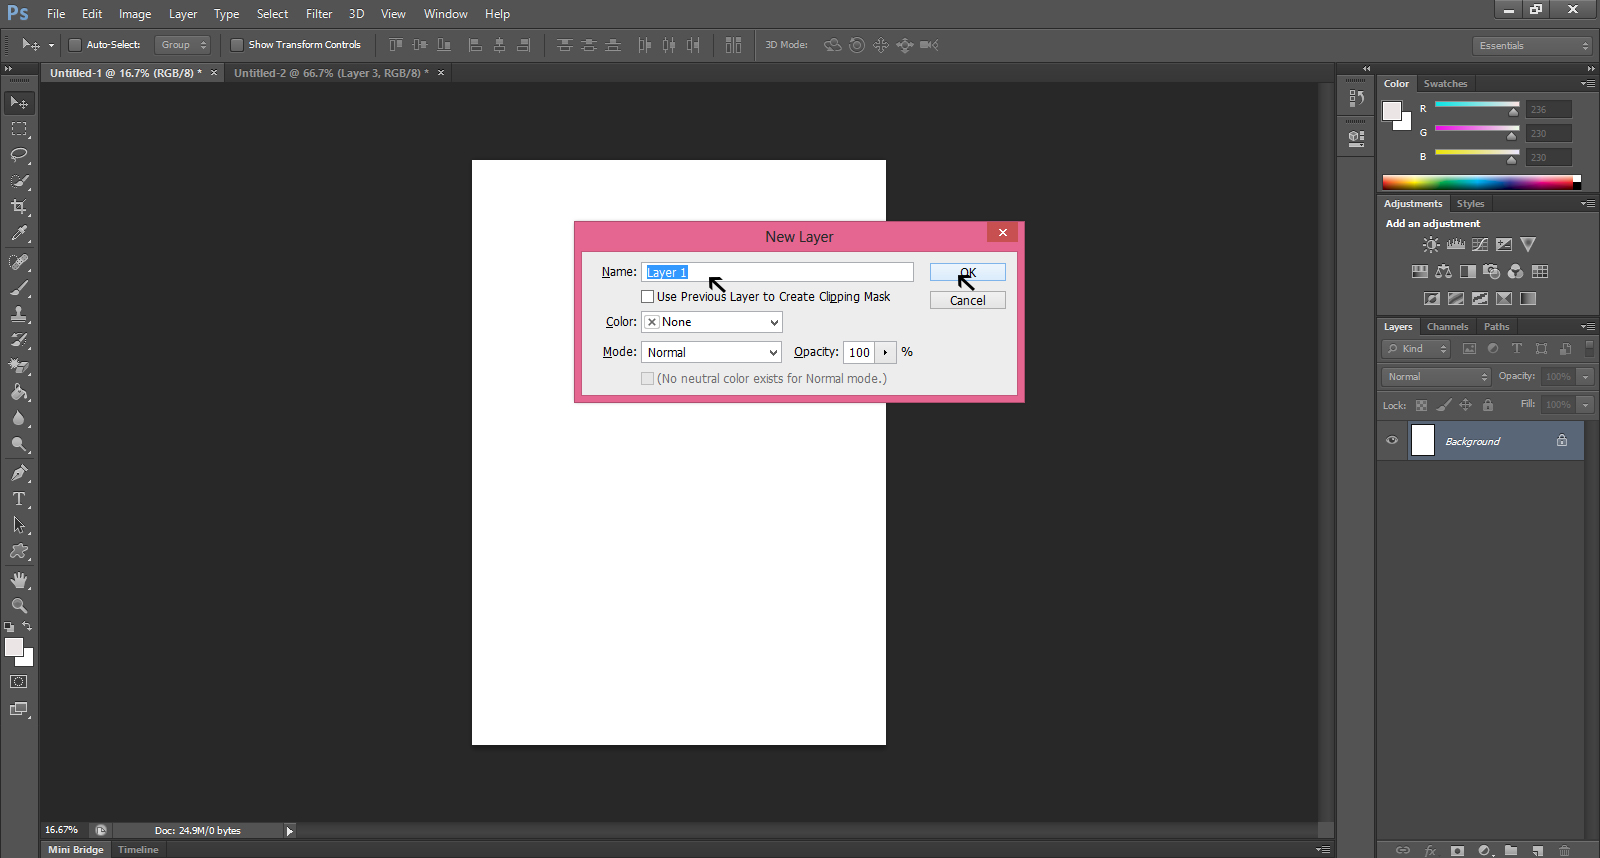
Step-4
Go to the Layer button on the right bar to get the menu and create layer 1.
Step-5
Click on the View on the top bar and reach to the New Guide.
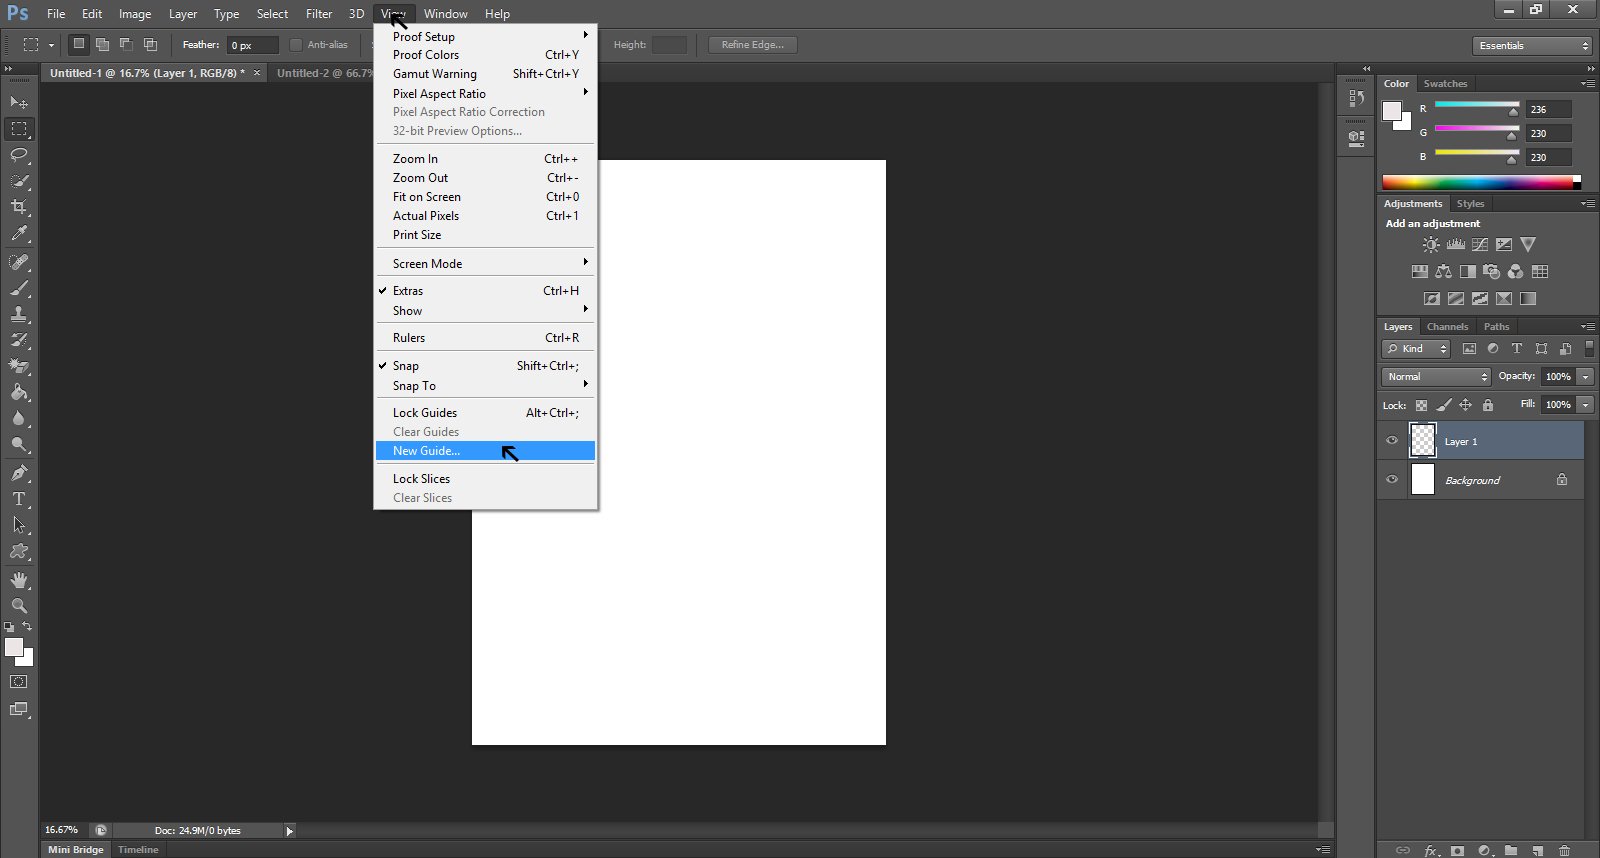
Step-6
Work on the Layer 1 and create boundaries at the edge of the document.
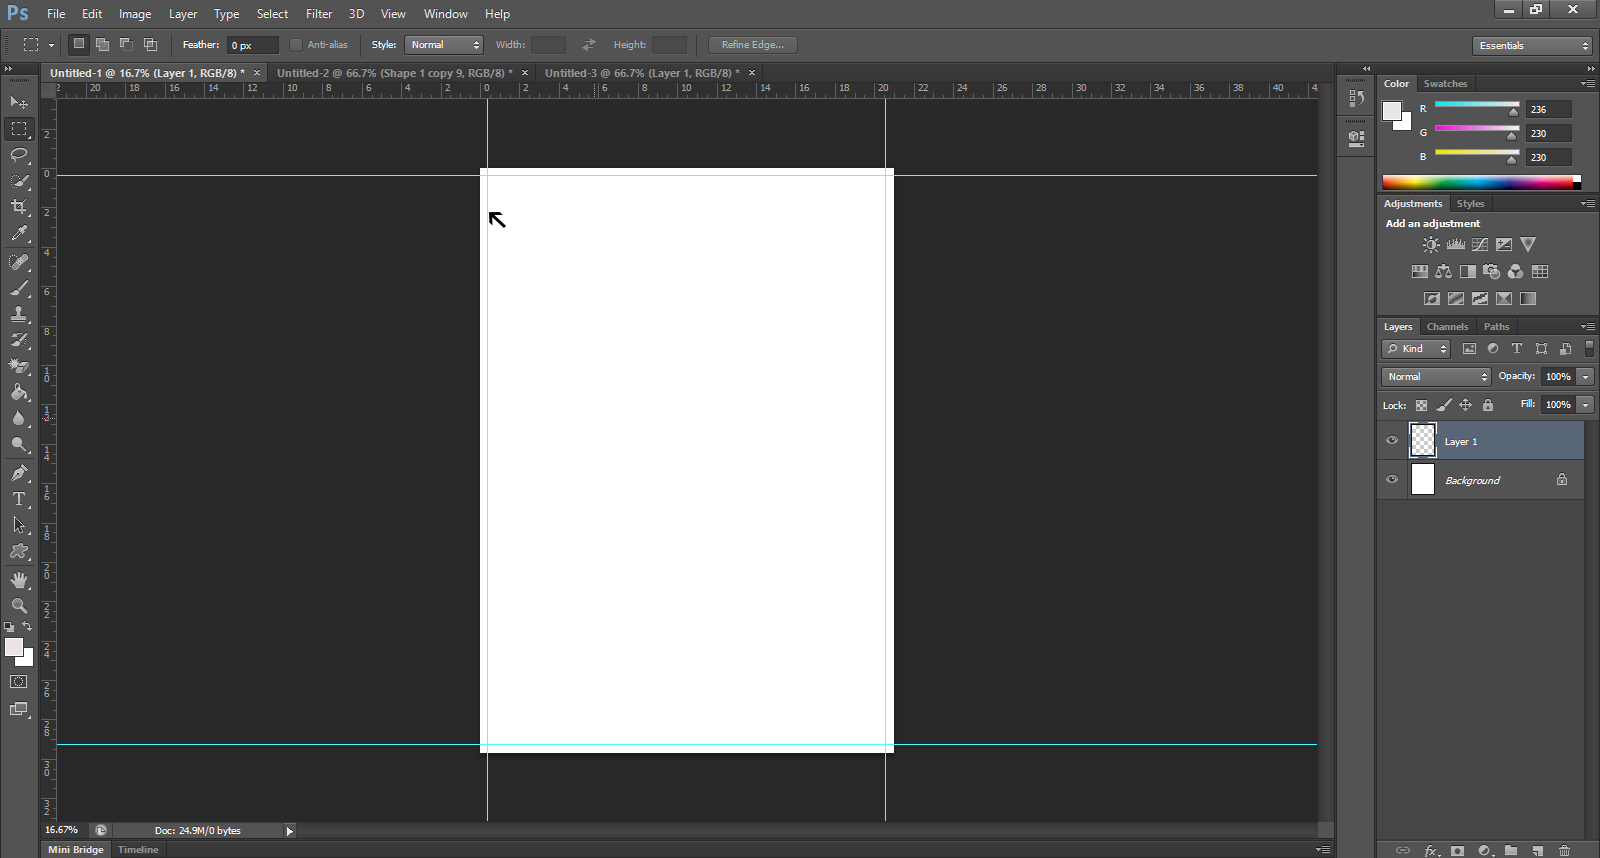
Step-7
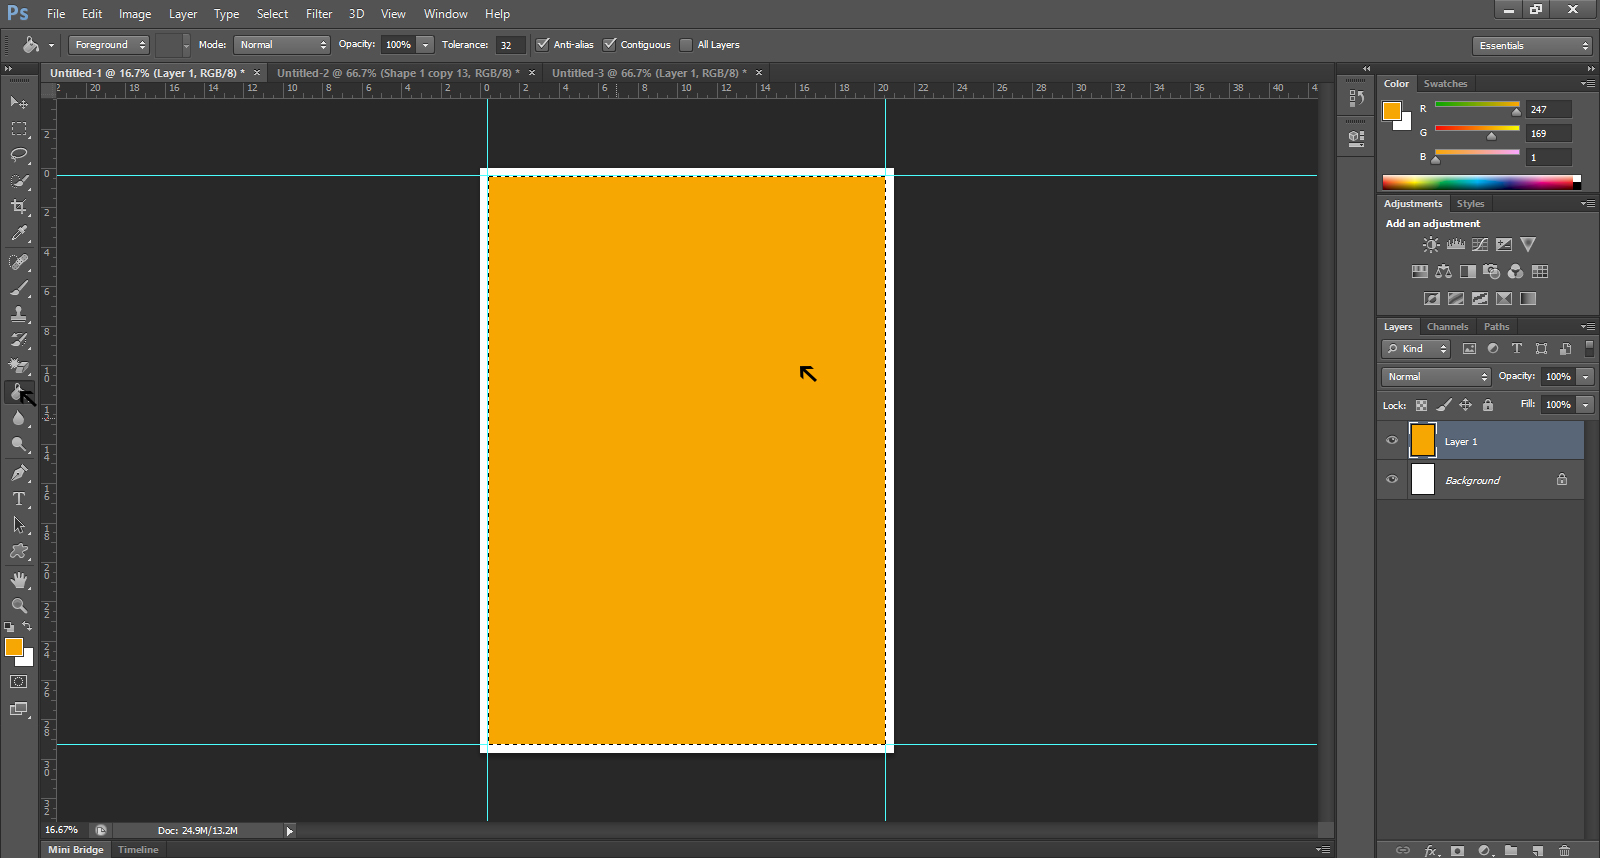
Go to the Marquee Select Tool and create boundaries in dotted lines on the document.
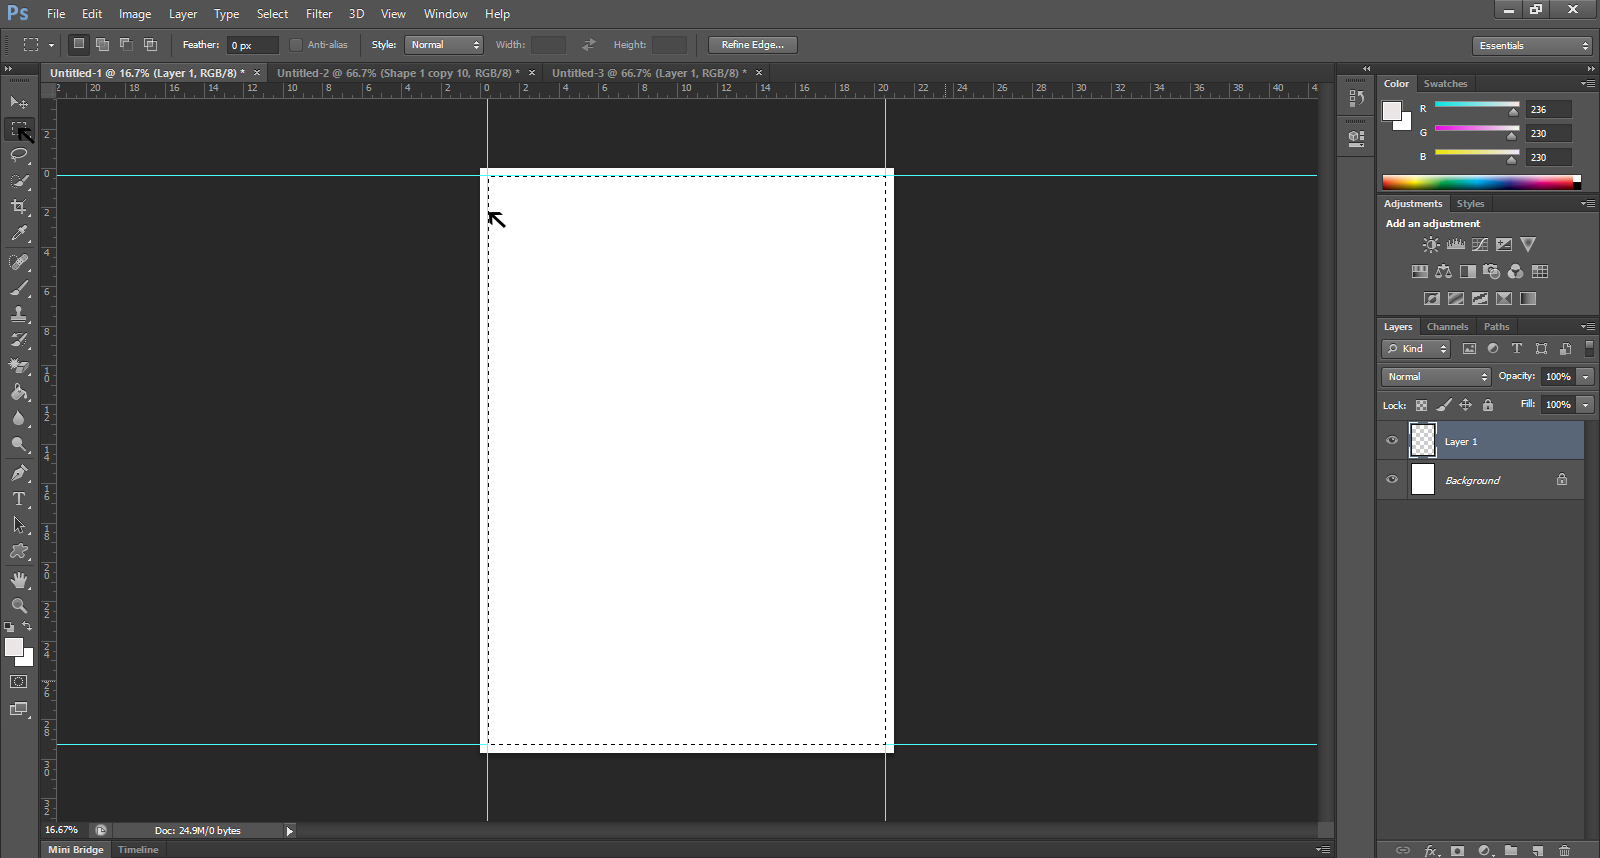
Step -8
Working on the Layer 1, pick a color from the Color Picker for the background layer.
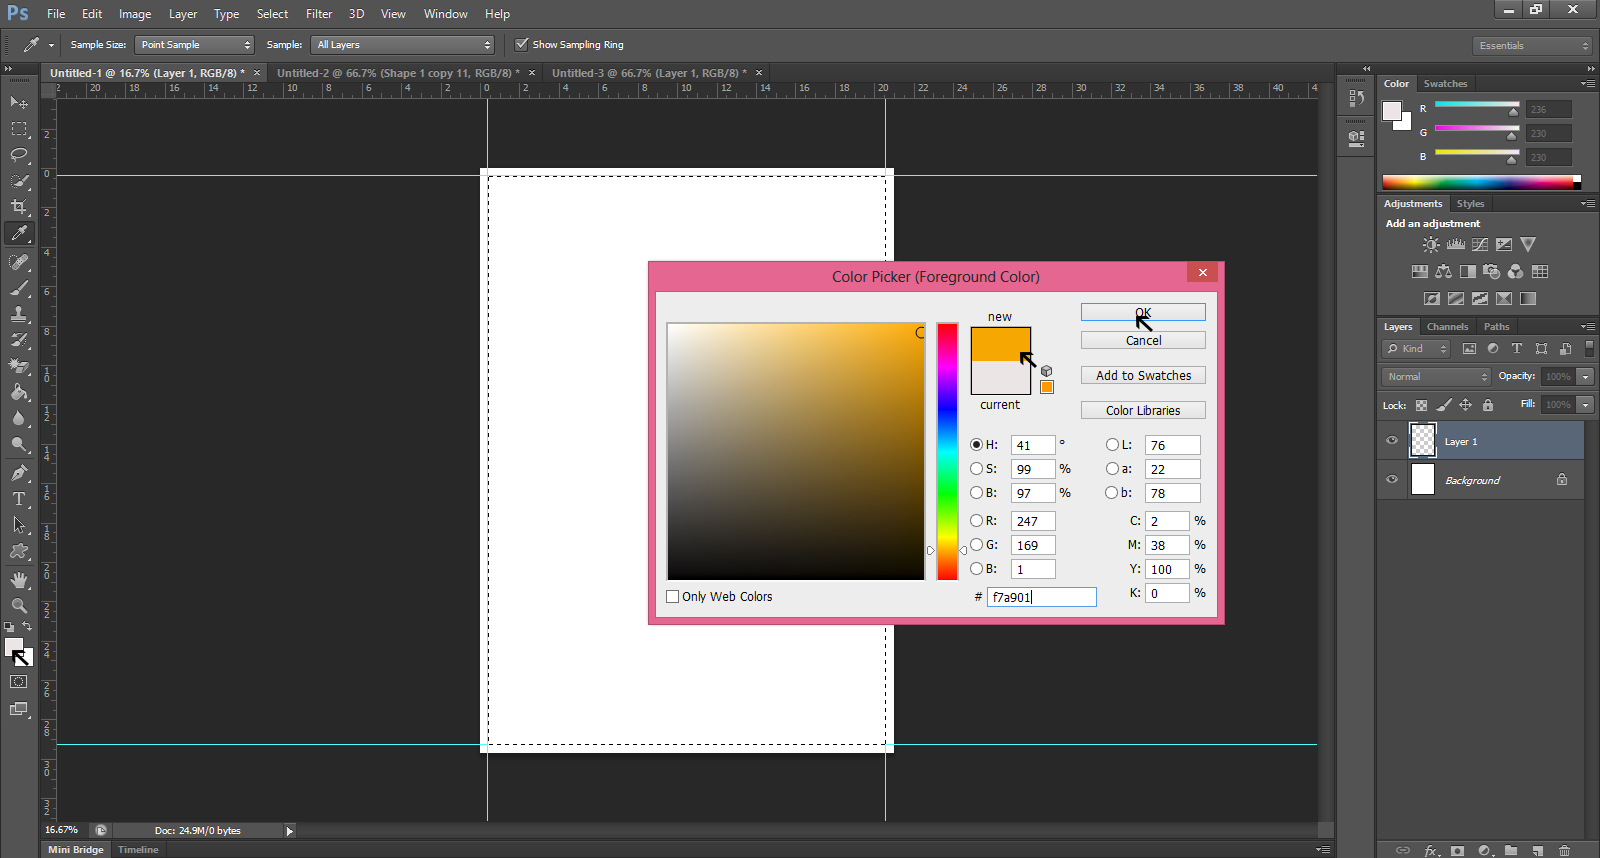
Step-9
For Layer -1, we have selected yellow.
Step-10
Now using horizontal type tool [T] you can type any word or number of your choice. Here, we write number 139. You can set the point size of the number from the Character menu.
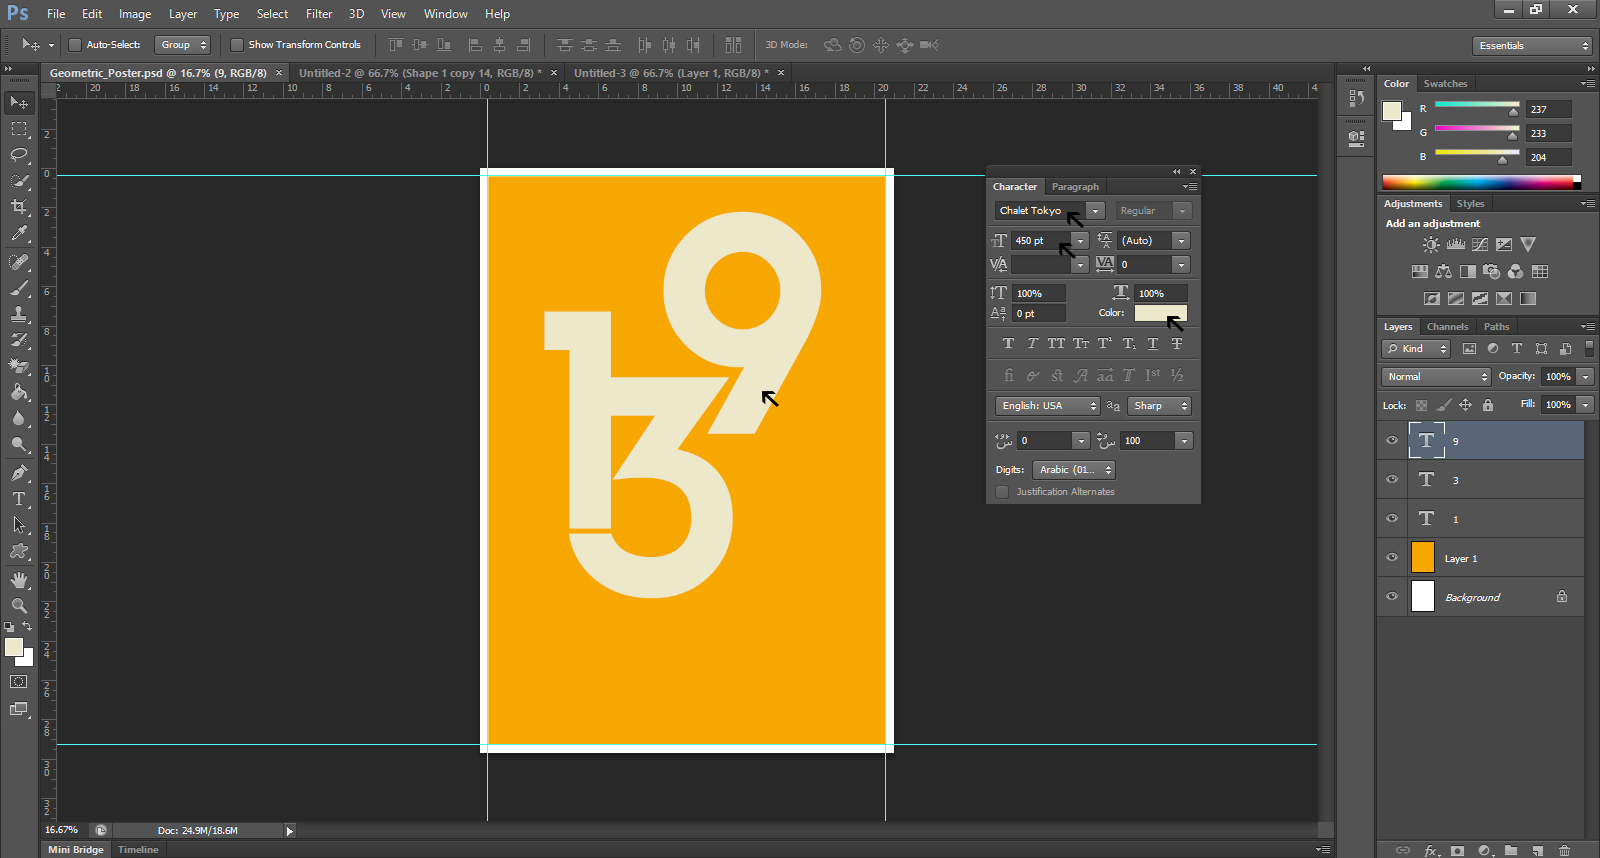
In Part-2 of this tutorial, we will complete the design. We will show how to create the geometrical design perfectly out of the numbers given for the poster.