Last updated on January 30th, 2023
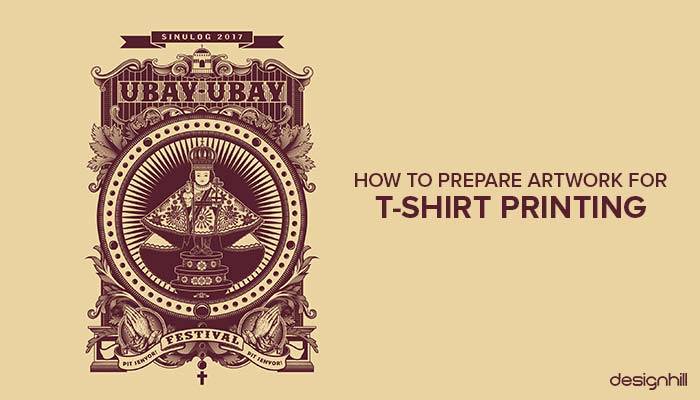
Fashion Trends keep changing every season but one clothing item that has always dominated the fashion scene is ‘Tshirt’. Be it oversized plain Tshirts or body hugging t-shirts, whether funny graphic tees or the ones with cool quotes they are always in the trend and liked by one and all. Though there are endless varieties in tshirts but personalized T-shirts have always been a fashion favourite and have created a lot of hype for good reason. Personalized T-shirts are best known for their exclusive artwork, vivid style and T-shirt printing.
So let’s dig deep about T-shirt printing?
When we talk about personalized funny t shirts they are a wardrobe staple. Personalized T-shirts are such a mundane item that we hardly ever stop to think how they’re made.
Turns out, it’s not as easy as most think — especially for the person who has to prepare the artwork. You can use Designhill’s t-shirt maker, in case you want to custom design your t-shirt by yourself.
Here Are Some Tips On How To Prepare Artwork For T-Shirt Printing
On the following post, we’ll cover the most important points that a designer has to cover when preparing artwork for T-shirt design.
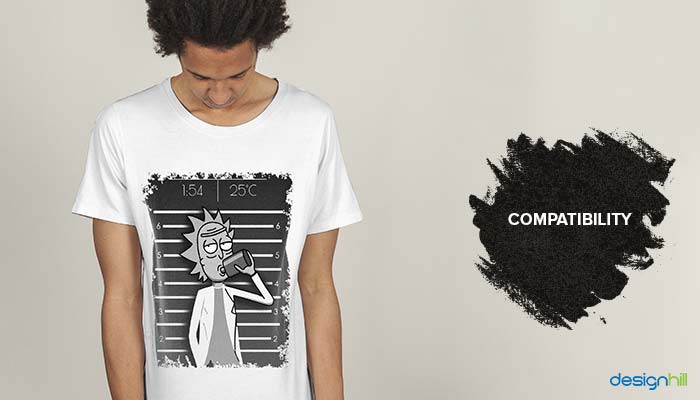
Compatibility
Simply put, the artwork must always adapt to the final format. Printing onto fabrics is not the same as printing on paper. It is also important to keep in mind the final technique as these also have different requirements.
01. Screen Printing
Screen printing is a very old printing technique that uses mesh screens to print onto fabrics. Which is why it is necessary when creating artwork for it to separate colors into different layers (up to 10).
Looking For Custom T-Shirt Printing?
It is very simple. Choose a t-shirt. Select color and size. Create your own design.
You can also hire a designer to get a design for your t-shirt.
Print Your T-Shirt NowHire a Designer
02. Direct To Garment Printing
DTG is a relatively new printing technique that works pretty much like any other printer. It injects ink directly into the fabric instead of layering it on top. It’s really good at recreating small details so make sure the file is of the highest possible quality (at least 300 d.p.i.).
Recommended Reading:
03. Transfer Printing
Transfer works with heat (it’s what makes the colour pigments move from one surface to the next) and an adhesive paper which must be cut precisely in order for it to work. For that reason, the shapes have to be simple.
04. Cad Cut Vinyl
This is a machine where a computer-operated laser cuts the design of a vinyl which is later transferred to the final garment. While precise, it requires simple shapes so it can be cut correctly.

05. Embroidery
While modern embroidery machines can recreate very complex designs, keep in mind that they charge per point which means that the more intricate an artwork is then the more expensive the t-shirt printing will be.
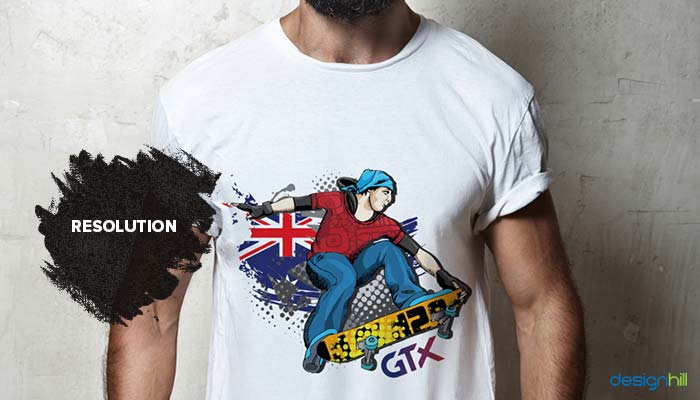
Resolution
One of the requirements all printing techniques have in common is that they need a high resolution file. Usually, we ask graphic designers to work with 300 d.p.i. but in some occasions 150. d.p.i. will also do. It’s a case by case basis. There are images that still look decent even when reproduced in low resolution while there are others that can only be printed in the highest possible quality.
01. Adjust The Resolution Of The Image
If your preferred image does not have the desired resolution, you can always change it using the right software. Photoshop allows you to do so pretty easily but keep in mind that changing the resolution will also change the physical size of the artwork. For more information on how to change the resolution of a file using Photoshop, check out this blog post.
Colours Are Your Best Friends
As with any kind of printing, colors are of vital importance when personalising custom tee shirts.

01. Save As CMYK – Never RGB
CMYK is the preferred colour model as it is the one used by printers. Again, with Photoshop it is pretty simple since it only requires a quick travel to their ‘Image’ options.
02. Use Pantone Codes
Your printer will thank you for it! Knowing exactly which Pantone colour you’re using will prevent mistakes down the road.
03. Printing Onto Dark Garments
When printing onto dark garments, a layer of white ink must be applied first. This layer will serve as a base where the other colours will be printed on. If this step is skipped then the dark fabric absorbs the vibrancy of the colours and the T-shirt ends up being opaque.
04. Calibrate Your Monitor
When working on professional graphic designs or artwork that’s going to be printed in thousands of T-shirts, it is important to make sure that your monitor is calibrated. Why? Simply put, you don’t want to spend large amounts of time working on a print that won’t end up looking like the image you have on the screen. It is not fun for anyone to do reprints — especially if you’ve made a considerable investment in the first batch.
If you’re not sure how to calibrate your monitor, check out this post.
Finally, when picking colours for T-shirt printing, keep in mind:
- The colour mode: CMYK VS RGB
- The colour of the garment where they’ll be printed.
- The compatibility with t-shirt printing (some colours are for web use only)
- The calibration of your monitor
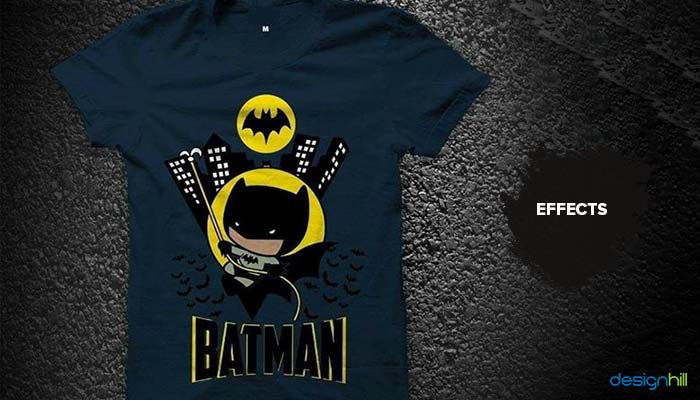
Effects
Photoshop effects are usually not compatible with t-shirt printing techniques. Be very wary of the following when using them in your designs.
- Drop shadow effect
- Faded edges
- Glow effect
- Reduced opacity
- Filters in general
01. Transparent background
More often than not, you’ll want your artwork to have a transparent background. If the design does not have one then there’s a high probability that an awkward white square will be printed around the image.
Recommended Reading:
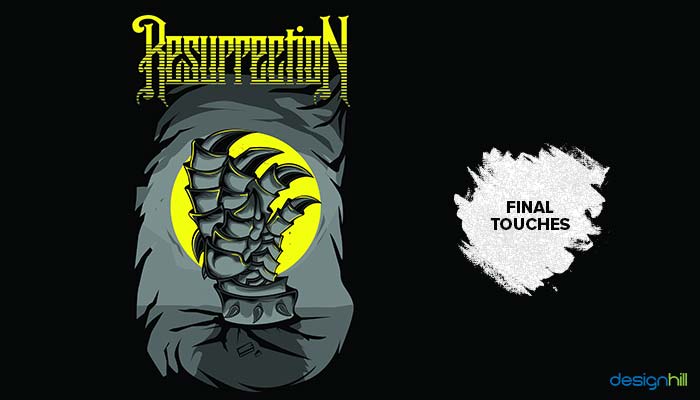
Final Touches
Before you click on ‘save’ and send the artwork away, it is important that you take one final look at the file so there are no mistakes at the very end.
01. Rasterize Type
It is very important to convert fonts to outlines. It might seem basic but you’d be surprised at the number of people who forget this step — professional graphic designers included! If the fonts are not rasterized, and the person on the other end doesn’t have the same type, then the design will be changed. That’s when the printer must contact the designer and the back-and-forth starts. In the end, everyone’s time is wasted. Just convert them.
02. Save as…
Make sure you use the right file Type. If you’re not sure which is the best file type for the printing technique you’ll be using, then go for PDF. It is the easiest one to deal with. Pretty much any computer can open it and it is compatible with most printing techniques.
Conclusion
Preparing artwork for T-shirt printing may be a bit daunting but it doesn’t need to be difficult. Just remember the following tidbits and you should be fine.
- Be at least 150 dpi
- Use CMYK colour mode
- Have a transparent background
- Have no effects like ‘Drop Shadow’ or ‘Glow’
- Have all types rasterized
- Saved as either EPS, PDF, PSD or PNG
This blog post was brought to you by Printsome, a T-shirt printing agency based in London that delivers all across the UK, from Brighton to York and anywhere in between. So, if you’re after custom clothing and awesome customer service, get in touch for a quote.