Last updated on April 8th, 2016
Geometric posters are an impressive way to convey a message of business or simply information. These posters feature some elements that are required to be shaped geometrically.
In Part-1, you have learned few basic steps to create a geometric poster and in second part of the tutorial, we will show you how to create a perfect geometric figure and how to incorporate shades in it using Photoshop. So, without further ado, let’s get started.
Step-1
Go to the layer panel and right click the layer you want to select. Then choose Rasterize Type. This will help in converting text layers from vector to raster so that you can fine tune the text.
Step-2
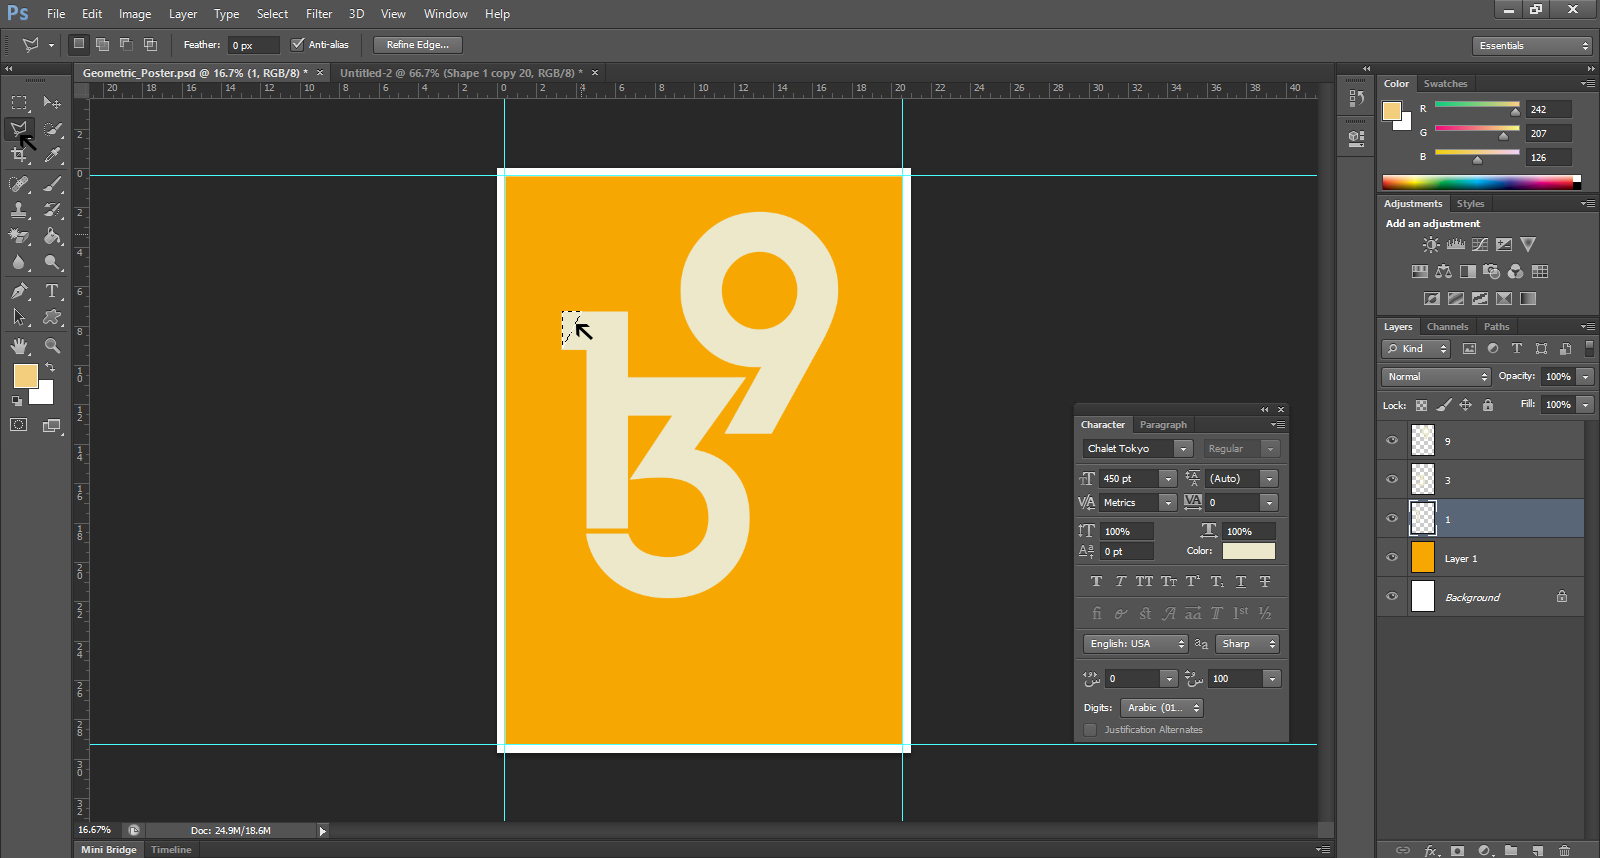
In order to form a better graphic, you will need to fine-tune the numbers in this graphic. Select the Polygonal Lasso tool to fine-tune the number 139. With this tool, you can increase or decrease the height of the numbers or the text. Here we have slant-cut the tip of the number 1 and marked it for the purpose.
Step-3
You get the marked area here to slant-cut.
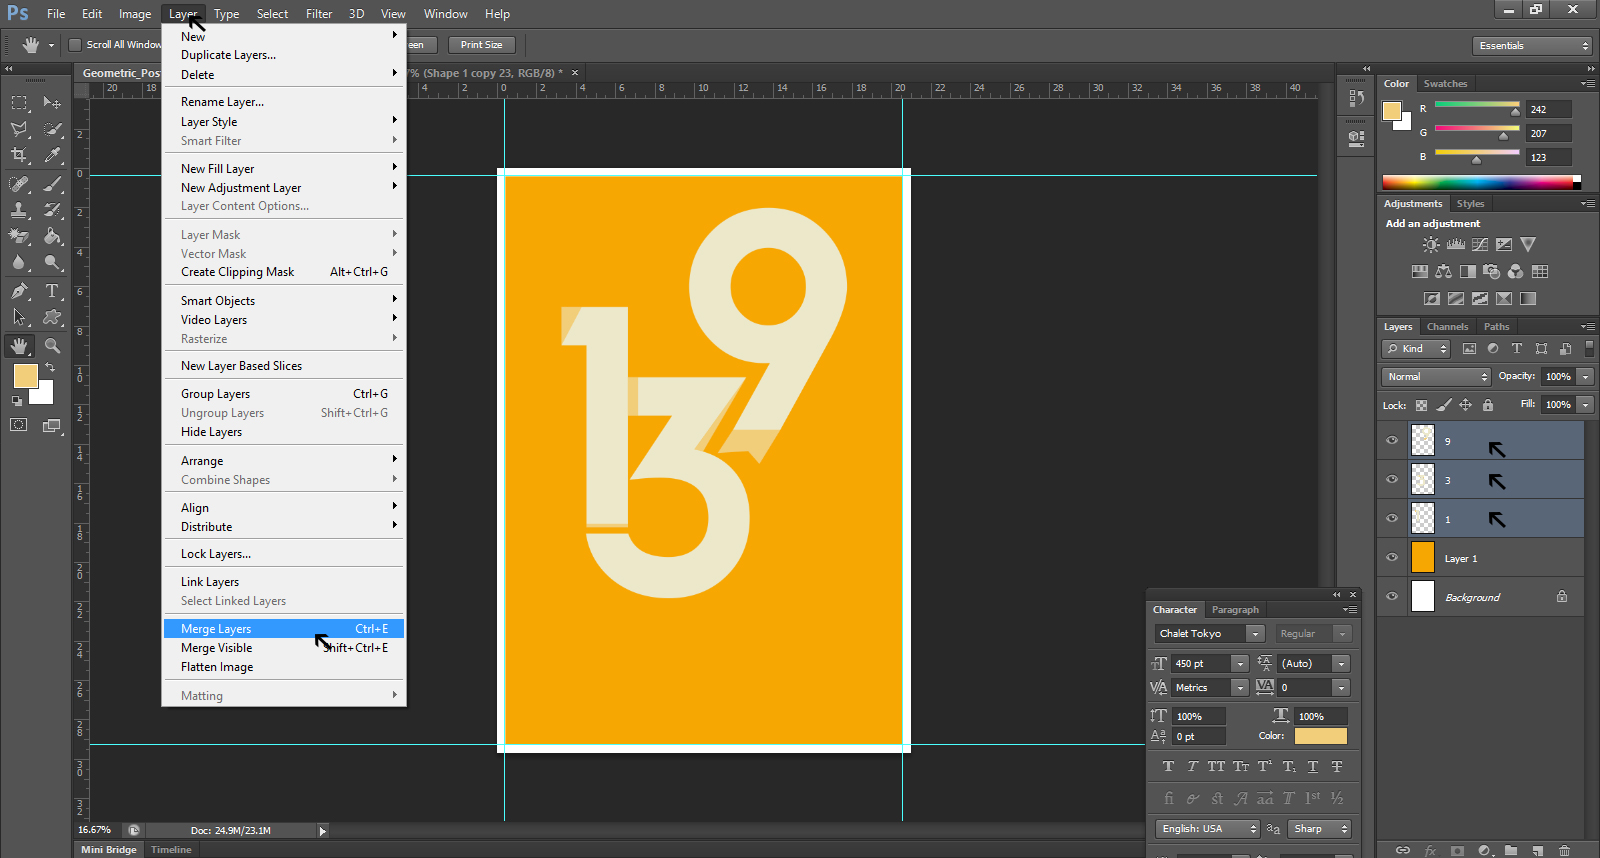
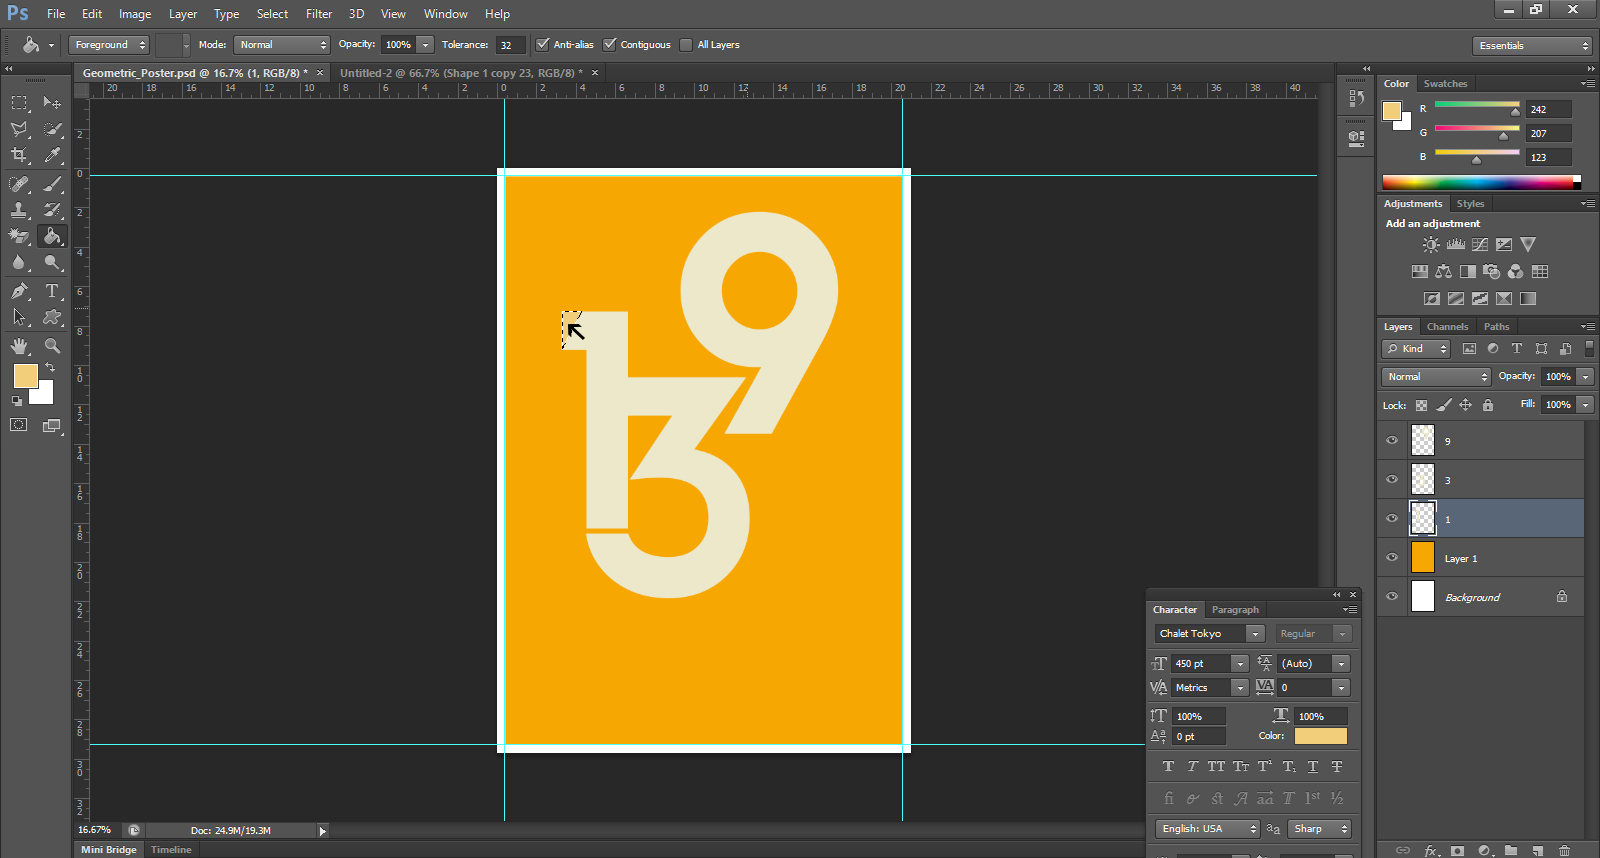
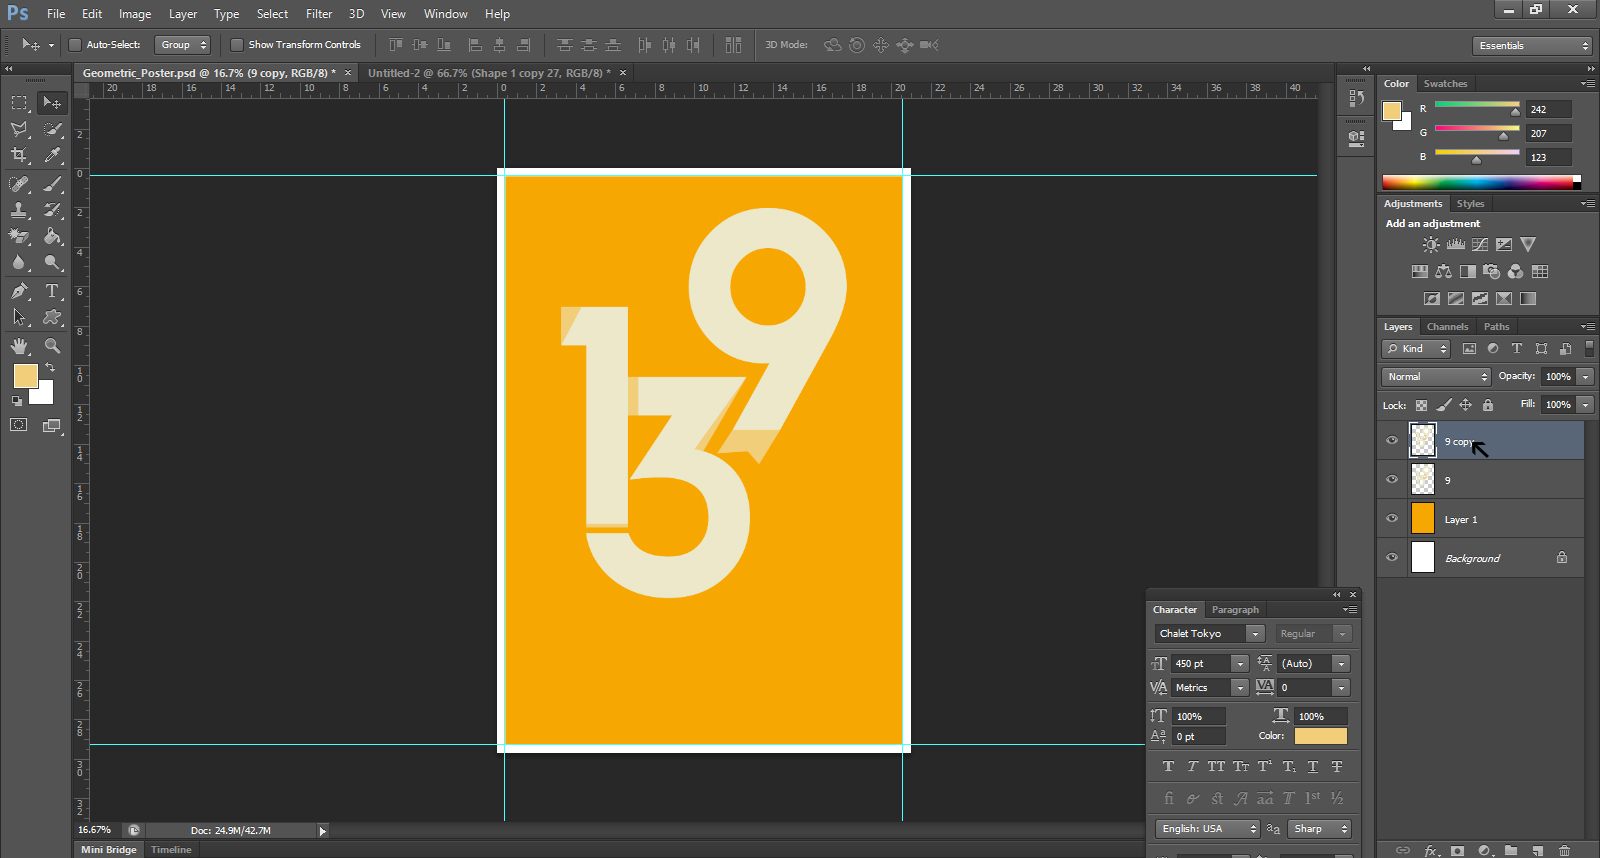
Step -4
You can also create layers to mark the areas on the numbers 2 and 3 as well. Here the marked area at the end of the number 9 is to extend its tail and tip of 3 is decreased to have a space between 1 and 3. Once done, go to the Layer menu and click on Merge Layers to merge the layers 1, 2 and 3.
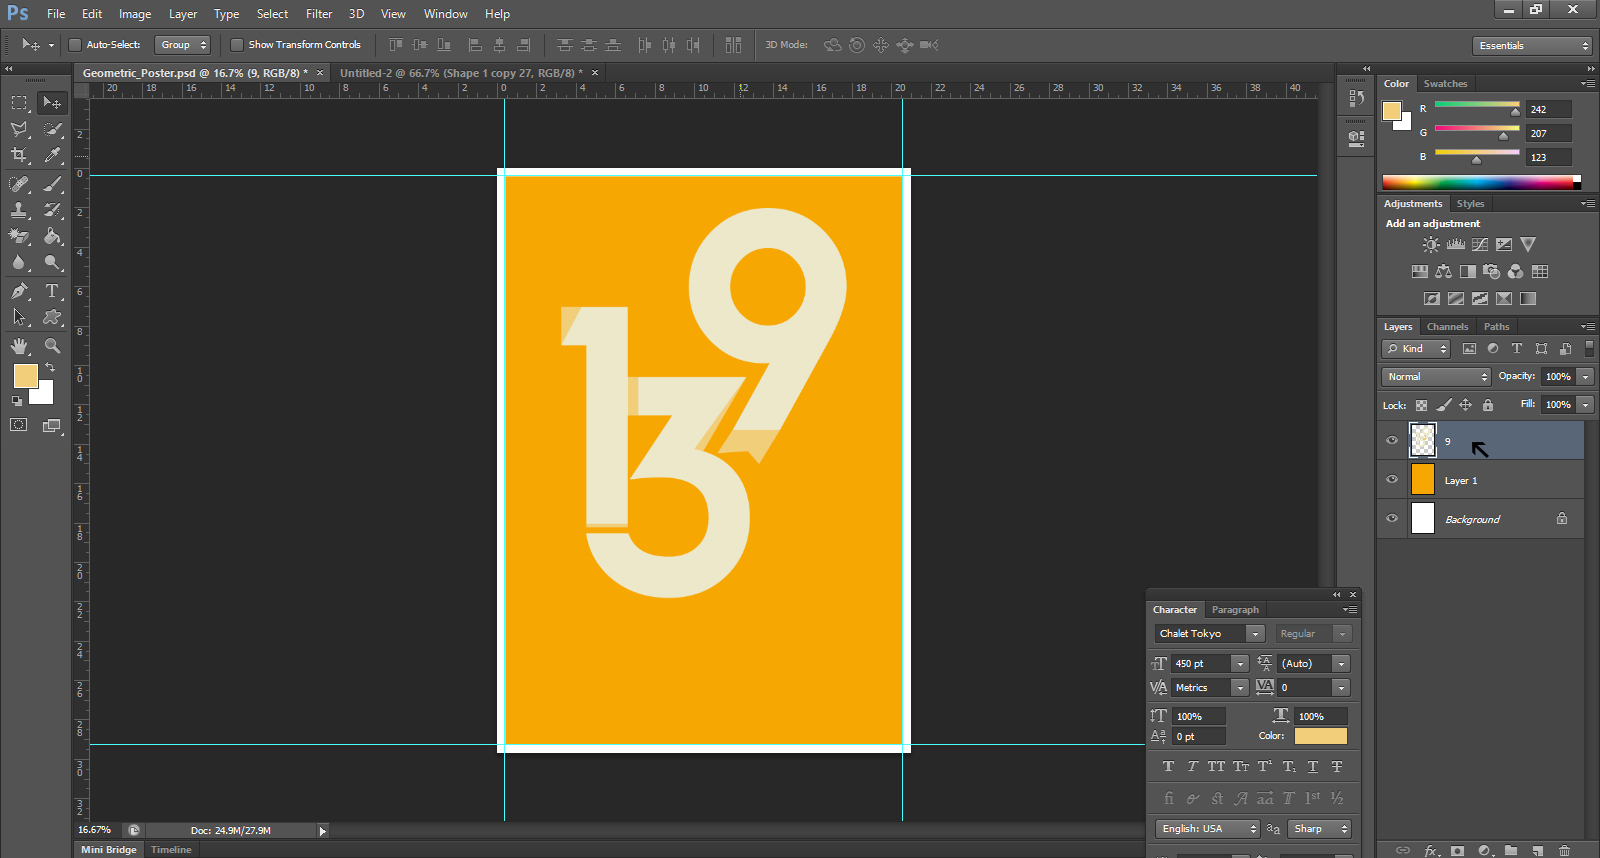
Step -5
Now, after the merger of the three layers, we have a clean one picture.
Step -6
If you want to decrease the height of ‘1’ then mark its lower tip accordingly.

Step -7
Now, to give some depth to the design, you can duplicate the Main Graphic layer. To do so, you need to press Alt+ push the right key on the keyboard. In the layer panel, drag the newly created Main Graph copy below the Main Graphic layer. Press Alt+ push the right key and repeat the process many times to have a good amount of depth. Now, you can select the layer below Main Graphic and hold shift key. Select the layer above the Background layer and merge the layers to get the Outer depth. To color the depth, go to the Layer Style and choose the color.

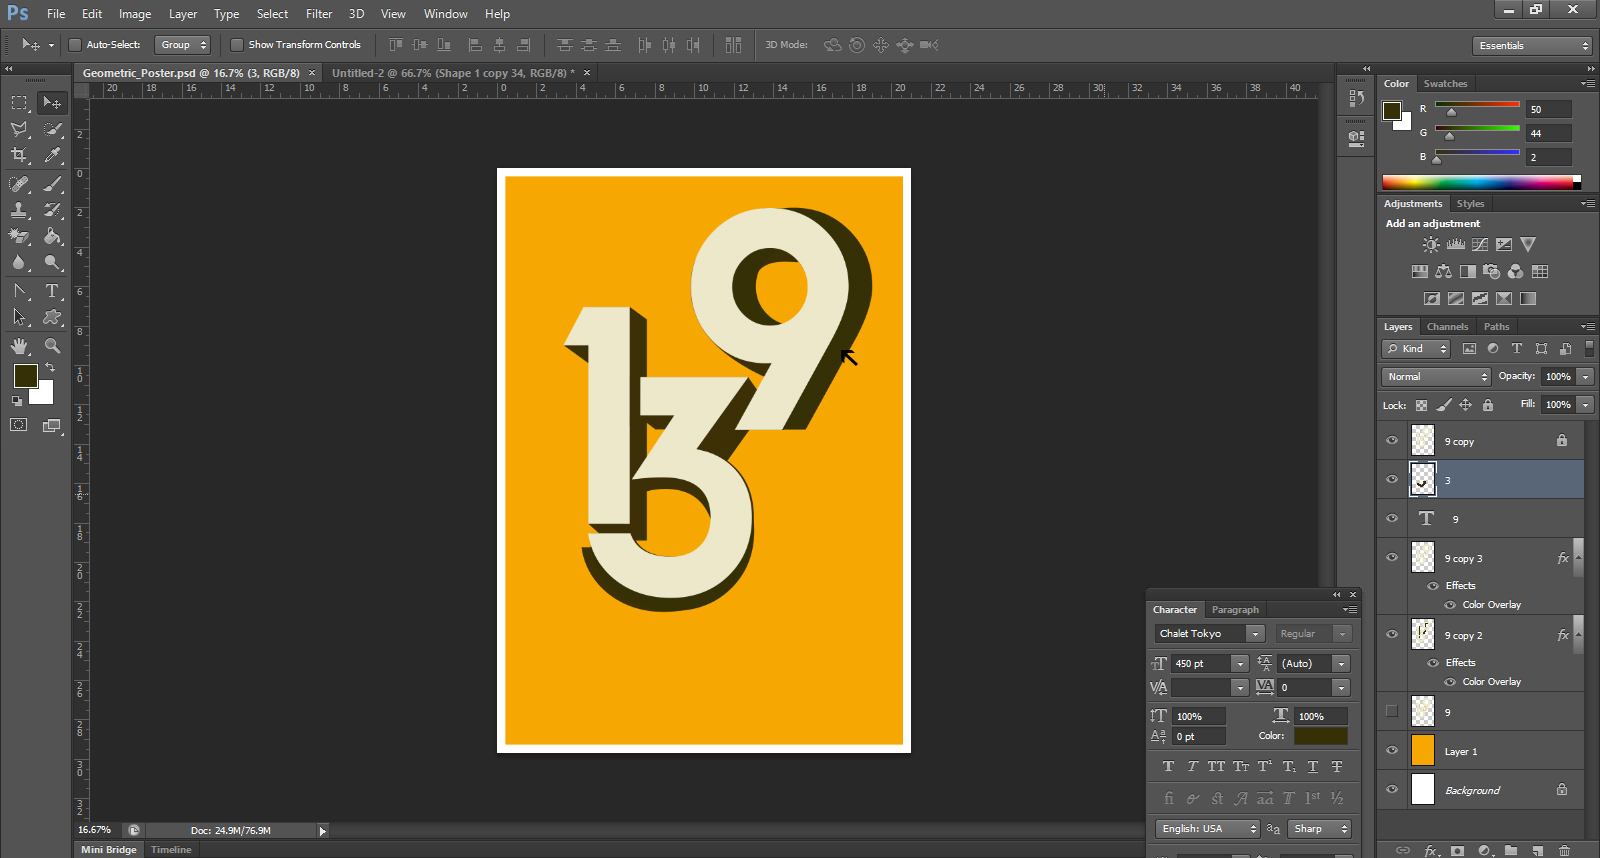
Step -8
Now select the layer 3 and bring it to the front so that a shadow of the numbers can be created.
Step -9
You have the numbers with their shadow at the desired places. This gives us the final impressive geometrical poster design.
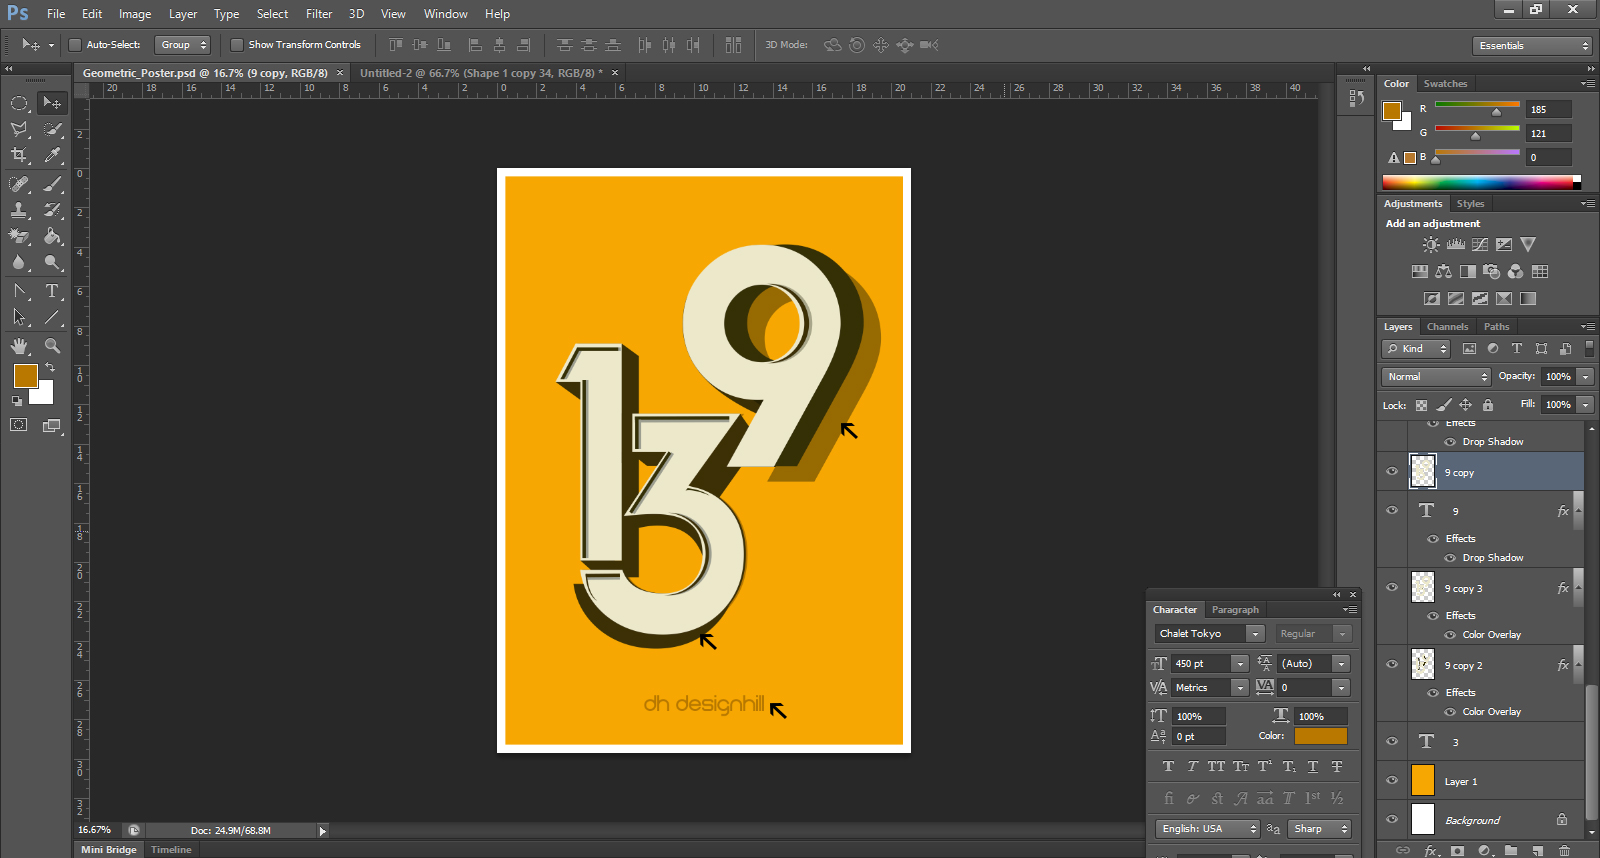
With this step, we culminate our tutorial for geometrical poster design. In this part of the tutorial, we walked you through simple steps to incorporate the numbers and create shadows around them for depth.