Last updated on March 16th, 2018
In Part 3 of the tutorial, you learnt how to create brightness/contrast effect layer & mask it to Skeleton pilae layer with hue saturation effect. In addition, you also learnt how to make effective use of colors in order to create an effect where skulls appear to be placed on Solidified_Lava layer.
In this Part 4 of the tutorial, you will learn how to create darkness effect on the reaper’s clothes through Hue/Saturation. You will further learn how to create brightness effects to highlight the reaper image. This will be followed by skull highlight effectively outlining the reaper and the skull images. Further, you will also be creating moonlight effect on Solidified_Lava layer.
Step 1
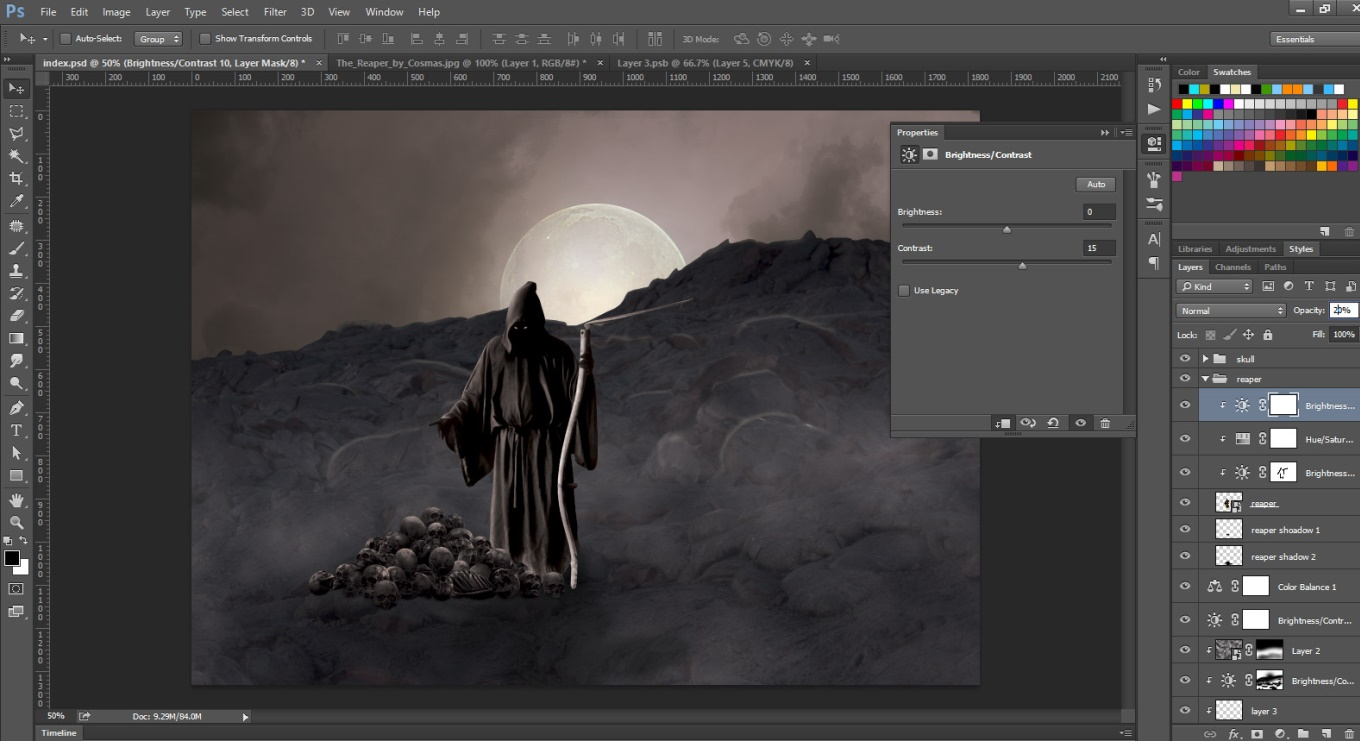
Start by adding Hue/Saturation layer above to reaper layer & clip-mask to reaper layer. Use the following values:
Hue: 0, Saturation: -99, Lightness: 0.

Step 2
Add Brightness/Contrast layer & make it clip mask to the reaper layer with following values:
Brightness: 0 and Contrast: 15.
(Layer > Create Clipping Mask).
Step 3
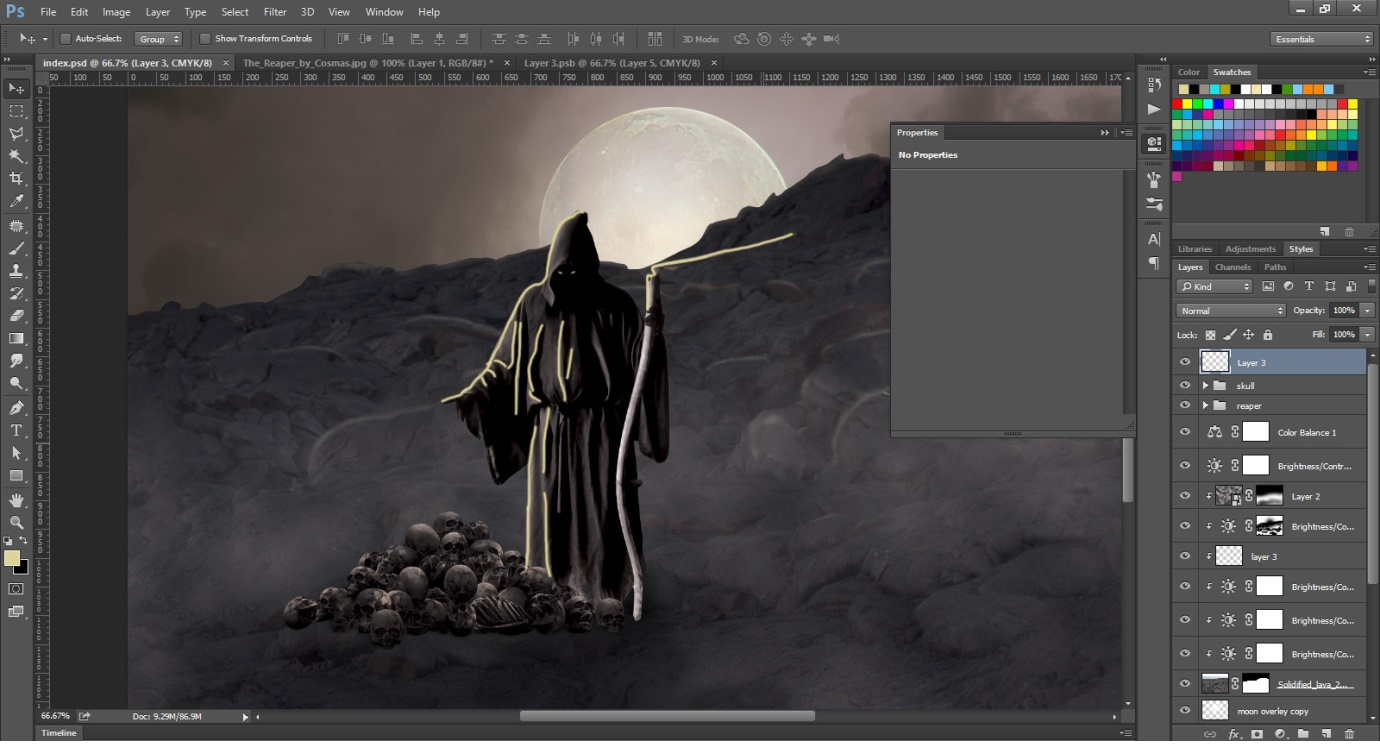
Create a new layer above all layers. Go to Layer > New > Layer 3.
Now, use soft brush with #edebc5 color code and a smaller radius. Highlight part of reaper’s clothes. It will be great if you have a pen tablet because then you can use “pen pressure” in brush settings so as to narrow down your brush stroke end points.
But don’t worry even if you do not have a pen tablet because you can still create an almost similar effect.
Step 4
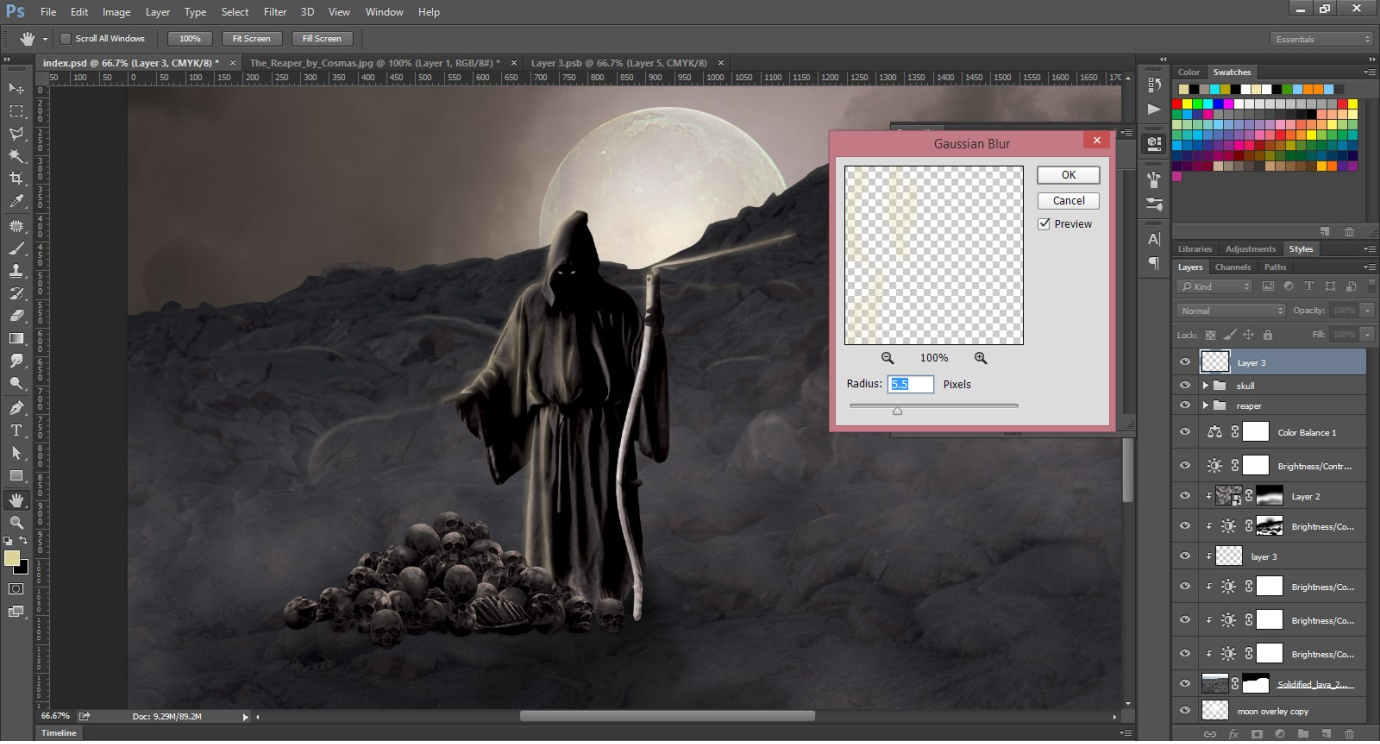
Use Gaussian Blur filter to this highlight layer (Layer 3) with radius at 5.5 pixels.
Step 5
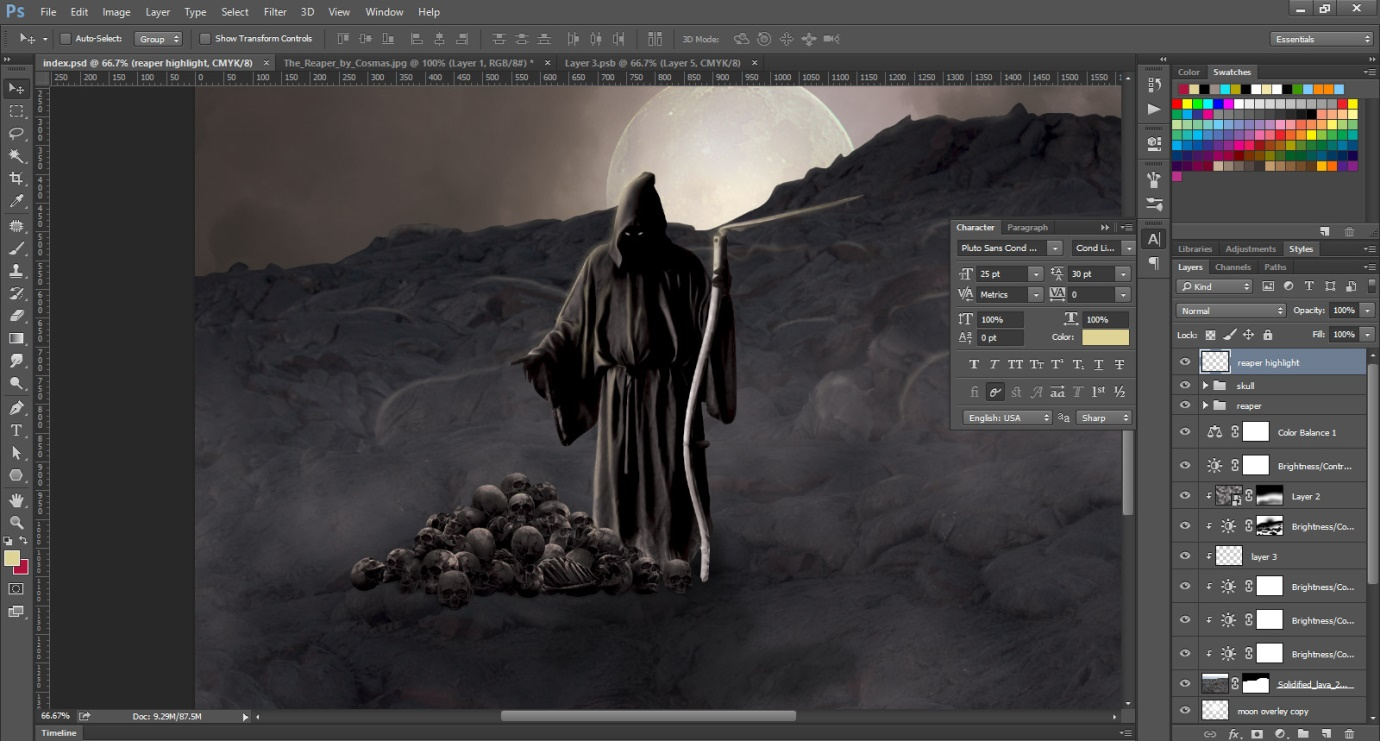
Use Smudge tool to highlight only the required area. Smudge tool is used for creating similar shadow or highlight effect achieved through finger sketching.
Now name this layer as reaper highlight.
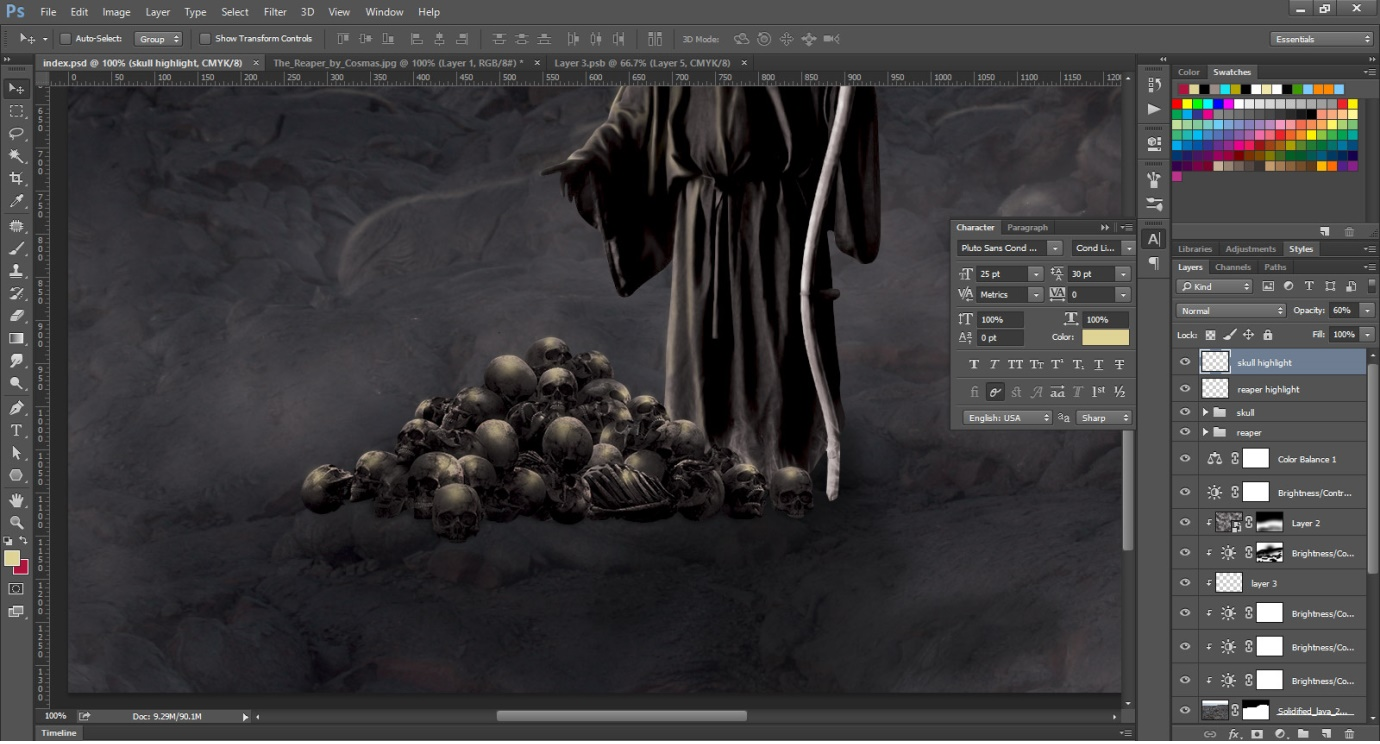
Step 6
Create another layer above this layer & name it “skull highlight”.
Go to Layer > New > Layer (skull highlight). Now use soft round brush and same color to highlight the skull image. Decrease the layer’s opacity to 60% so that it blends well with the skulls.
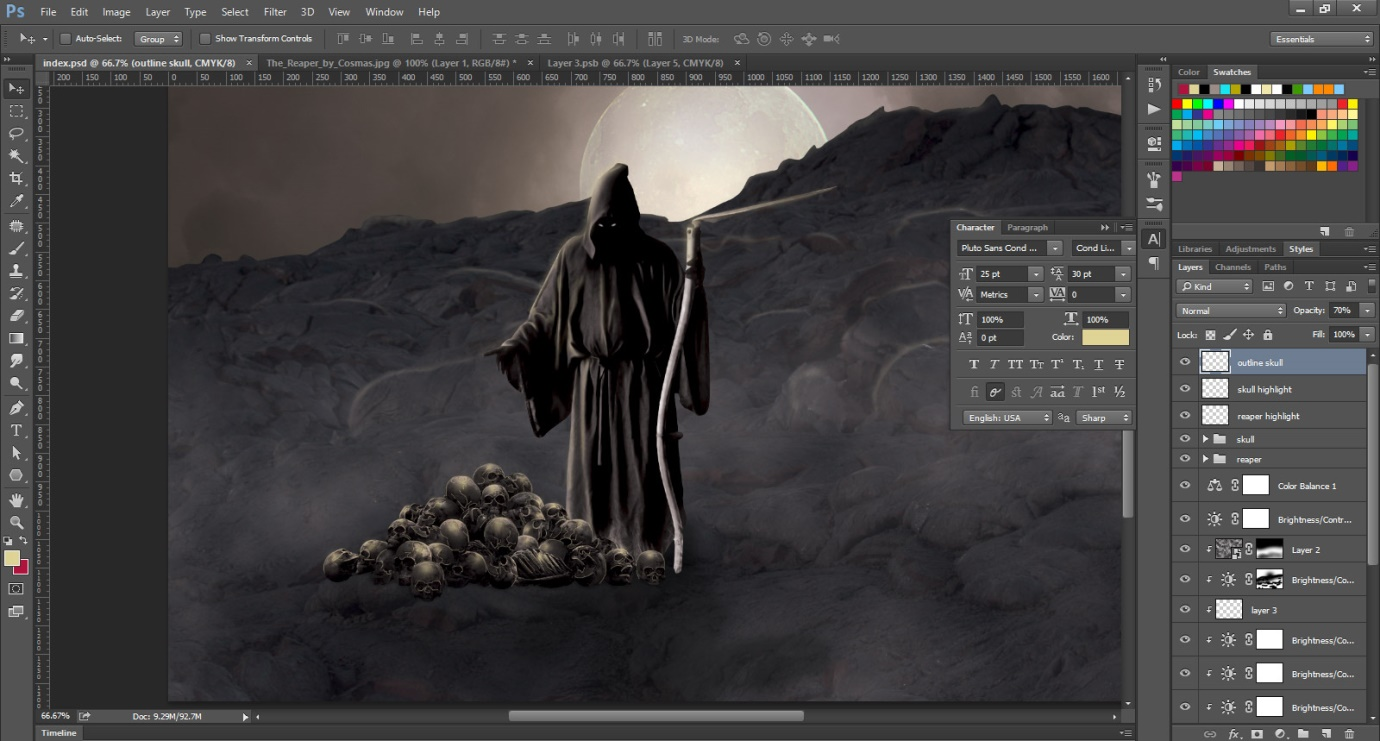
Step 7
Again, create a new layer above all layers & name it “outline skull”.
Use 1px hard round brush to highlight the skull edges. Decrease the layers opacity to 70%. Opacity values might vary depending on your image. So take your chances to experiment with values and see what best suits your image.
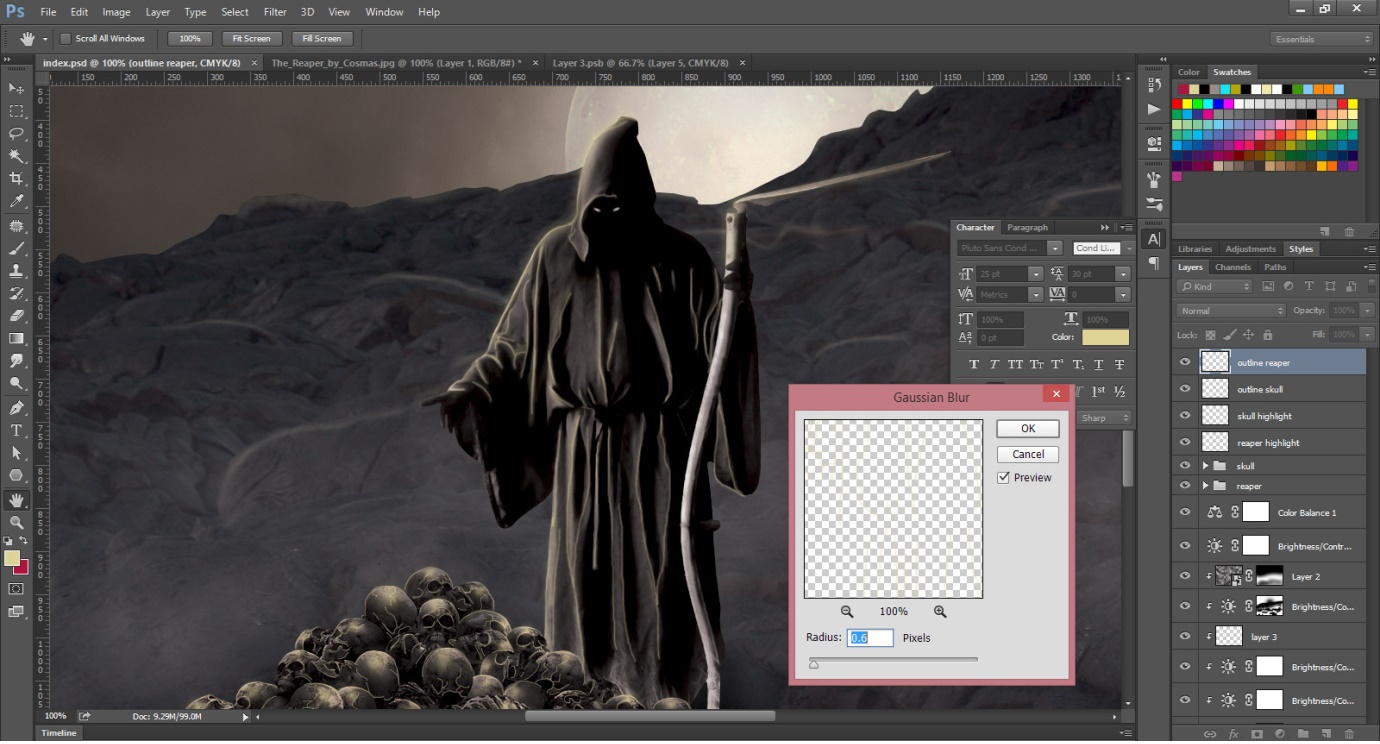
Step 8
Create outline reaper layer above all layers for highlighting the reaper’s clothes edges. Use Gaussian Blur with radius = 0.6 pixels.
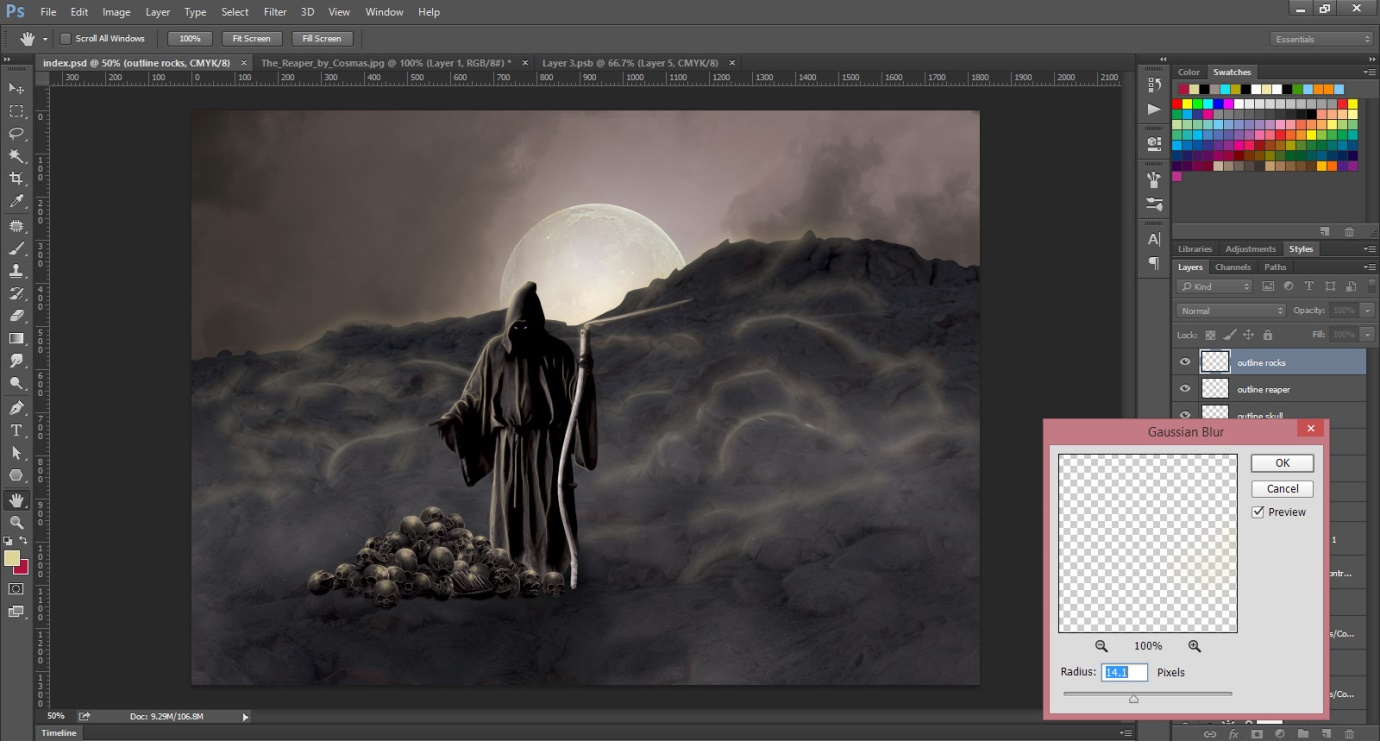
Step 9
Again, create a new layer above other layers & name it “Outline rocks”. Repeat same steps as with reaper highlight procedure. This will effectively highlight the edges of the rocks.
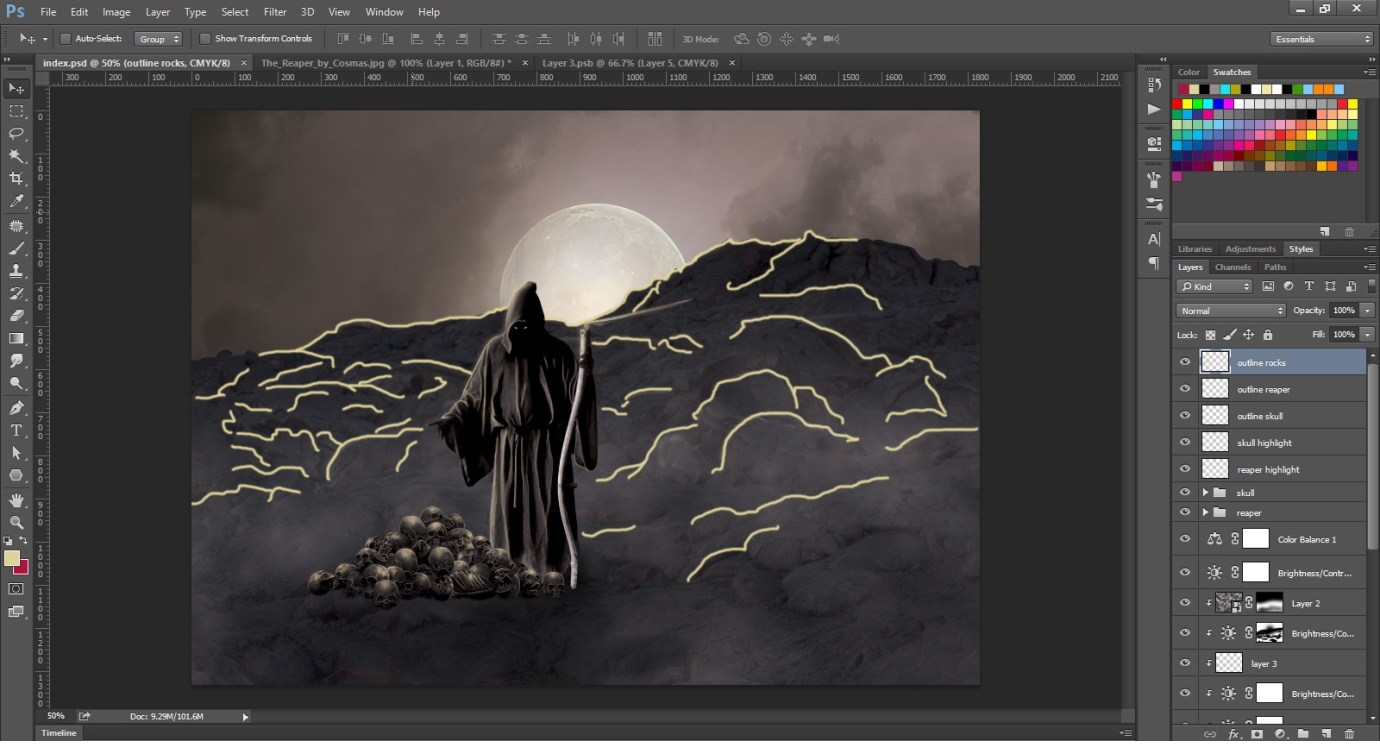
Step 10
Use Gaussian Blur filter to this layer with 14.1 radius value.
In this part of the tutorial you learnt how to create a moonlight effect on the reaper’s clothes and on the skulls image as well. You learnt the use of Smudge tool to control the rock highlighting and create a similar pen pressure effect.
In the final part of the tutorial, you will learn the use of aura brushes to create effects as if souls are coming out from the skulls. You will learn how to create “flame or aura” effects through Smudge tool.
Looking for Customized, On time, Logo Designs? Launch a Logo Design Contest today. Choose from 100+ designs. Take your pick! We offer a full 100% money back guarantee! Finally, a risk-free way of getting a customized design.
Like our blog? Follow us on Twitter, Facebook and Linkedin.