
Last updated on December 26th, 2023
Creating custom embroidery designs is the best way to personalize gifts or clothes. This art form is not only durable compared to prints but also gives a clue about your fashion choices.
Embroidery makes it easy to create something more personalized. It works effectively on many products, such as t-shirts, hats, hoodies, jackets, and more. Thanks to the online tools that let you upload a favorite artwork for embroidery. Even when you’re not an expert, you can create a stunning hoodie design, t-shirt design, or hat design for personal, promotional, or gifting needs.
Here’s how you can master the art of embroidery design.
How To Create The Best Embroidery Design:
Pick The Right Graphic Design Tool
The first step toward mastering embroidery designs is to access an online tool. It lets you quickly get your favorite design embroidered on your clothes, such as t-shirts or products. It cuts back the hassles involved in such a process. Here are some handy graphic design tools for your consideration.
Designhill T-Shirt Maker
If you’re searching for a user-friendly tool that lets you personalize your custom embroidered products, Designhill has an efficient tool to use. Its online t-shirt maker tool enables you to customize your tee or create an embroidered hoodie design.
You can create your design right on the garment and place the order to get it embroidered and delivered to your doorstep.
The best thing about Designhill’s t-shirt maker is that it’s free to use and lets you see how your embroidery design will appear. Besides, you get complete access to its built-in library of graphics, clipart, and fonts.
Here’s how you can access the embroidery section and work with the t-shirt maker tool.
- Launch PrintShop by Designhill
- Select Embroidery section from the menu
- Choose t-shirt, hoodie, or any product you like
- Click on the particular product
- Choose a color, quantity, and size according to your needs
- Go to the “Add Media” section and upload your artwork, logo, or text
- Choose embroidery thread colors
- Add the product to the cart and complete the checkout process
- Your product will be embroidered and delivered to your address.
That is all. A mock-up of the apparel will show how the embroidered design will appear. In this way, you can put your logo on a jacket and get jacket logo embroidery.
Canva
Canva is among the most popular graphic design tools you can easily explore. It comes in free and paid versions to create designs per your needs. You can access a vast stock of pre-made visuals for your embroidery design. Since the tool is accessible online, you don’t need to install it if you don’t like it.
You can browse its library of pre-created embroidered designs and use them on any product you like. But if you don’t like any of these designs, then you’ll have to upgrade to its paid version.
Photoshop
Photoshop is yet another tool for your consideration. If you’re good at designing, you can use this tool to polish your embroidery design. You can create and edit abstract designs, patterns, and logos before sending them to be embroidered.
The only downside is that you need to have some design skills to use it.
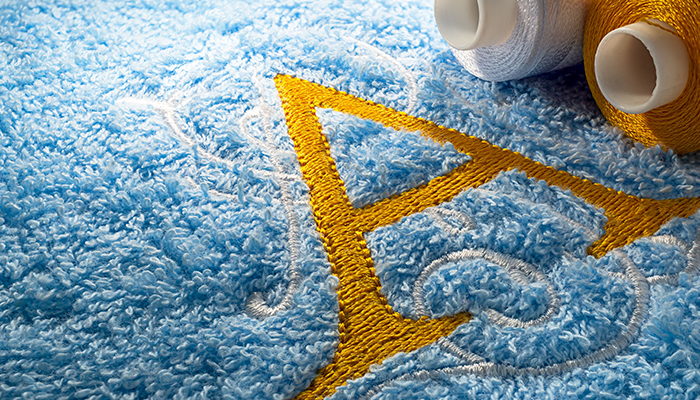
Choose Colors Strategically
You should choose your embroidery thread colors carefully with a strategy. If the design is minimalist, opt for only a handful of colors. It would be well first to set thread colors for an impact.

Hand-made embroidery designs should be simple, which means a specific set of thread colors will work better to achieve the desired impact.
Bright colors such as neon and metallic are harder to achieve with their full effects in custom shirt embroidery or other apparel. These colors are impossible to achieve even when you have unlimited color embroidery.
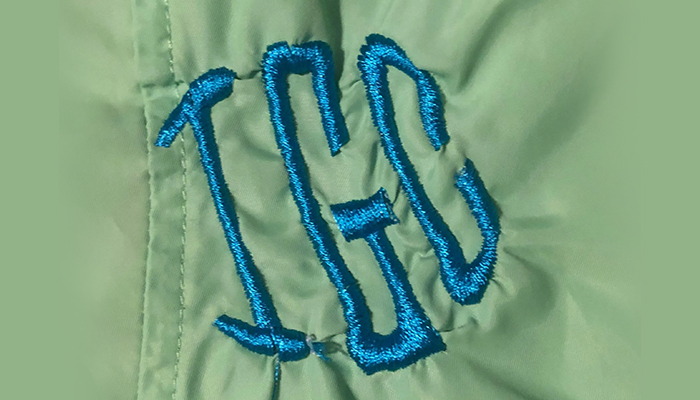
Use Bigger Text And Thick Lines

When embroidering some letters, especially small letters, ensure that their height and thickness are right. The text should ideally be at least 0.25’’ in height. Its thickness also should be at least 0.05’’. Only such a design will be visible clearly from a distance. Also, the line thickness should ideally be 0.05’’ for regular satin stitch.
Avoid Distressed Or Textured Graphics

We often like textured graphics or distressed elements as they look impressive. But avoid them while doing embroidery as they are not easily achievable. You may only be able to get some of those details embroidered, mainly depending on the texture size.
Avoid Lightweight Fabric
If your embroidery design consists of many small details, it is advisable to avoid lightweight fabric. This is because the material around the embroidery may look pucker. So, use thicker materials for a detailed design.
Keep The Design Simple

Make certain that your embroidery design is simple. Avoid multiple colors, fonts, and other elements in the design so it does not look crowded. When incorporating text, remove extra words.
Even when creating a logo, keep its design simple to look impressive in embroidery. For instance, a simple custom hat logo embroidery on the front side of the stylish hat will catch everyone’s attention.
Keep Away From The Big Designs
You might be tempted to create big embroidery designs like classic chest pocket designs. But go for a smaller size, which might need to look more impressive. Most big embroidered works of more significant sizes need to be polished.
Also, larger embroidered sections in clothes can make them heavier and less comfortable. Therefore, note that less is more in embroidery.
Get Stitching Skills

Get some handy stitching skills when embroidering a design on clothing. There are mainly three basic embroidery stitches you should try. These are running stitch, back stitch, and split stitch.
A running stitch allows for pushing the needle through one side and then back to the other. There is a small space left between each stitch. That gives the impression of the stitch moving forward. But avoid this stitch type when using printing or trace paper.
The back stitch creates a solid one-line, which embroiderers find ideal when using tracing paper to trace the design. Just start with a simple stitch and then start the next stitch with a gap in between. Then, to attach the second stitch to the first one, go backward.
Split stitch is a good option. First, create a simple stitch, push the needle in the middle, and then create a new stitch. Repeat the process to get a split stitch.
So, these are the key tips you should consider while creating embroidery designs. You need to practice embroidery and see what works best for you. Make sure that the choice of cloth is just good enough to pop up your embroidery work on it.
Wrapping Up
Customizing clothes and gifts with an embroidery design is a great idea. If you want to go the embroidery way, ensure you choose a design that’s simple and easy to stitch. It doesn’t matter whether you use clipart, logo design, or simple text; choose the right colors, avoid gradients, and keep it simple for a lasting impression.


