Last updated on November 10th, 2021
In the part 2 of the tutorial, we learnt tracing and detailing of hairs, nose, eyes, lips and other facial parts. We also learnt how to highlight other things such as blazer, shirt and tie with thick and thin strokes in order to separate the image distinctly from its background.
In the third installment of this tutorial, we will typically be focusing on portrait coloring. We’ll learn how to use pencil tool for creating color strokes and color overlapping.
Step 1
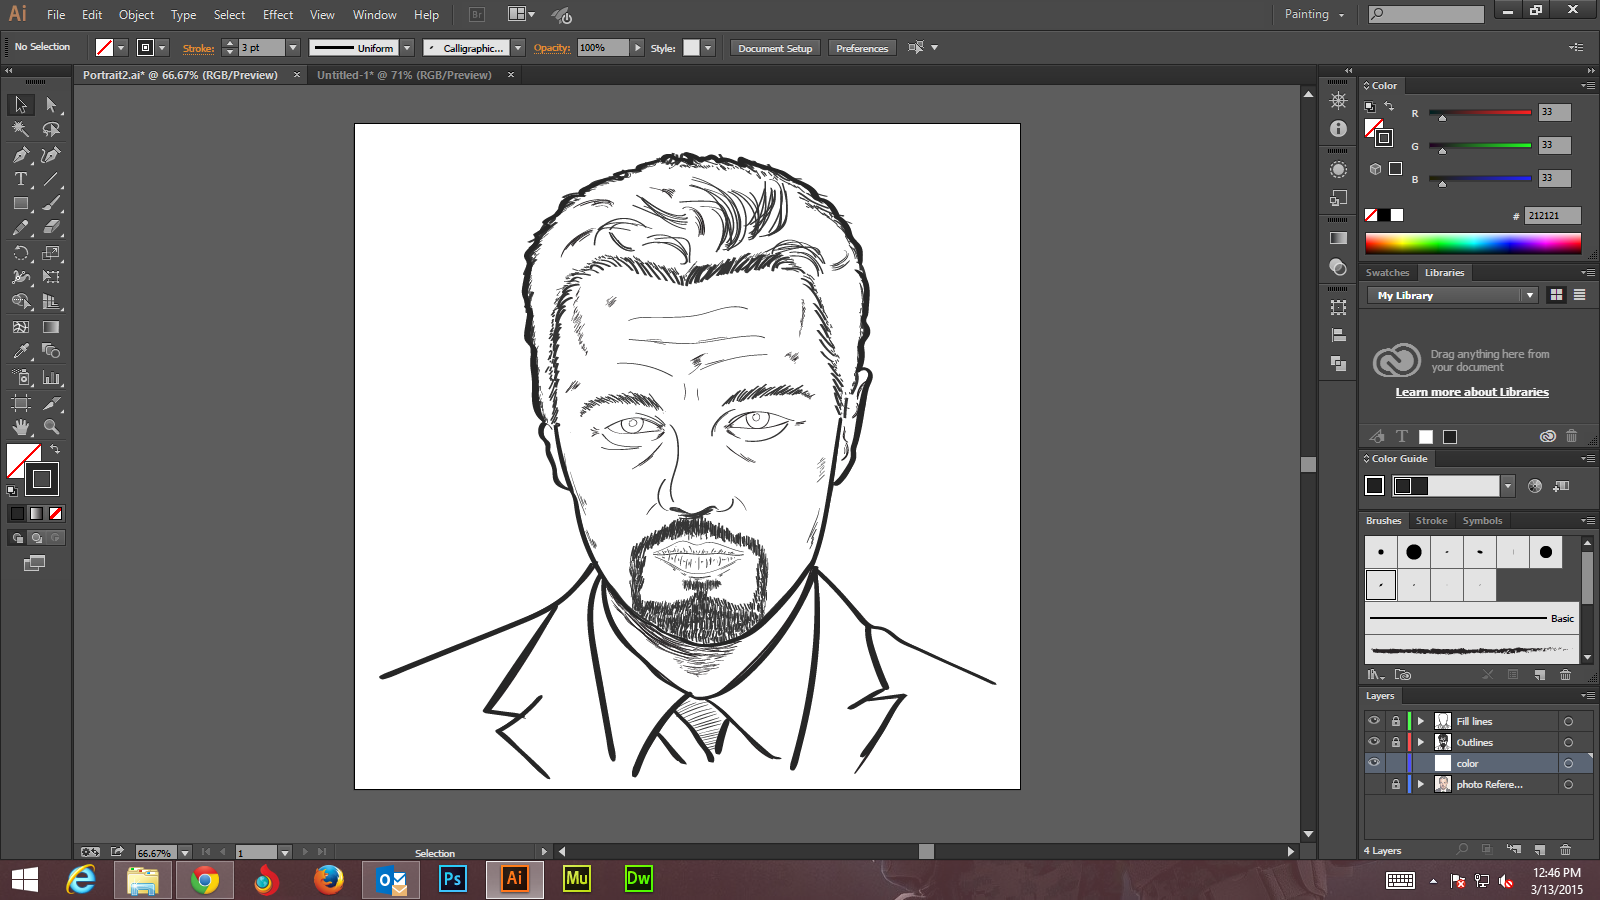
Begin by creating a new layer. Go to the Layers panel and create a new layer below the previous layers “Fill lines” and “Outlines”. Name the new layer as ‘Color’. Lock all the other layers except this one. Ensure that you have hidden the “Photo Reference” layer.
Step 2
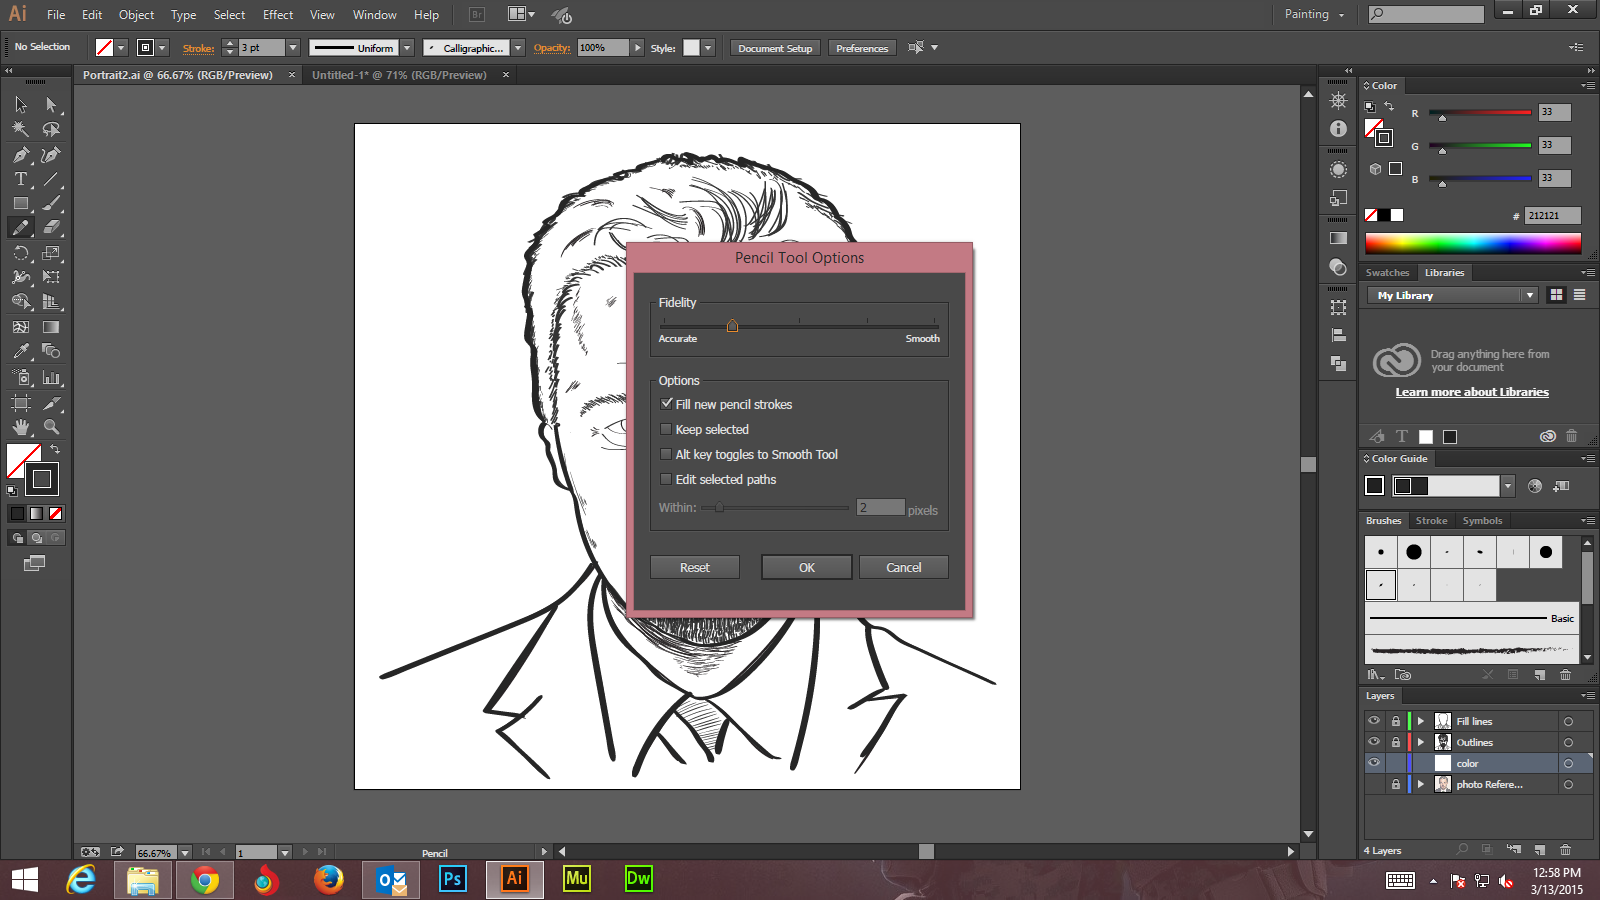
Select the pencil tool by double clicking its icon in the toolbar. Set its fidelity property roughly at 25%. Now ensure that the option “Fill new pencil strokes” is checked.
Step 3
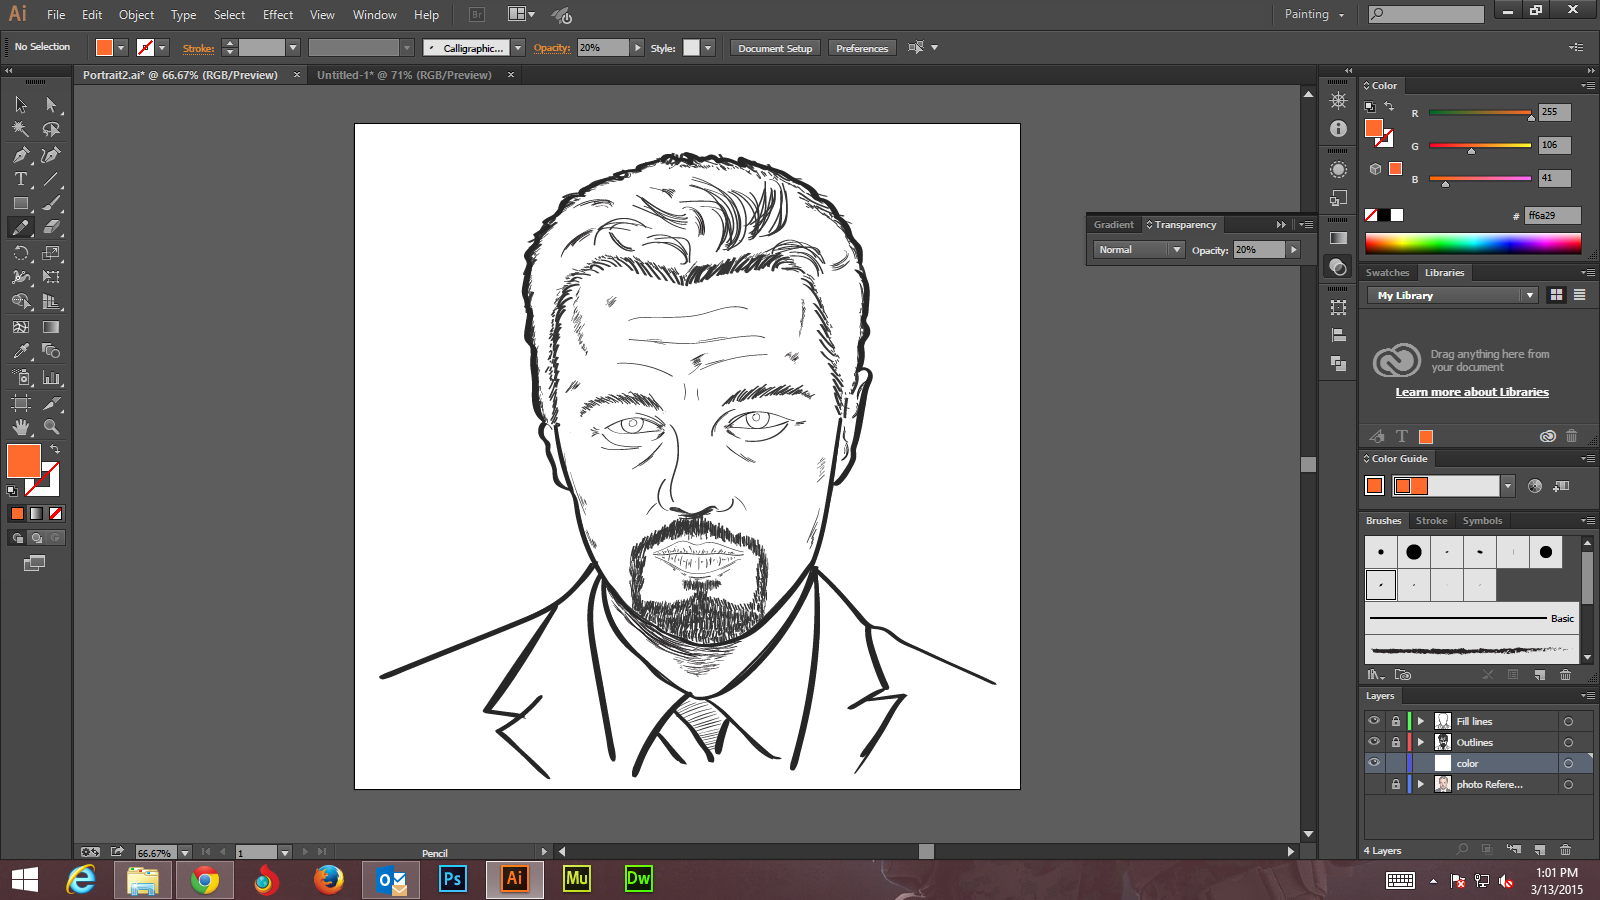
Choose orange color on the forefront and select its transparency property by keeping opacity of the layer at 20%. The selected RGB values must be 255, 106 and 41 respectively.
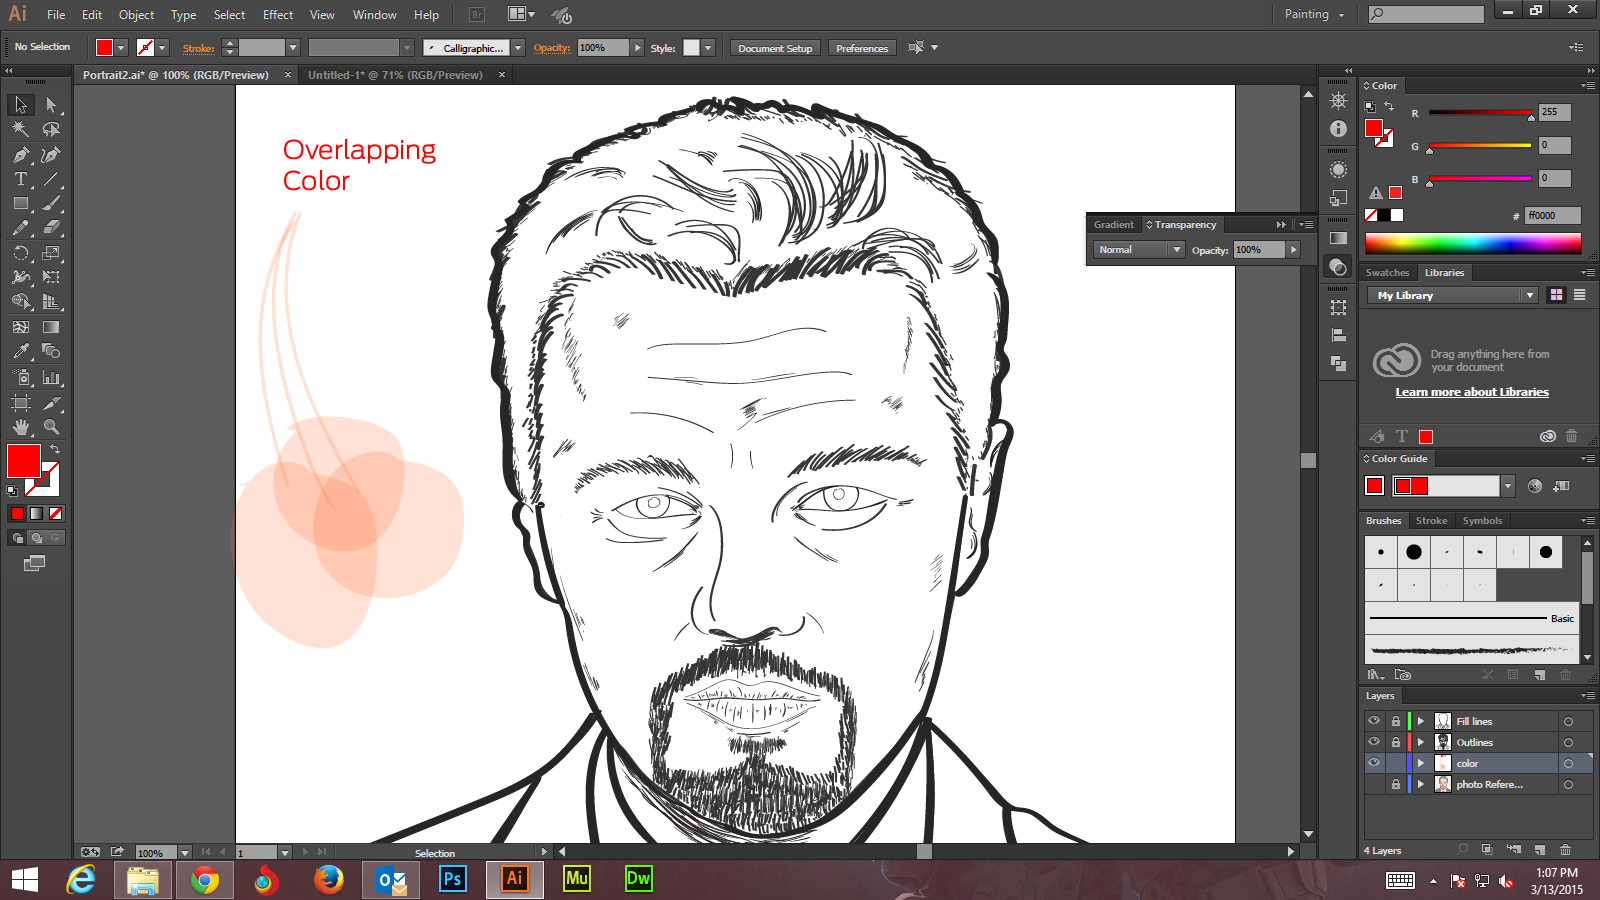
Step 4
Now, before putting colors to actual usage, we’ll test them on color and transparency parameters. We’ll do so by drawing three overlapping circles in order to see how these colors mix up. The places where colors are overlapped tend to become darker. See the screenshot below.
We’ll be using orange, blue, yellow and green colors.
Caution: Don’t get confused by seeing the selected opacity at 100% as it is only for the text “Overlapping Color”.
Step 5
Start by coloring the skin tone of Leonardo’s face. We’ll begin coloring and highlighting from the hair line. Here, we are typically creating areas with darker tones. See the screenshot below.
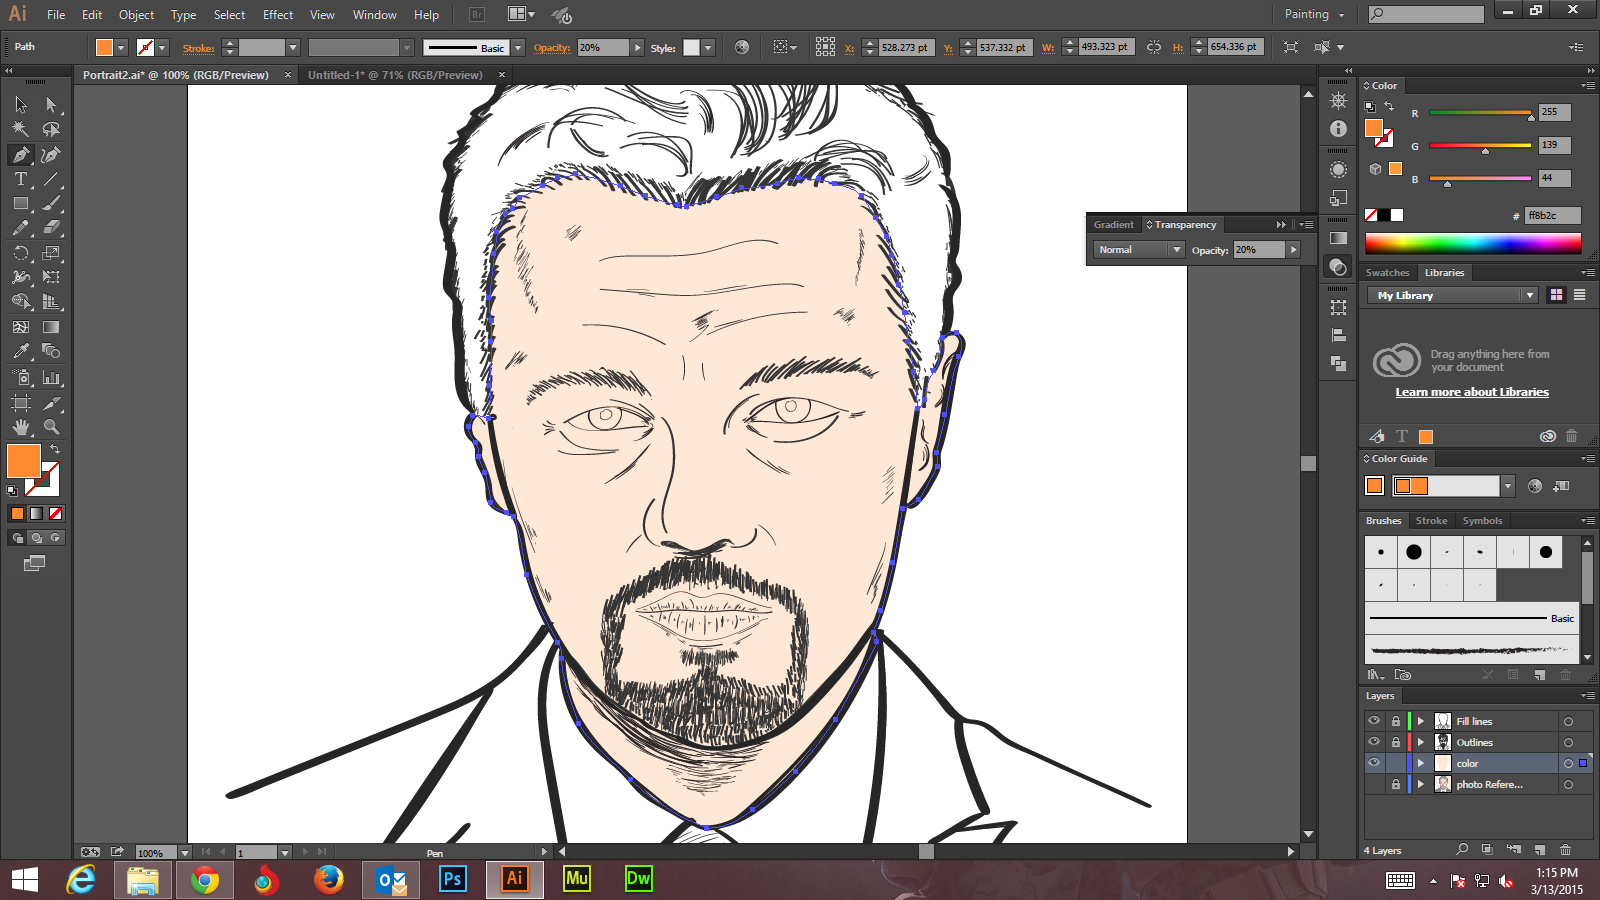
We’ll do further coloring on the face with the help of the ‘Pencil Tool’. The color values that we have chosen here are:
R=255, G=139 and B=44. However, if you can always select the values as per your requisites.
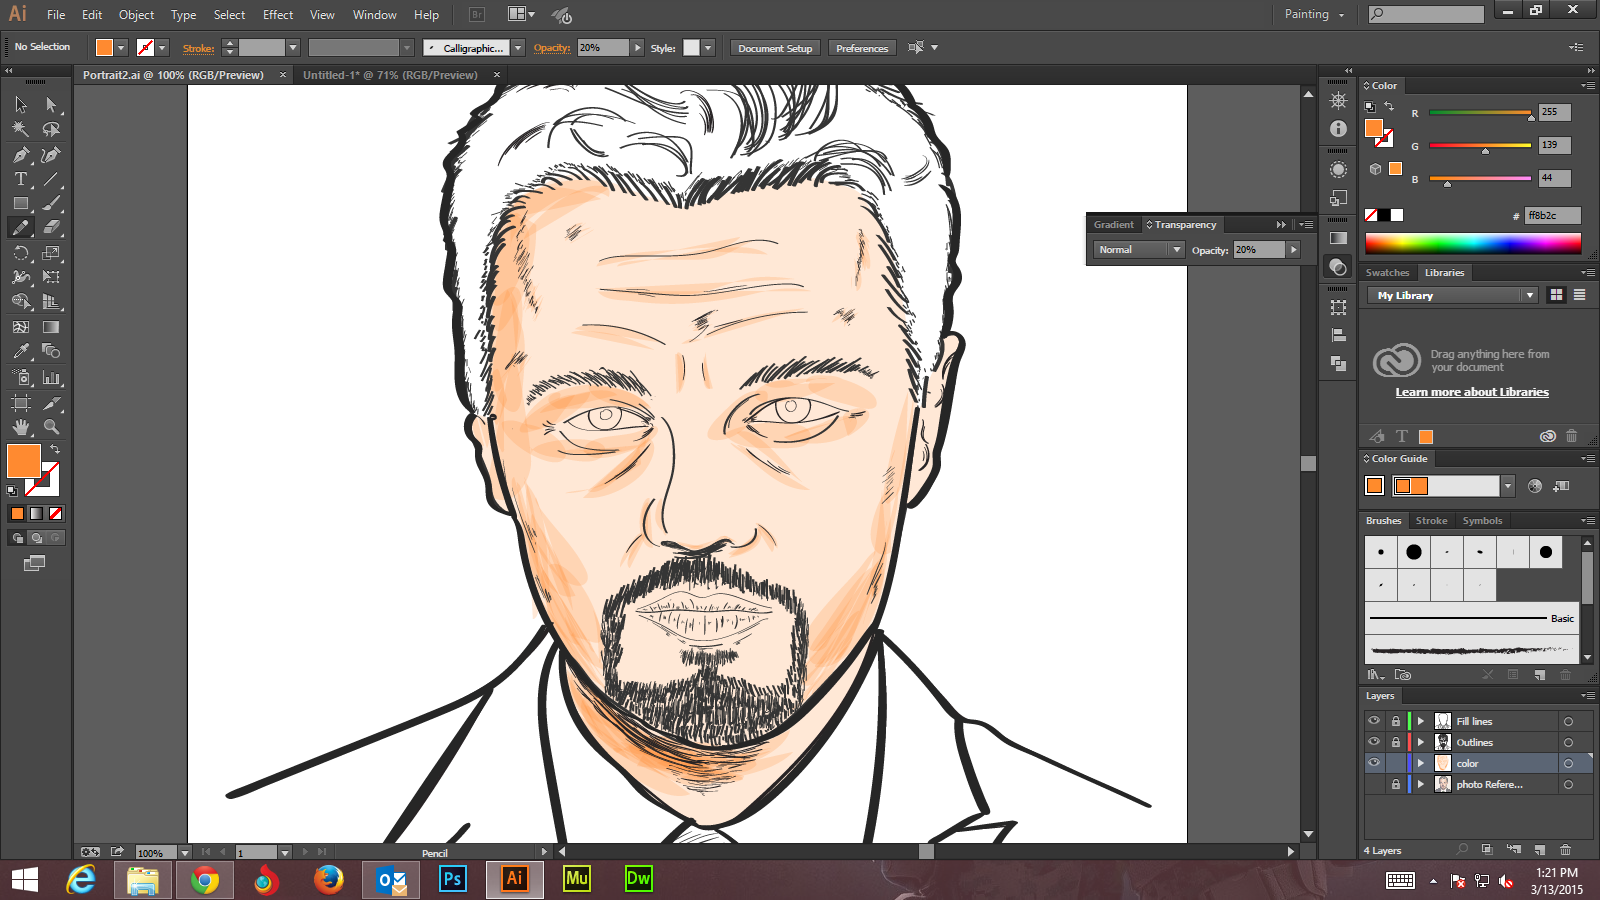
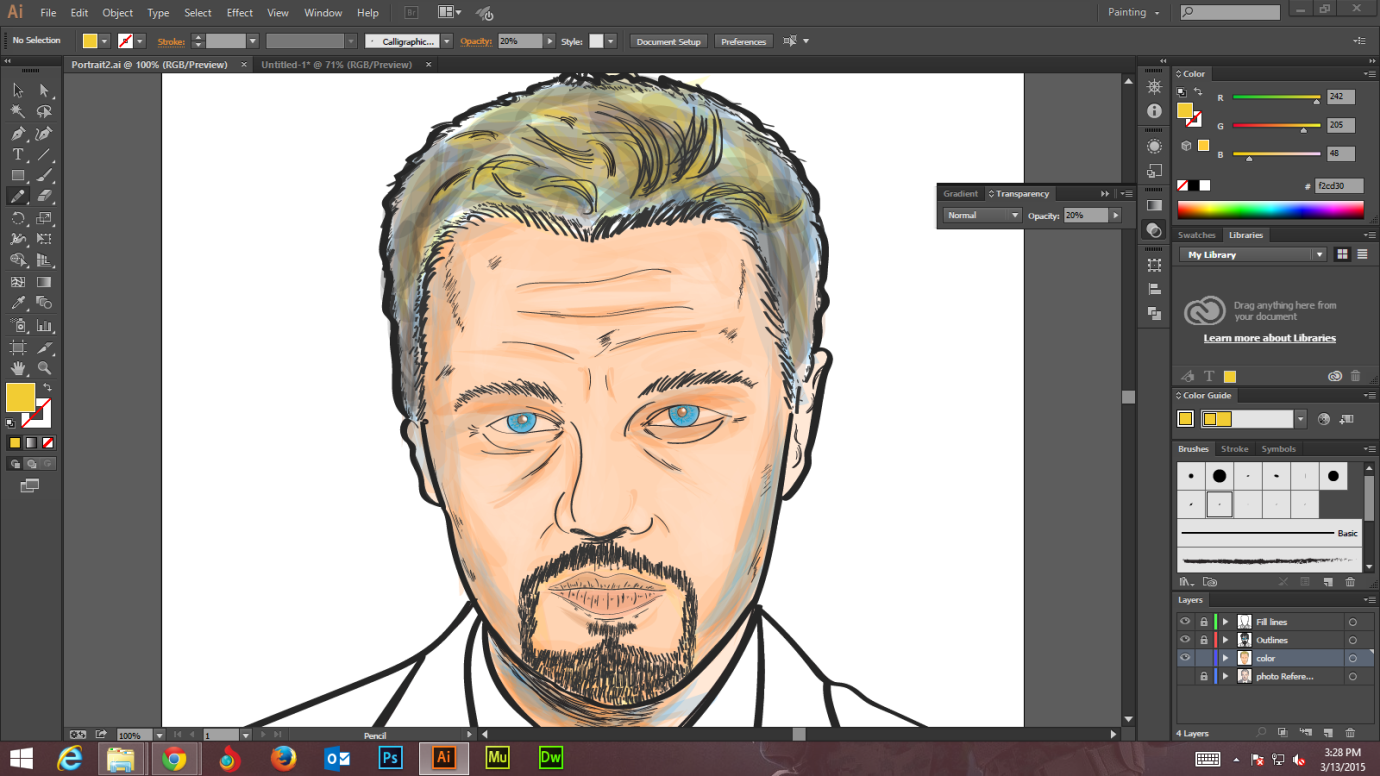
We have extended the coloring on the hairs as well. The color values now are:
R=46, G=171 and B=255. See the screenshot below.

Step 6
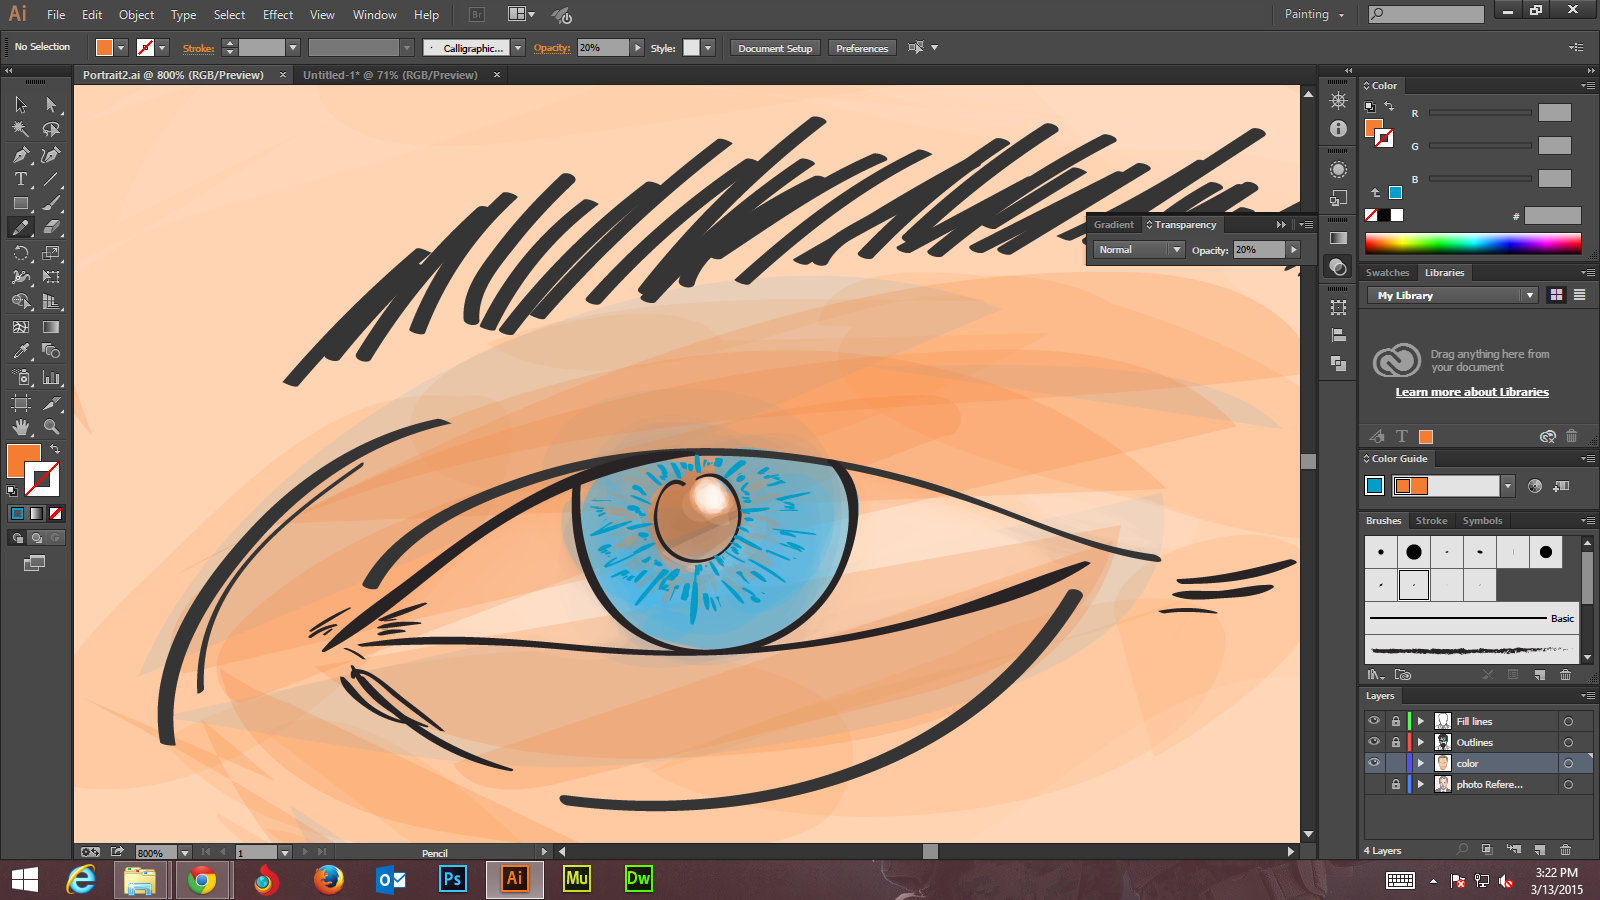
By selecting white color, we’ll now focus on detailing of forehead lines and Eye bags (the area right below the eyes) etc.

Now, we’ll focus on highlighting of eye balls and other facial areas to ensure perfect symmetry of face coloring.
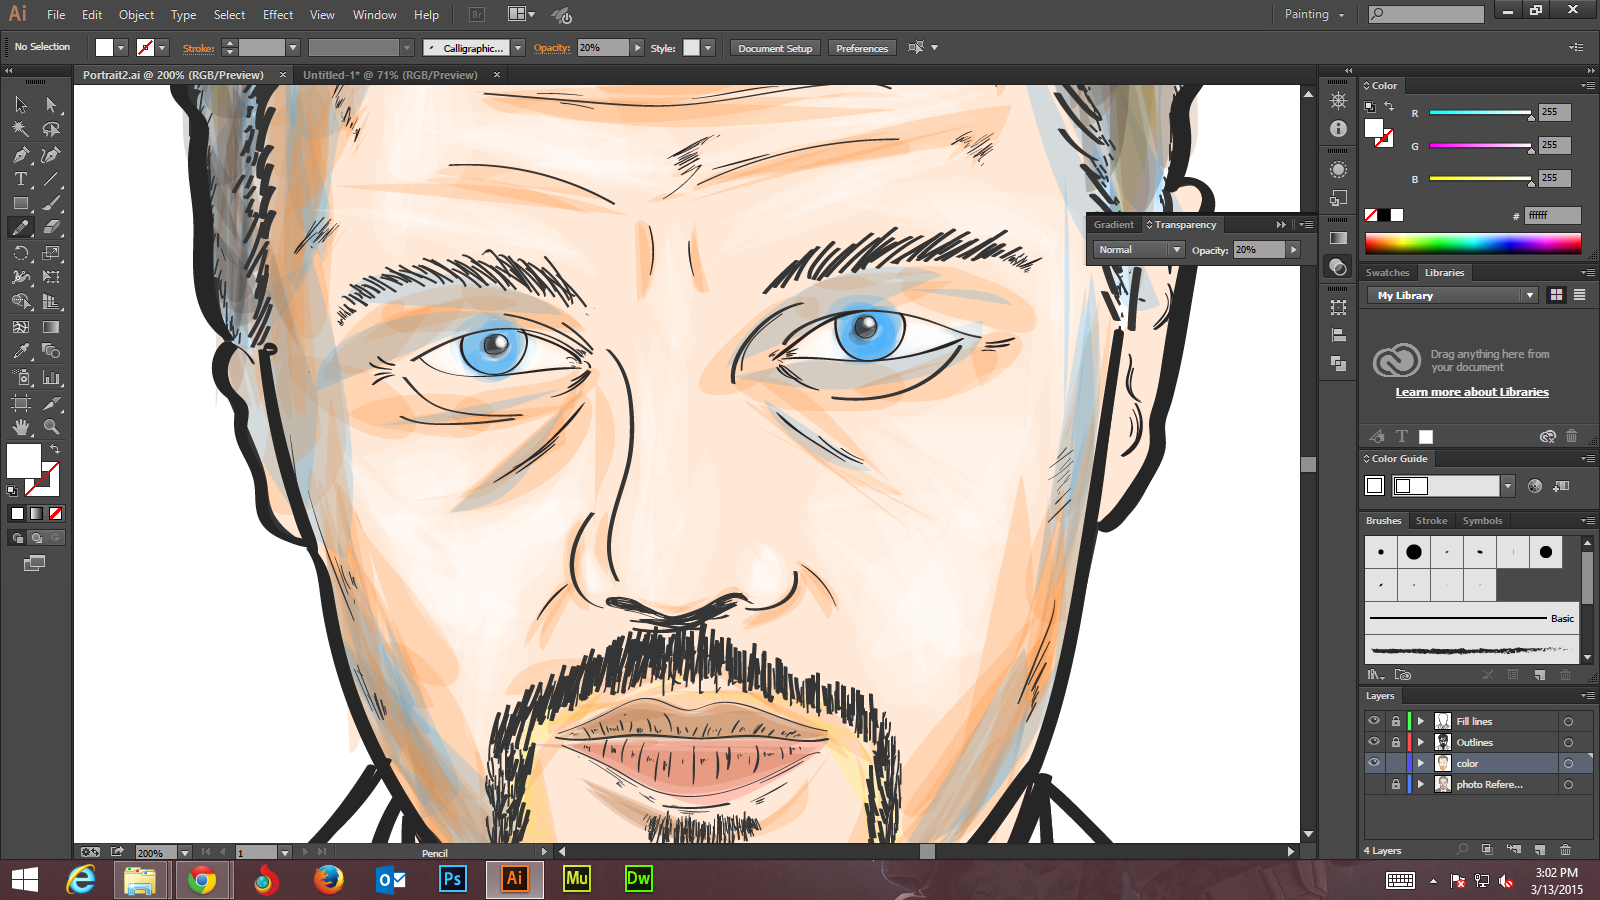 A more comprehensive detailing of the facial area around the eye will make your portrait even more transparent and lively. So, depending upon your requirements, you may opt for it.
Step 7
Continue with coloring on hairs and face with the following color values. We have typically opted for R=242, G=205 and B=48. You are free to use your own colors but ensure that they go well with other things. Do not worry if you have sharp edges and irregular shapes as you can always erase them with the help of the ‘Eraser Tool’.
Step 8
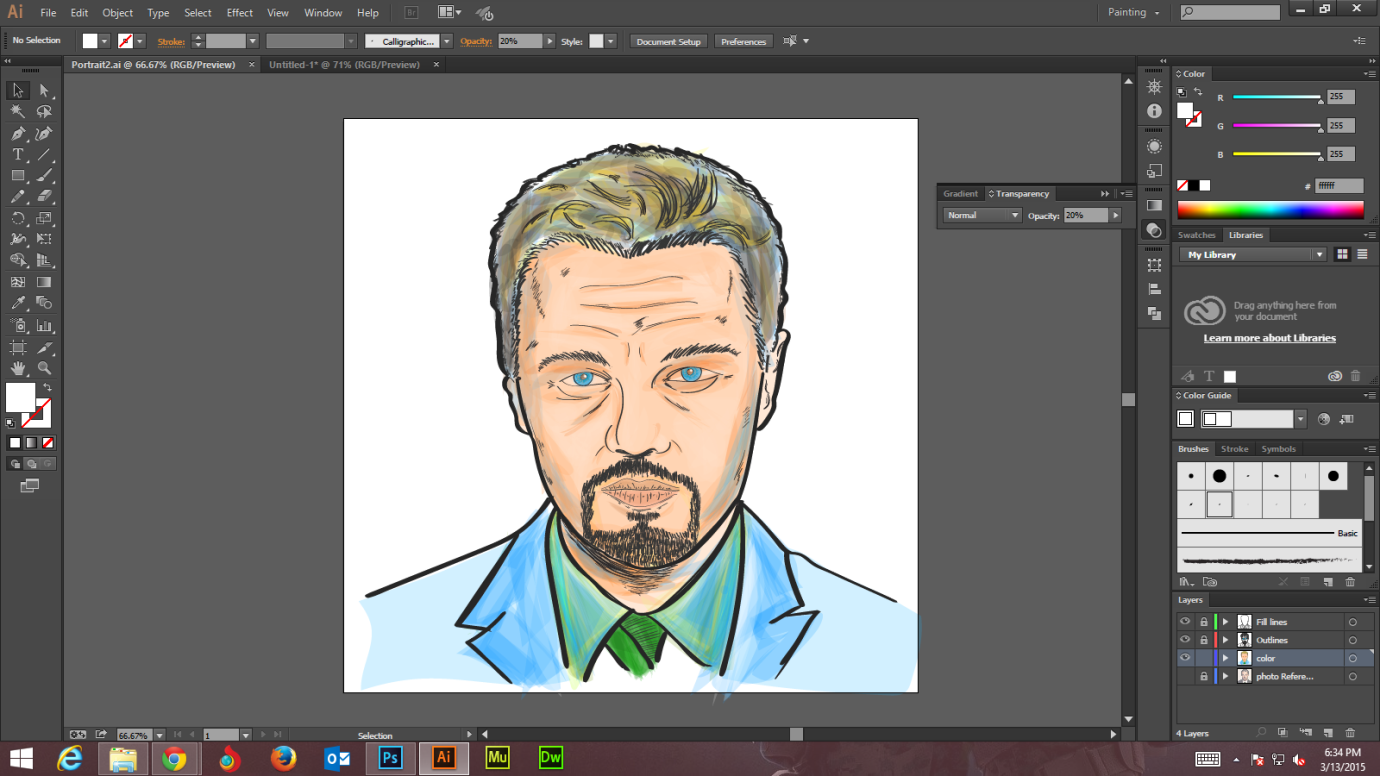
From face, we’ll now move on to clothes (blazer and shirt collars) to initiate the coloring on clothes. You may choose different areas for coloring depending upon your portrait and the type of digital art you wish to achieve.
Step 9
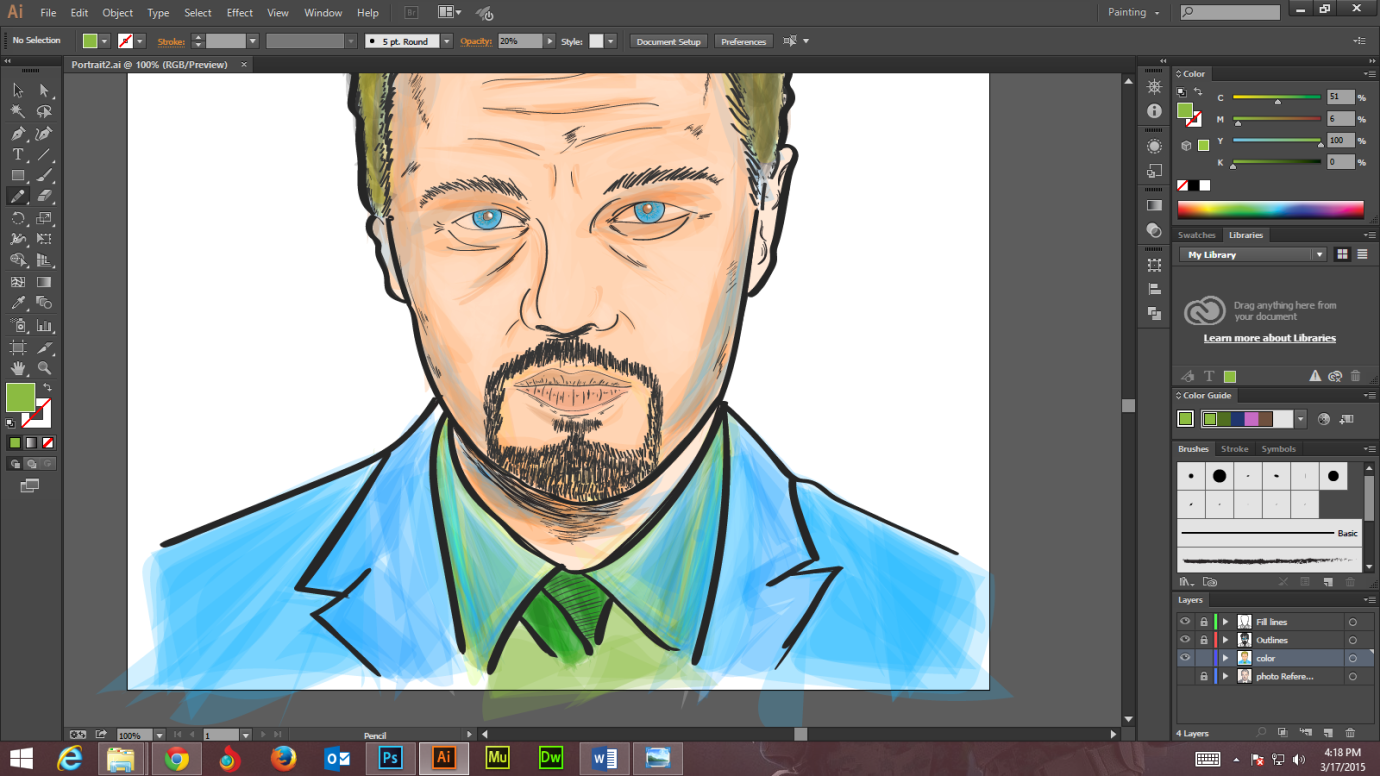
We’ll now expand our coloring effects on the blazer. Here, we have selected CMYK color mode with the blue color. You may choose other color depending upon your requirements. For color percentage, please refer to the screenshot below.
Step 10
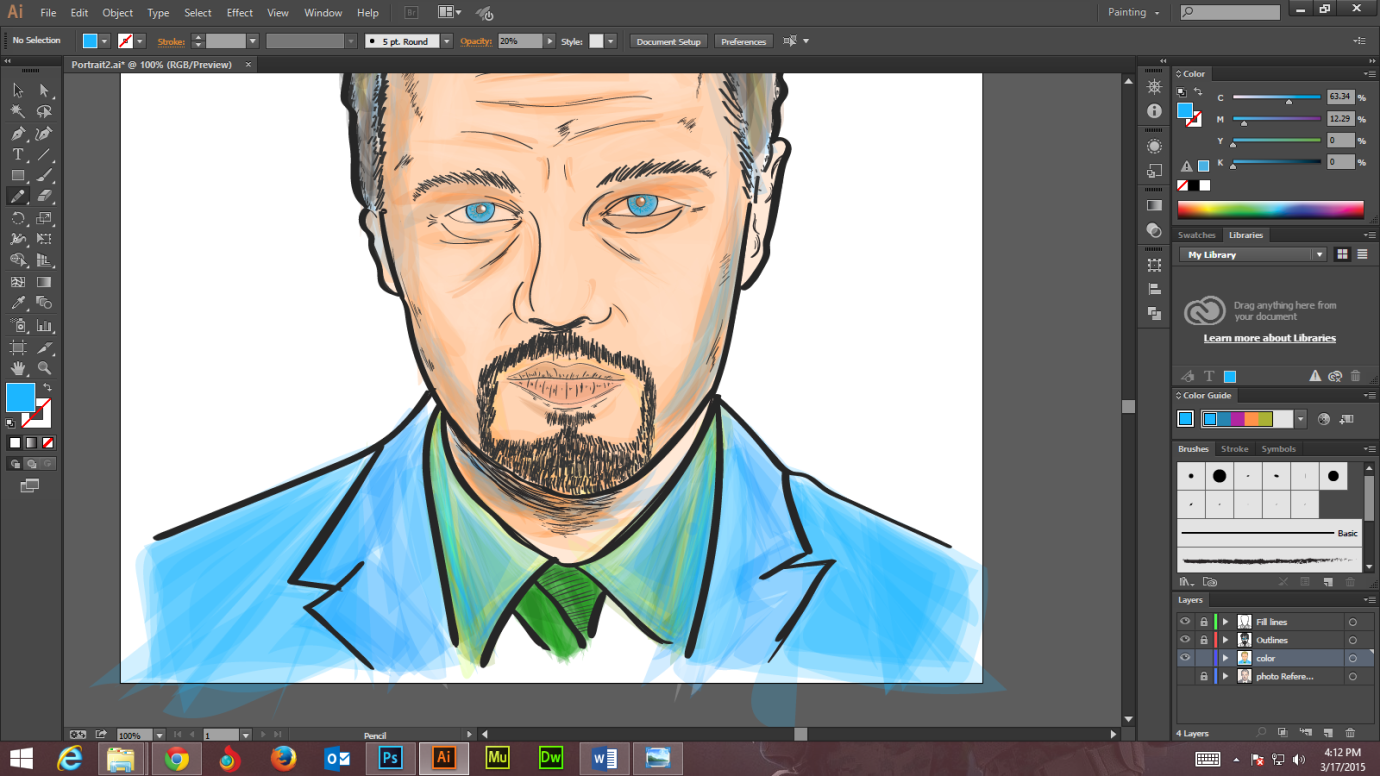
We’ll now be using green color for highlighting the hairs, giving strokes on the shirt collar and other required areas.
At this point, we are close to completion of our marker style portrait. You can improvise and deviate a little from our technique and style to add a dash of creativity and further enhance your illustration.
You are free to add your illustrations into Adobe Photoshop for those extra effects, texture and color management. However, do ensure that everything falls in perfect place and your portrait doesn’t turn out to be horrible!
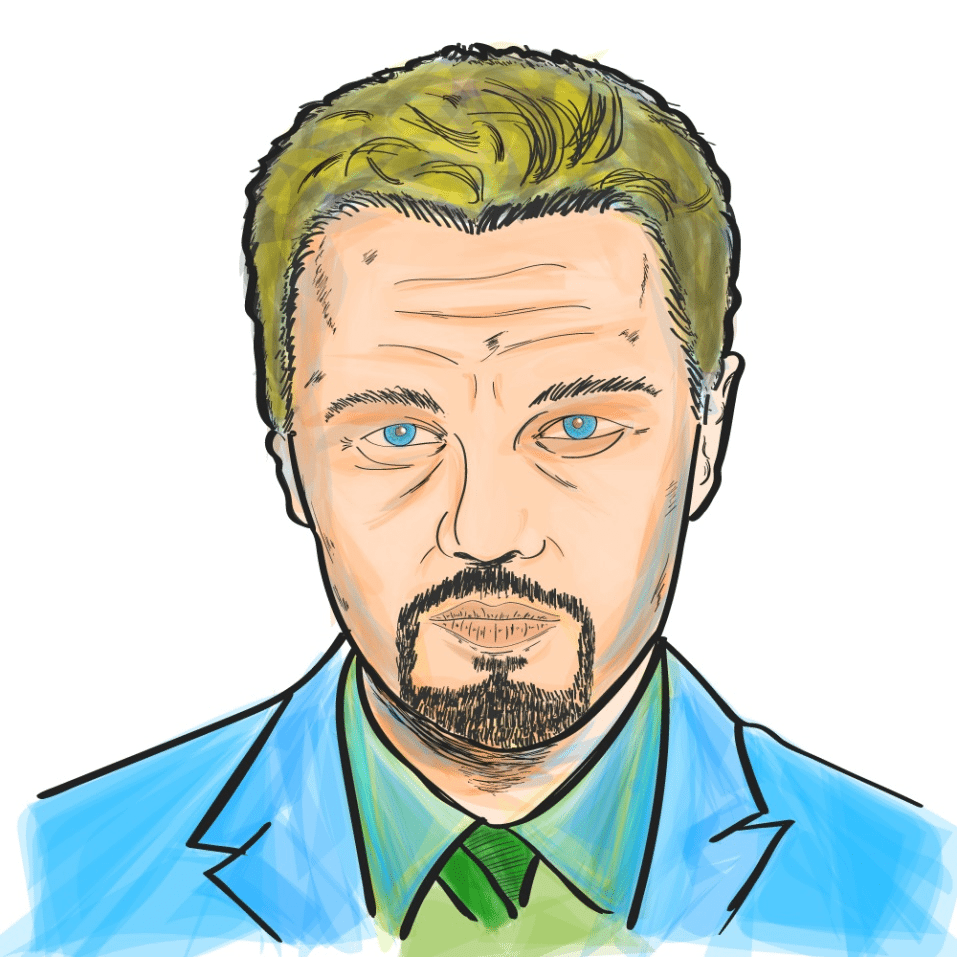
We are now ready with our digital art and marker style portrait. Let’s have a look.