Last updated on February 9th, 2023
You do not have to be a design expert to create a logo for your small business. There is no need for you to hire a professional logo design expert and hurt your pockets. If you want to design a logo symbol that is good enough to convey a message to your target audience, you can use Illustrator tool for the purpose.
Read on for step by step process of create logo design in Illustrator and see how easy it is to design a logo without any expertise.

Easy Steps To Create Logo Design In Illustrator
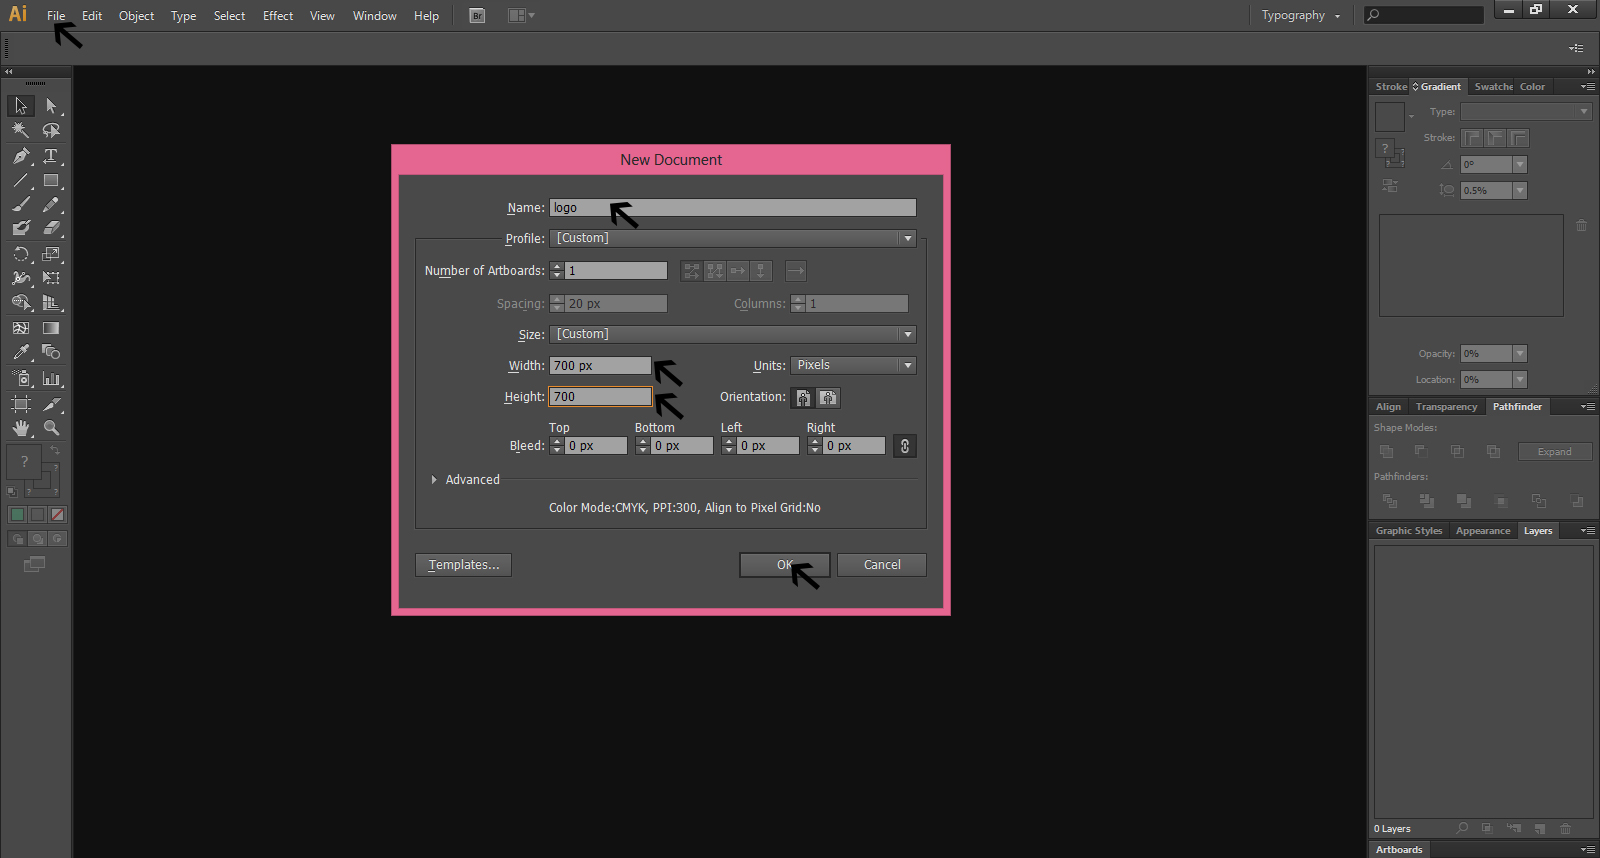
Step -1
Go to File and select New to open a New Document. Fill all of your requirements of size, width, height etc to create a logo.
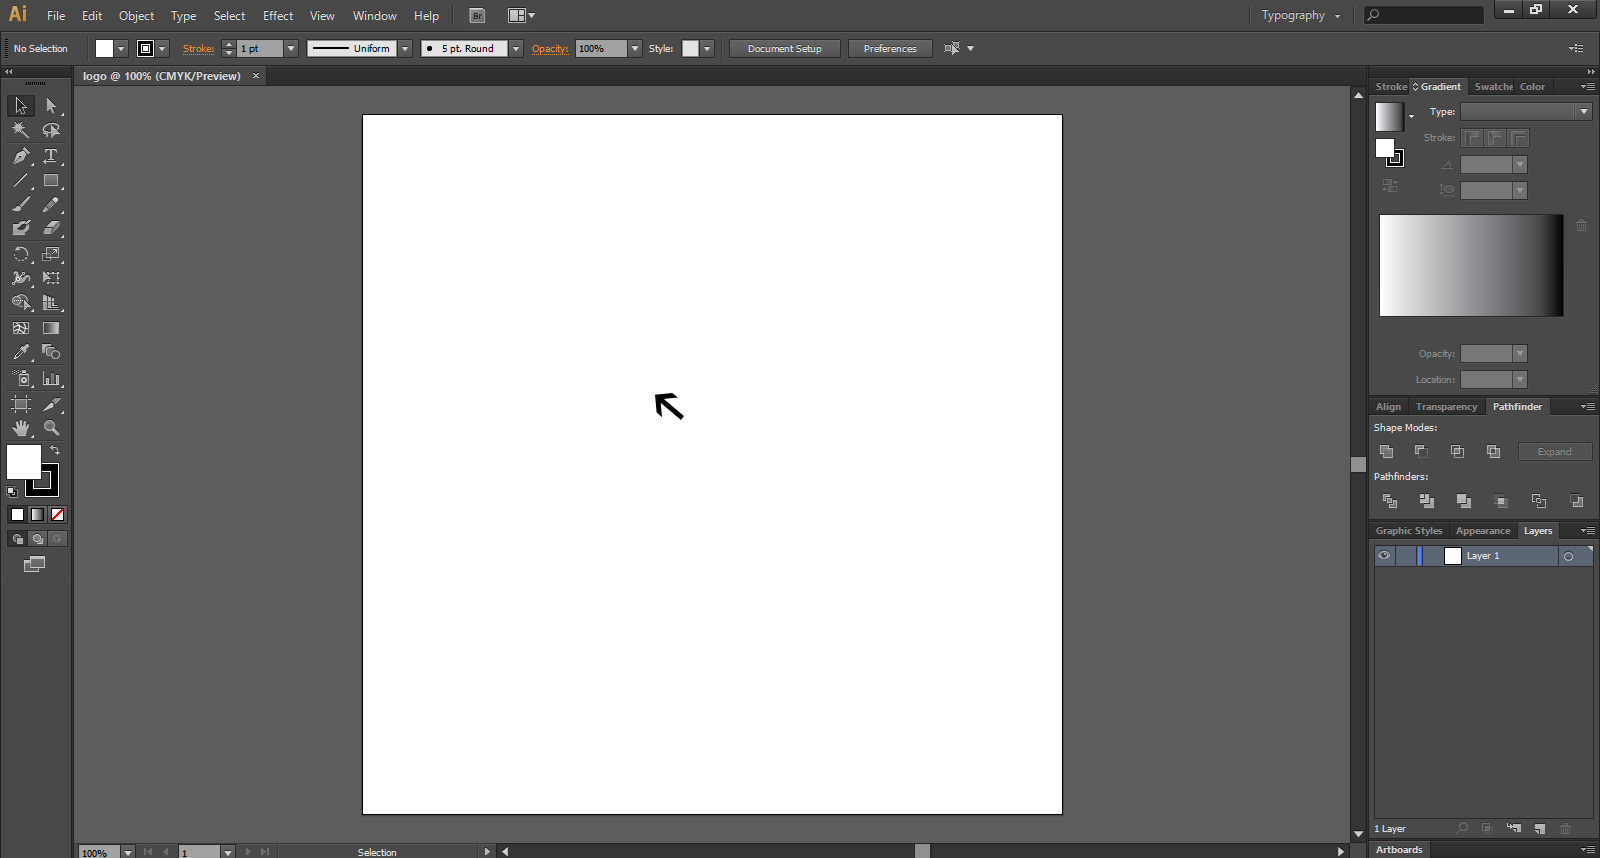
Step-2
Get the blank document to work on.
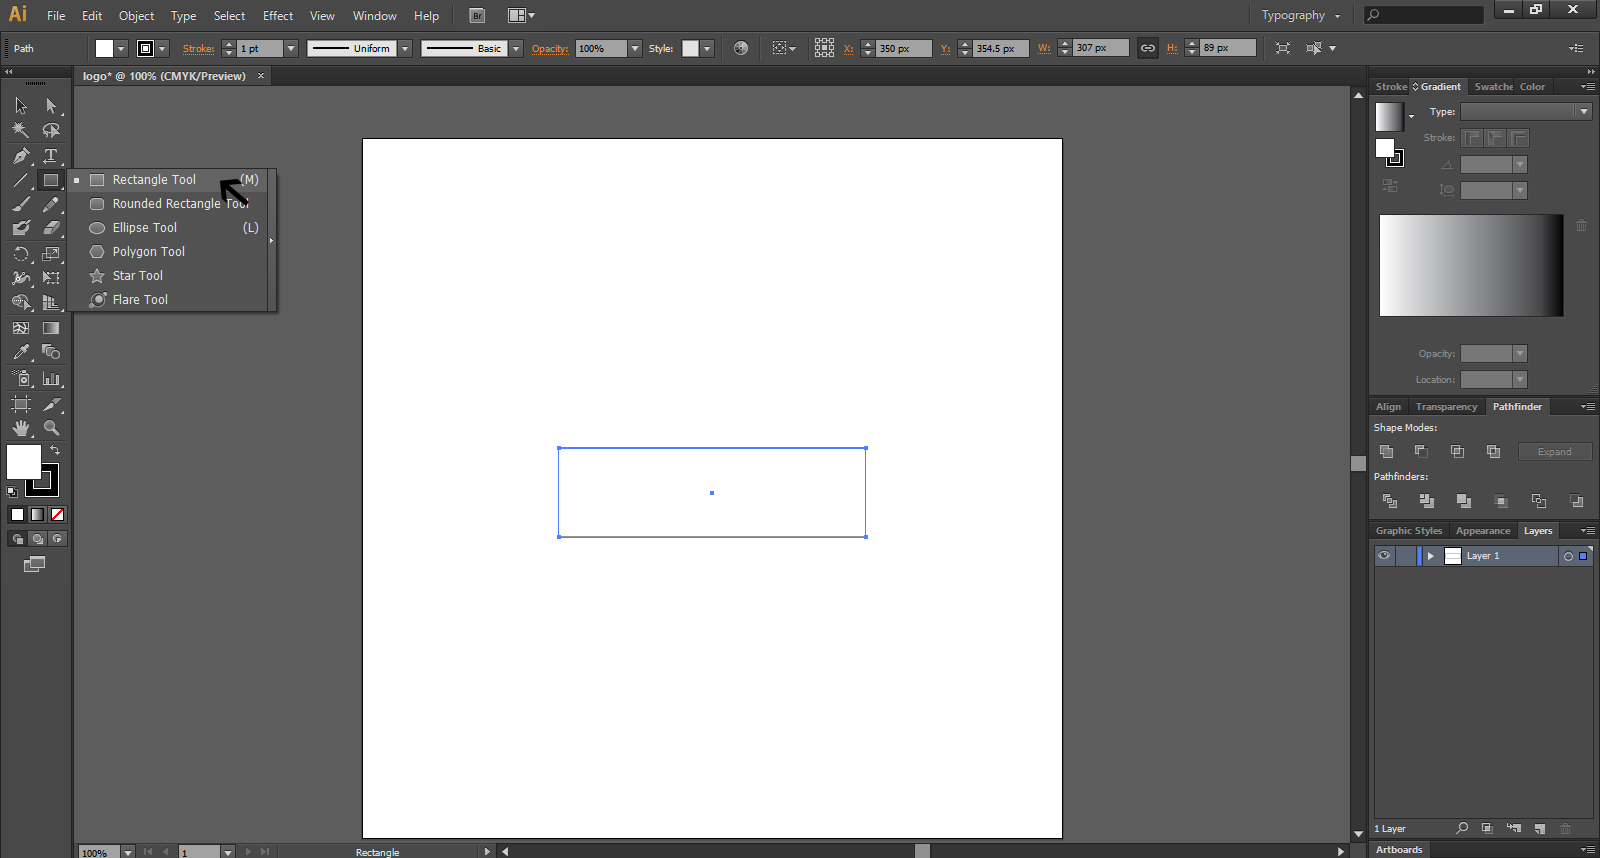
Step -3
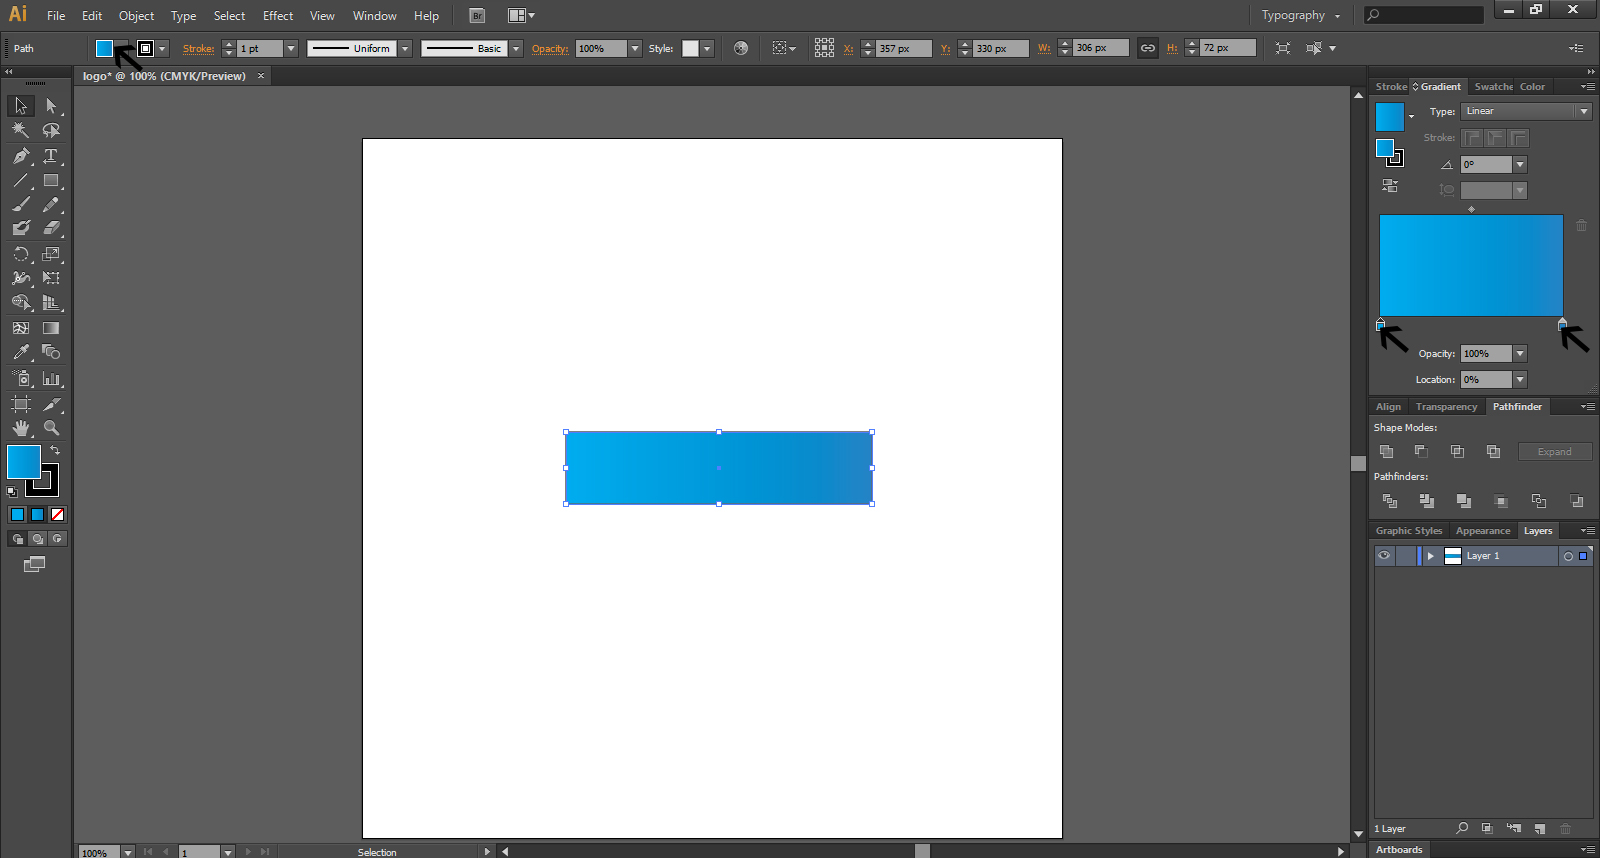
Click on the Rectangle tool menu on the left-hand navigation bar of the frame and select it to create a rectangle shape in the middle of the document.
Create Logo Design In Illustrator
Step-4
Now, fill color, blue here, in the foreground block of the Stroke icon on the left-hand navigation bar. This will fill the rectangle with the desired color.
Looking For a Logo Design?
We have helped thousands of business owners from all around the world with their graphic design needs such as a logo design, website design, social media posts, banner design and much more.
Get Your Logo DesignGet a Free Quote
Step-5
Pick and Select the rectangle boundaries in a desired point size of the boundary line.

Step-6
Click on the Star Icon on the left-hand navigation bar to get its menu. Fill your parameters of radius 1 and 2 if you want to create a star at the end of the rectangle.
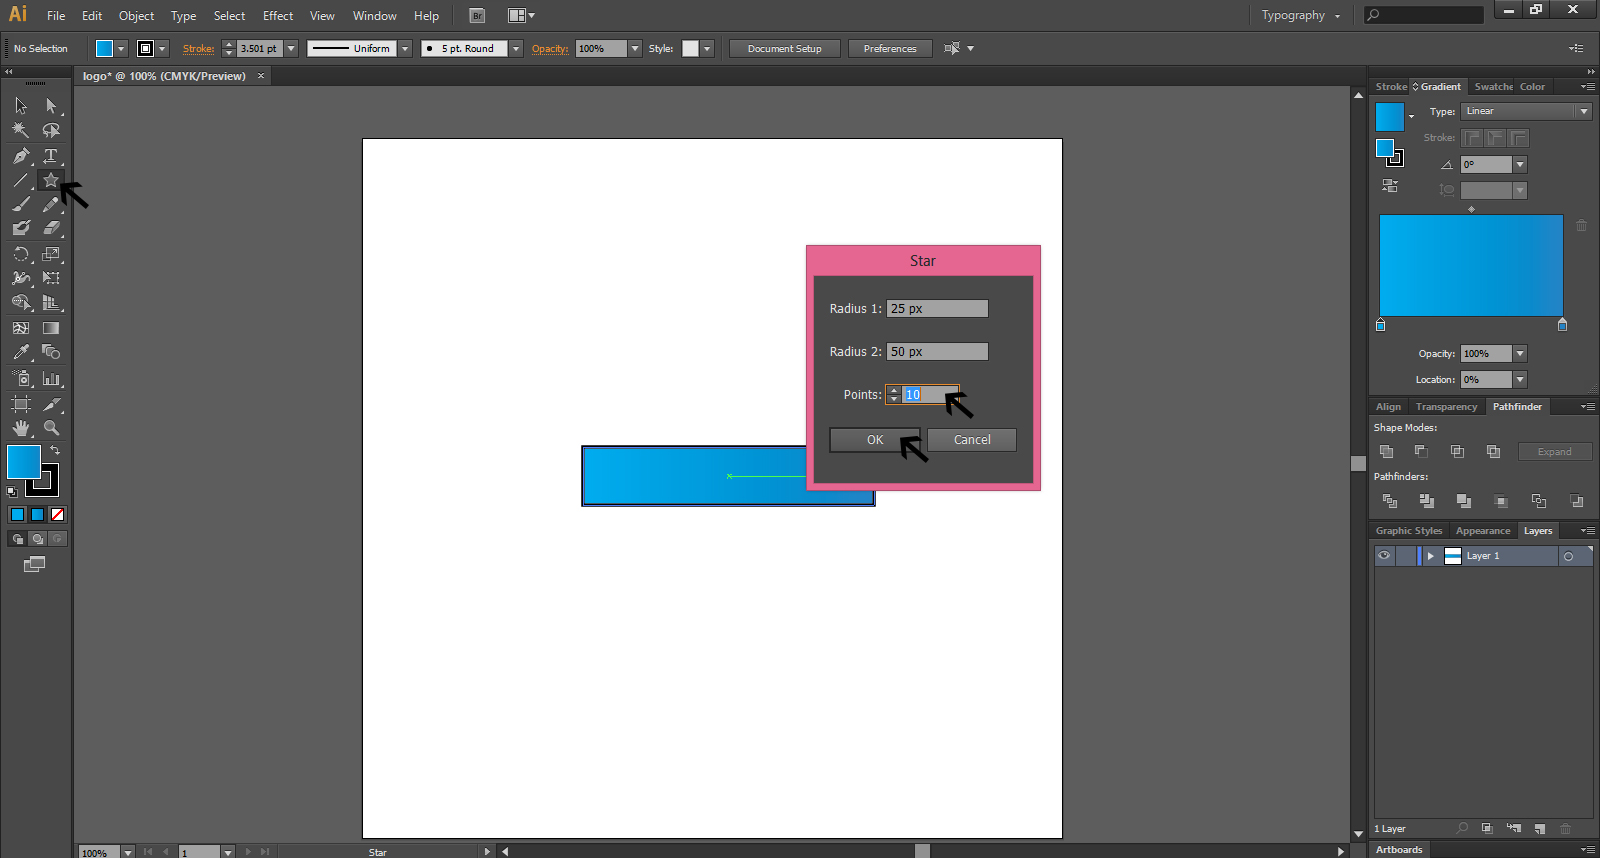
Step-7
Get the Star design at the end of the rectangle.

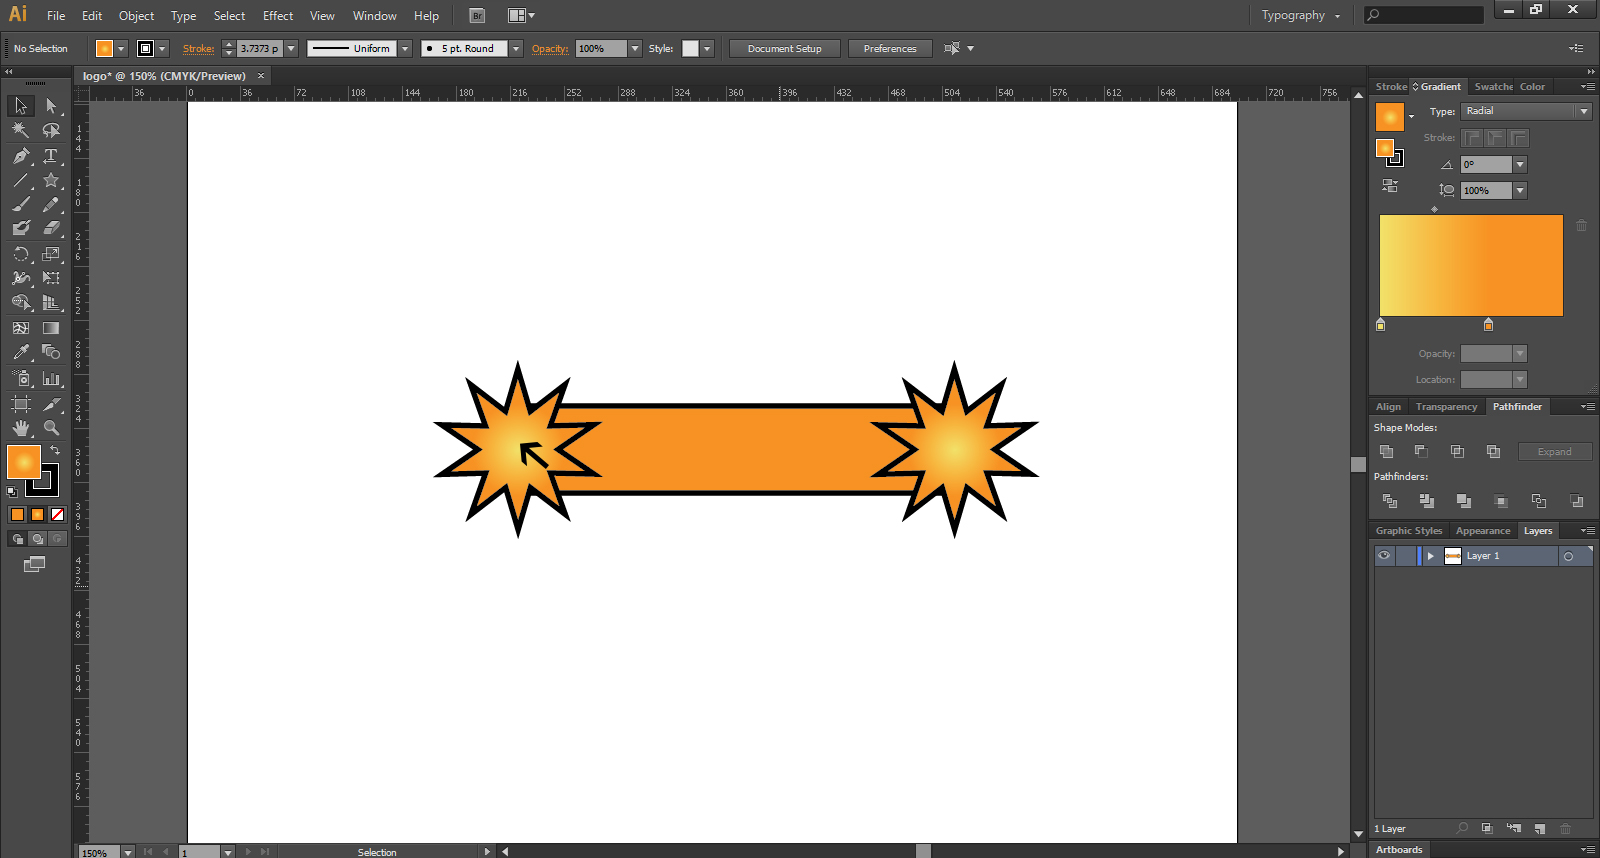
Step-8
Now, to give the rectangle with star a new color, use the Gradient button on the top right.

Step-9
In a similar way, create a new star shape on the left side of the rectangle.
Step -10
To enhance the design further, select the entire new rectangle with the star shapes.
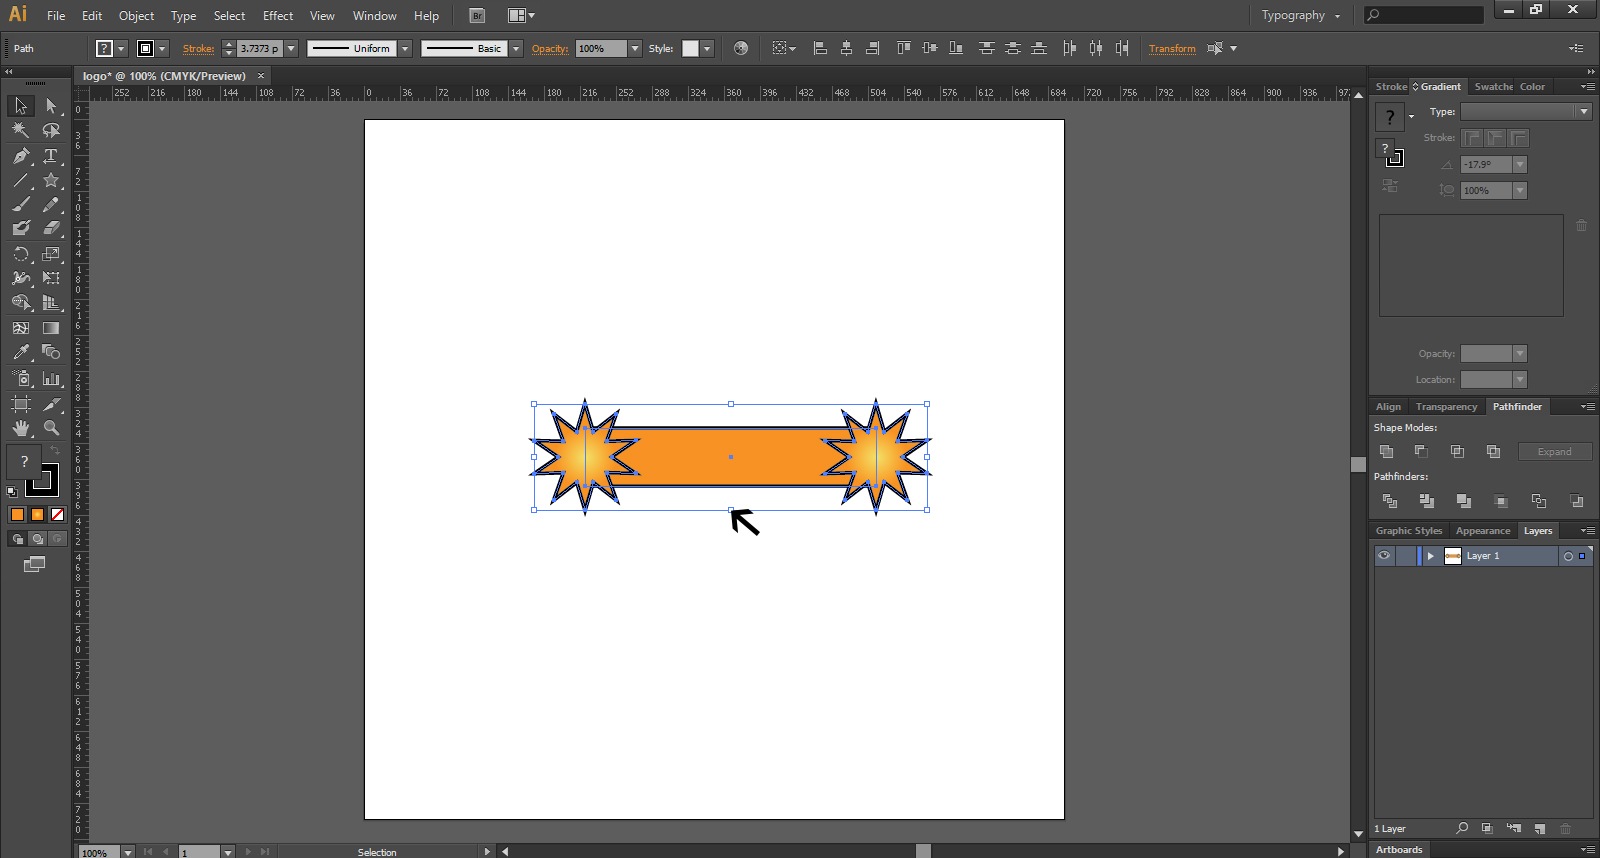
Step-11
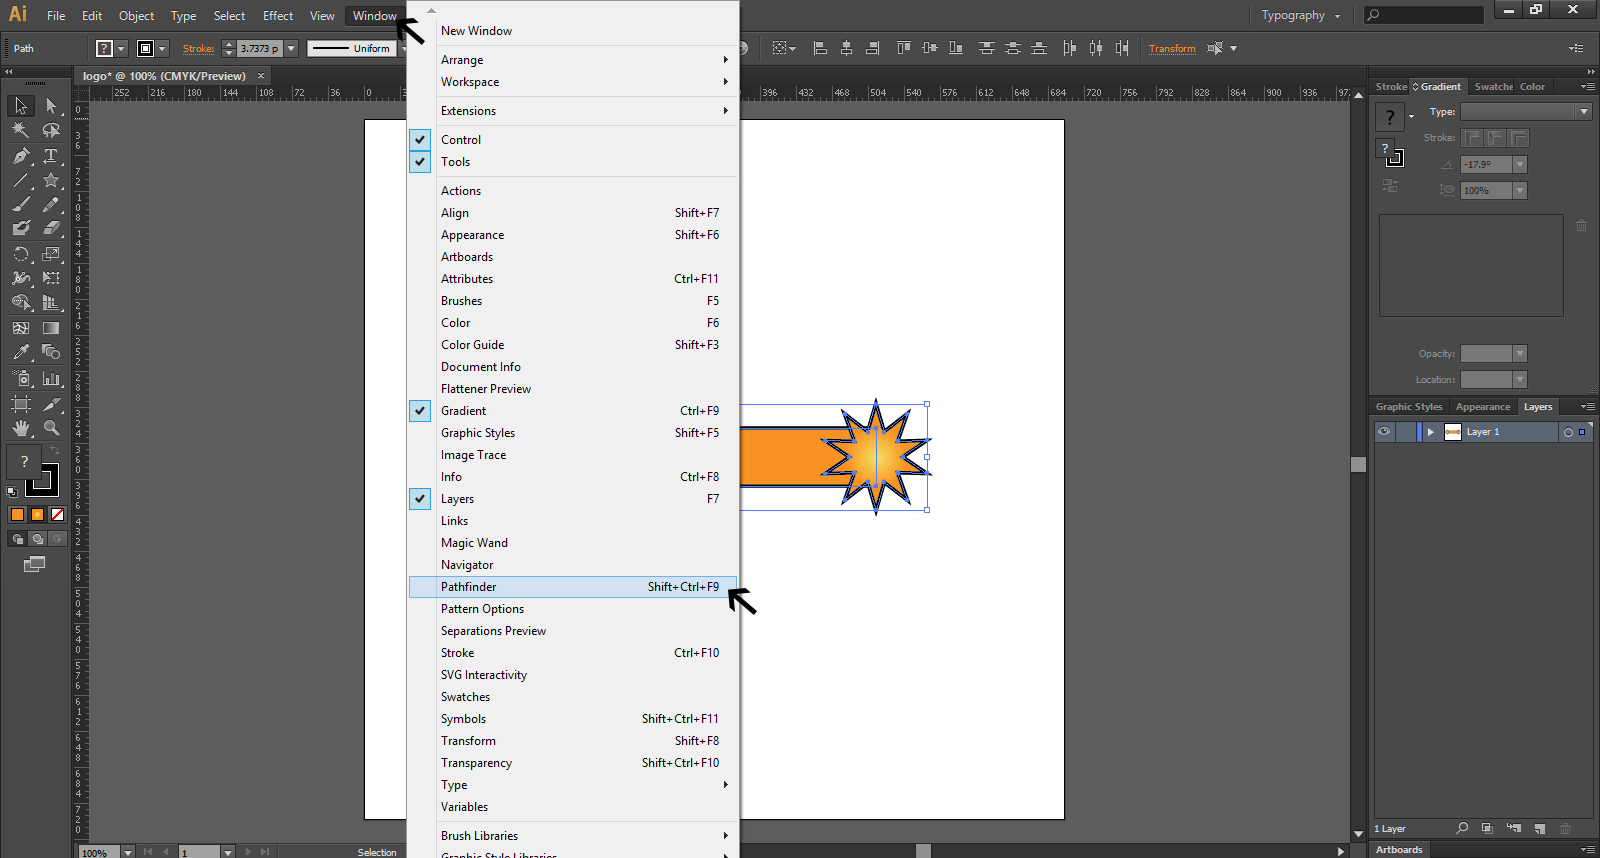
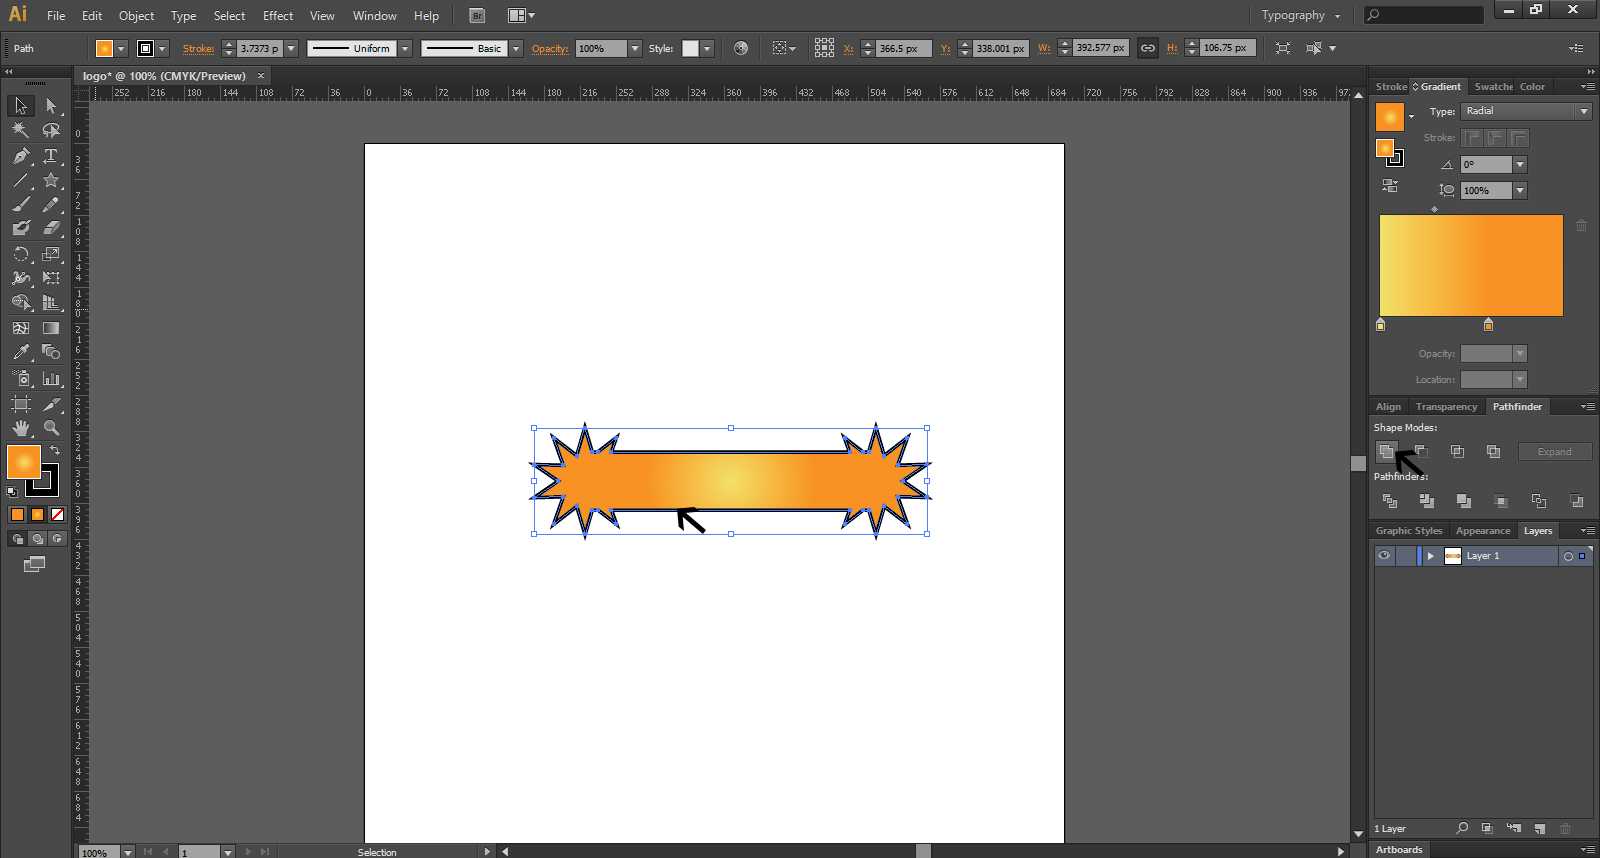
Visit Window icon at the top bar to get the menu and select the Control, Tools, Gradient and Layout. Pick the Pathfinder and click on it.
Step-12
Now the rectangle and the stars have been merged into one shape by eliminating the insides areas of the two stars.
Step -13
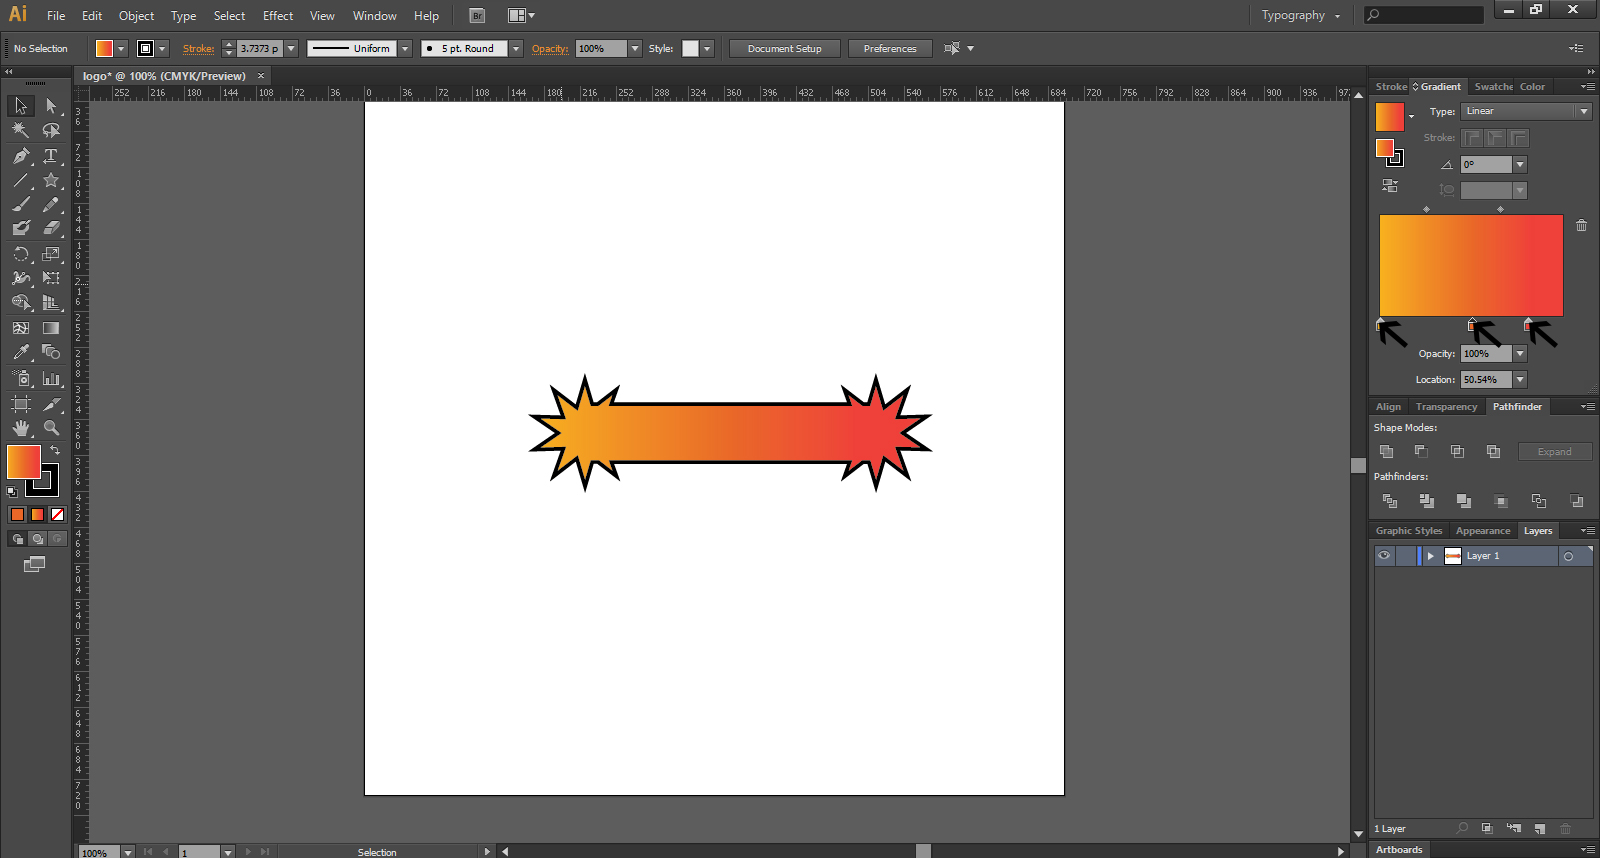
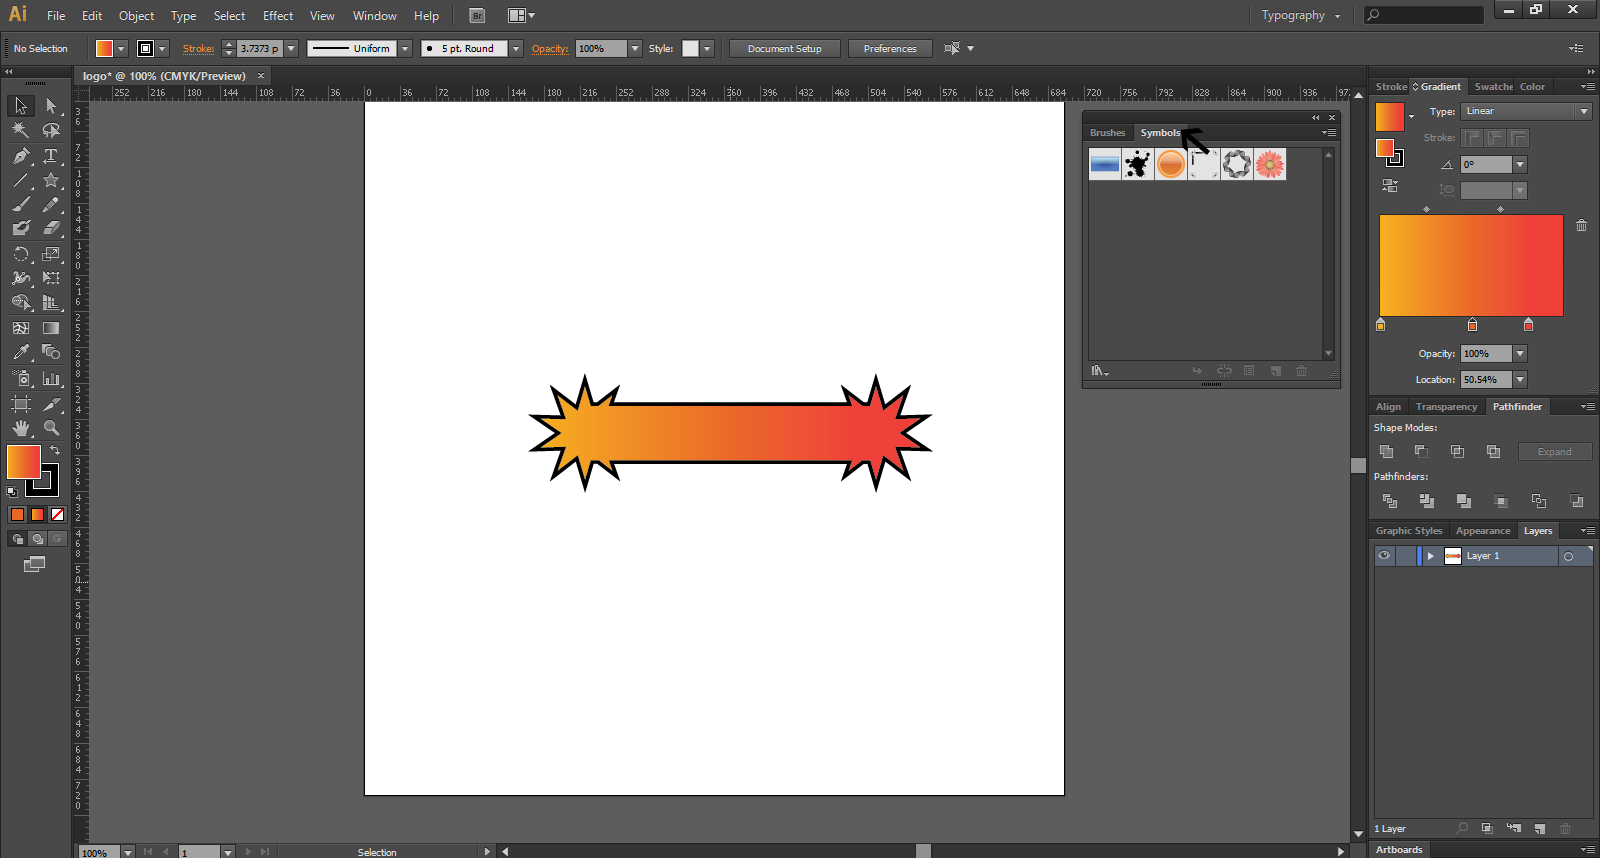
Go to the Gradient menu and select Opacity and Location. This is done to give a hue to the shape. You will notice that a reddish hue has appeared on the far right of the rectangular and Star shaped item.
Step-14
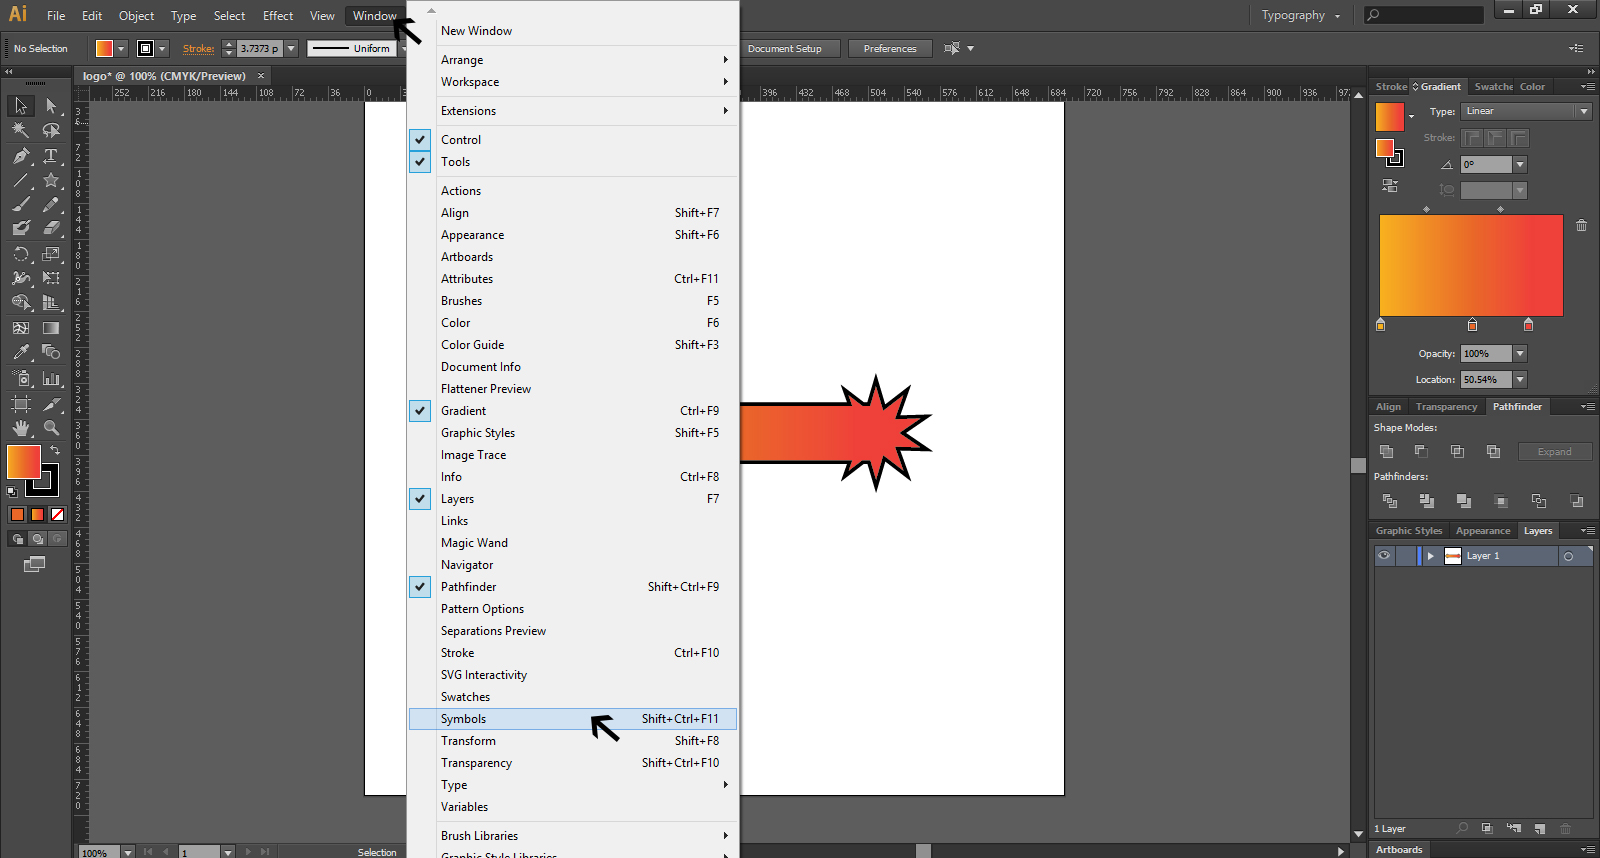
Again, if you want to change the color and other dimensions, visit the Window icon to select Control, Tool, Gradient, Layout and Pathfinder. Click on the Symbol in the menu.
Step -15
Go to the Symbol menu on the right side and select the desired colors.
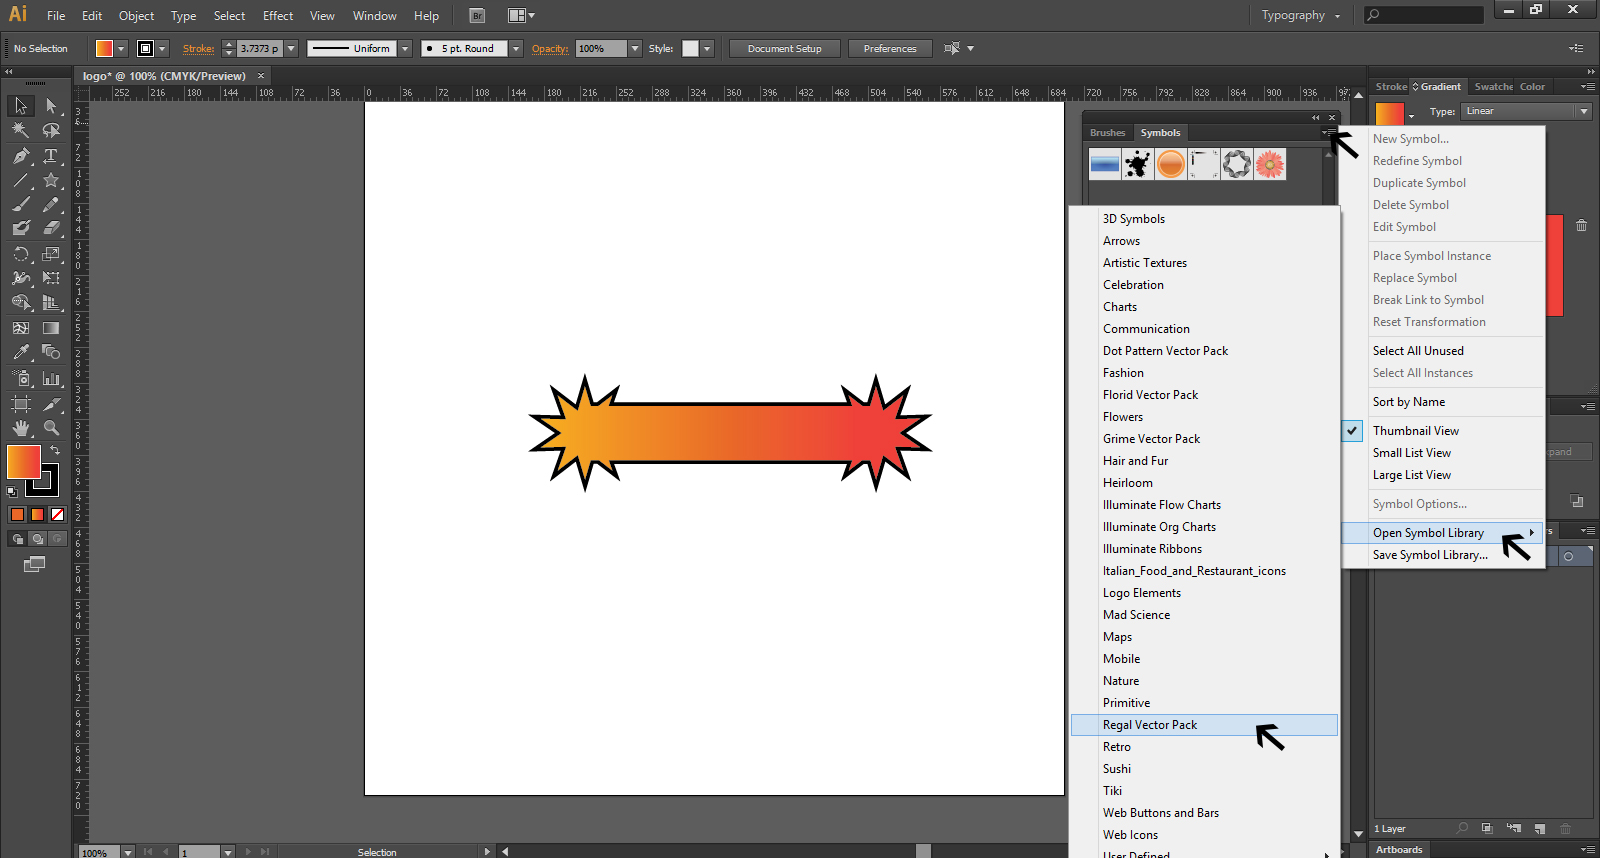
Step-16
From the Symbol menu select Regal Vector Pack and then select Thumbnail View and click on Open Symbol Library.
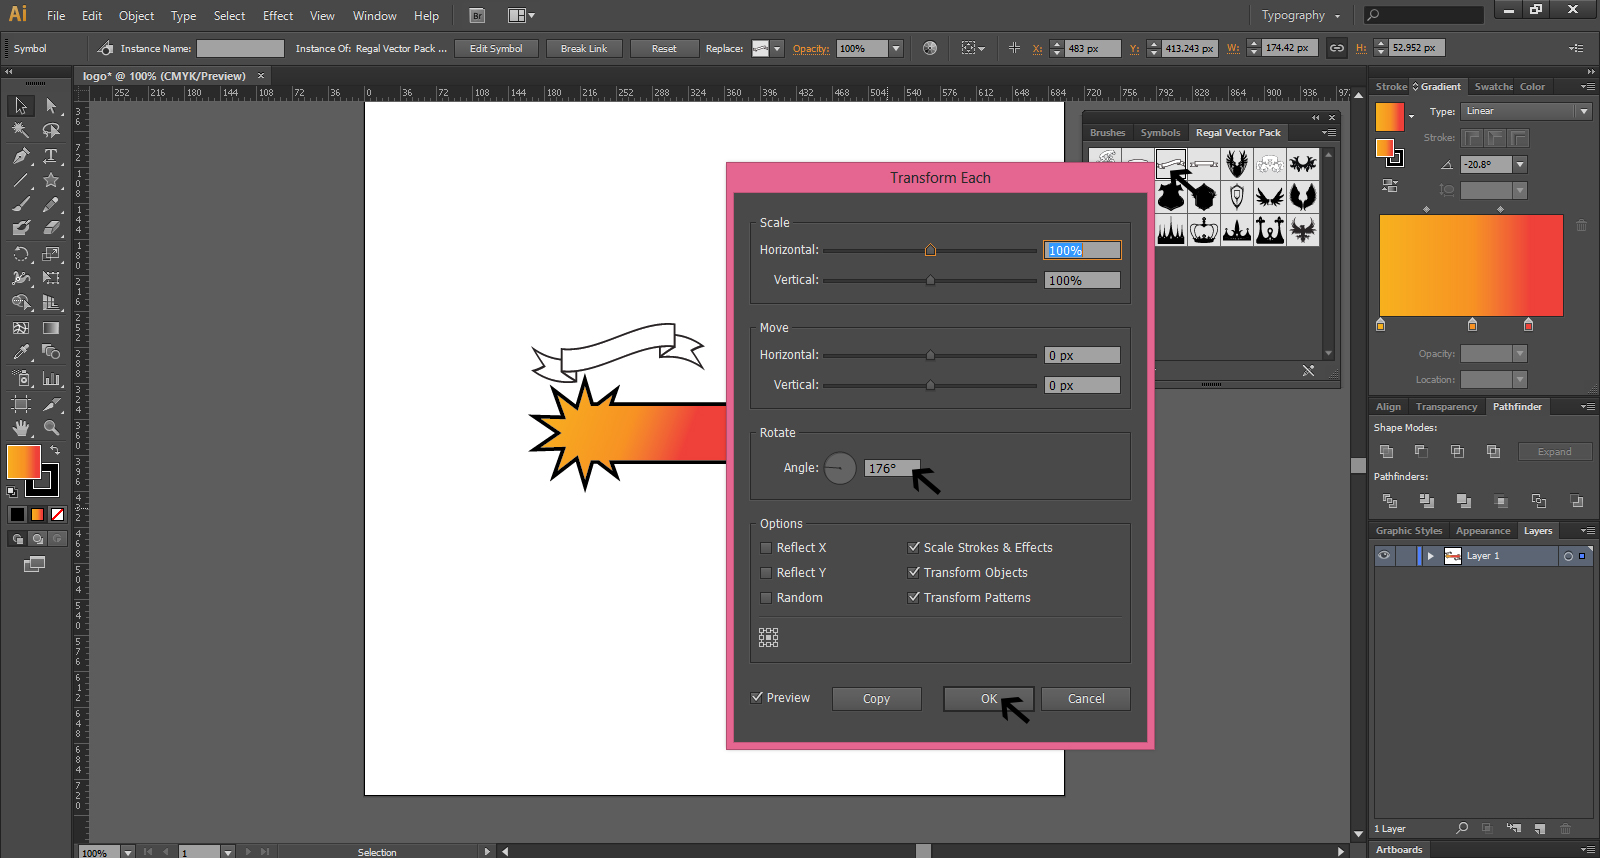
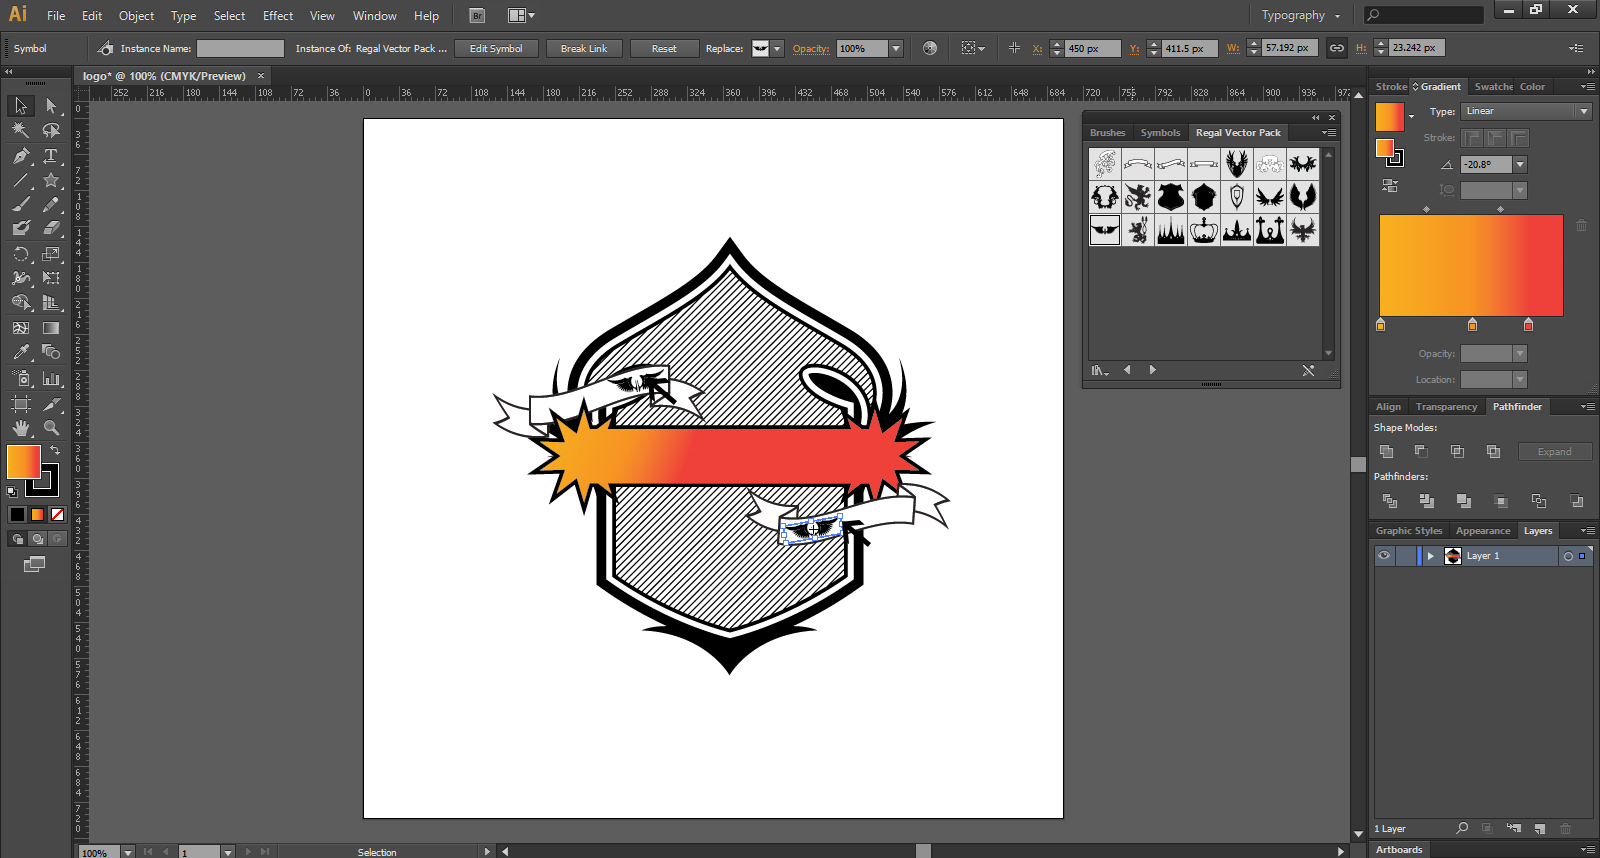
Step -17
From Regal Vector Park, get the menu Transform Each and fill the requirements. Here we have rotated the angle to 176 degree.
Step-18
You get another Menu. Select Arrange to go to Send to Back.
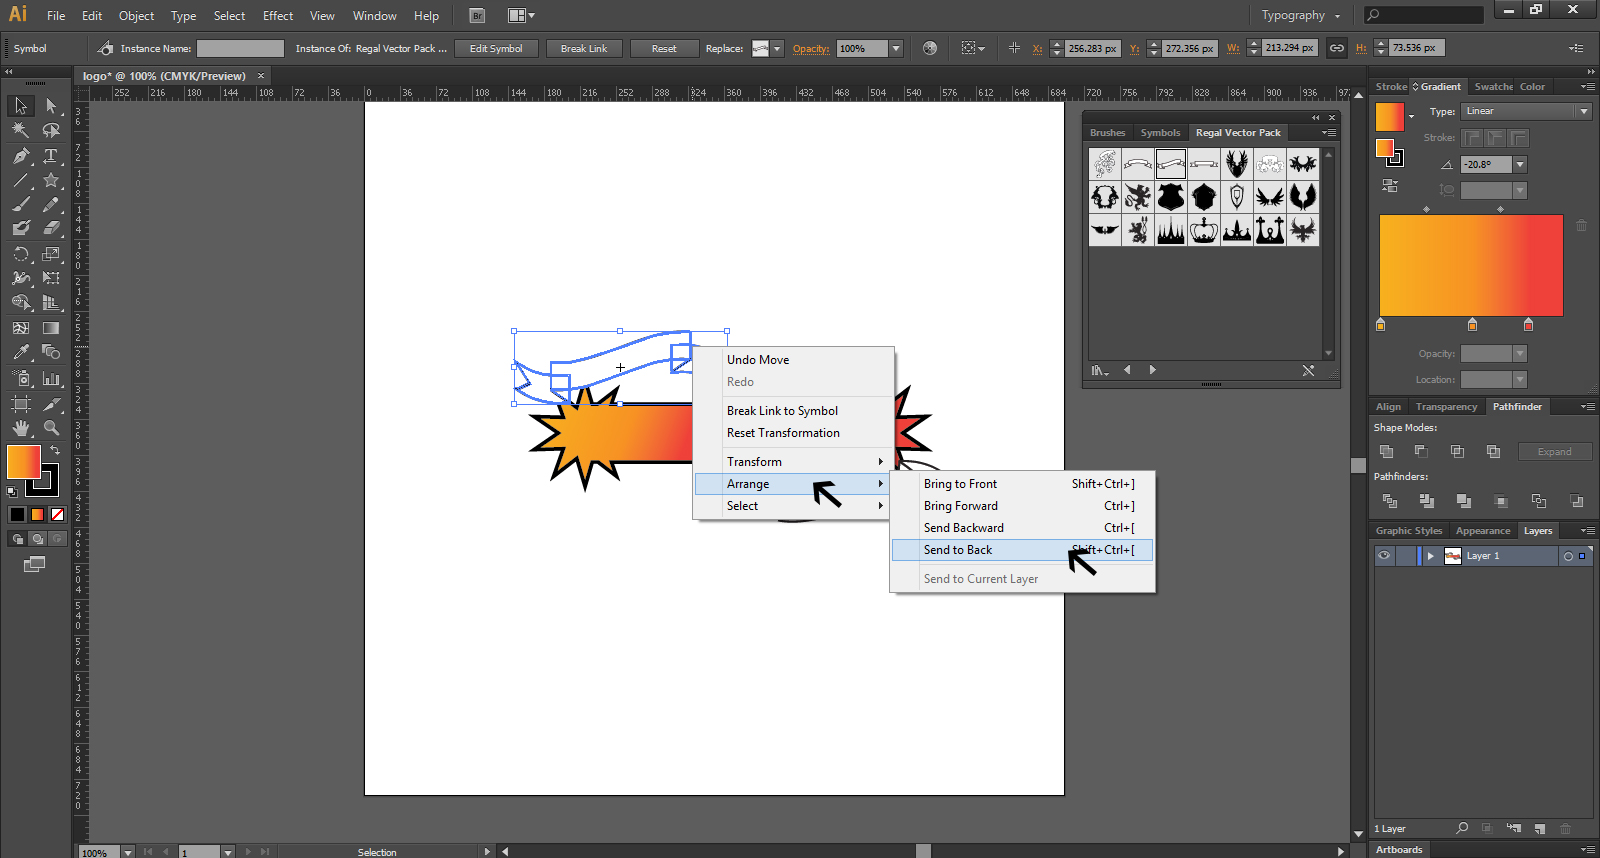
Step-19
Select shape from Regal Vector Pack for the design.
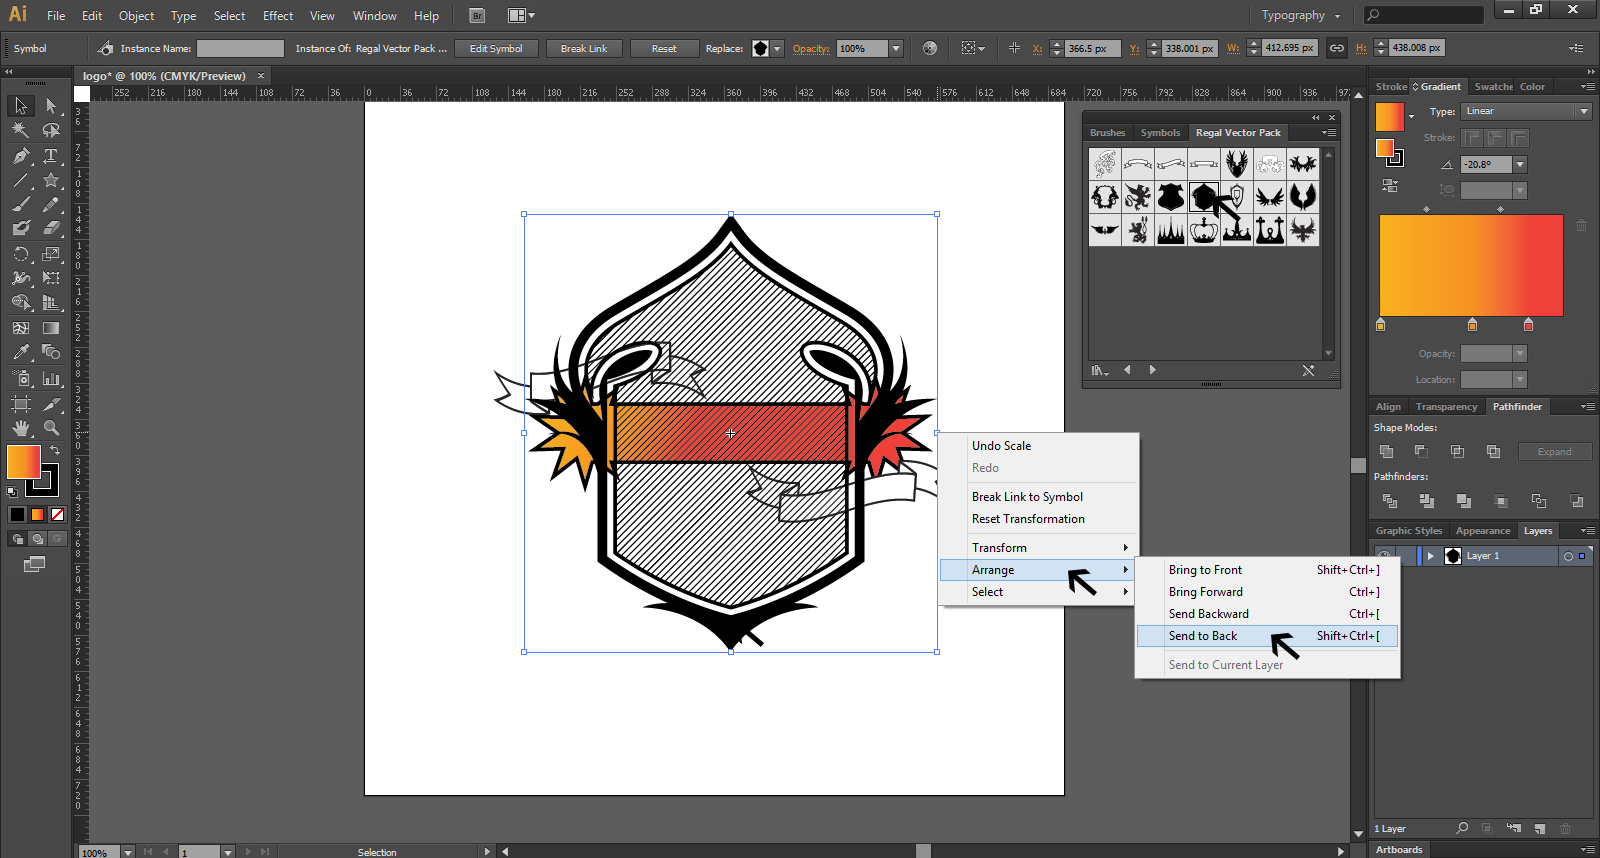
Step-20
As you arrange and Send to Back, you get the selected shape behind the rectangular design.
Step-21
Now select another shape of wings from the Regal Vector Pack for the design.
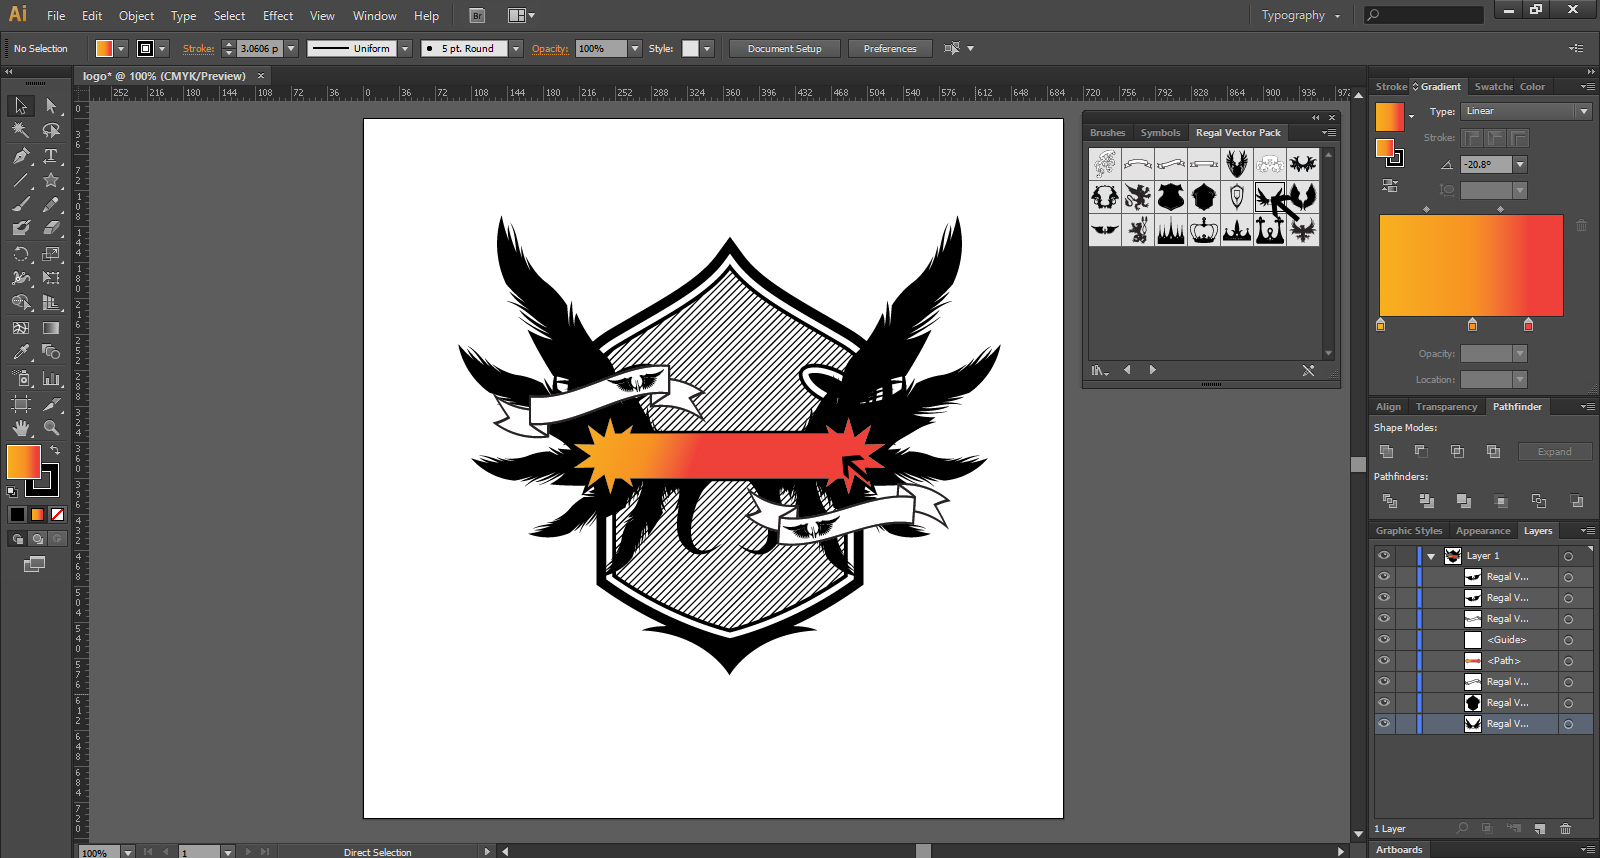
Step-22
You can design the wings in a lot of ways by giving them a new style and can also give them a shadow. You can do this with the help of Effect menu at the top bar.
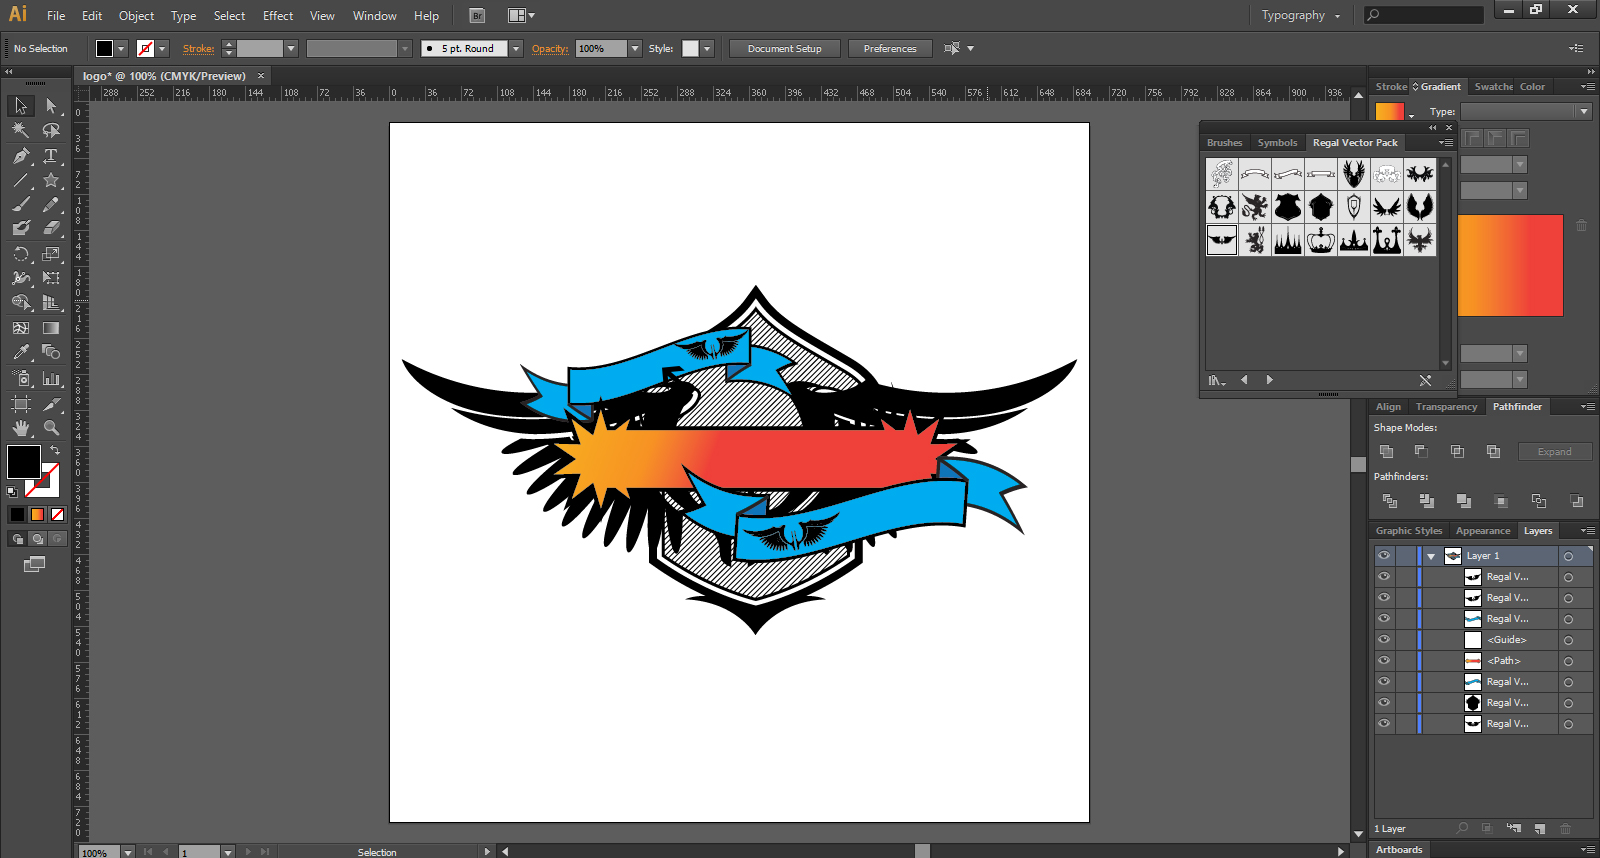
Step-23
Go to Effect tool and select Style and Drop Shadow.
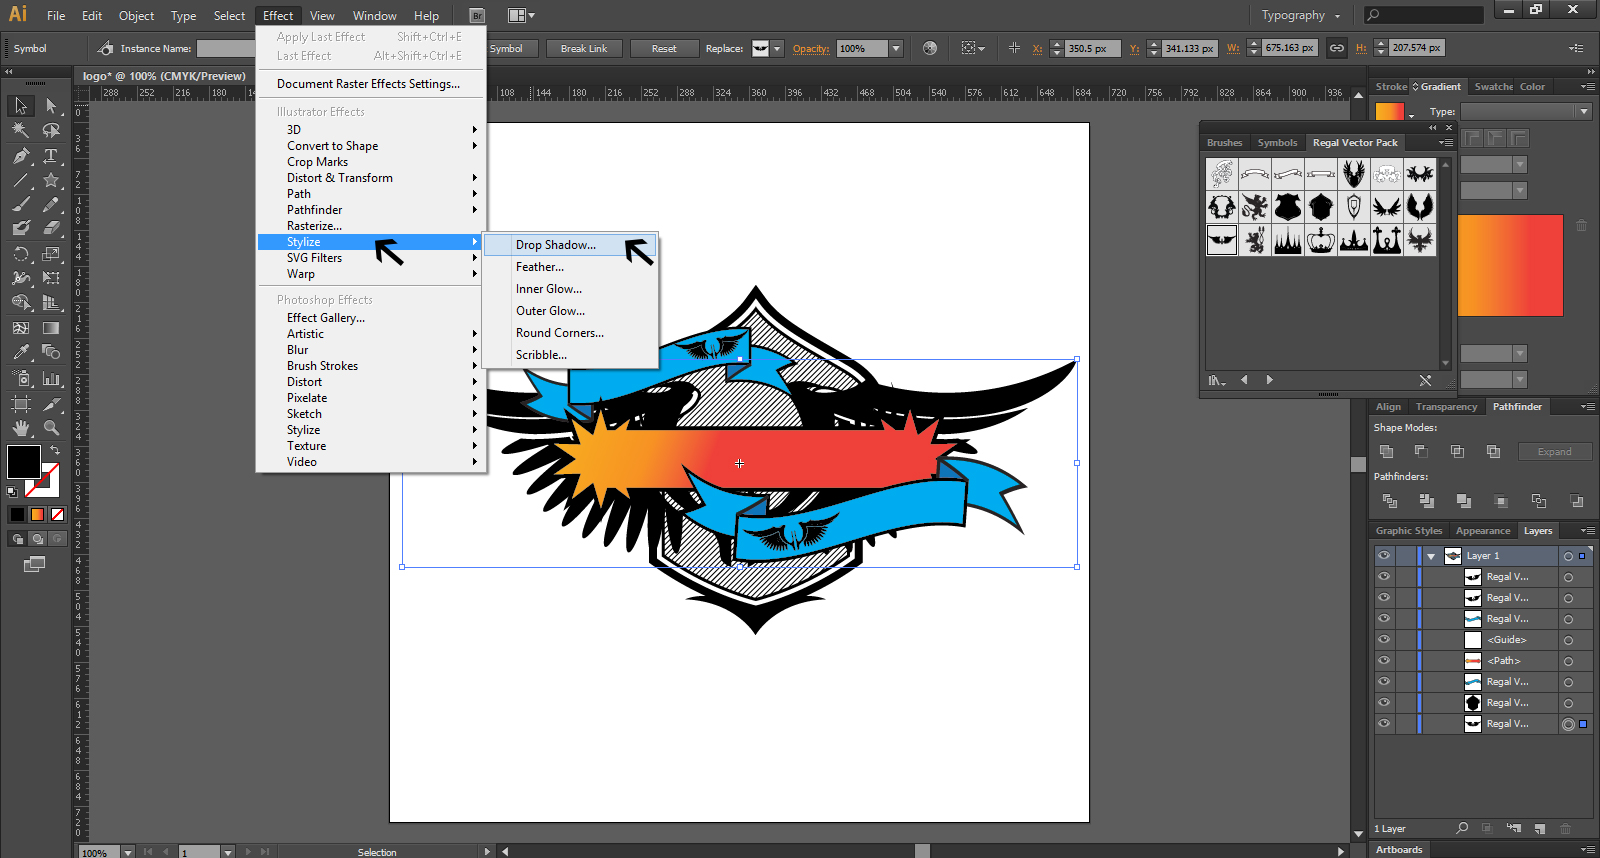
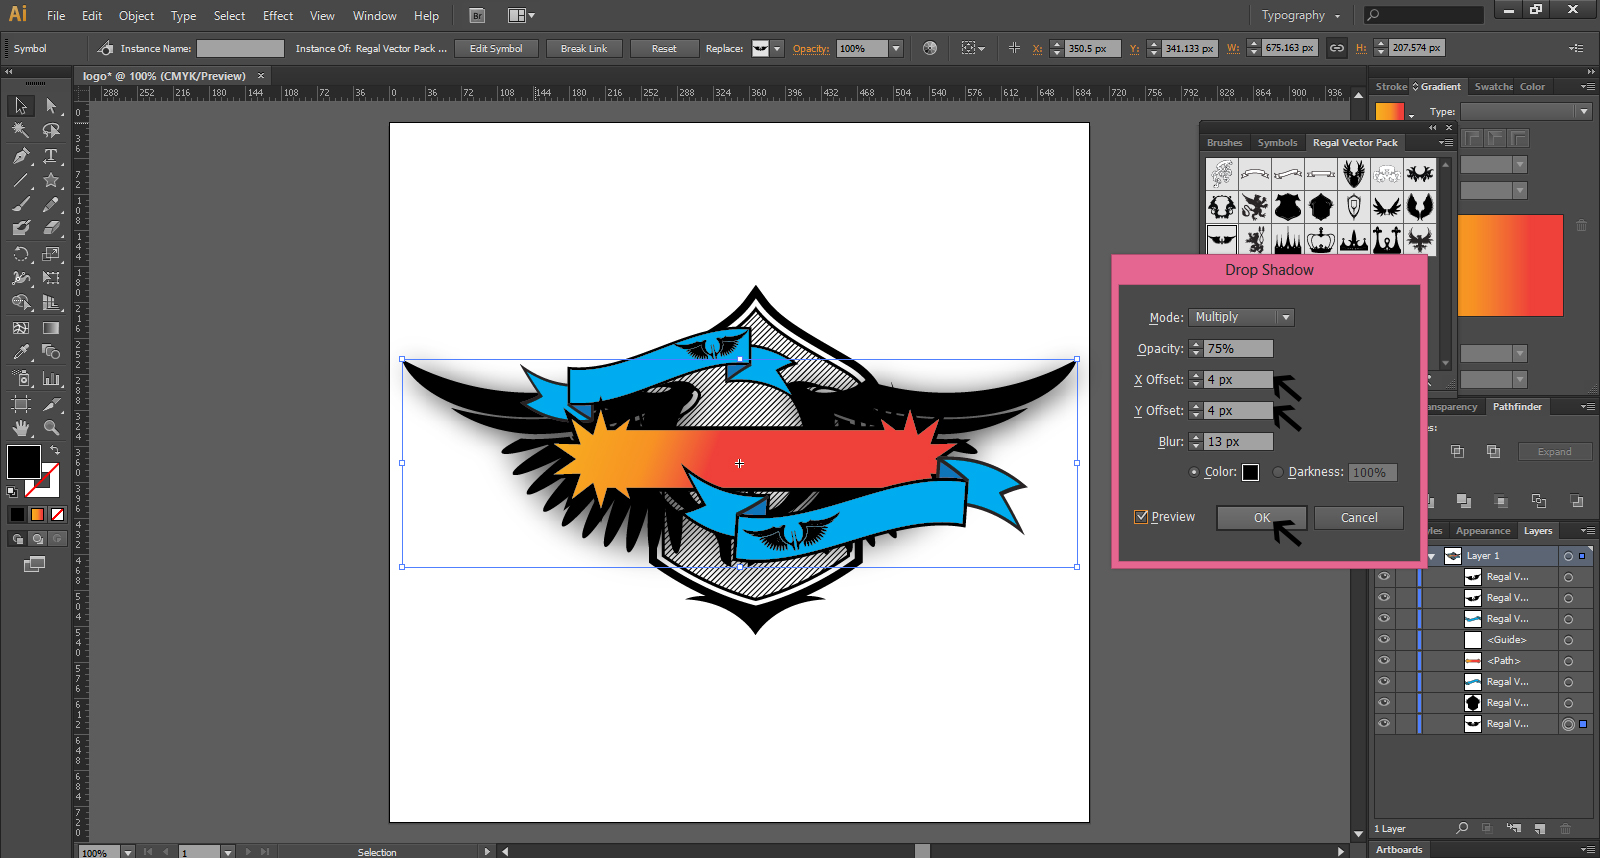
Step-24
Fill the parameters for Opacity, Offset, Color and Blur for the entire design.
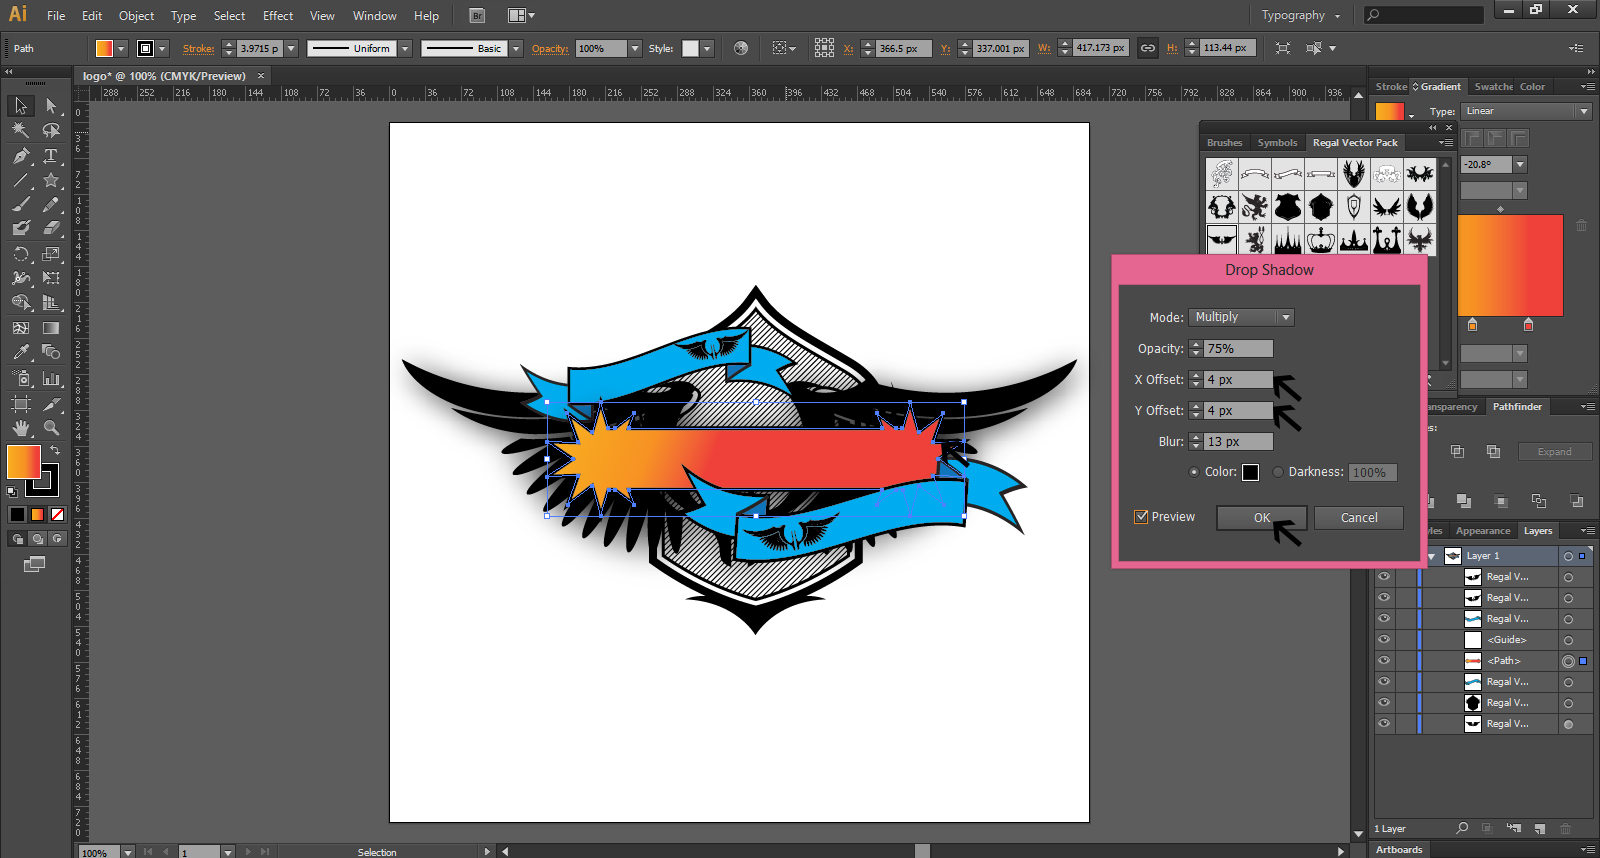
Step-25
Now select the middle part of the design and fill the parameters in the Drop Shadow menu.
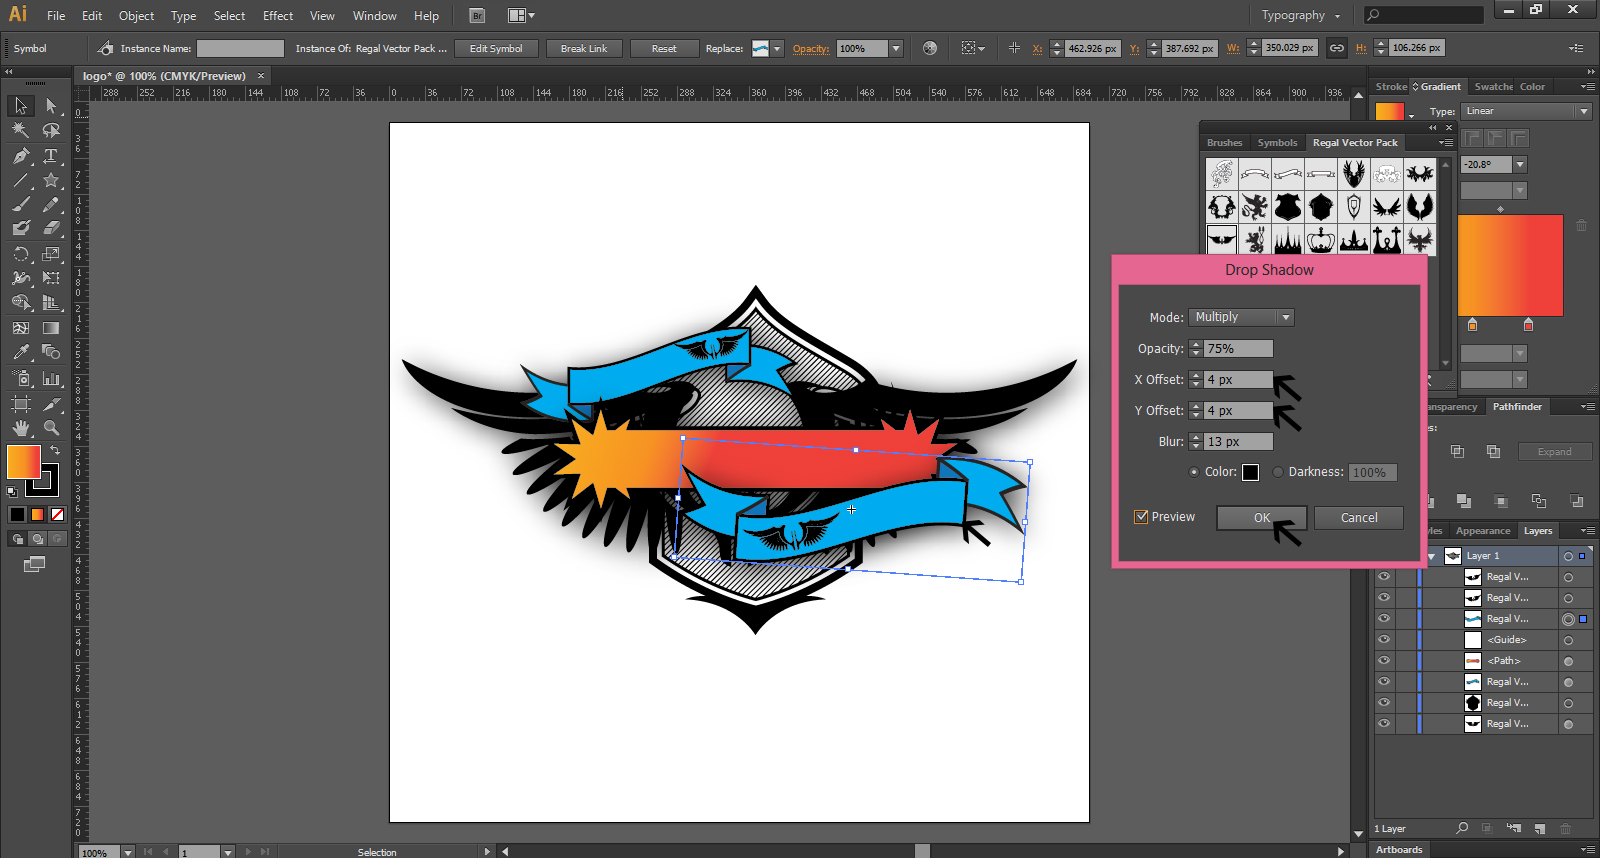
Step-26
Select the lower part ribbon design and fill the parameters in Drop Shadow.
Step-27
You get the text written in the middle of the design as you want to personalize it.
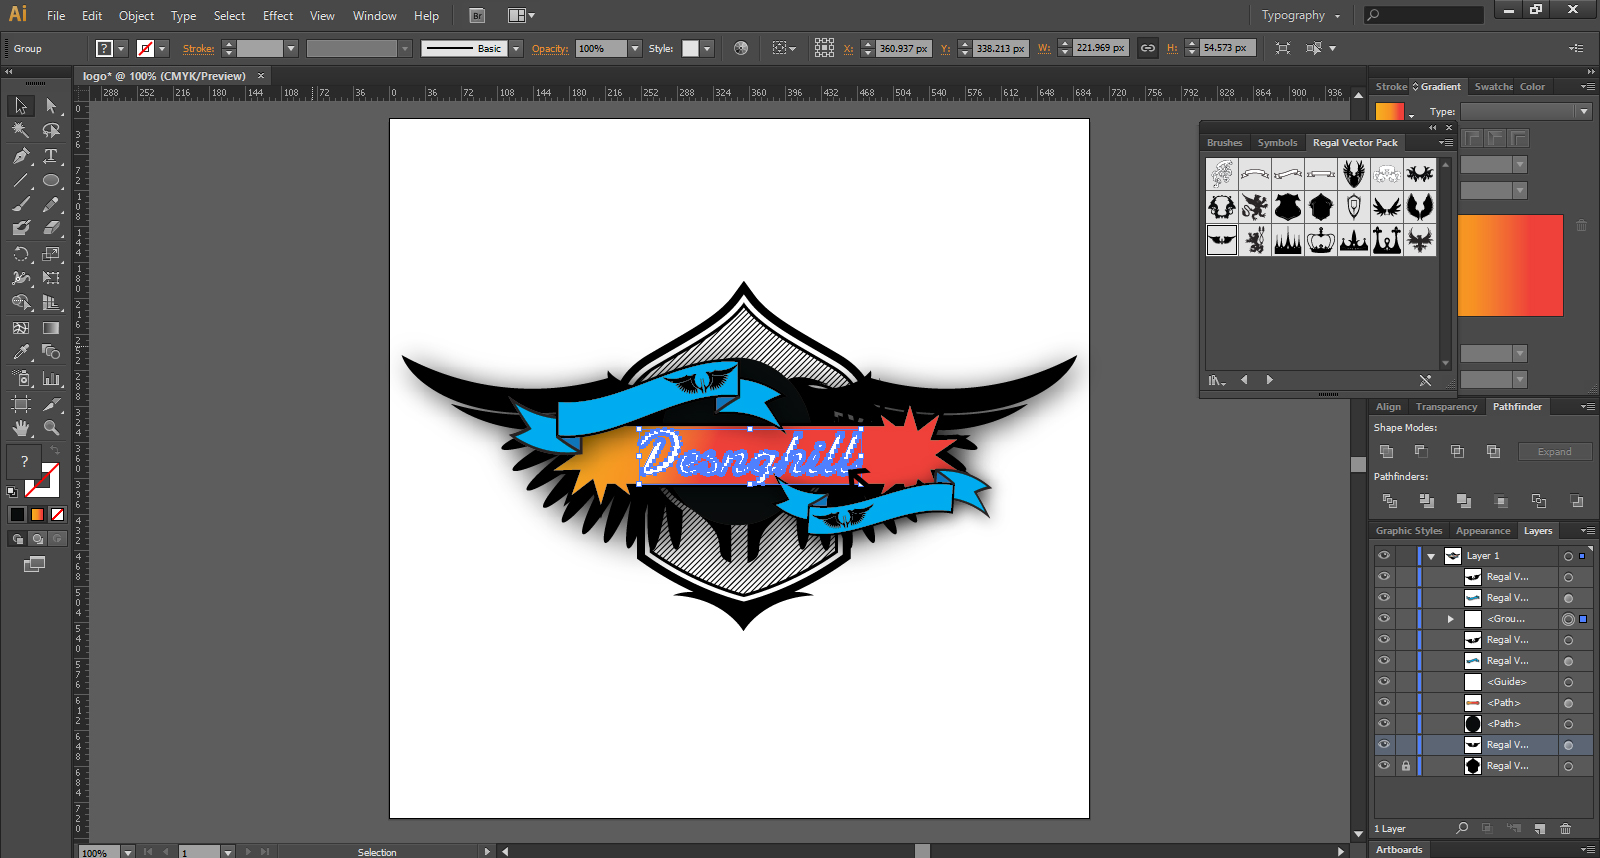
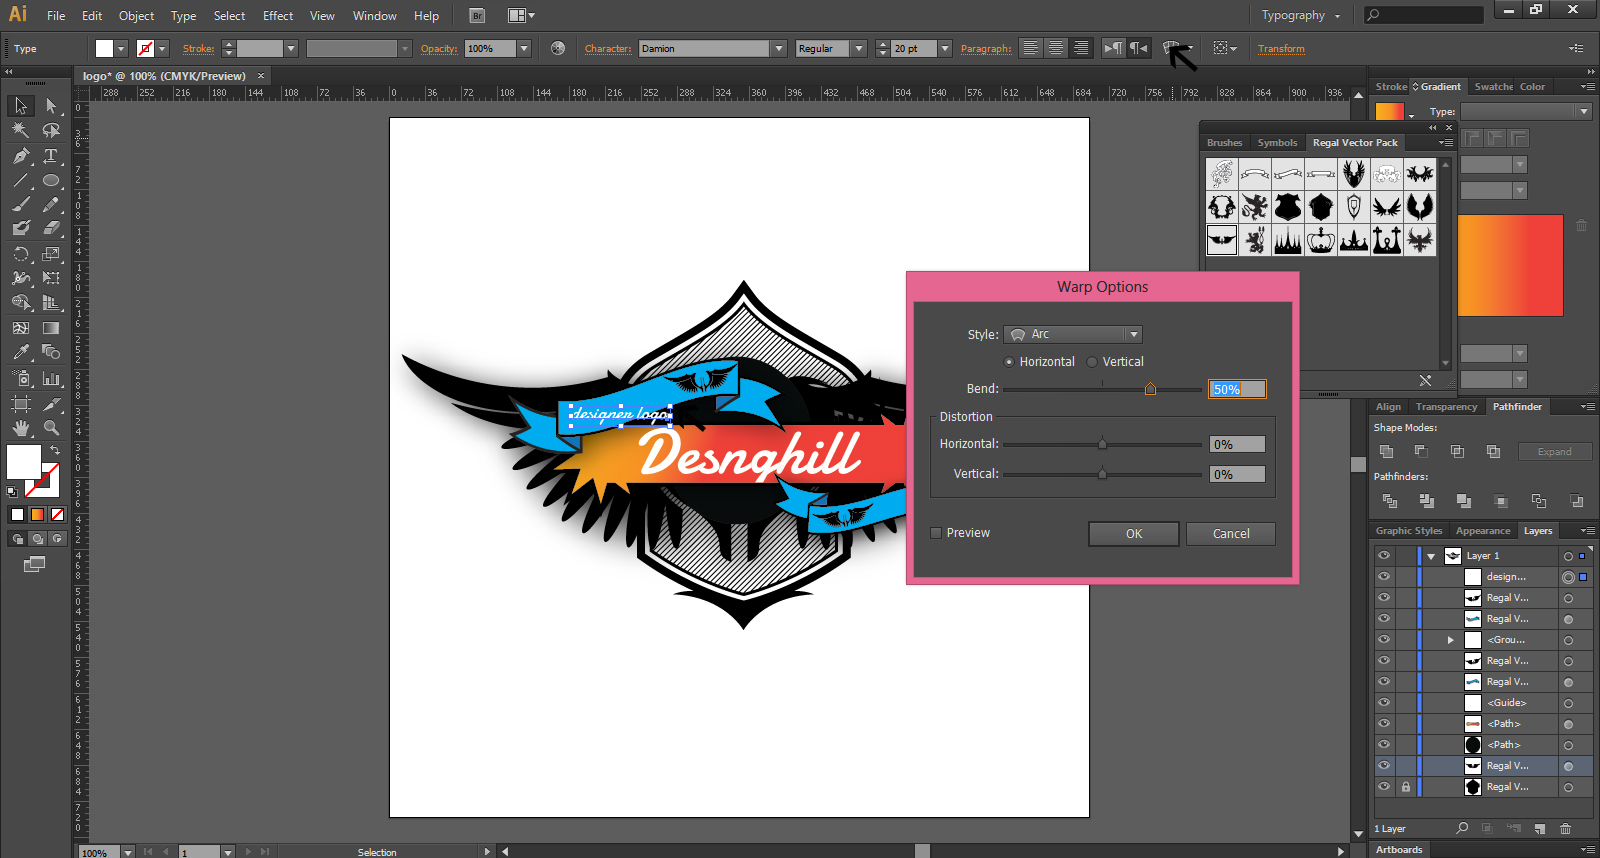
Step-28
You can bend and do a lot of manipulation with the text at the middle or on the banners through Wrap Option menu.
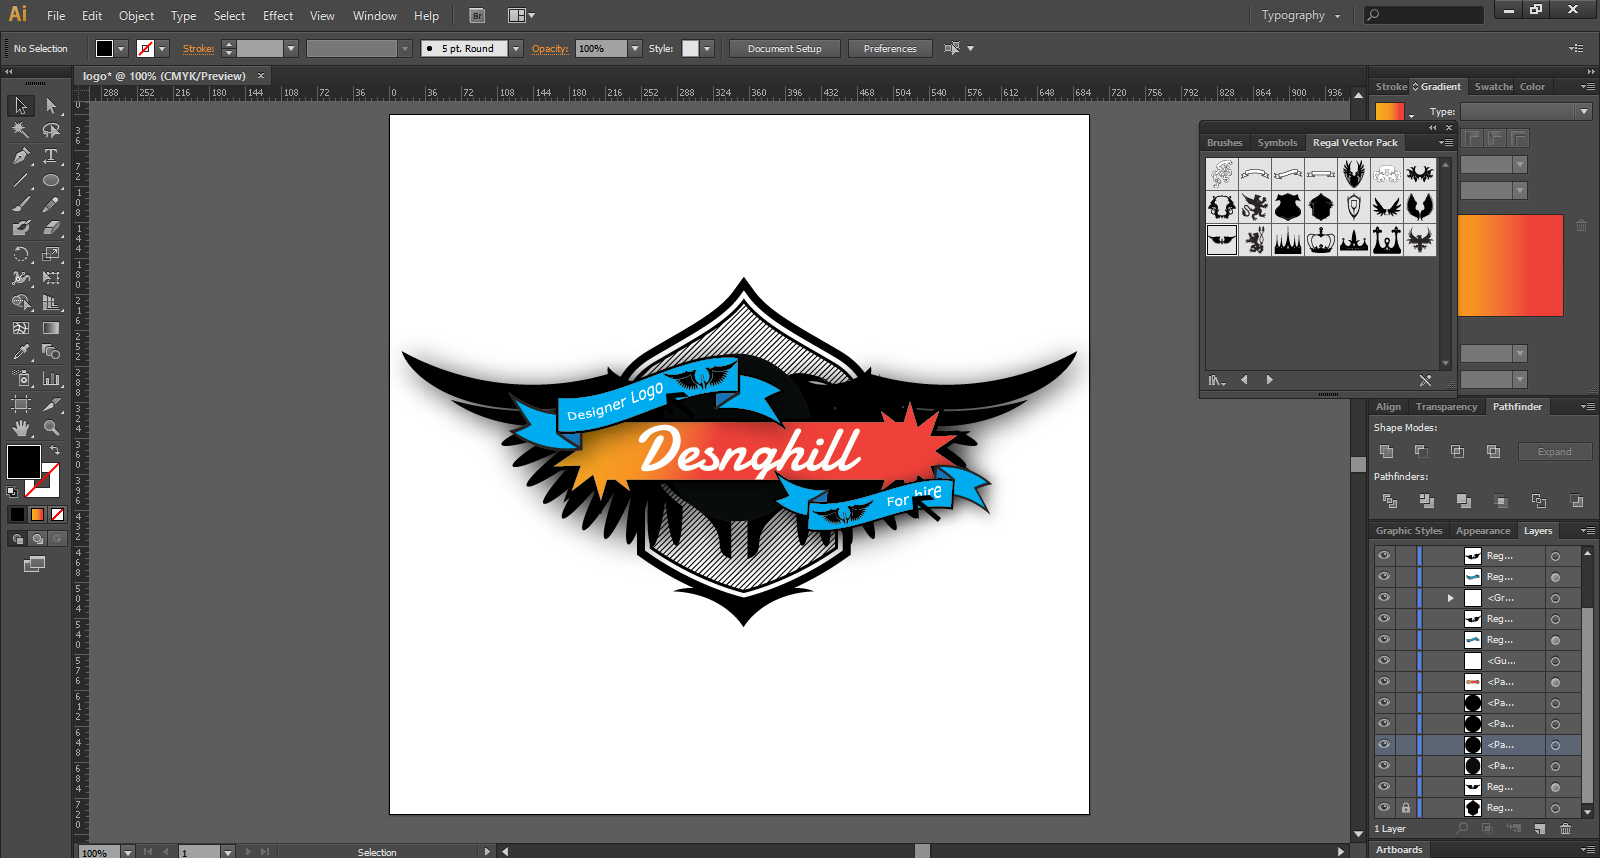
Step -29
Finally, you have a nice and clean personalized logo design.