
Last updated on December 5th, 2019
3D blocks look impressive when they are used as background in an image. You can use these blocks as part of your strategy to convey a message.
Follow These Steps To Create 3D Blocks Background In Photoshop
Step-1
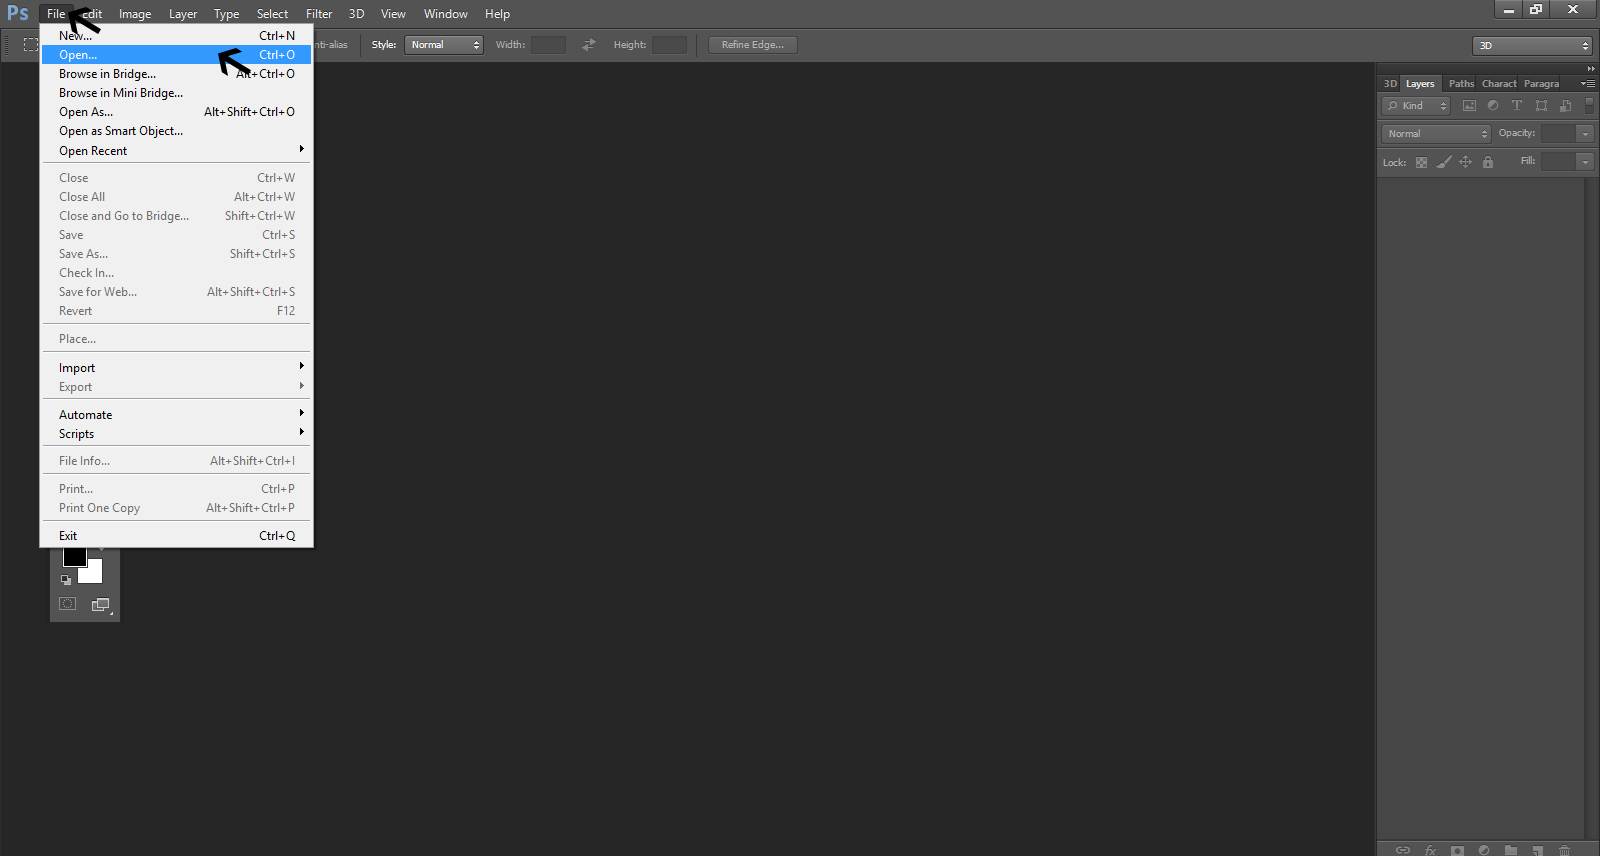
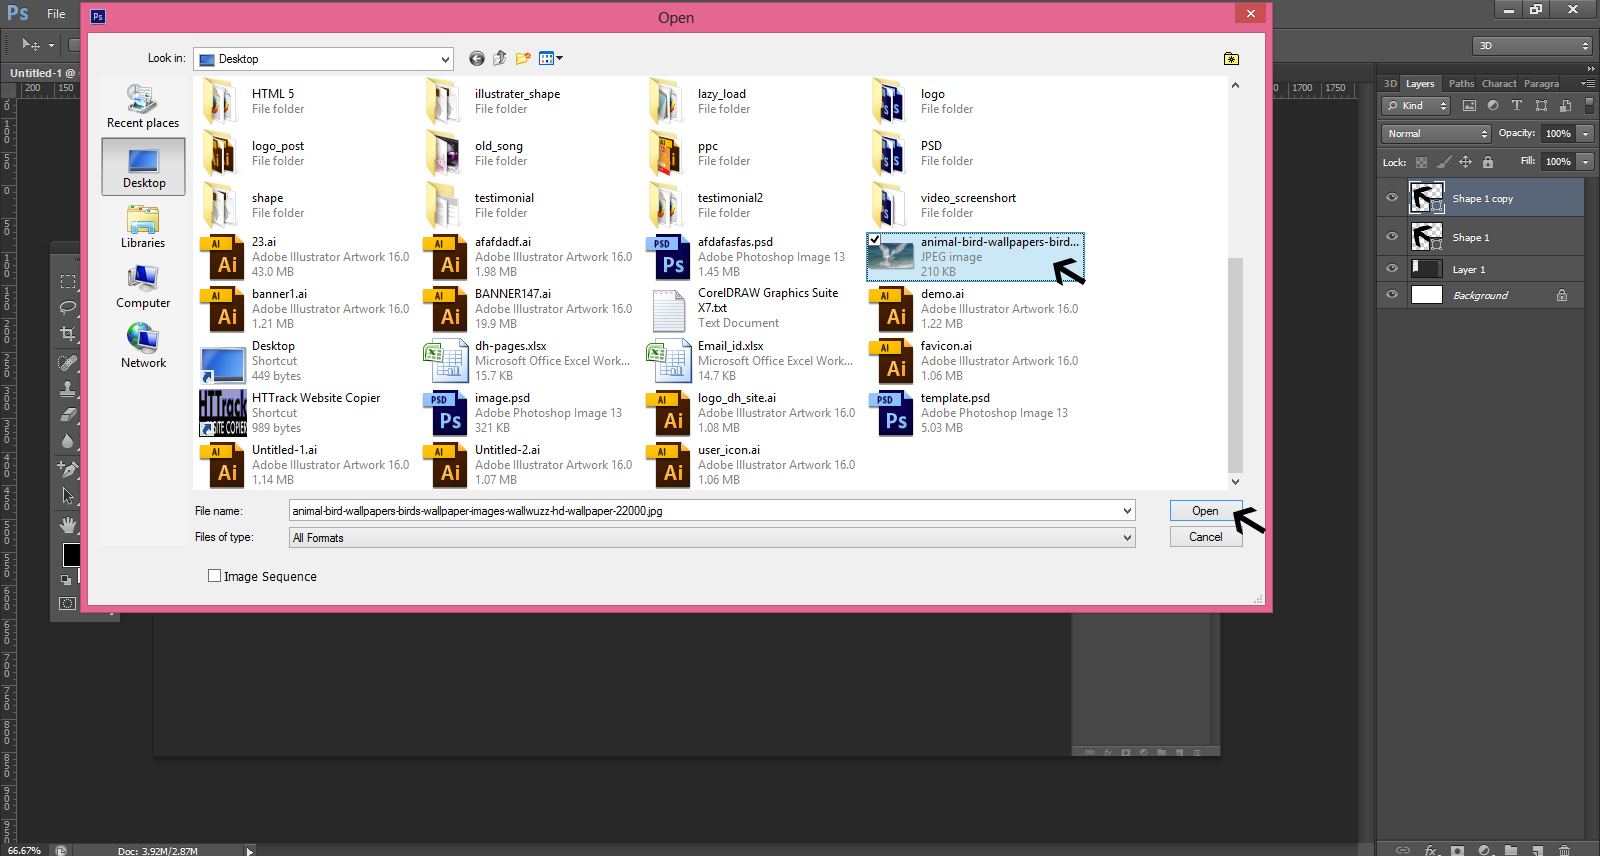
Create New Document by clicking on the File menu, and fill all the design requirements such as width, height and bleed.
Step-2
Get blank New Document to create 3D design
Step-3
Go to Filter menu and select Render and then Clouds. This way, you get the layer 1 of the design. You can also select black front in the white Stroke icon to get black space outside of the document.

Step-4
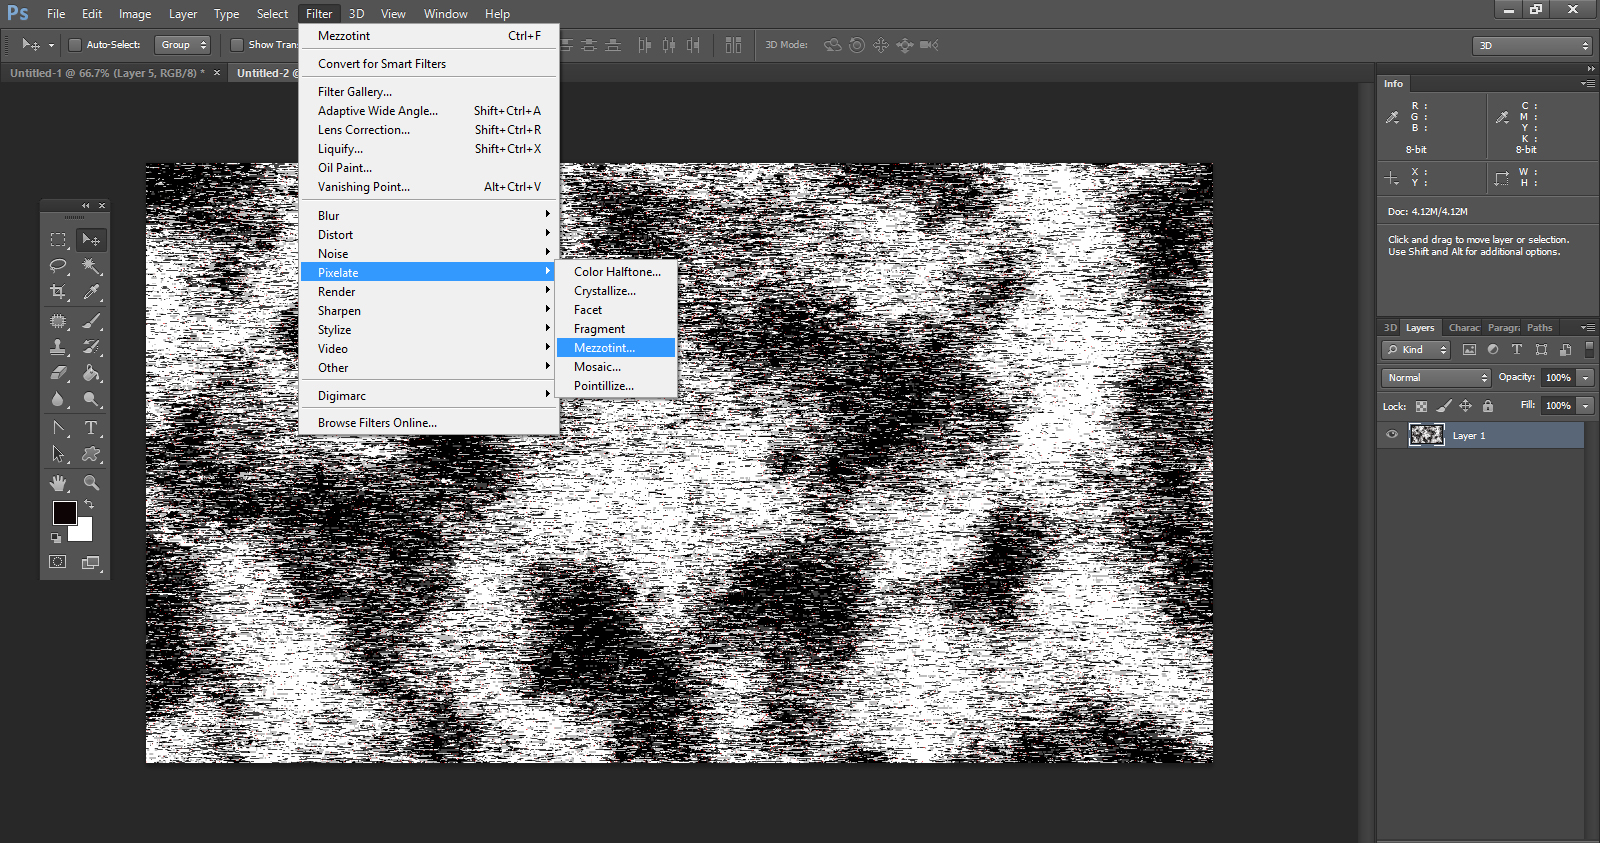
Now visit the Filter menu again and select Feeder and then Mezzotint. Set the type to short lines.
Looking For a Graphic Design?
We have helped thousands of business owners from all around the world with their graphic design needs such as a logo design, website design, social media posts, banner and much more.
Get Your Graphic DesignGet a Free Quote
Step-5
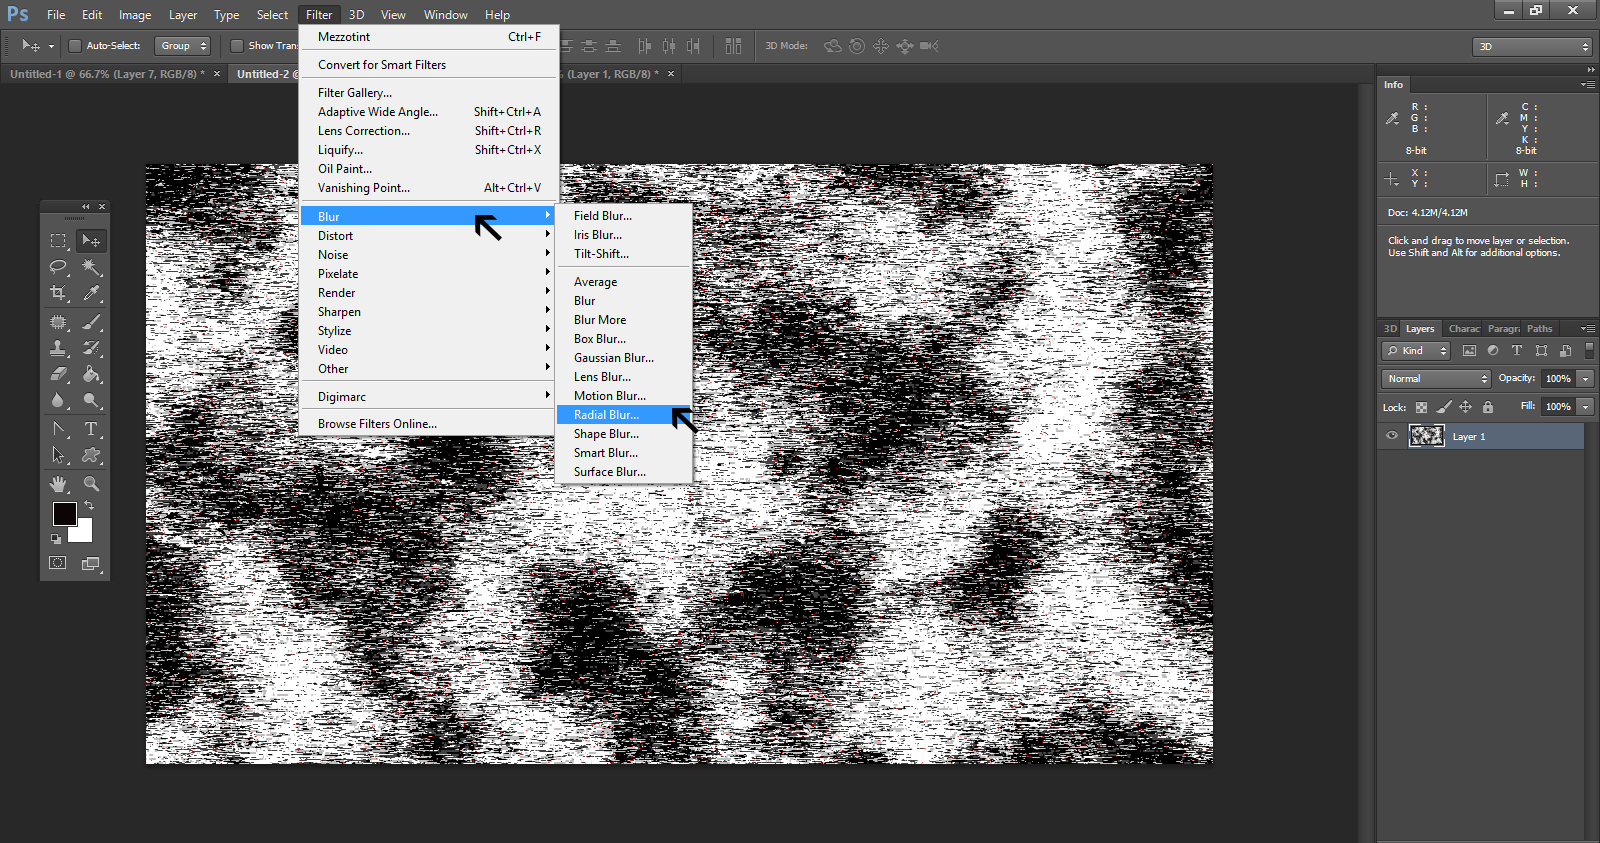
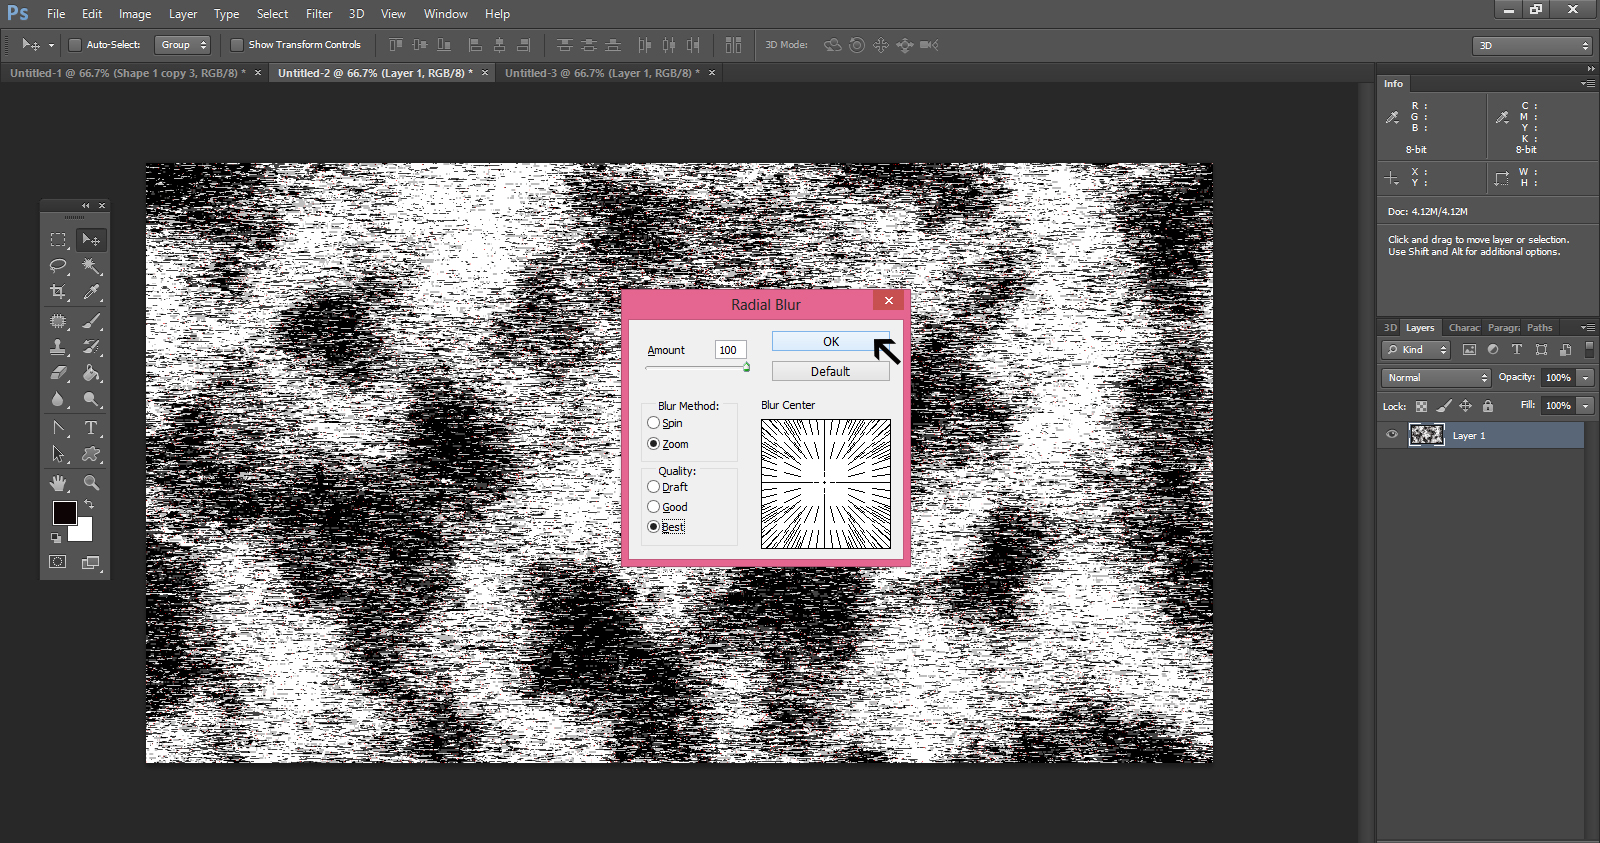
Visit Filter menu once again and click on Blur and then on Radial Blur and click OK.
Step-6
On getting the Radial blur menu, set the amount to 100 and select Zoom as blur method. Select Best under the quality.
![]()
![]()
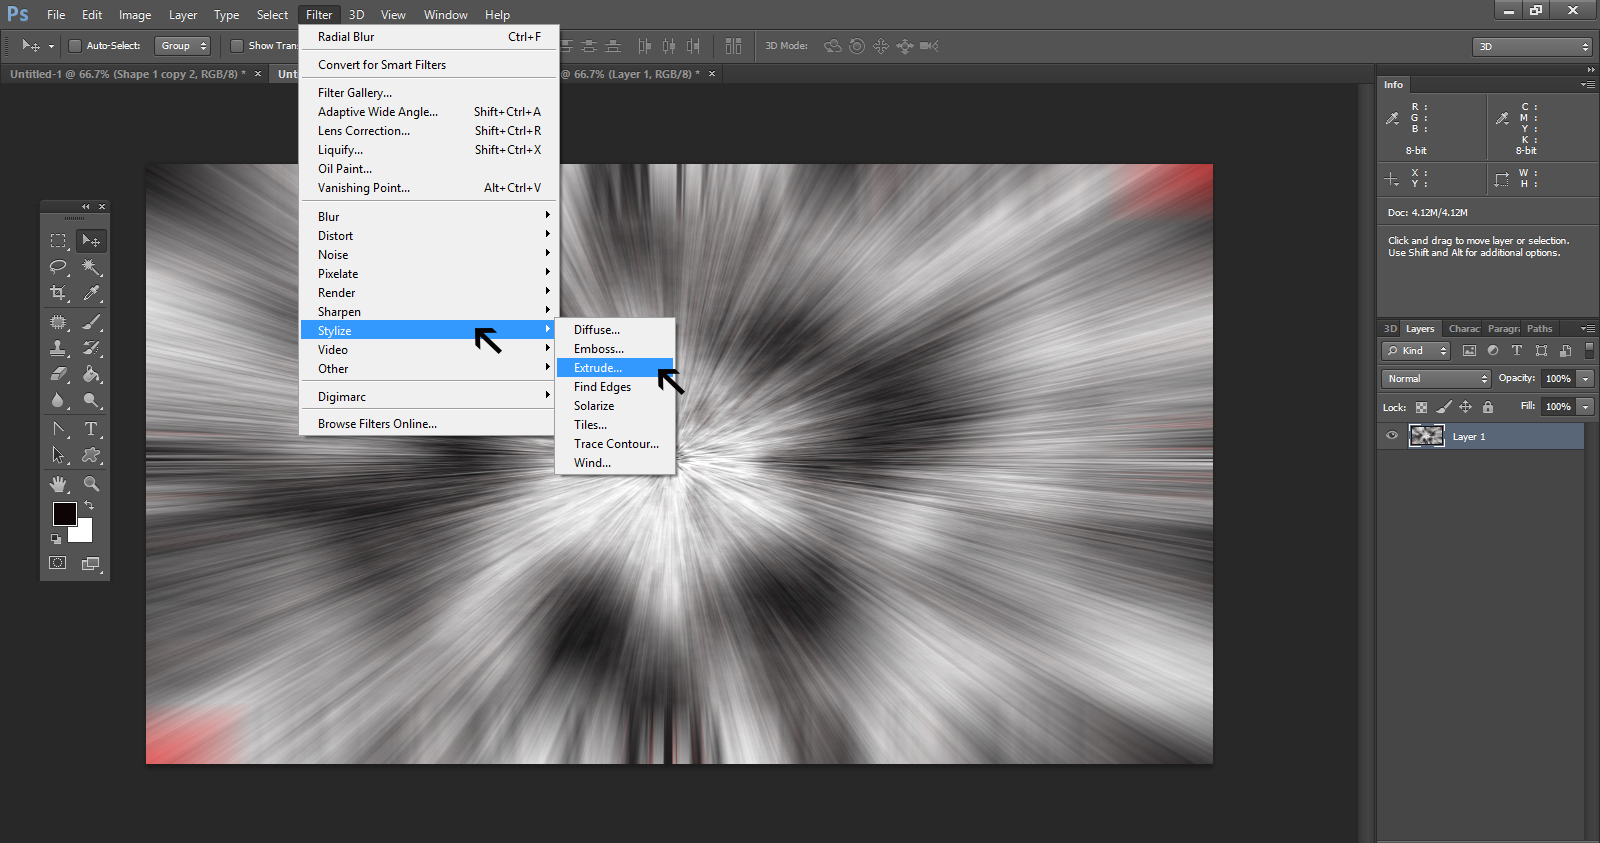
Step-7
From Filter menu come to the Stylize and then to Extrude
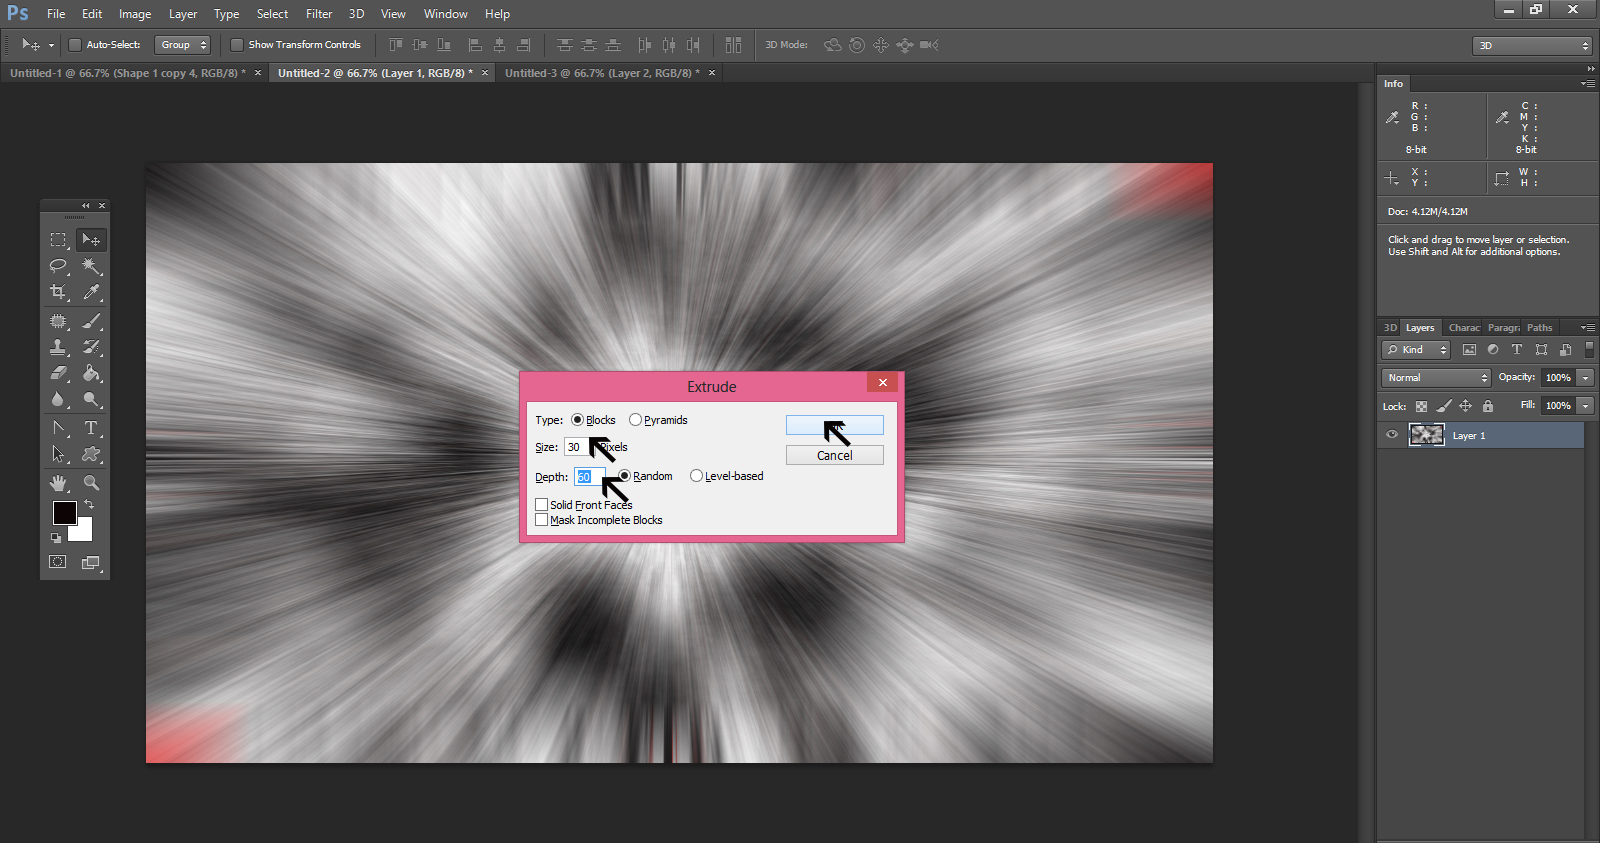
Step-8
Fill your design requirements in the Extrude menu. Here, we selected the type as Blocks and the size the blocks is 30 pixels, then choose the depth of the blocks.
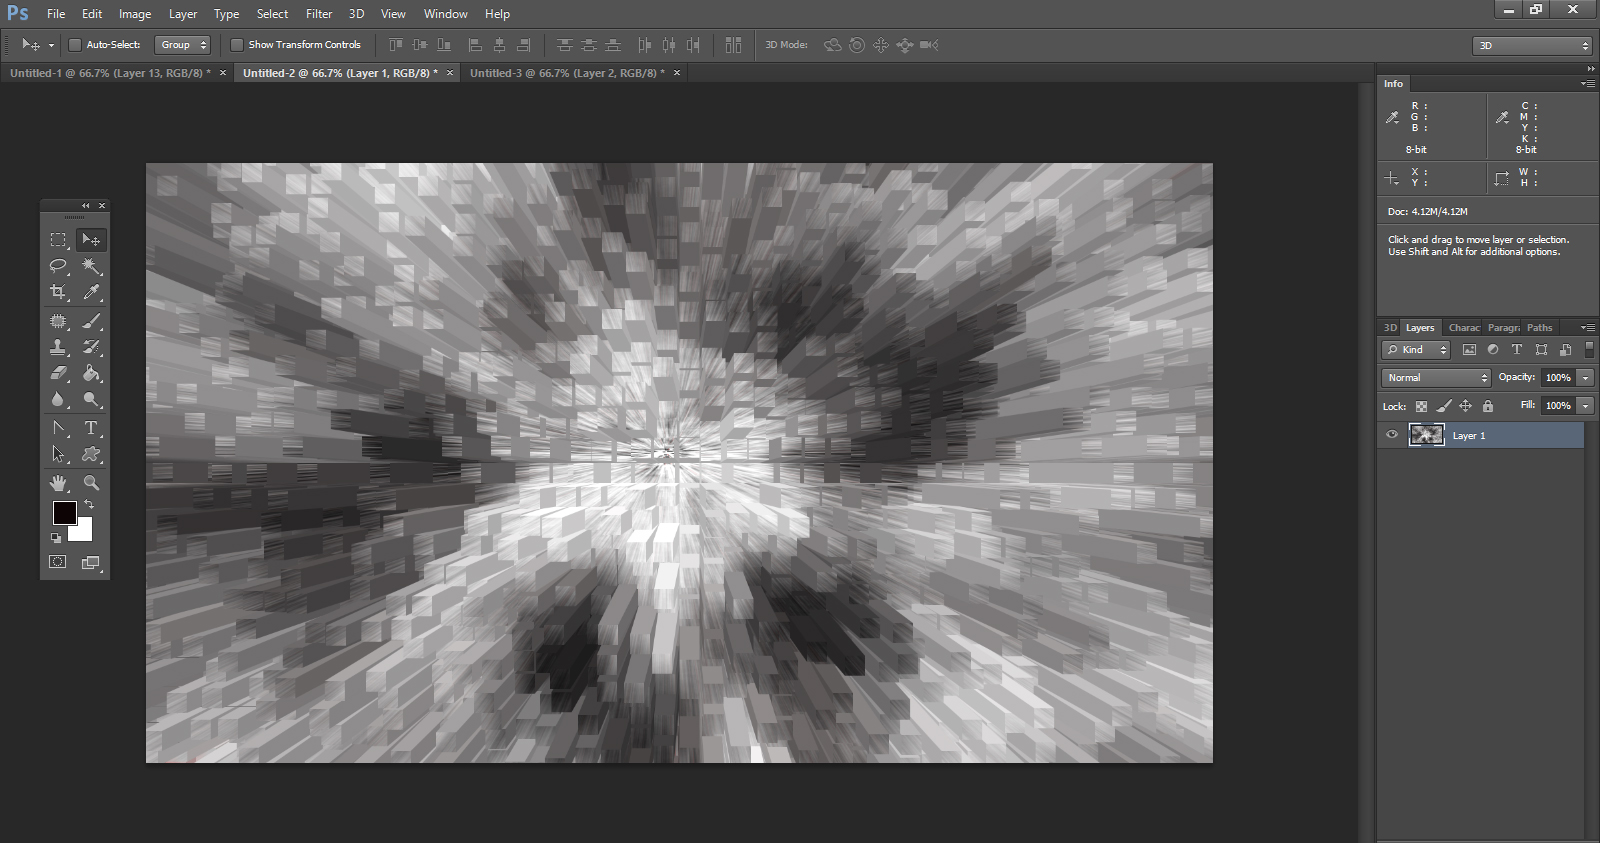
Step-9
After filling the parameters on the Extrude menu, you get the following image as a layer 1 of the design.
Step-10
You can incorporate some shades on the image

Step-11
Now as a last step, give some colors to the 3D design. Select Hue/Saturation and pick up the right hue and saturation of your choice to get the final design.


