
Last updated on January 2nd, 2018
In the Part 1 of this tutorial, you learnt how to create a faded effect on the moon image by masking. In the previous part, you also learnt how to successfully place your Solidified_lava_2 file on top.
In this part, you will learn how to change the color of the solidified rocks so that it effectively merges with the existing background. You will also learn how to create the mist effect of moon on the rocks. In addition, you will also learn how to place the Skeltons’ stock image and how to mask it with the existing layers to get a homogeneous look for the overall background.
Step 1
Start by making some adjustments on the Solidified_lava_2. You can achieve this by adding an adjustment layer with Brightness/Contrast.
Go to the top menu and choose Layer > New Adjustment layer > Brightness/Contrast. Keep the brightness at -75 and contrast at 50. Now, make it a clipping mask by clicking Layer > Create Clipping Mask.
Alternatively, you may use the shortcut (Alt+Ctrl+G) to achieve this.

Repeat this step with brightness adjustments to -43 and contrast to -50.

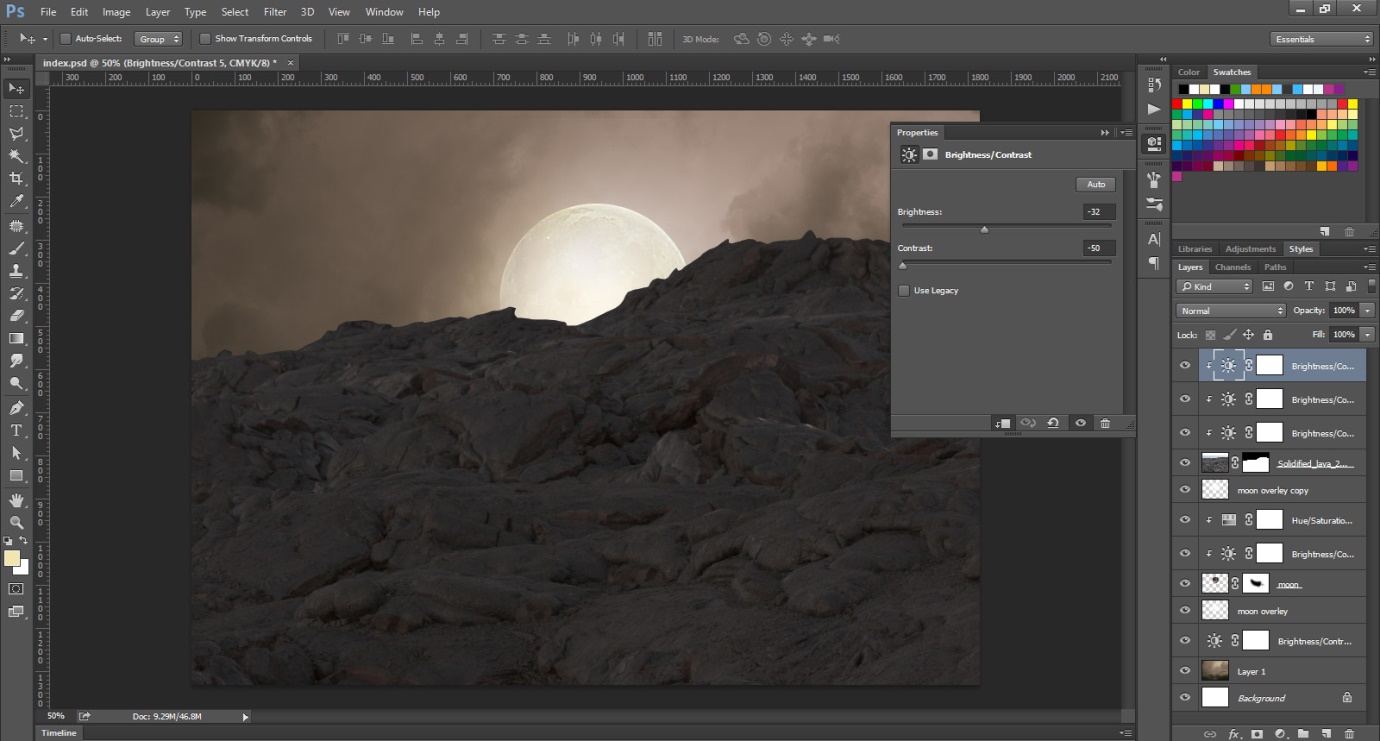
Once again, similar masking repetition is required, this time the brightness needs to be at -32 with no change in the contrast.
Step 2
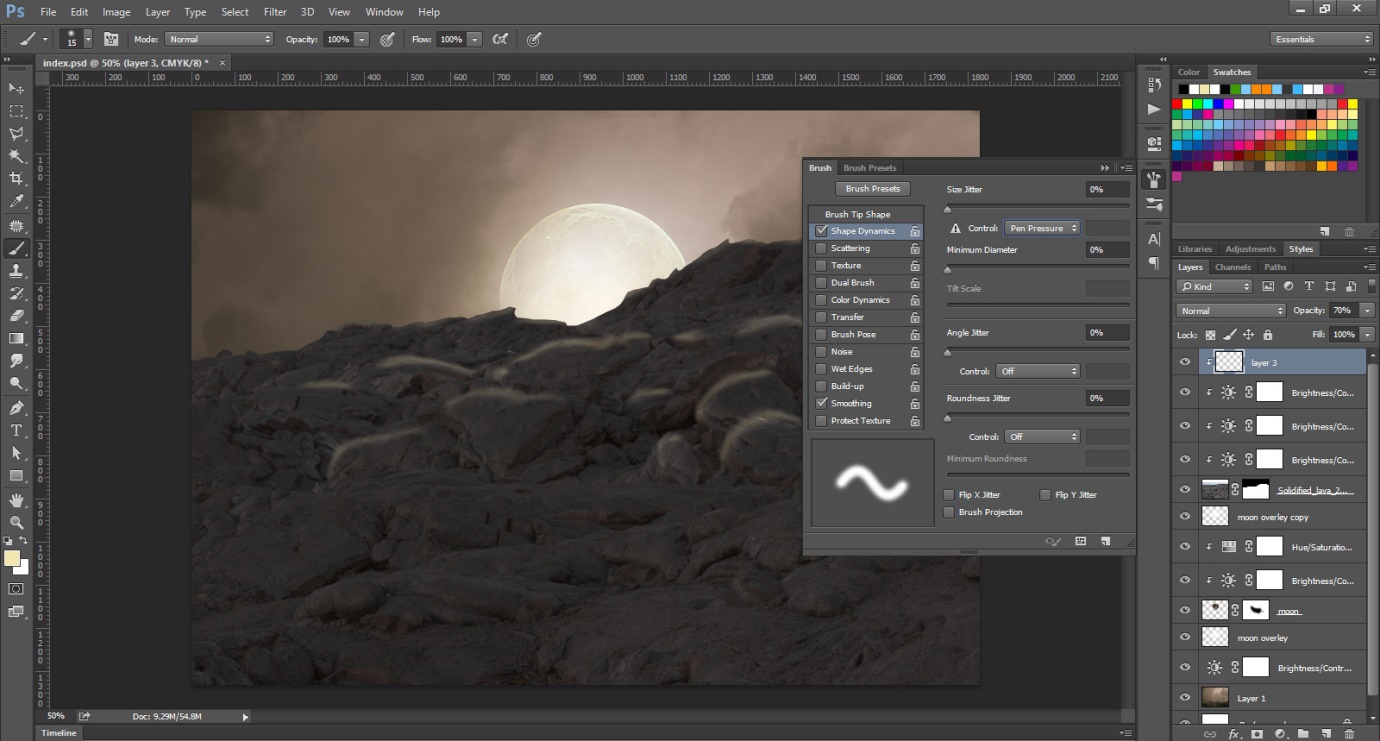
Now add a new layer (Layer 3). And make it a clipping mask.
Layer > Create Clipping Mask and create moonlight effects through soft round brush. Use shape dynamics and smoothing brush tip shape. Choose the hex code color #f0e8ae and draw more lights to show the moonlight effect. Make use of pressure opacity brush and reduce the layer opacity to 70%.
Step 3
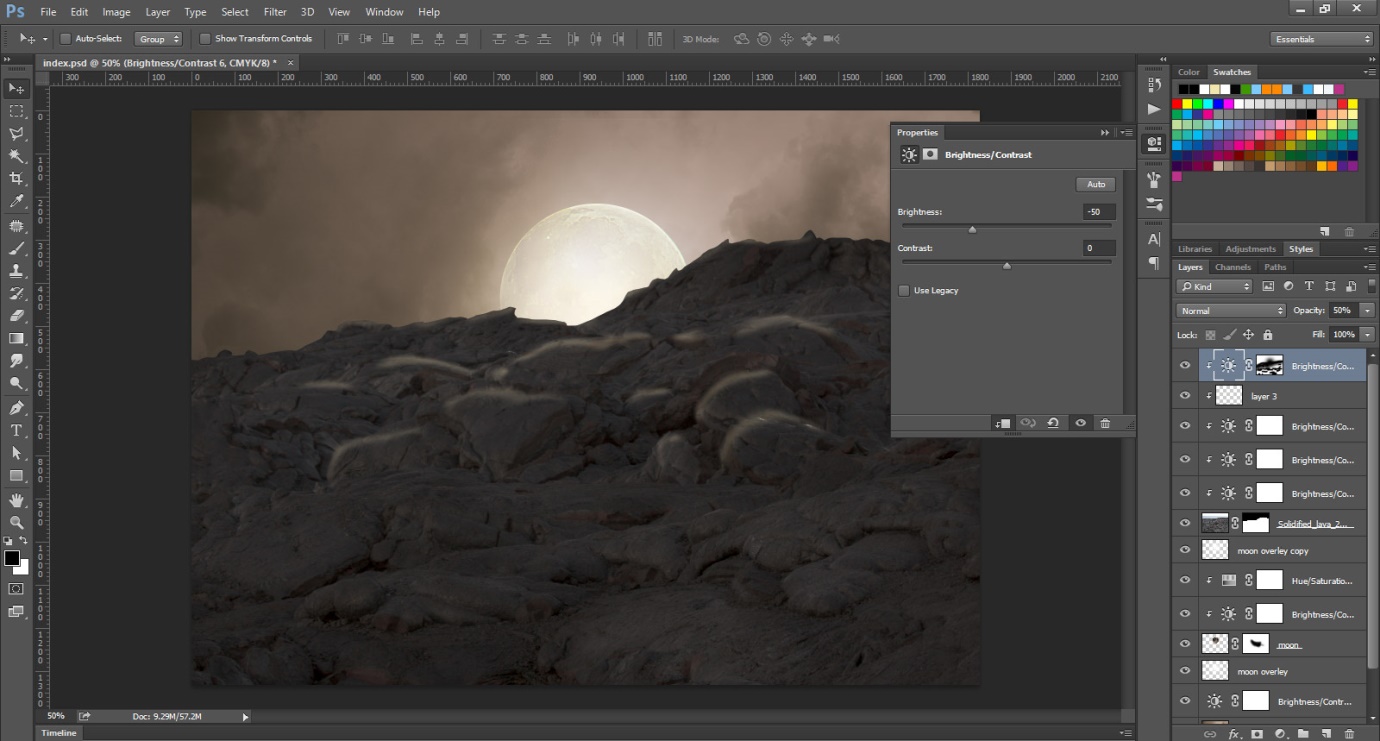
Again add a Brightness/Contrast adjustment layer.
Go to Layer > New Adjustment layer > Brightness/Contrast. Then, create a clipping mask. Layer > Create Clipping Mask.
Make use of pressure opacity brush and reduce the layer’s opacity to 50%. Now create masking. Next, make use of big soft round brush (800px) and erase some spots to highlight some areas of the rocks to create the effect of moonlight falling on the rocks.
Now, we have effectively masked ‘Solidified_lava_2’ image file.
Step 4
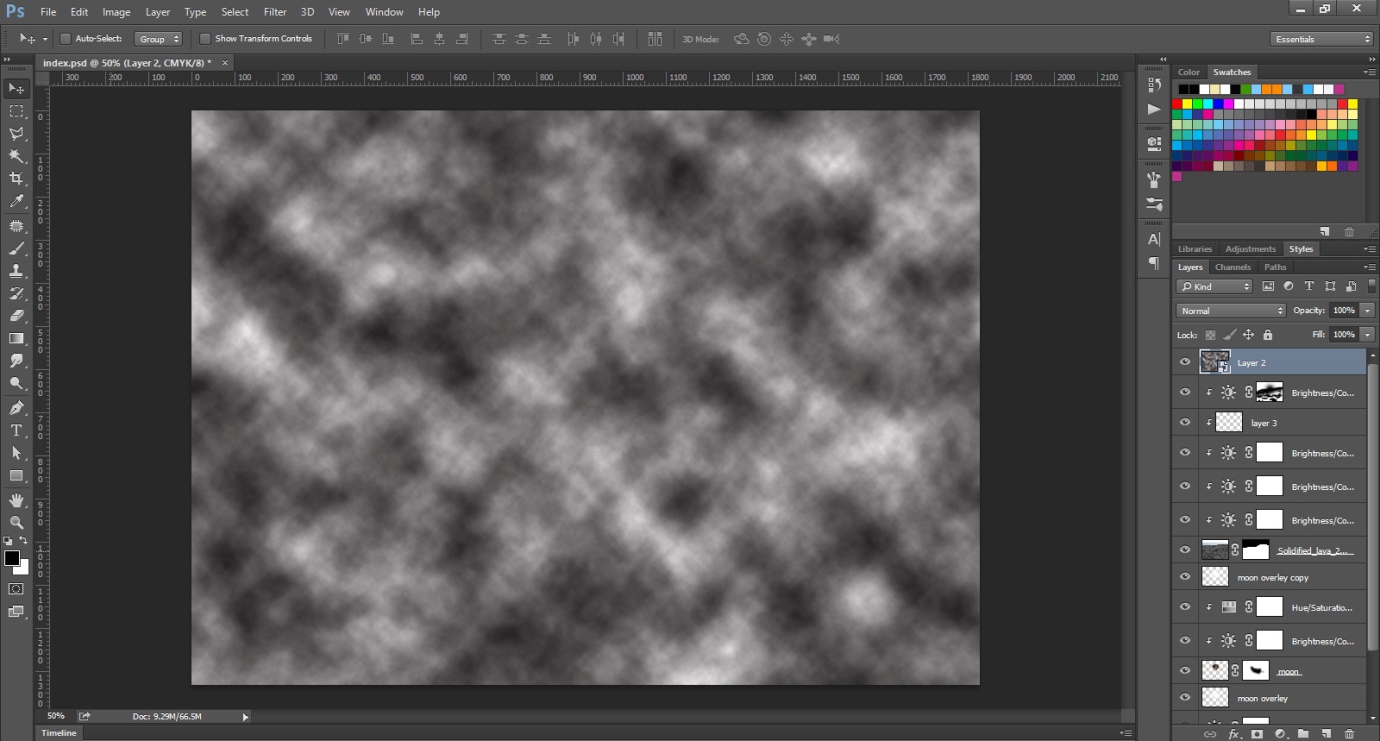
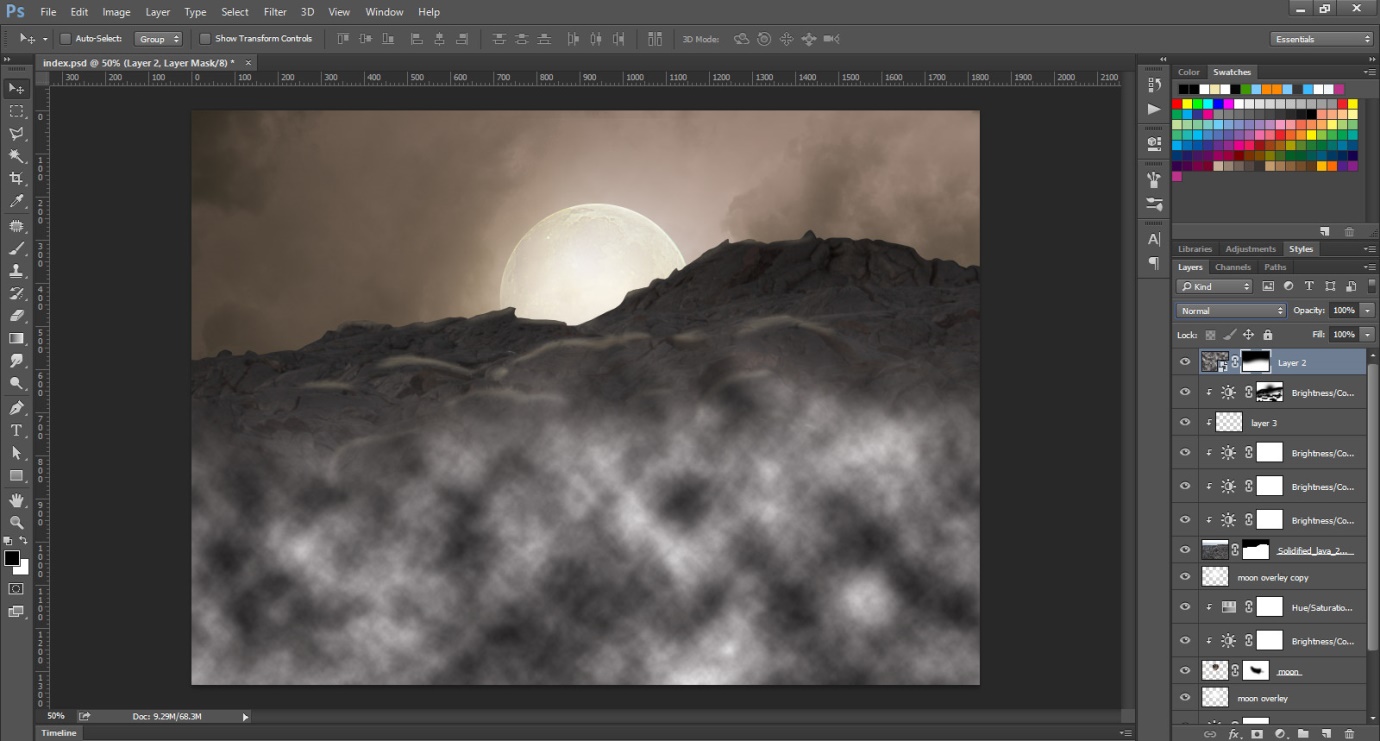
Create a new layer (Layer2). Set black and white color scheme in your color picker set.
Go to Filter > Render > Clouds.
Step 5
Click on mask shortcut and create masking on Layer2. Click on white canvas next to the layer thumbnail and select big soft round brush at around 800px. Now, erase the top half layer to create the mist effect of moonlight.
Step 6
Change the blending mode of Layer2 to Screen. Now decrease its opacity to 51%.

Step 7
Add Brightness/Contrast and mask on Layer2.

Step 8
Now, create color balancing effect and mask it on Layer 2 so that the layer merges with the existing background.

Step 9
Place skeleton pile stock to your image and click next to layer thumbnail. Make use of hard round, small size brush and mask those parts of the skulls that do not fit on the rocks.

Step 10
Add a new blank layer (shadow#1 skull) below this layer. Again, add a new blank layer (shadow#2 skull) below shadows.
Alternatively, use shortcut (Shift + ctrl + N) to do this.
Pick big soft round brush and set its opacity to 100%. Now use it to draw more shadow effect in bigger size. Ensure that you effectively draw with black color shadows strictly below the skulls to create the shadow effect.

In this part of the tutorial, you learnt how to change the color of the solidified rocks so that it effectively merges with your existing background. You also learnt how to create the mist effect of moon on the rocks. In addition, you learnt the tricks to insert Skelton pile stock image and learnt how to mask it with the existing layers.
In the next part of this tutorial, you will learn how to create a brightness/contrast effect layer & mask it to the Skeleton pile layer with hue saturation effect. You will learn how to make Skelton pile layer color similar to its surrounding so that the skull appears to be effectively placed on solidified lava layer. During the course of the tutorial, we will also explain how to make adjustments for shadow, brightness, contrast, and hue.
Looking for Customized, On time, Logo Designs? Launch a Logo Design Contest today. Choose from 100+ designs. Take your pick! We offer a full 100% money back guarantee! Finally, a risk-free way of getting a customized design.
Like our blog? Follow us on Twitter, Facebook and Linkedin.


