
Last updated on December 6th, 2019
The poster designers love to create gig posters as these allow them to play with imagination and do something interesting with the poster design. If you know the band’s music and its inspiration then let loose your imagination and you will have a poster with full of creative elements. Often, gig posters are abstract with a lot of expressions.
In this tutorial, you will learn how to create one such poster design quickly without spending much time and effort on it. Though gig posters are generally illustration based, you may not have the time to create a custom illustration. Therefore, we here work on a photo based gig poster design.
Steps for Creating a Gig Poster Design:
In Part -1 of the tutorial, we finished importing a picture for the gig poster design and then incorporating a root. In Part-2, we give a new image to the poster with the help of the pictures of the tree, root and birds in the sky for a desired message. Now in this third and last part, we will finally complete the gig poster design by incorporating some new images and giving our poster the looks that are sure to evoke the desired emotions.
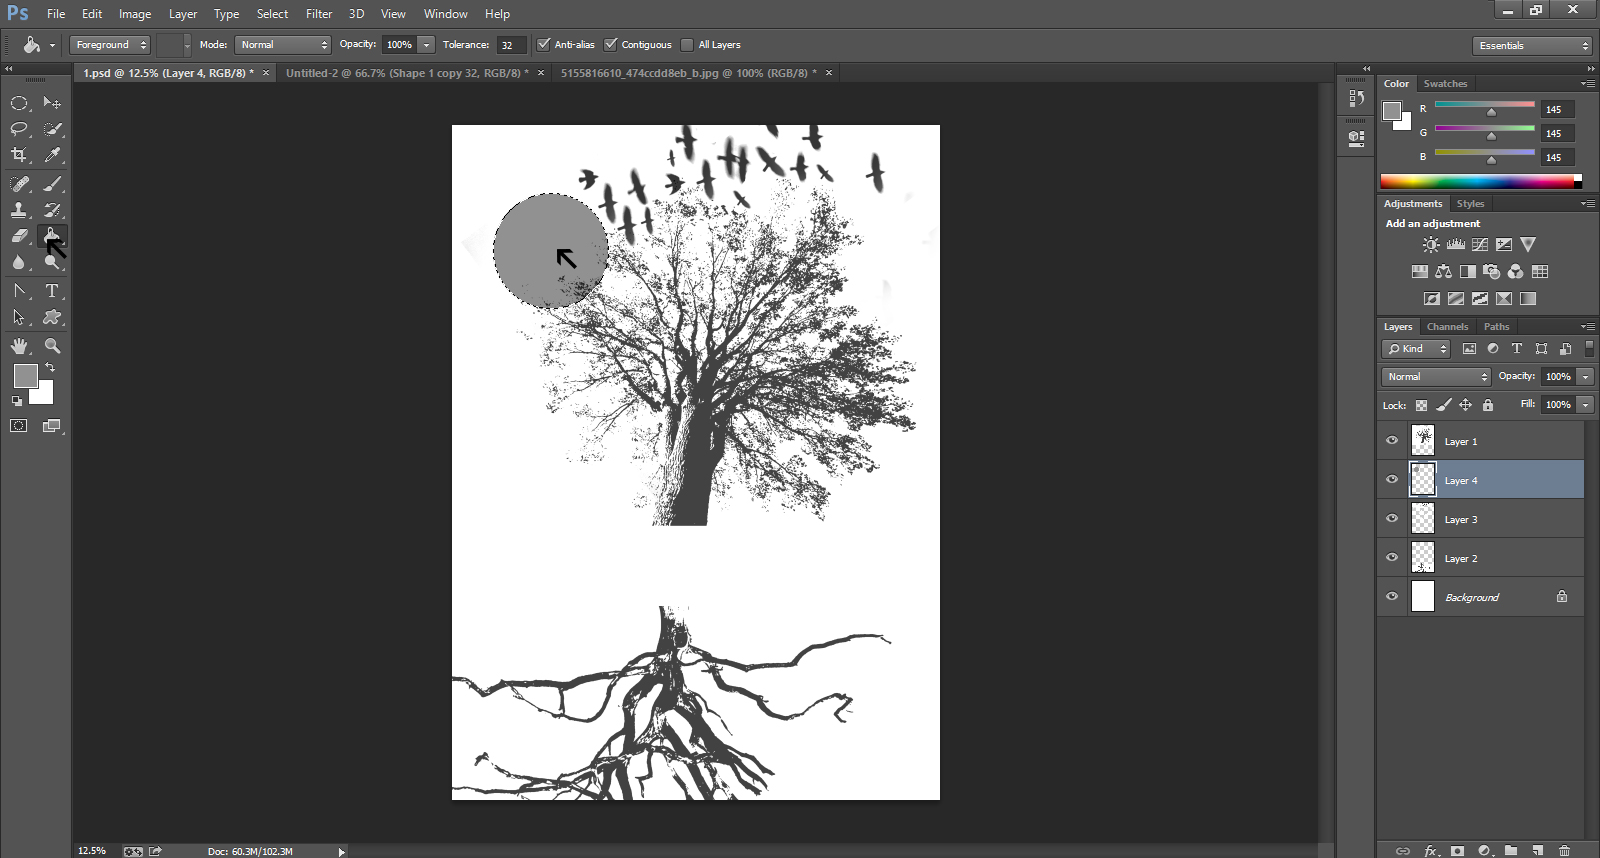
Step – 1
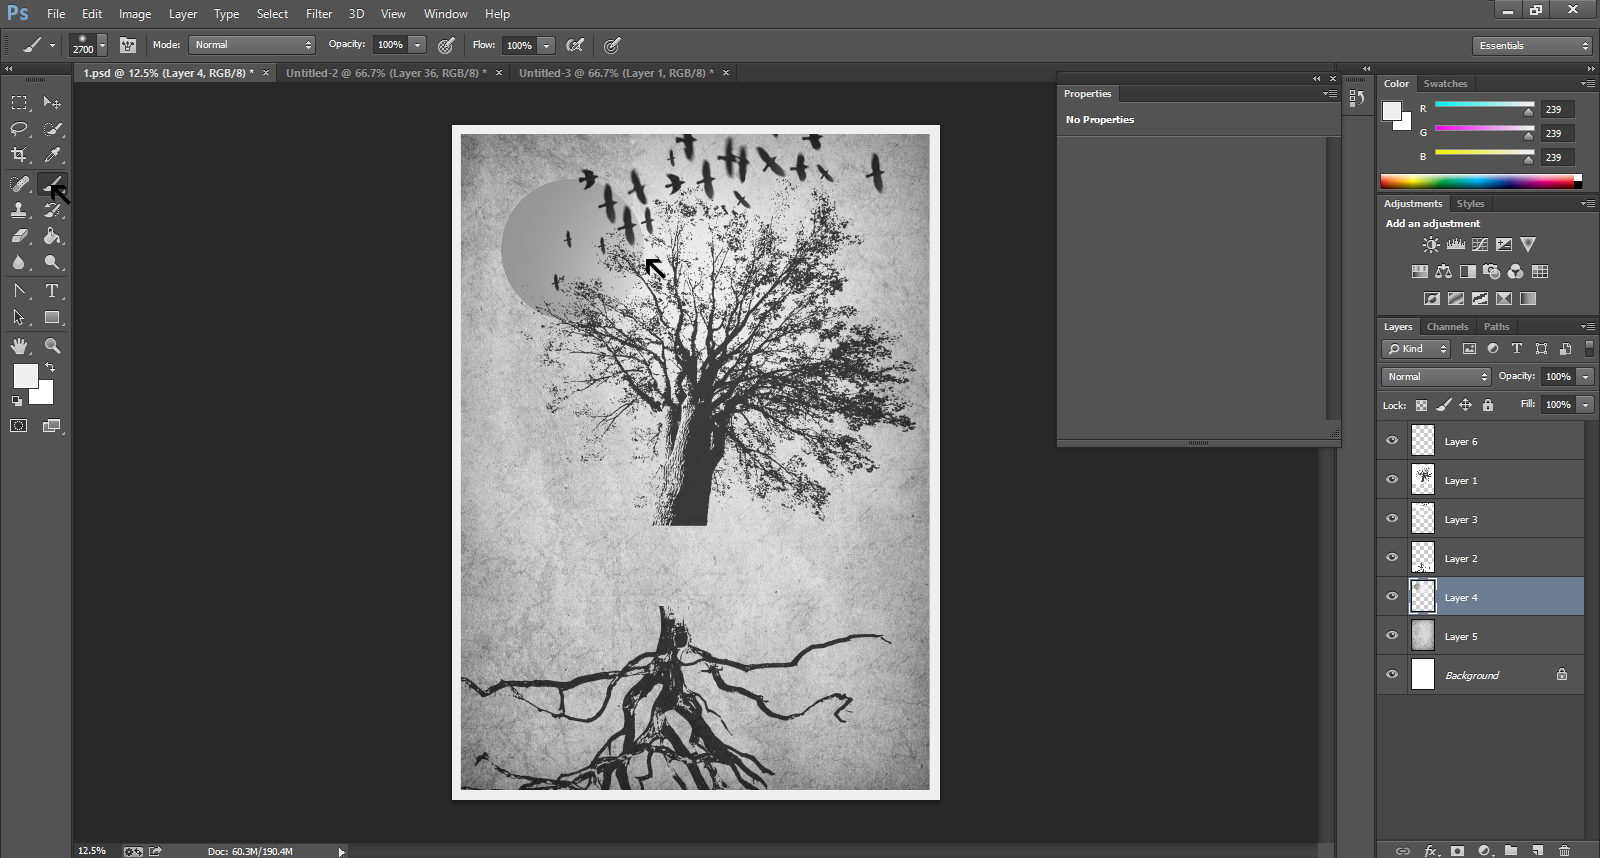
Import a spherical object and incorporate it as Layer 4 so that you can work on it to further enhance the poster’s impression. You have already rearranged the birds and tree in the poster for the desired impact.
Step – 2
Go to your saved images in computer file and select the one that has a grayish impression.
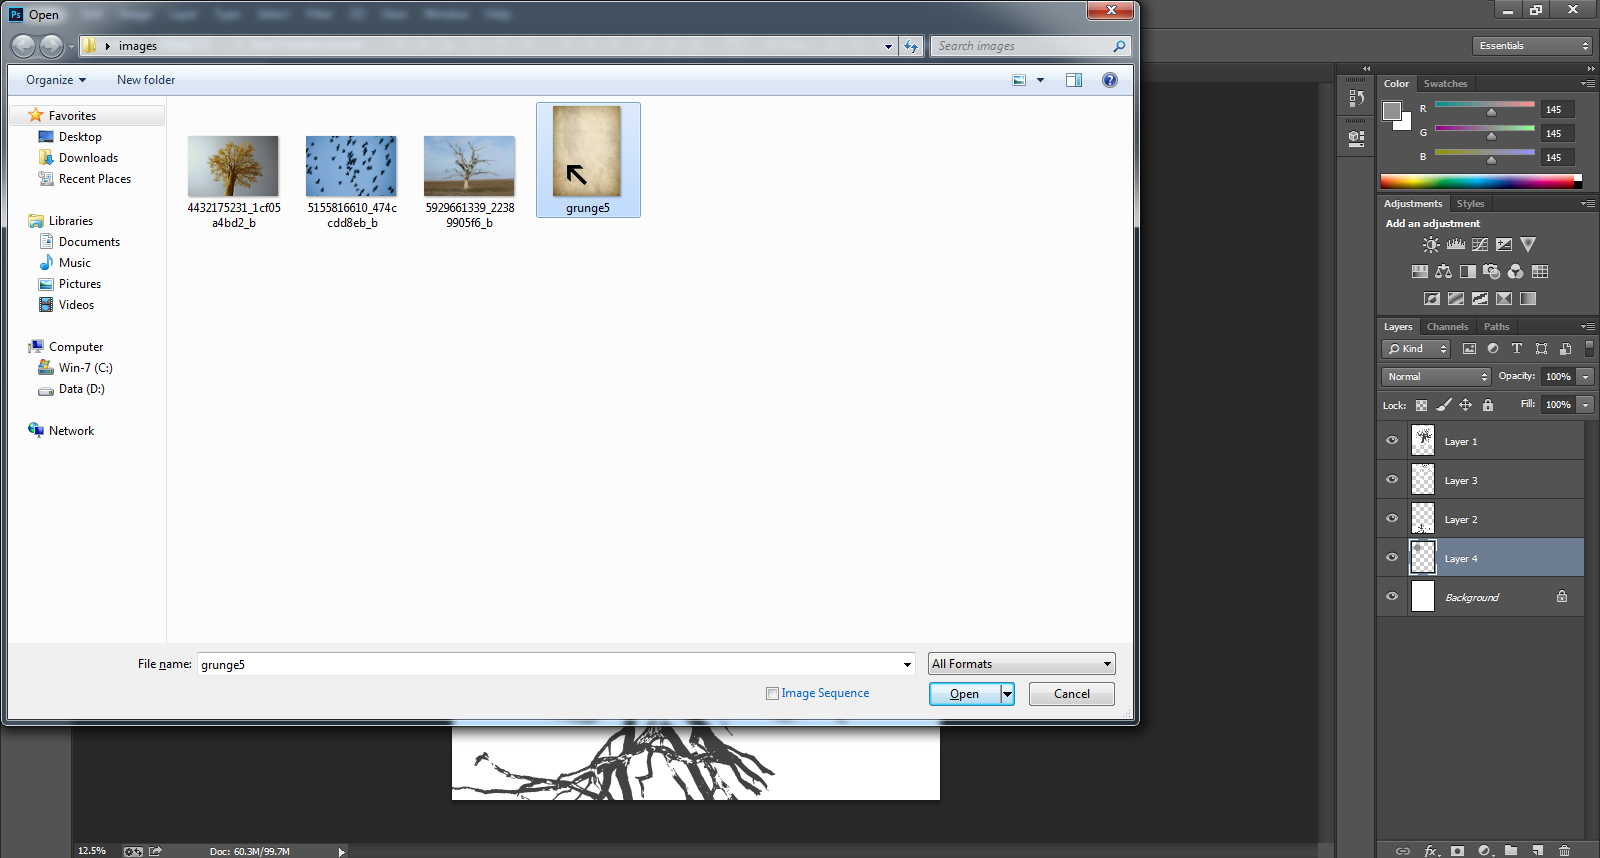
Step – 3
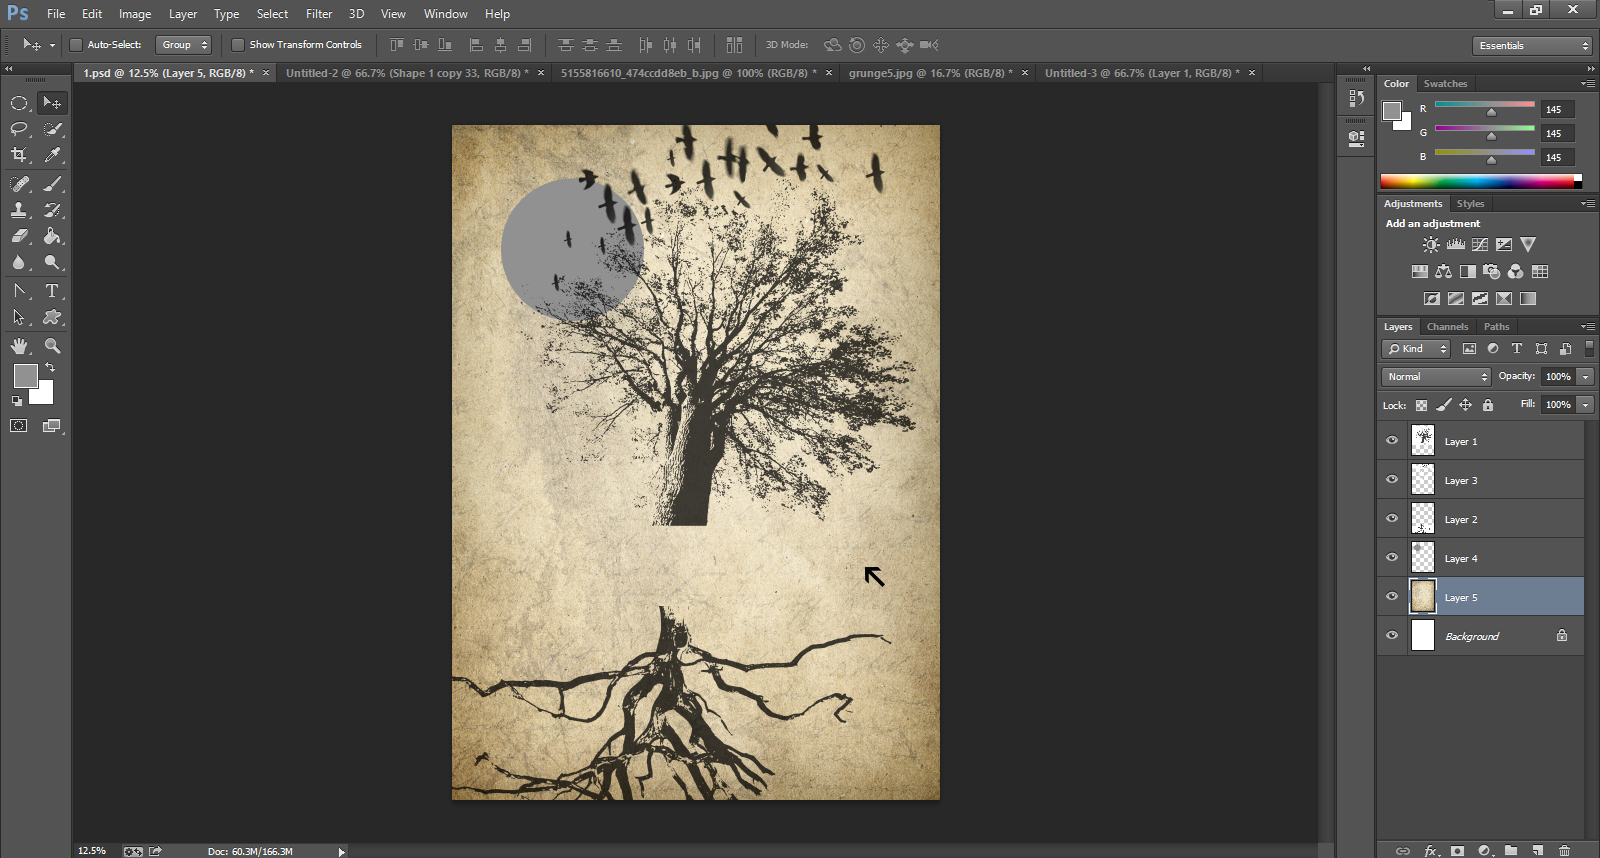
Now create Layer 5 to accommodate the imported grayish image from your computer file.
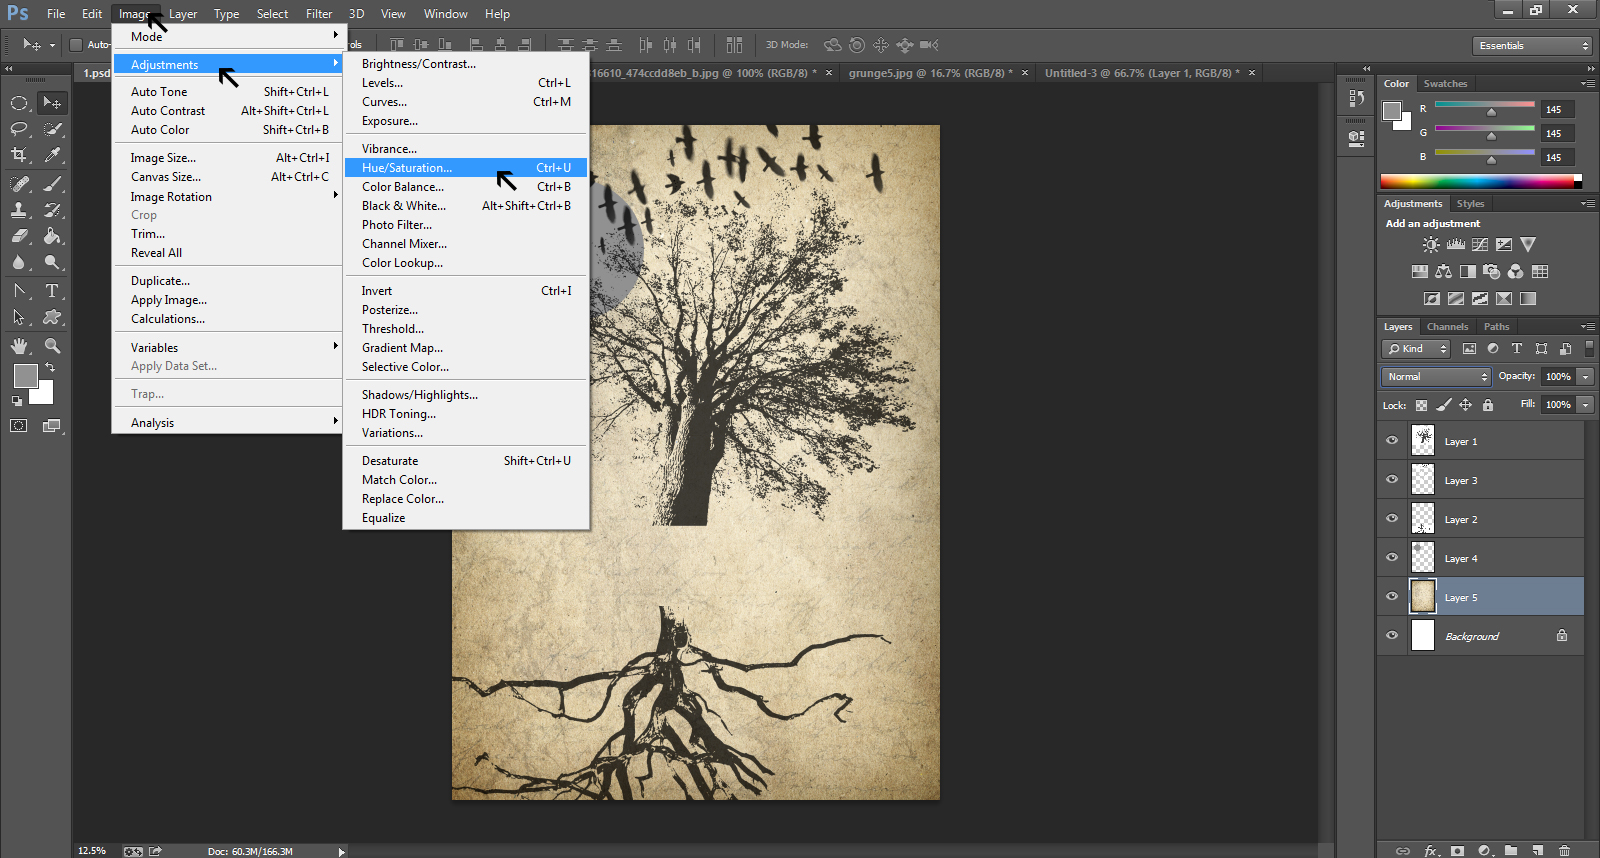
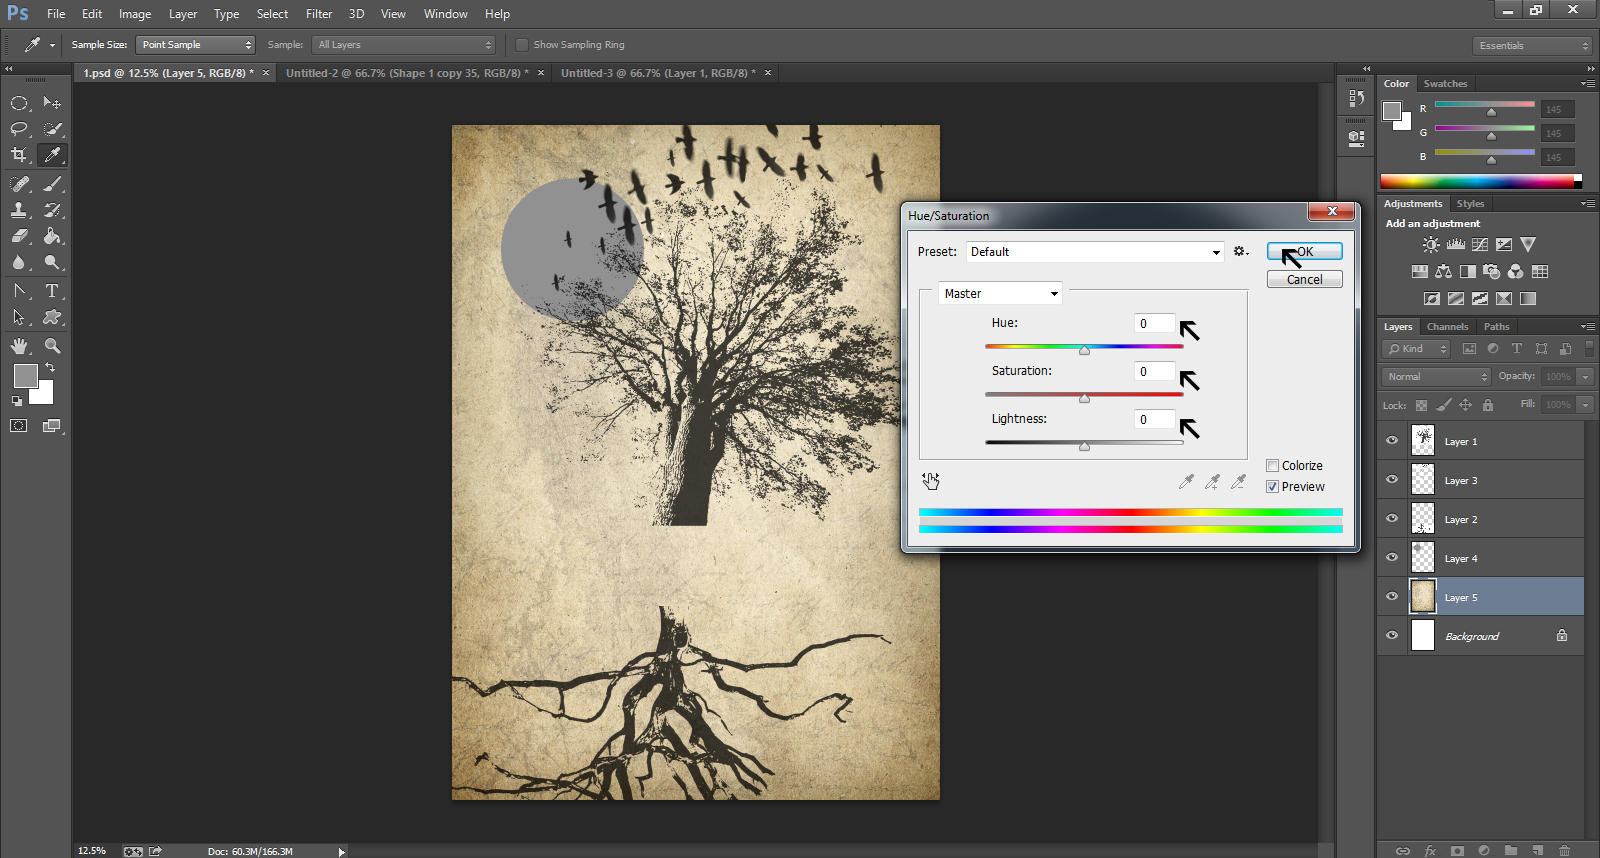
Step – 4
Go to Images, then select Adjustment to get Hue / Saturation menu.
Looking For a Poster design?
We have helped thousands of business owners from all around the world with their graphic design needs such as a logo design, website design, social media posts, banner design and much more.
Get Your Poster DesignGet a Free Quote
Step – 5
In the Hue/Saturation menu, bring the parameters of hue, saturation and lightness to zero.
Step – 6
Now, if you wish to get some nice boundaries for the gig poster in white, then first get a blank document with selected outlines.
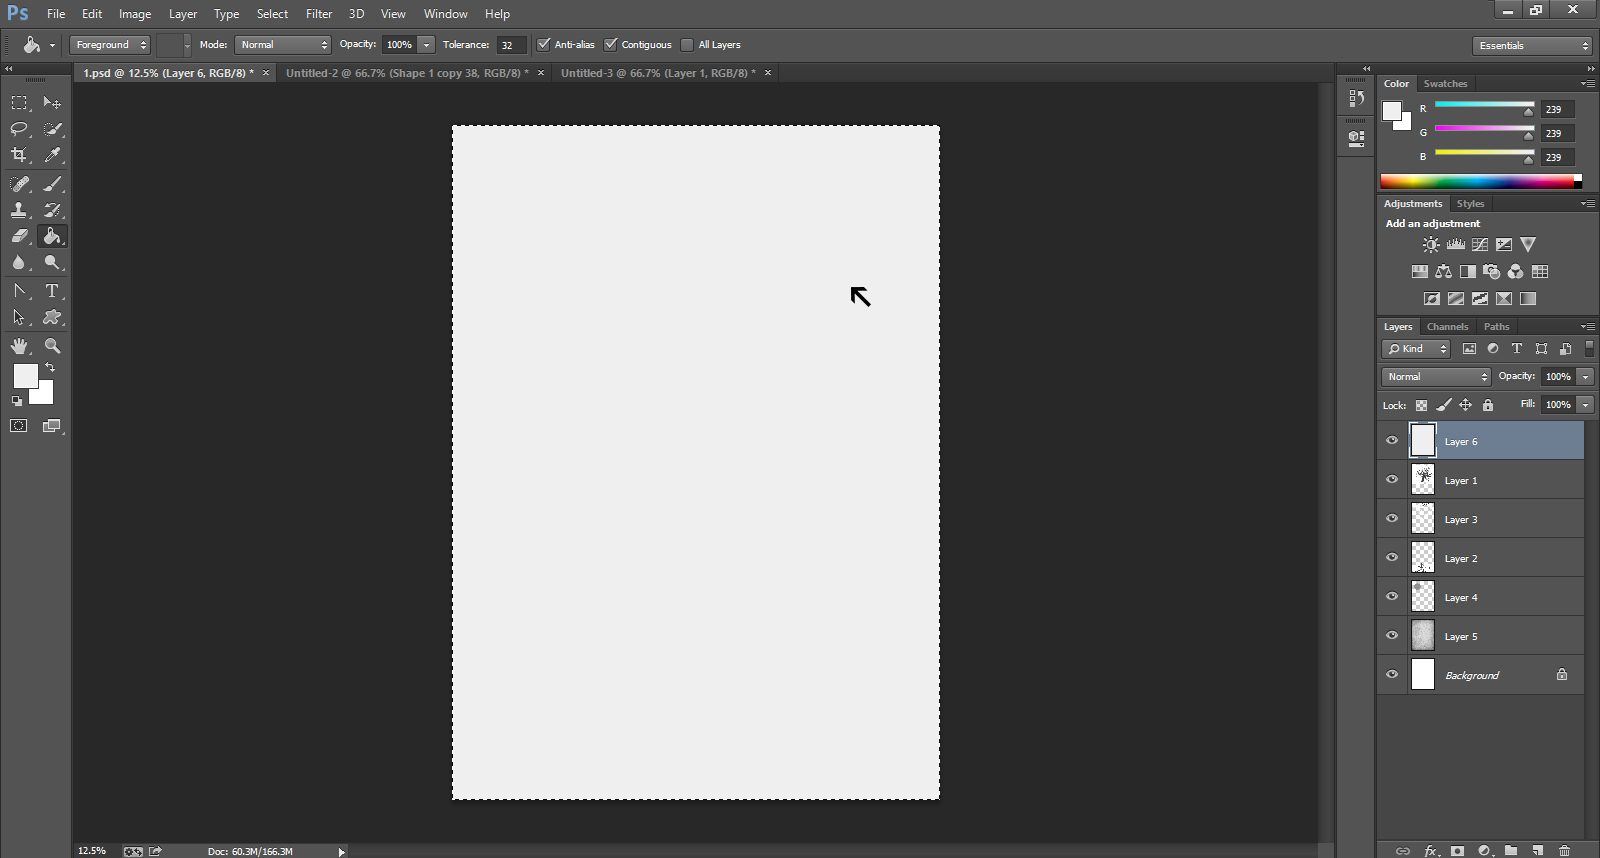
Step – 7
Now, get another selected line just inside of the outer line of the document so that you can get a white border for the poster.
Step – 8
You have the white border between the two selected lines at the border of the poster as Layer-6. Use paint bucket tool at the left bar to create the white space.

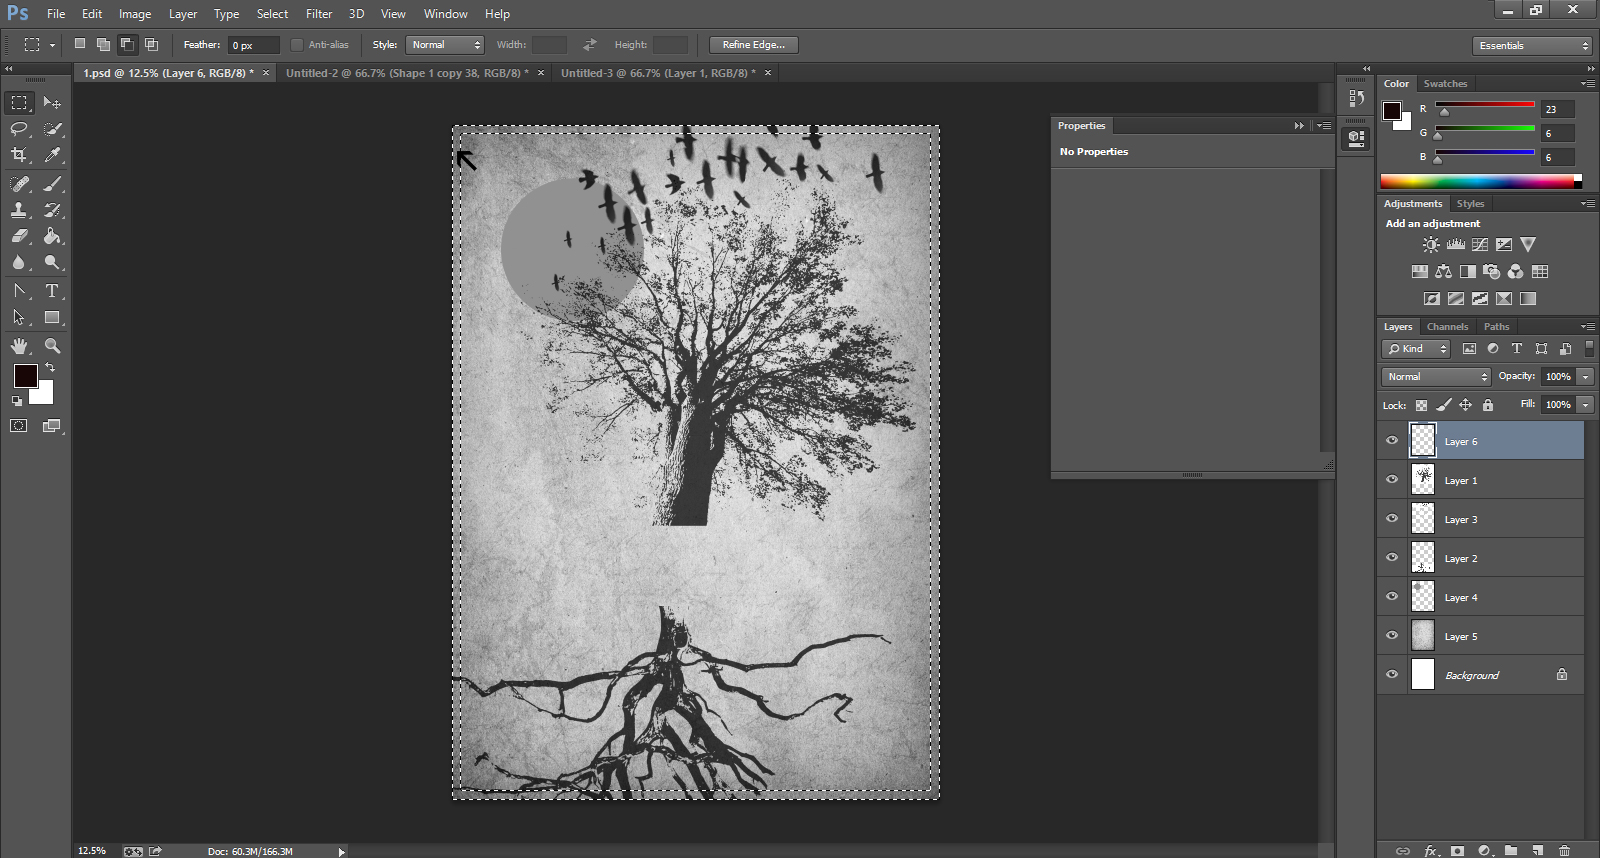
Step – 9
Remove the selected lines and get a clean white border on the gig poster.
Step – 10
You would like to write some words that depict the subject of the poster. To write the words go to the T tool at the left bar. Here, the poster design has fair amount of text in bold and smaller letters.
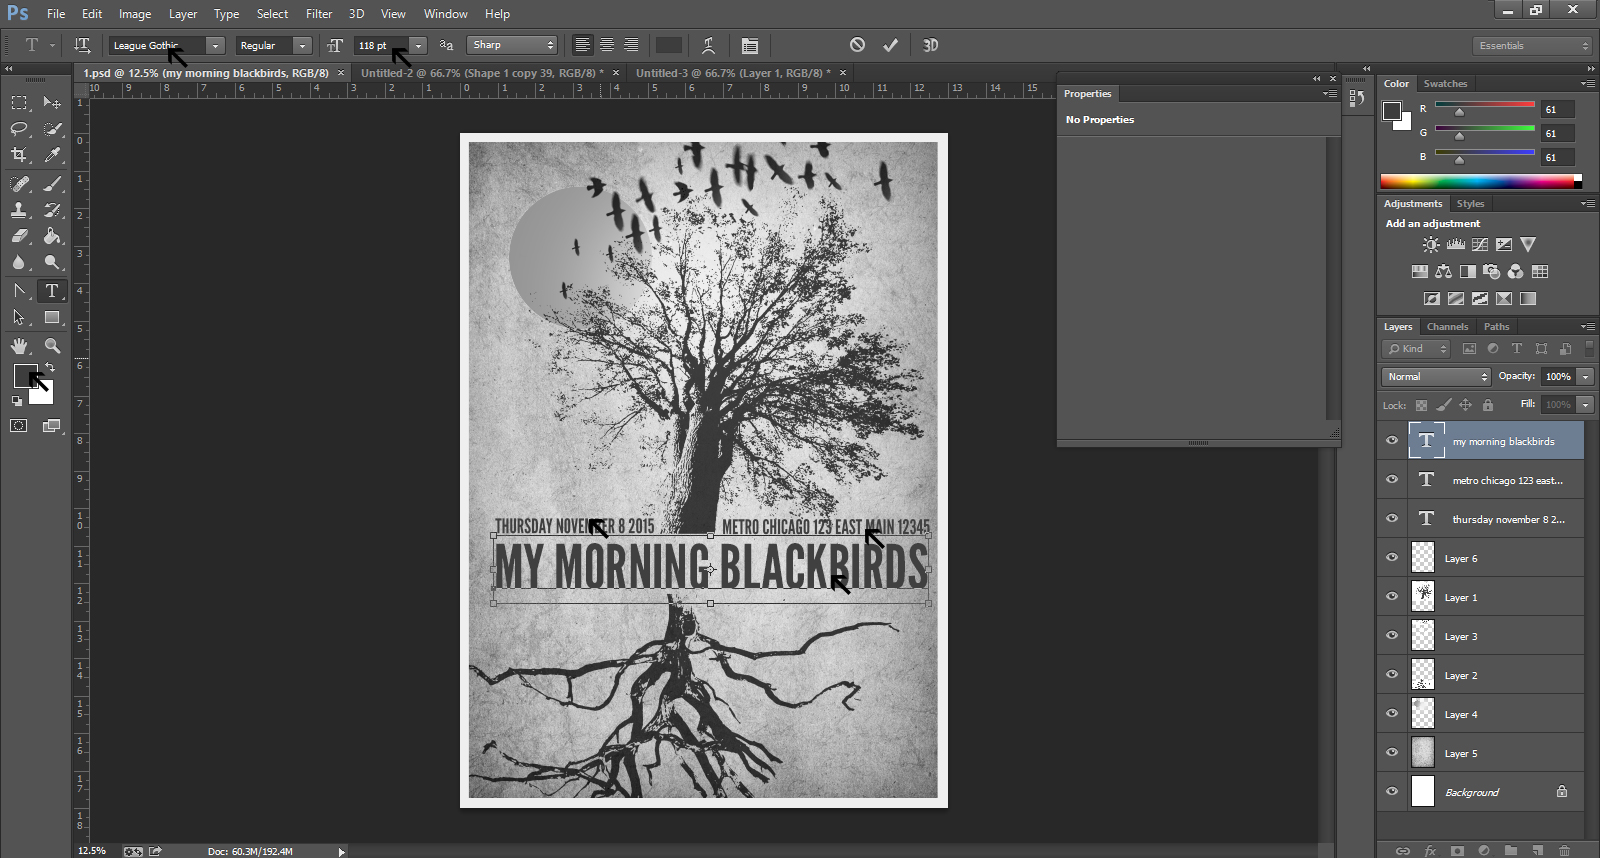
Step – 11
Go to the Layers on the right bar and work on the selected text that you wrote on the poster. Here, we work on ‘My Morning Blackbirds’ text by selecting new layer.

Step – 12
Click on the Layer button on the top bar and get New Adjustment Layer and then Gradient Map.
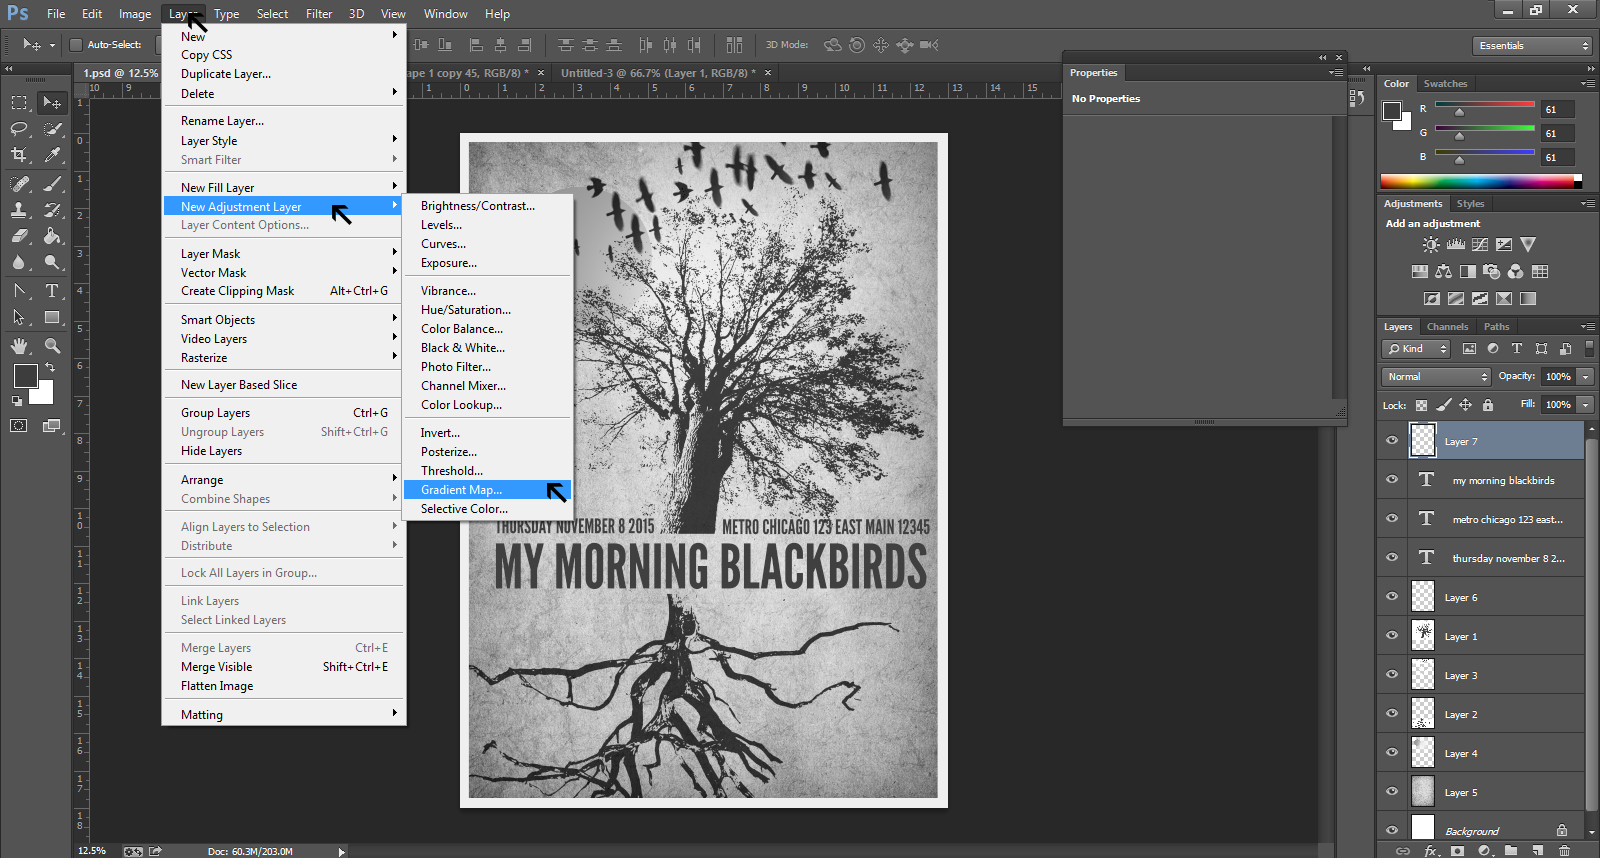
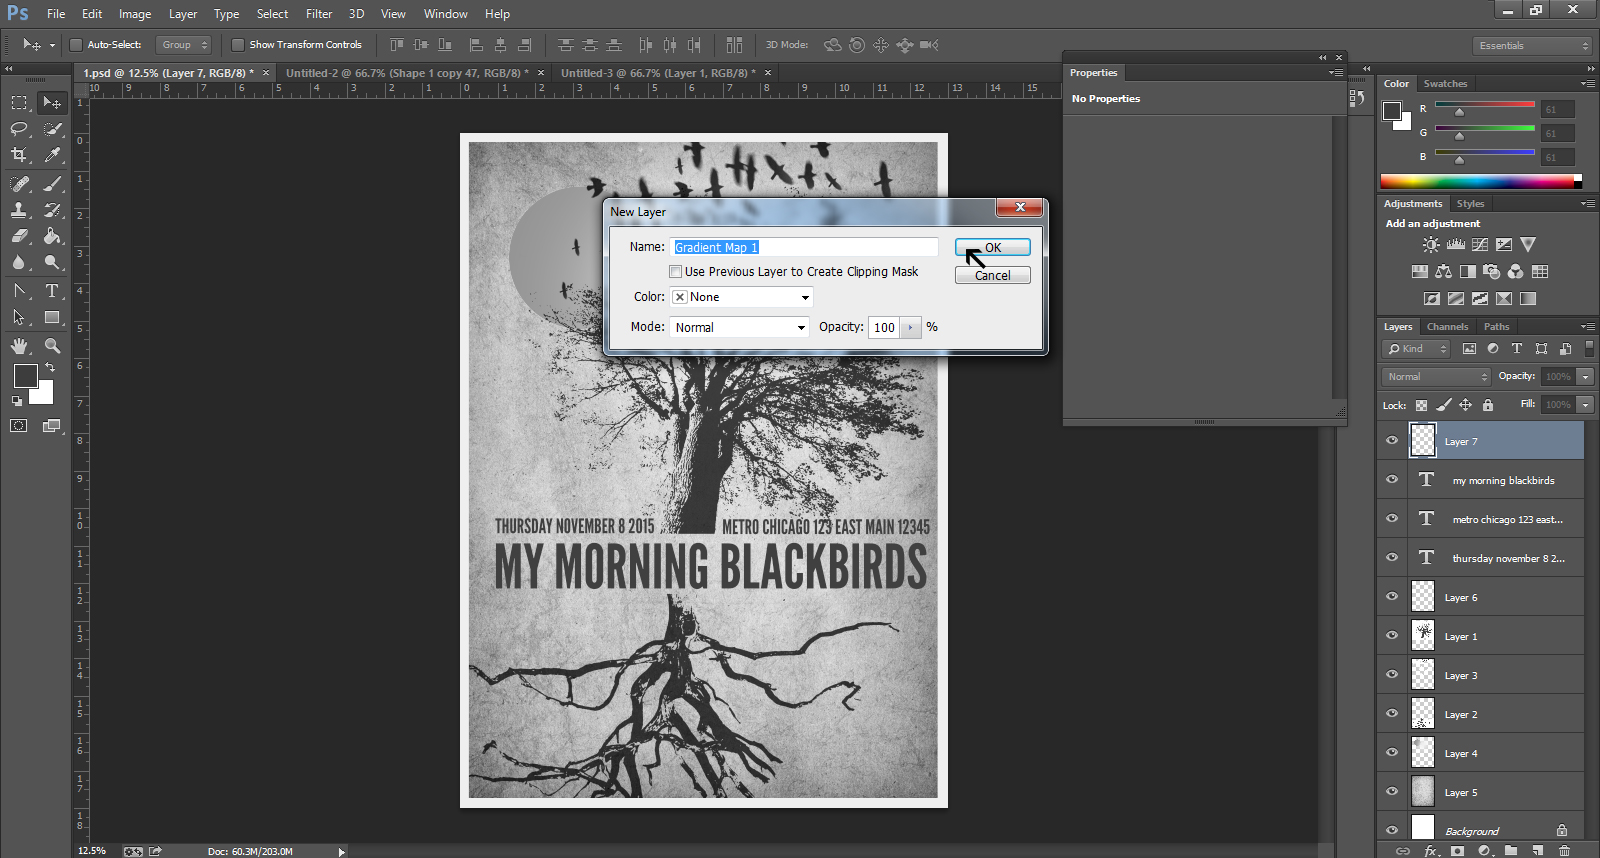
Step – 13
Get a New Layer and fill Gradient Map 1 as the name .
Step – 14
Select the Eye Dropper tool from the left bar and get the Gradient Editor. Fill the color of your choice, which is yellowish in this case. Choose the gradient type, which here is solid.
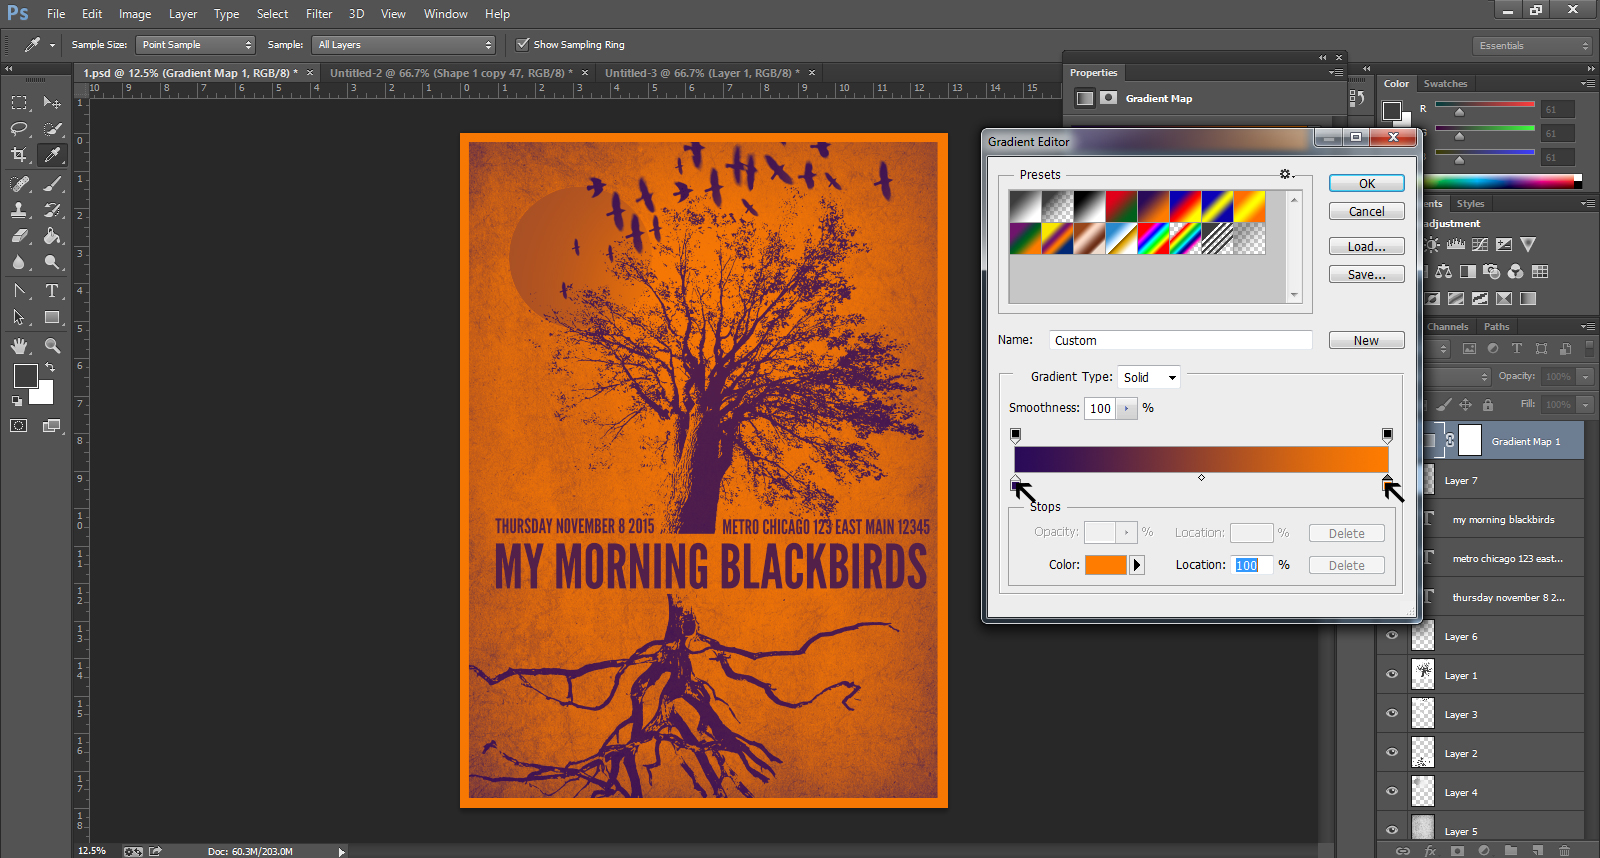
Step – 15
Now add some color to the poster design. To do this, you need to add a Gradient Map Adjustment Layer over all the other layers in the composition. You can set the adjustment layer’s blend mode to Overlay and use the gradient of your choice.
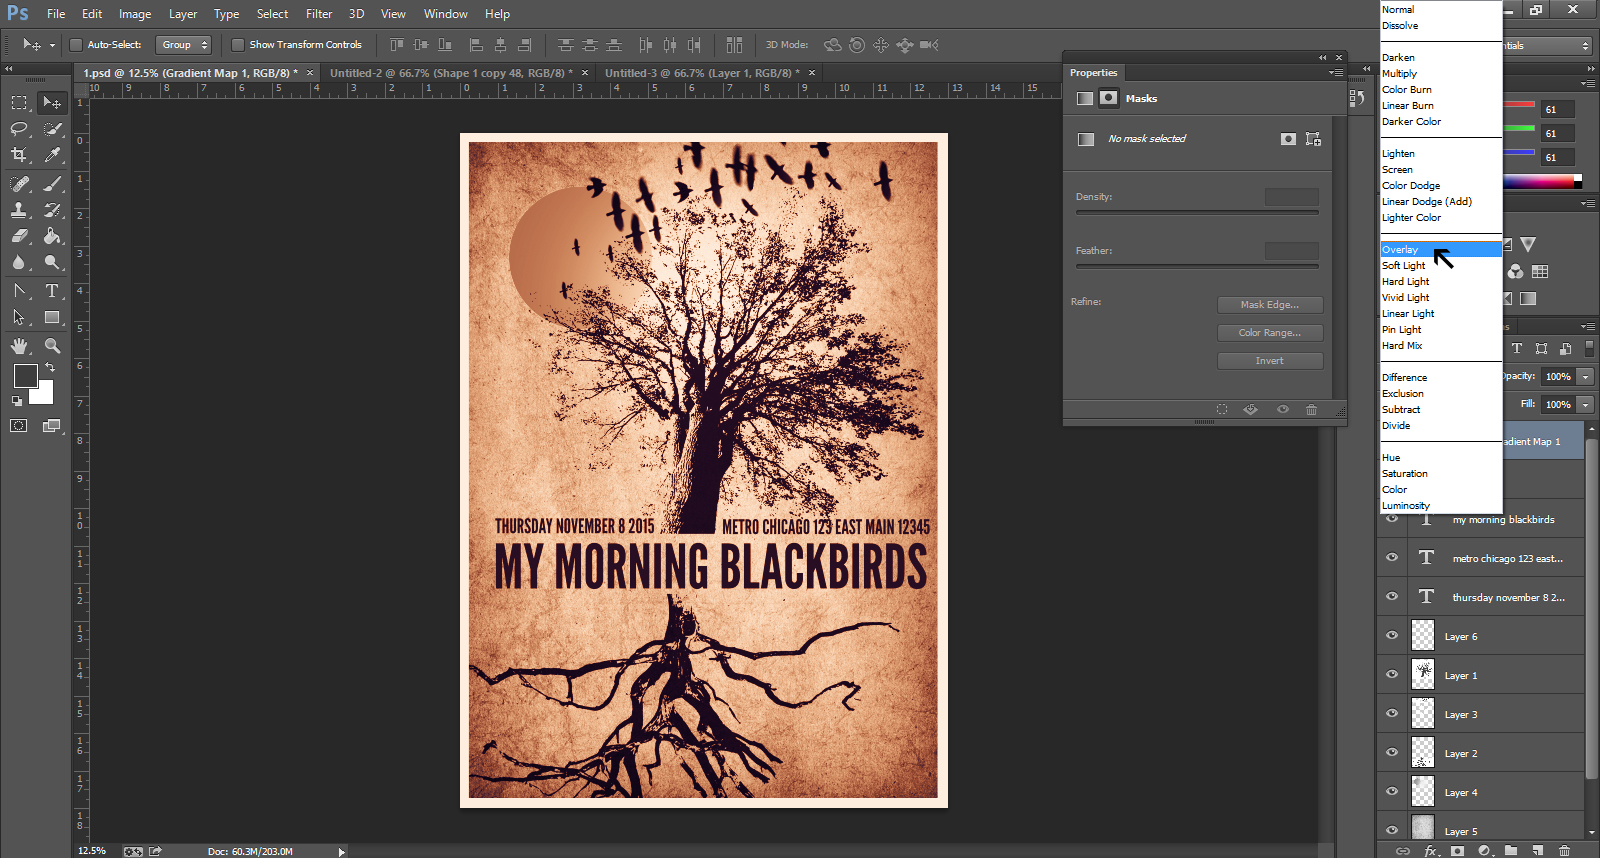
You finally have the gig poster design that you were looking for with the desired impression.
Do you agree that gig poster design is so important to a business? Please share your opinion with us in the comment box below.
Looking for Customized, On time, Poster Design?Launch a Poster Design Contest today. Choose from 100+ designs. Take your pick!
We offer a full 100% money back guarantee! Finally, a risk-free way of getting a customized design.
Like our blog? Follow us on Twitter, Facebook and Linkedin.


